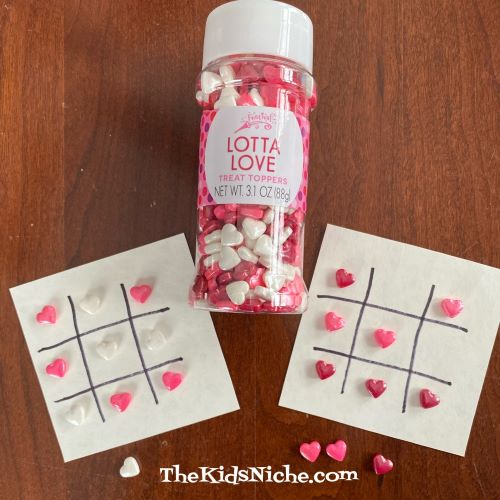
Tomorrow is the day for hearts and love and flowers and fun! 😉 Here’s a quick idea for a super simple game you might play with the kids on Valentine’s Day. Let’s call it Valentine Tic Tac Toe.
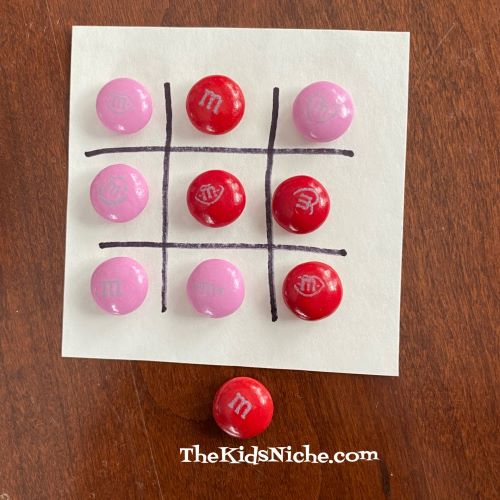
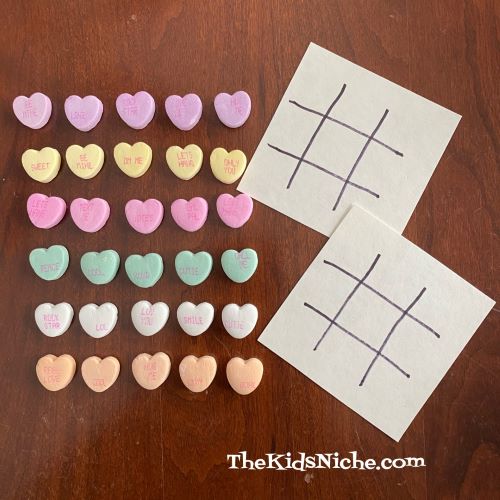
All you need is a piece of paper and a pen and some Valentine’s Day candy. Pick out 5 pieces of 2 different colors of candy…1 color for X and a different color for O. Draw a Tic Tac Toe board on your paper and you’re ready to play! There are lots of candy pieces that would work for Valentine Tic Tac Toe. Here’s enough colors of candy conversation hearts for 3 different games.
I love M&M’s candy so that’s the one I would choose to play with! 😉

You can even find candy hearts in the food decorating aisle of your favorite grocery store.
Depending on the size of your family or group, you could play separate games and the winners advance to the next round. The final winner could get a special prize and everyone could enjoy some Valentine’s Day candy! ;) Have fun!