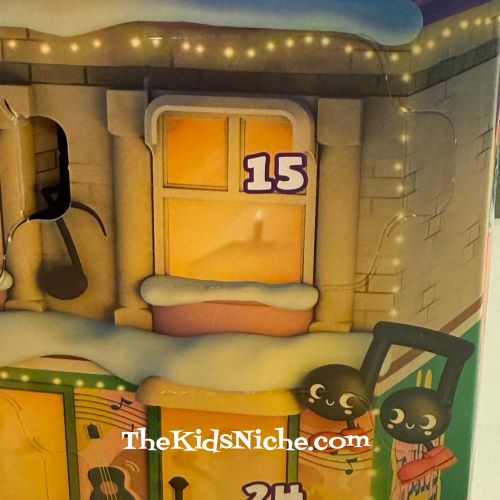
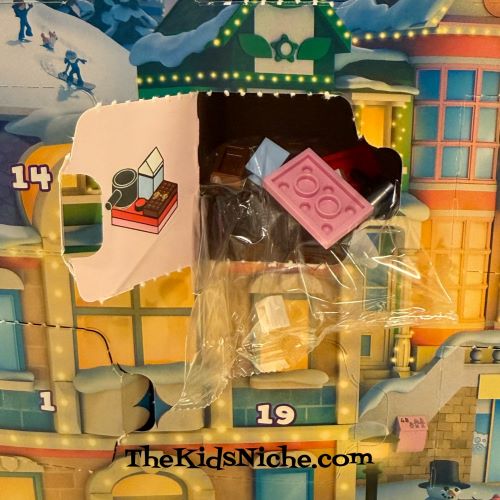
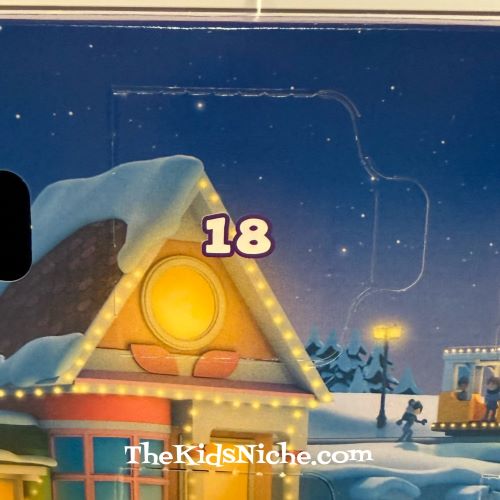
It’s late in the day but we are squeaking day #18 of our Lego Friends Advent calendar in under the wire! 😉
What fun is in store for us today?
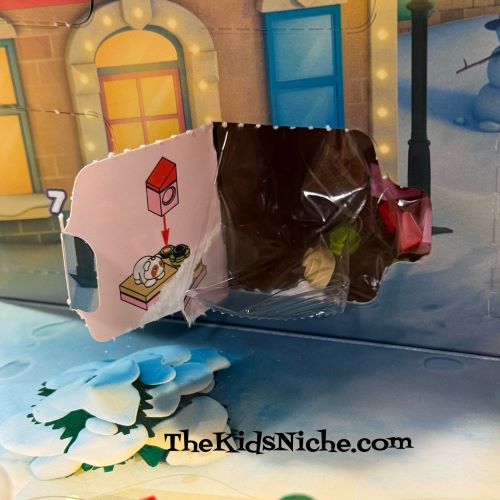
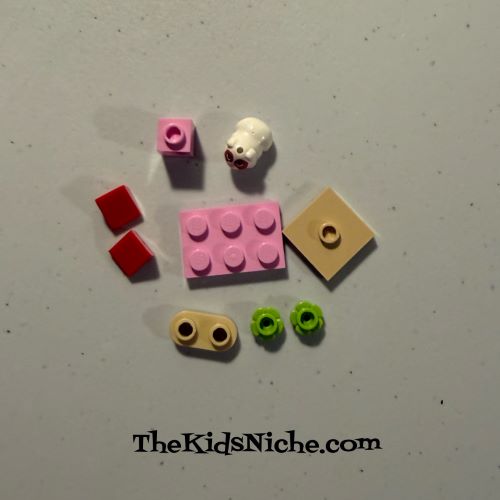
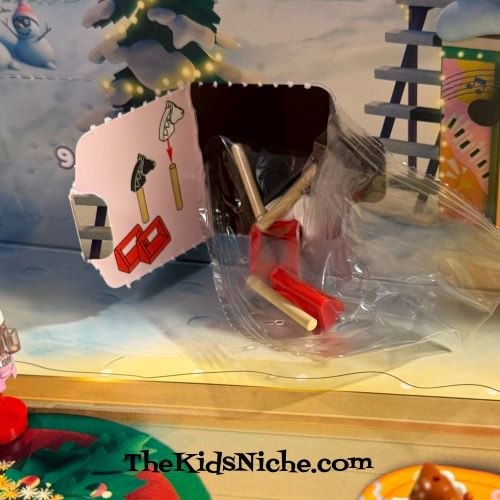
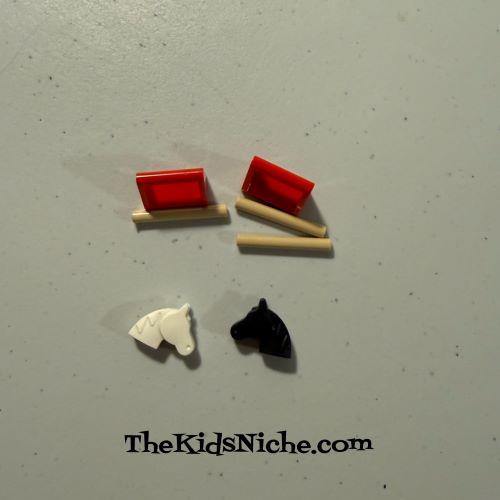
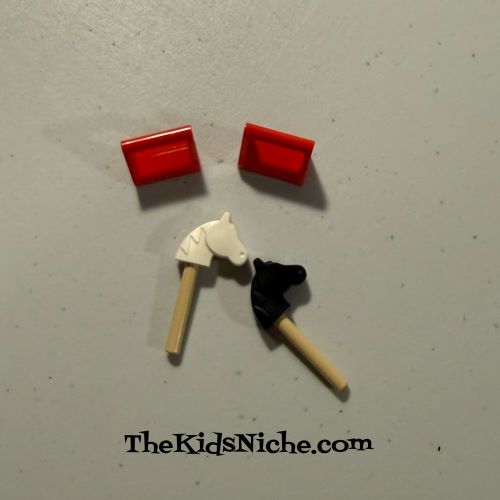
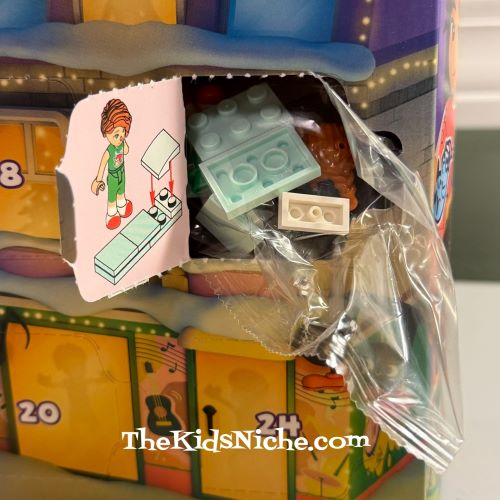
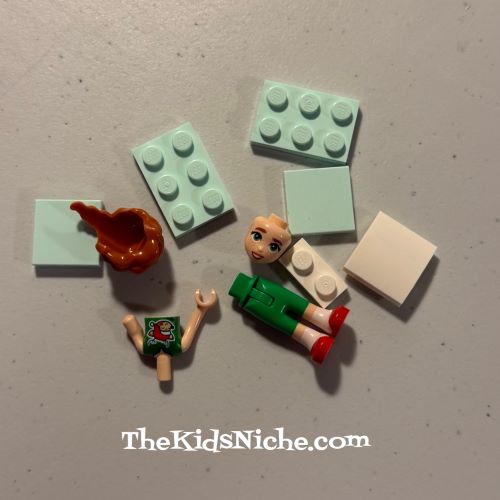
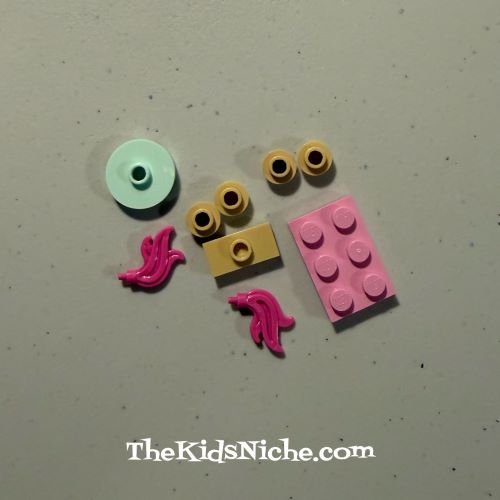
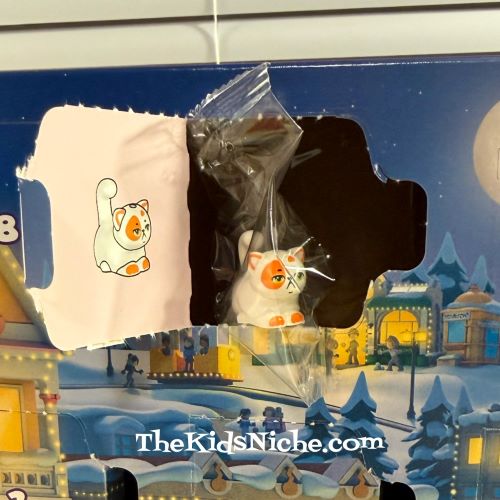
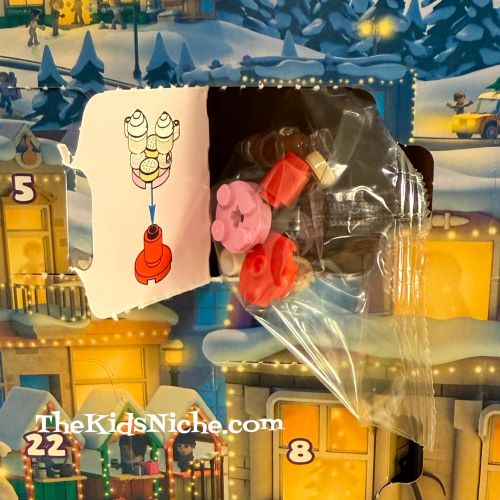
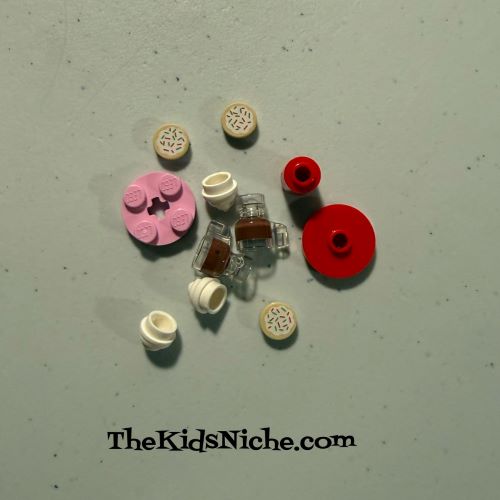
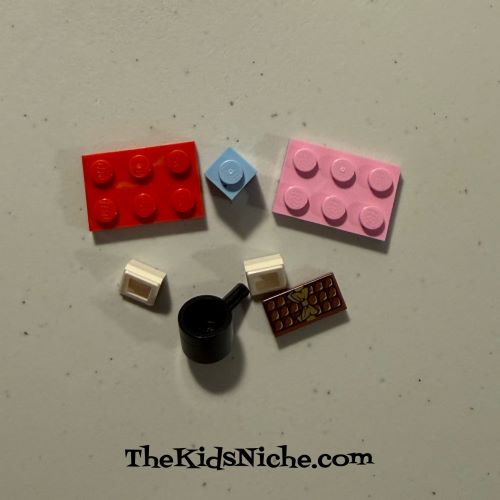
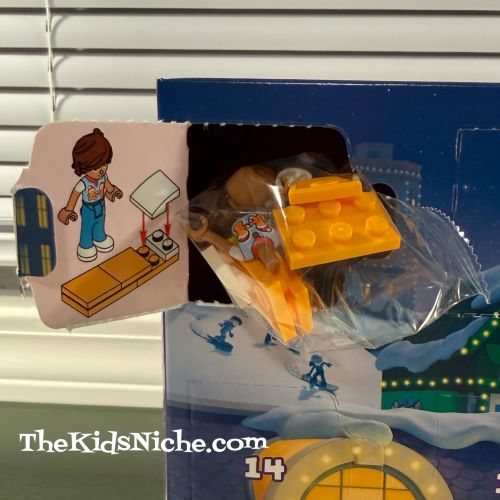
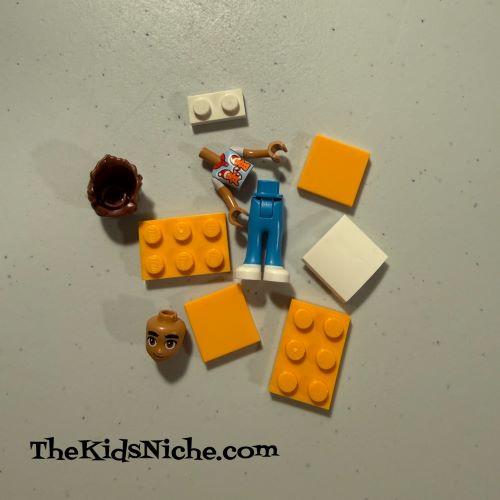
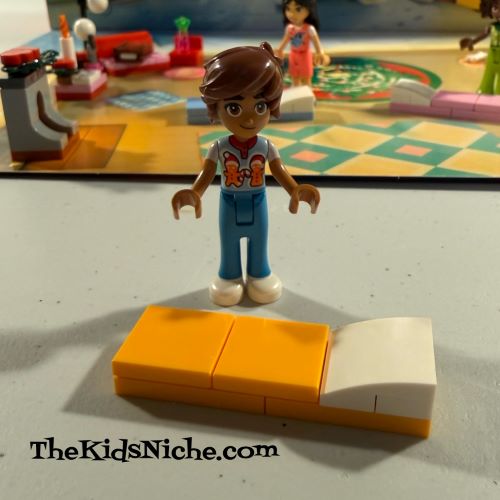
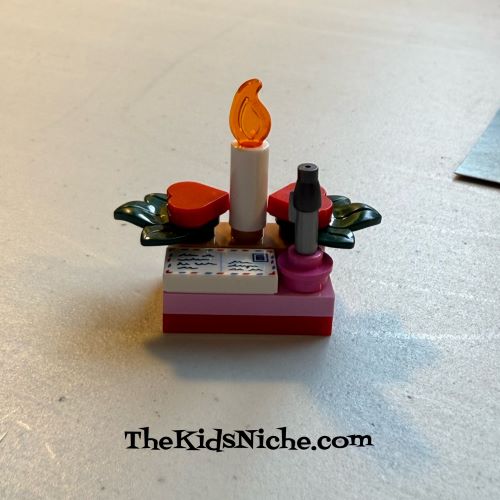
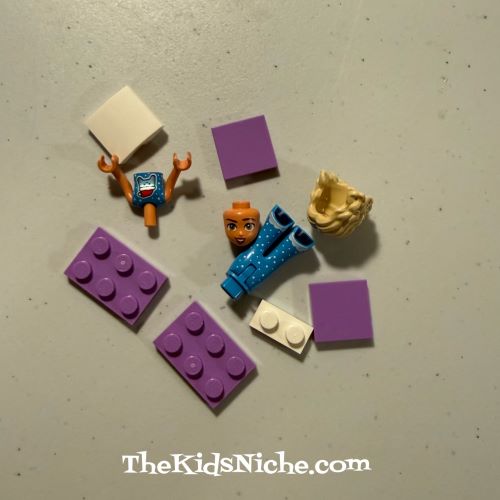
I think these pieces are looking familiar to you now. 😉
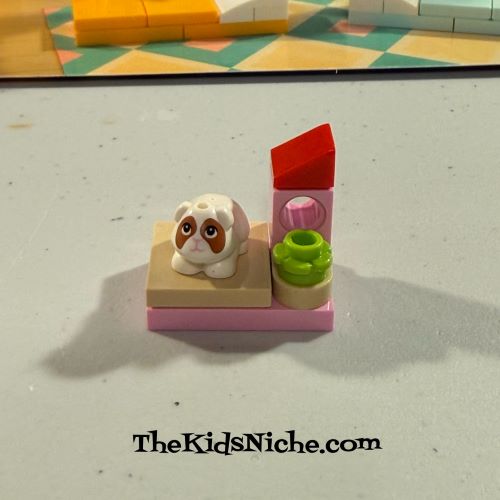
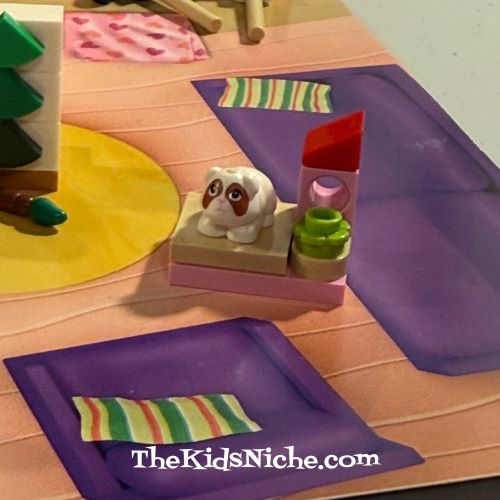
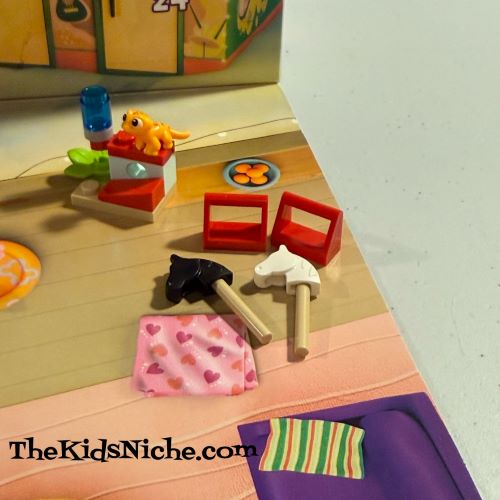
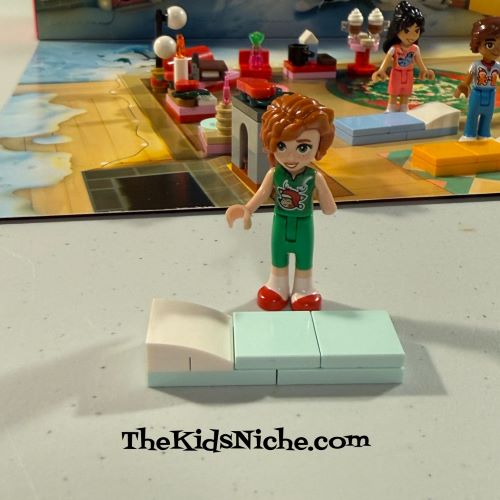
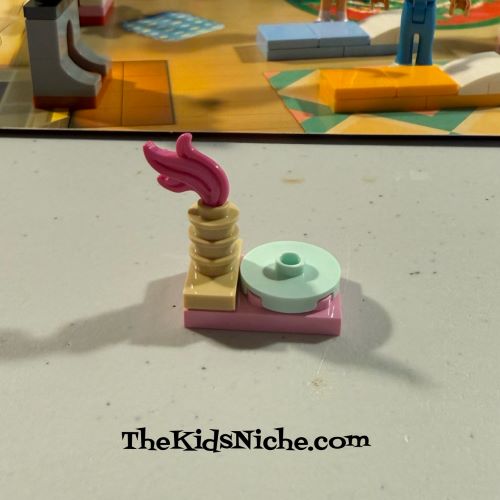
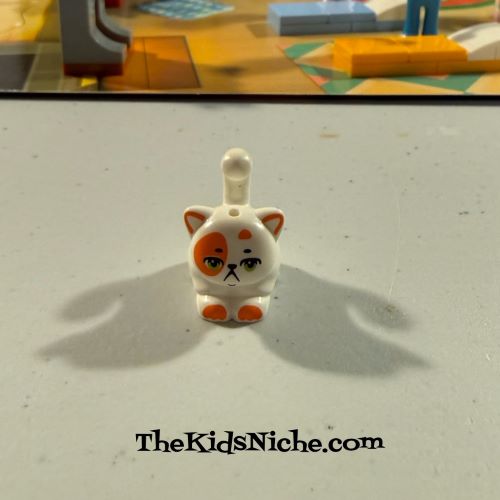
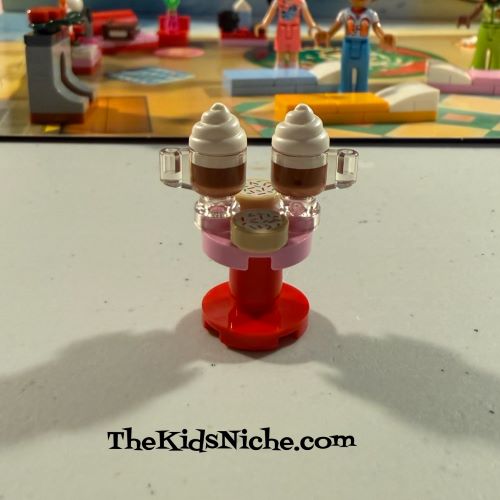
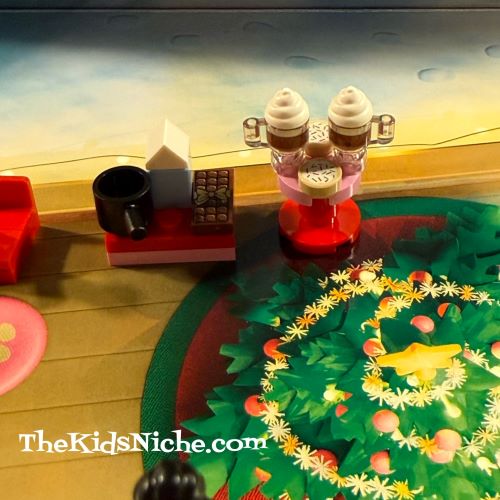
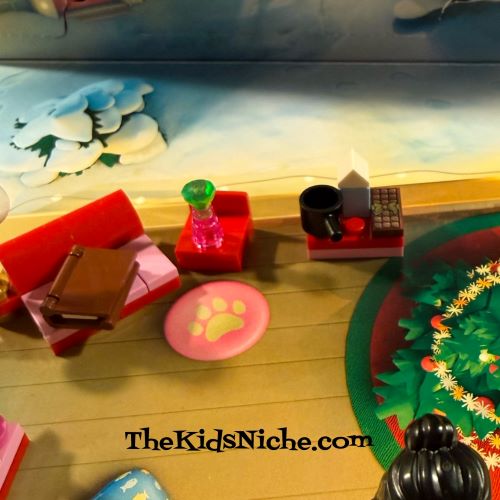
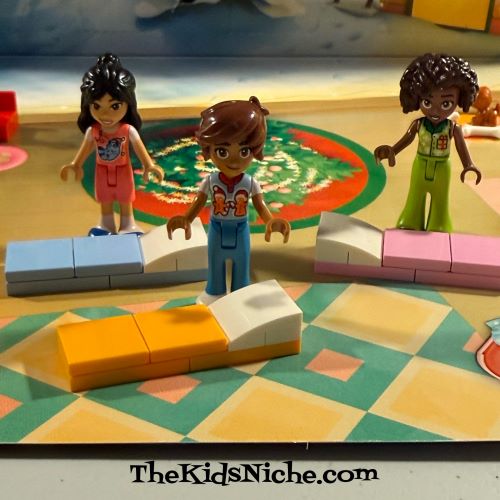
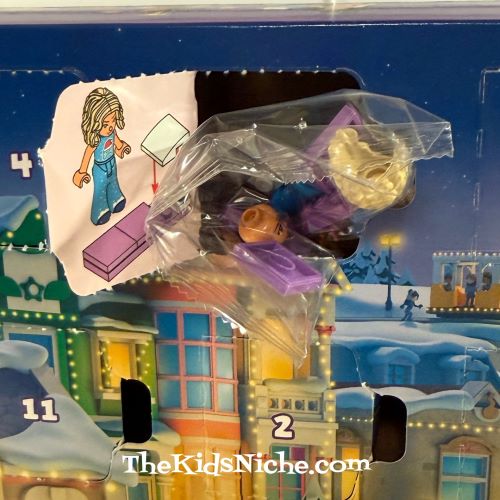
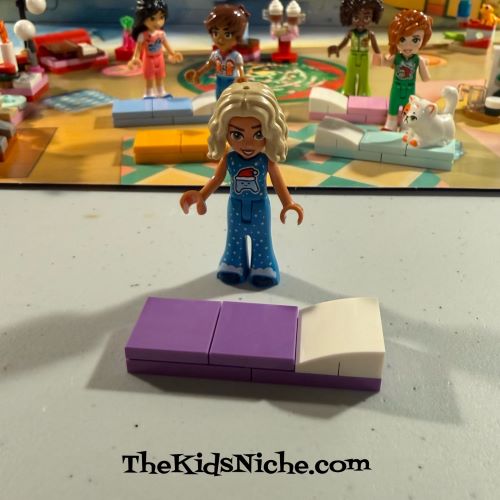
And just like that, we have another friend for our sleep over! 🙂
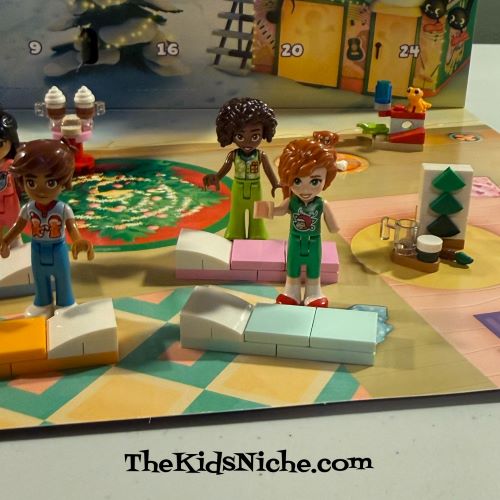
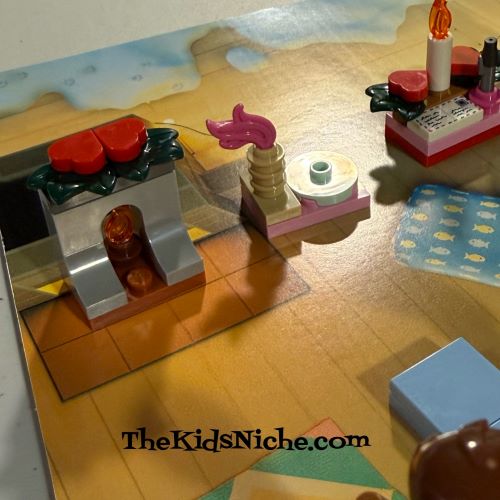
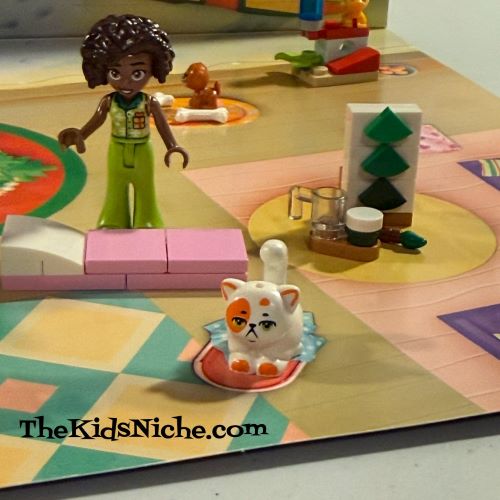
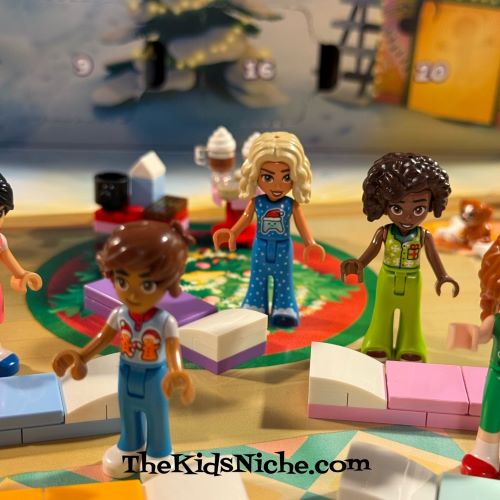
That makes 5 friends now, right? Sounds like a great number for some fun!
See you back here tomorrow for another door opening!