Greetings, butterfly lovers! I don’t have much time for blogging today (company is coming!) but I wanted to give you a quick update on the Monarch caterpillars I showed you. Remember these tiny guys?
I took that picture 5 days ago, but here is a picture I took just this morning. Do they look different to you?
Wow! They grow so fast that it’s hard to believe! 🙂 They are still quite little, but are you surprised at how much bigger they are? It’s so fun watching them grow! 🙂 Check back later for more Monarch caterpillar updates!
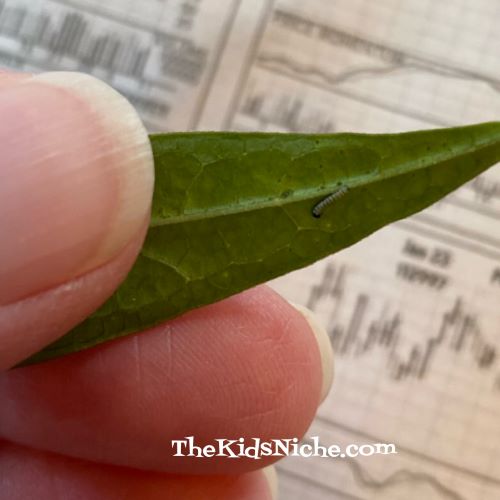
I’m so excited to tell you that we are now finding Monarch butterfly eggs and caterpillars on our milkweed plants! 🙂 Each year for several years now, I try to help the endangered Monarch caterpillars survive until they turn into butterflies and then I release them back into the wild. It’s sooo interesting and fun! Monarch caterpillars will only eat the milkweed plant, so that is where you will find their eggs and caterpillars. They are just now starting to show up here in our part of Ohio. I currently have 14 teeny tiny caterpillars and they can be pretty sneaky and a bit hard to keep track of since they are so tiny! Here’s a close-up picture of one…notice how small it is in comparison to my thumb and finger.
Now let’s test out your powers of observation. Can you find 4 caterpillars in this picture?
There is one caterpillar on each piece of the milkweed leaves. In case you are having trouble seeing them, here’s a bigger picture.
I bet you found them all now! 🙂 Can you believe how small they are?? Wow! Remember that I said they can be sneaky little guys? Look at this guy I caught escaping from his “hotel”!
Luckily I saw him before he got any farther and I offered him a fresh piece of milkweed and he decided he liked that and crawled aboard. I put him safely back in his hotel. 😉
Stay tuned for more Monarch caterpillar updates coming soon! 🙂
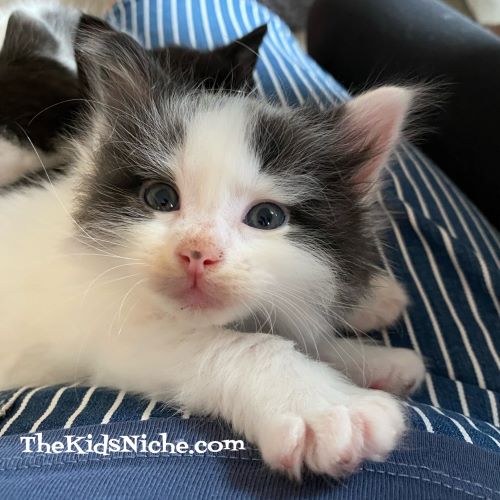
Yep, today is National Kitten Day! (Who knew?) Baby animals just don’t come any cuter than sweet adorable little kittens! Here are a few that I got to play with recently. 🙂
I grew up having kittens and our kids grew up having kittens, but I’m sad to say we don’t currently have any. But occasionally I get to enjoy kittens that someone else owns. 🙂 Just look at this little face!
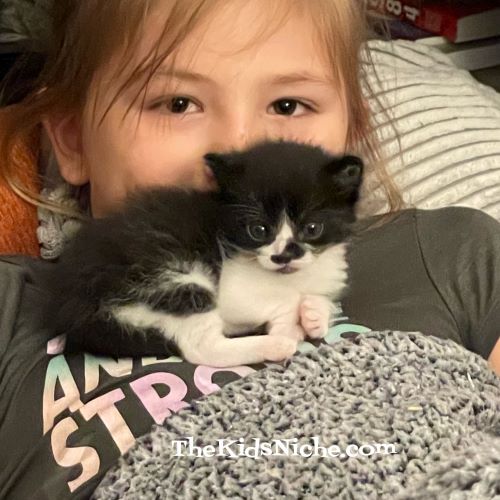
I also believe having a pet is good for children. Yes, it teaches them responsibility when caring for a pet, but its also so wonderful to have a pet to love that loves you back.
And yes, there are lots of kittens looking for a loving home or even a foster home and perhaps you can help out in that department. But this post is mostly just to say Happy National Kitten Day and I hope you can hold a kitten today! 🙂
Start your engines, folks, and race to the nearest Walmart to take advantage of their Lego Clearance! Here are some of the great deals I found at the Walmart close to us.
#1.) Disney Cinderella and Prince Charming’s Castle #43206. Regular price $90.00, clearance price $63.00.
#2.) Minecraft The Training Grounds #21183. Regular price $70.00, clearance price $49.00.
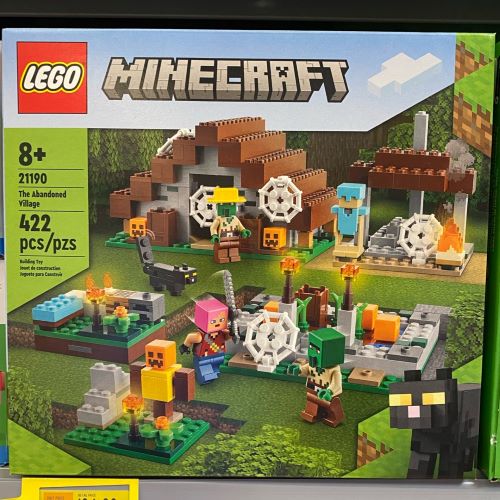
#3.) Minecraft The Abandoned Village #21190. Regular price $44.97, clearance price $31.00.
The availability may be different in the different Walmart stores or the clearance sale may have already been bought out. Good luck hunting! Hope you find some awesome sets! 🙂
Hello, there! Welcome to my blog! Glad you are here! 🙂
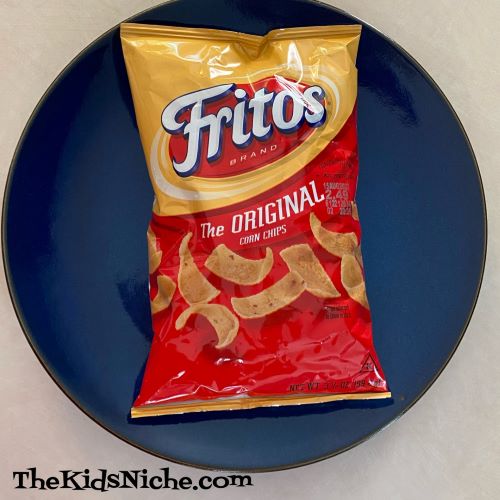
Today we’re going to look at a fun way to eat tacos! There are so many ways to eat tacos and so many great ingredients you can use! Have you ever had walking tacos? They are really very simple and a great way to add a new twist to tacos. The main idea is having all the taco ingredients on hand that your family loves and then opening a small bag of Fritos corn chips and putting the toppings right in the bag! Sound fun? Let me show you what we did:
Is your mouth watering now? Mine is! 🙂 For walking tacos you will need taco ingredients like hamburger, taco spices, black beans, whole kernel corn, sour cream, lettuce, grated cheese, taco sauce and whatever else you like on your tacos!
Begin by cooking the hamburger until all the pink is gone. Drain the fat off if there is an excess of it.
Add the taco spices and the amount of water the spice package calls for.
Stir together and simmer for a few minutes.
Add a can of black beans. You can add them straight from the can or drain and rinse them if you prefer. Add a can of whole kernel corn, drained.
Stir together and simmer for 10-15 minutes until everything is heated through. Add a little water as needed to keep the mixture from becoming too dry.
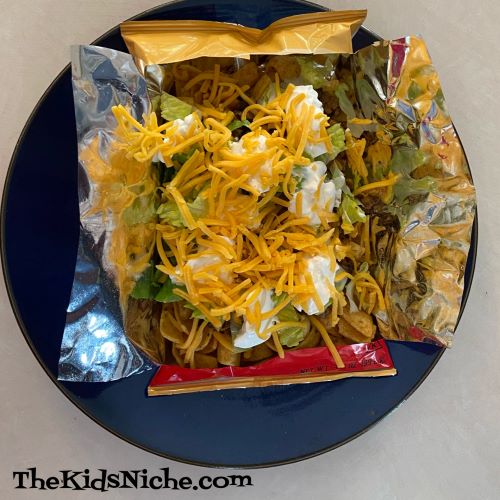
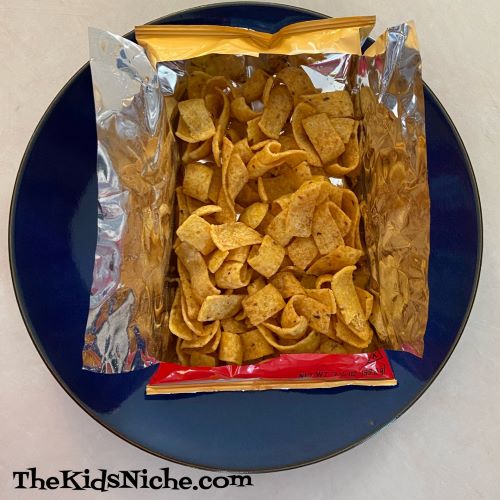
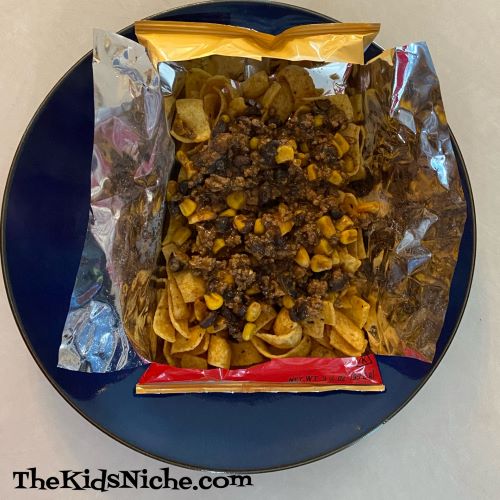
Gather all your other foods that you like to add to your tacos. We used sour cream, grated cheese, lettuce and taco sauce. You might also like chopped onions or garlic, salsa, green peppers or hot peppers, refried beans, olives, etc. Cut open a small bag of Fritos as shown in the picture. Or if you really want to be able to walk while you eat your taco, open the bag from the top.
Spoon some of the meat, bean and corn mixture on top of the corn chips.
Add your favorite toppings and enjoy!! Soooo yummy!
This would be a great meal to have if you are camping or having a potluck! 🙂
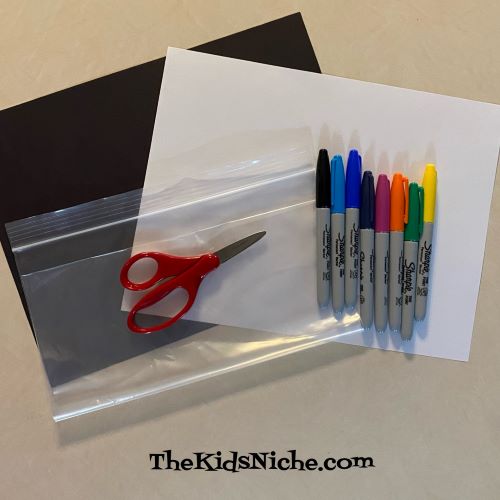
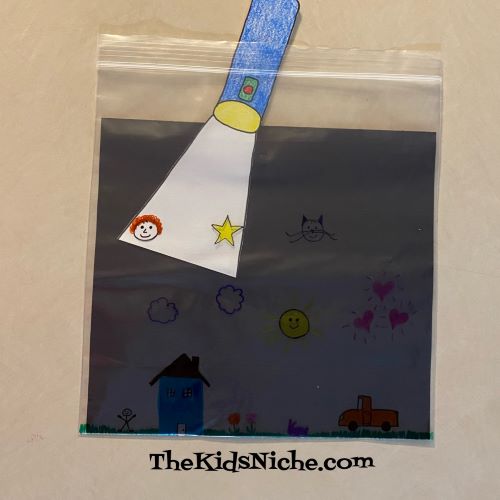
Here’s a fun project you can make to entertain younger children. Or kids that are just a bit older can help make it themselves and still enjoy playing with it. I’m not actually sure what to call it, but it’s an activity that looks like a child is using a paper flashlight to shine on and find pictures. The supplies are likely things you have on hand. You’ll need a gallon size plastic zipper bag (I used a freezer type bag), some markers (I used permanent markers), a piece of black construction paper, a piece of white cardstock and a pair of scissors.
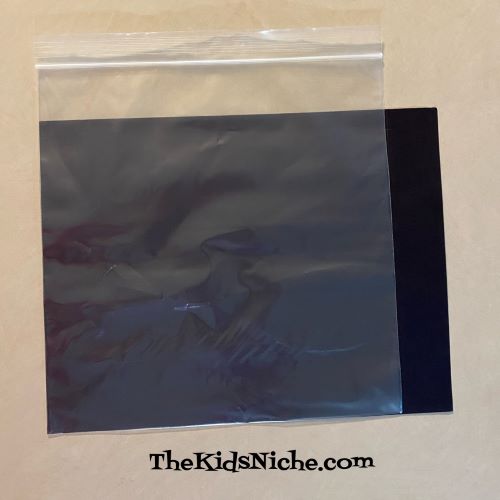
Begin by cutting the black construction paper so it will fit inside the plastic zipper bag.
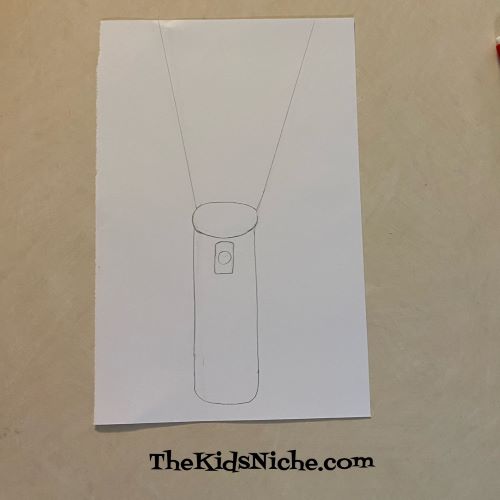
Using the piece of white cardstock paper, draw a flashlight. Be sure to extend the “light beam” out from the end of the flashlight as if the flashlight is turned on.
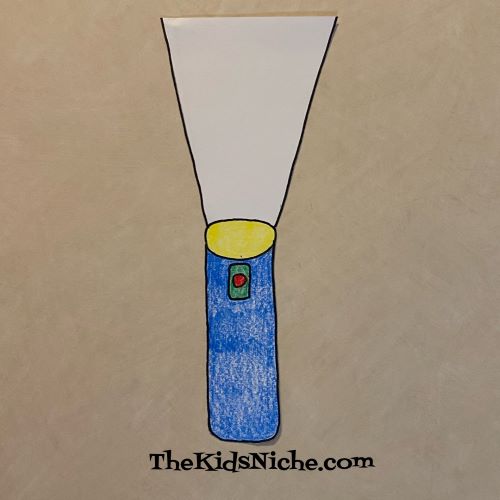
Add some color and cut out the flashlight. Do not color in the “light beam” area.
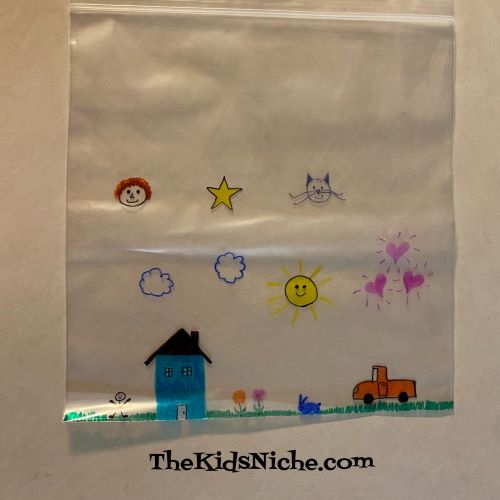
Using the markers, draw and color pictures on the outside of the plastic bag. Make sure that the color will stay on the bag when it dries. I’m not sure if all types of markers will work. (No, I’m not the world’s best artist, but the kids won’t mind.) 😉
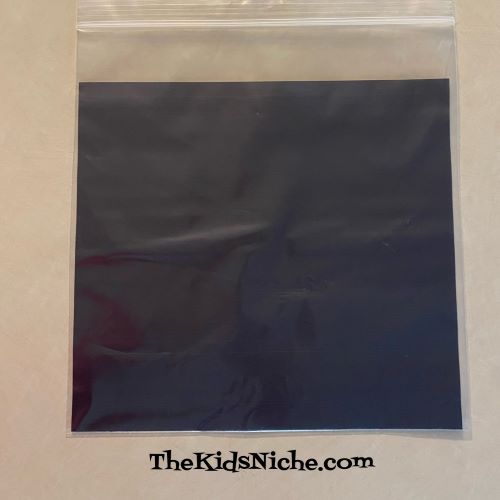
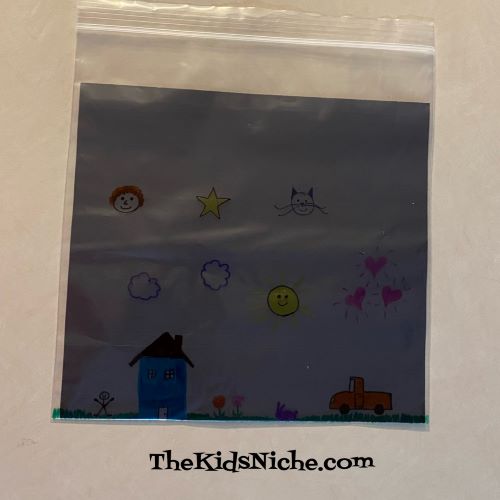
You can draw pictures on both sides on the outside of the bag. Once you’ve finished your pictures, slide the black paper inside the bag.
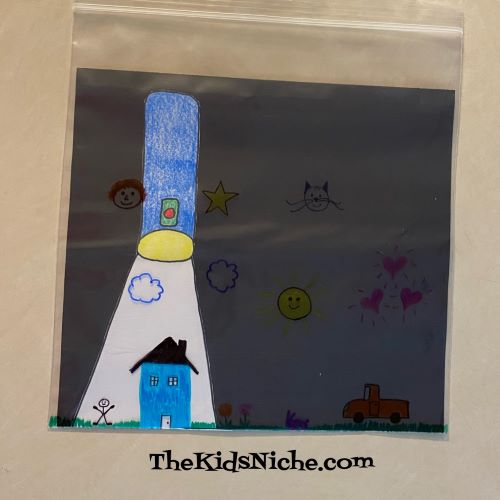
Yes, you can still see the pictures somewhat, but when you slide the flashlight inside the bag in front of the black paper, the pictures will show up more brightly. It looks like your kiddo is shining a light on the pictures! 🙂
They can slide the flashlight all around inside the bag to find all the pictures. If you draw pictures on both sides of the bag, be sure to show the kids how to turn it over and slip the flashlight in on the second side.
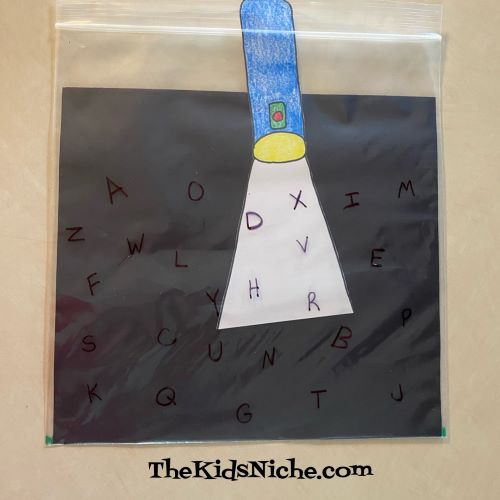
I wrote the letters of the alphabet on the second side of my bag so the kids can try to find the letters in the correct order.
Simple to make and lots of fun for the kids to find all the pictures or letters! 🙂
I came across this cute post the other day and just had to share it with you!
How many of these have you heard before? Only 2 for me! But I have heard “See you soon, Baboon!” instead of raccoon. Try some of these out on your friends! 😄
Almost 2 years ago now, I shared a post on looking at things from different perspectives. It was a fun post so let’s do this again! 🙂
Looking at things from different perspectives can be a little hard to explain to a child. But here is a way that might help them understand that things look differently depending on how you look at them. And it can be a lot of fun! It’s also a good reminder to us adults, that the way kids see things is different from the way adults see them. Sit down on the floor in your in kitchen and take a look around. Can you see what is on top of the countertop? Do the doors on your cupboards look bigger? What if you need a drink of water, but the faucet is waaaaay above your head? I think you understand what I’m talking about. 😉 So let’s have some fun with the perspective of being really close up to something when you can’t see the whole thing and compare it to the perspective of seeing the whole object. See if your kids (and you!) can guess what each close up picture is before you scroll on to the answer that reveals what you’re looking at. Here we go!
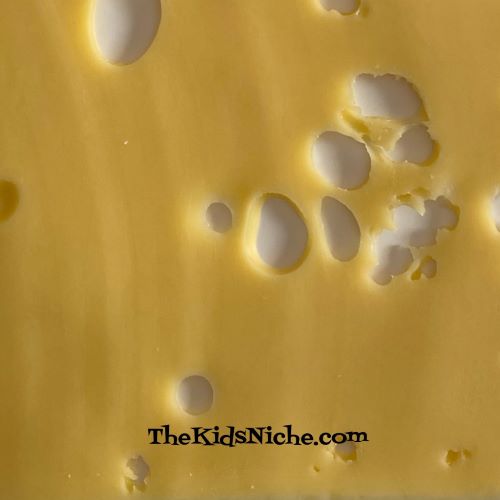
#1.) What is this?
Answer: If you said swiss cheese, you are right!
#2.) What is this?
Answer: It’s a playground ball!
#3.) What do you think this one is?
Answer: Surprise! It’s a toad!
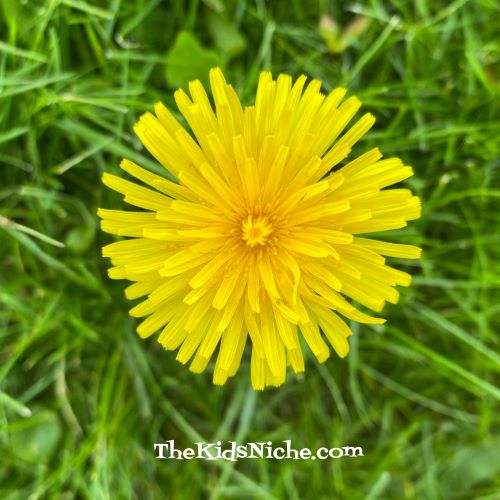
#4.) Can you guess what this is?
Answer: It’s a dandelion! If you said, “flower”, that is right too.
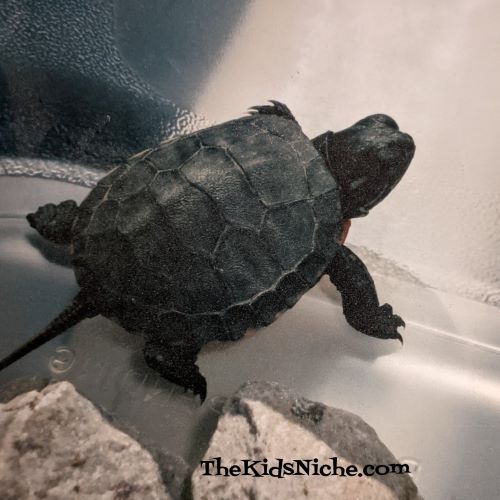
#5.) Ok, what does this look like?
Answer: It’s a little turtle! So cute! 🙂
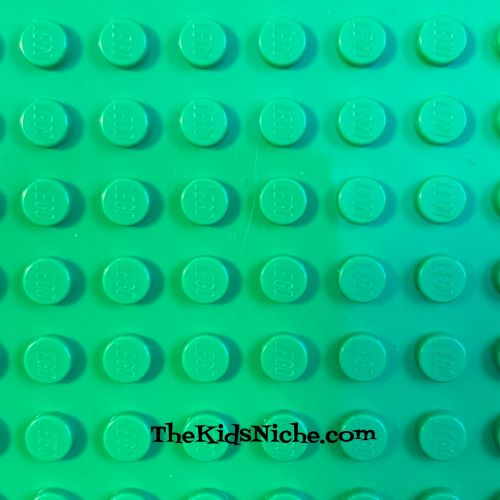
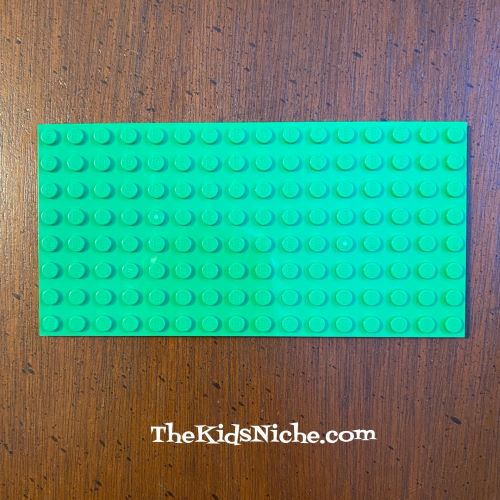
#6.) What is this? (I bet you will get this one right!)
Answer: A piece of Lego!
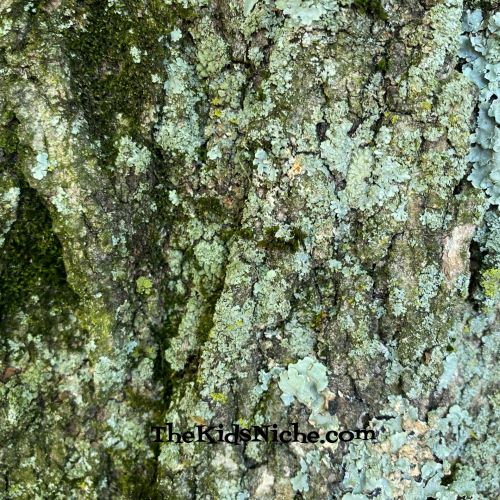
#7.) What is this a picture of? (If you need a hint, this one is outside.)
Answer: A tree!
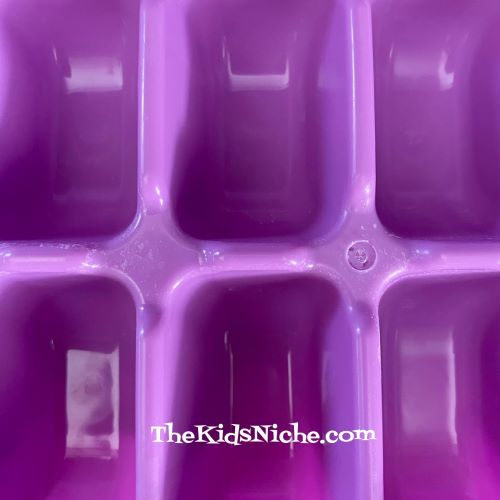
#8.) What is this purple thing?
Answer: An ice cube tray!
#9.) Can you guess this one?
Answer: Yes, it’s a dog! (And his name is Rusty!)
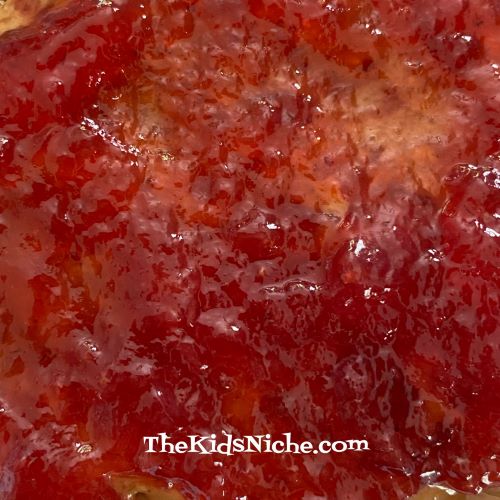
#10.) This is the last one and so its a bit harder. What do you think this is?
Answer: It’s peanut butter and jelly!
Did you guess some of them right or did we fool you? You can use your camera on your cell phone for taking pictures to have handy to entertain the kids when you need a little something more! Just show the kids the zoomed in version of the picture and after they guess what it is, show them the original picture. I hope you enjoyed our little game today! 🙂