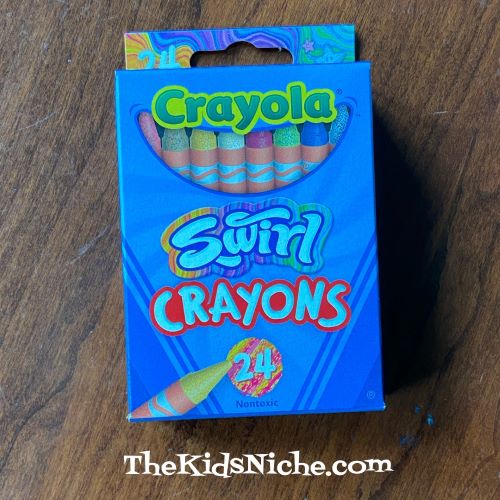
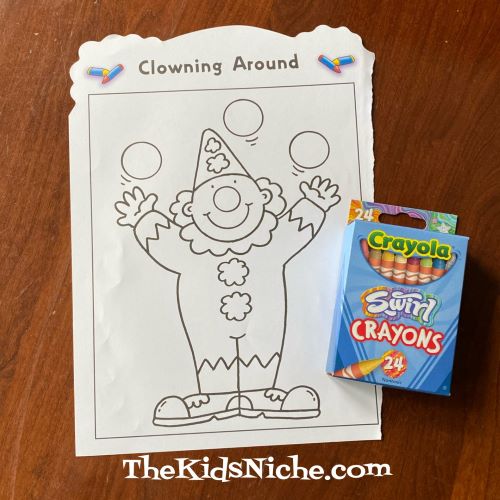
I spotted a new type of Crayola crayons while shopping the other day! Of course, I had to buy a pack and try them out. They are called Swirl Crayons.
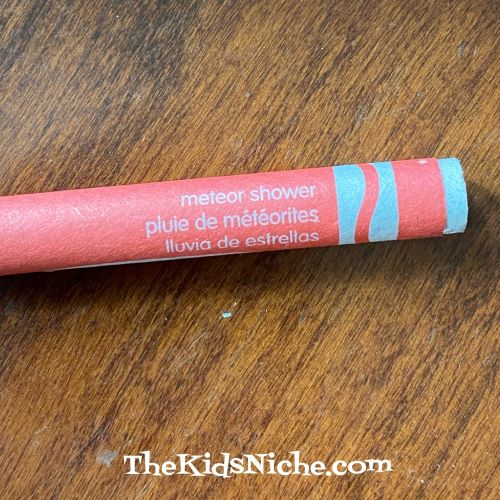
Here’s the description from the back of the box: “Crayola Swirl Crayons contain hidden specks of color swirled in for a surprising stripey, streaky effect!” After coloring a picture, I would agree that that is true. 🙂 But first I want to tell you that each crayon also has a fun name. There are names like Meteor Shower…
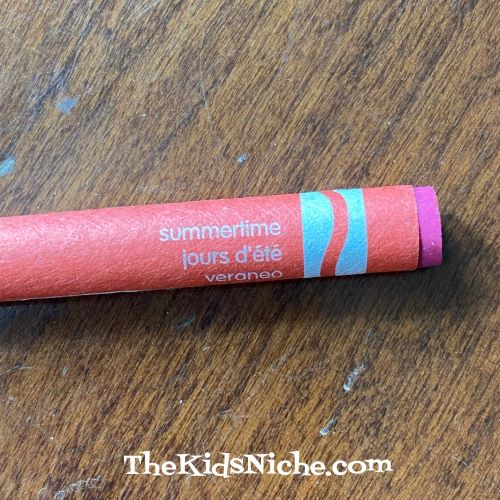
Summertime…
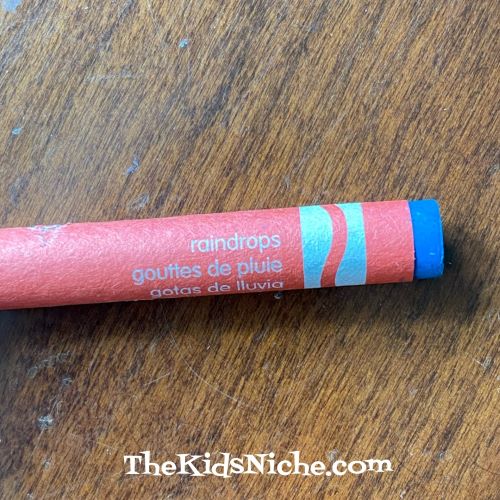
And Raindrops, just to mention a few.
I got a page from a coloring book to try out these new crayons.
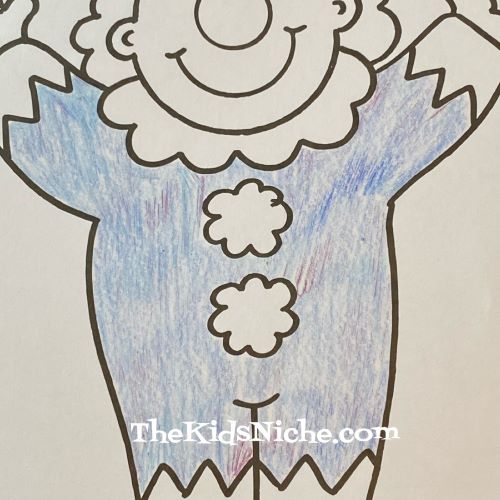
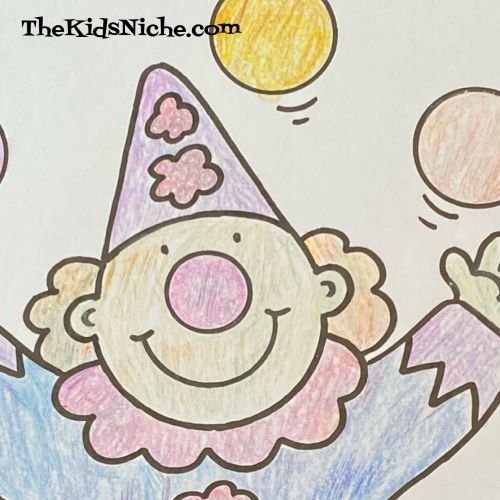
Can you see the fun streaks of a different color that show up when you color with these swirl crayons?
I hope you can see the special flecks and streaks that show up.
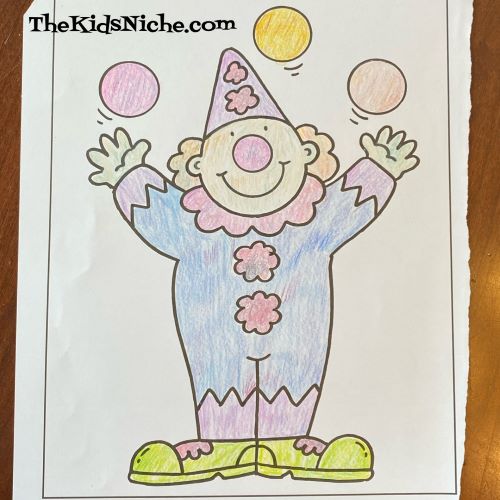
This type of crayon is fun to use and it’s a surprise what flecks or streaks of color might show up to add that extra special something to your picture. 🙂 The colors in the box are not the basic colors needed for school, but the Crayola Swirl Crayons are a great addition to fun art projects at home. 🙂
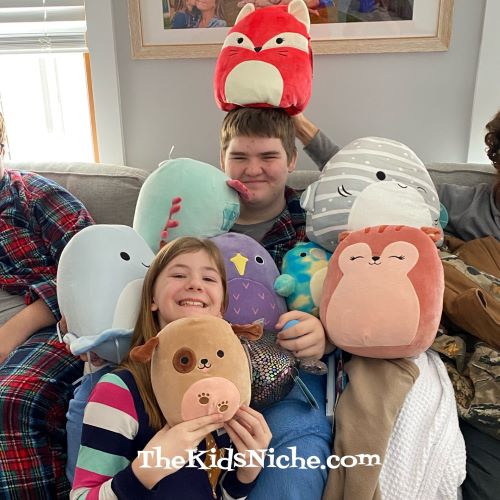
Do you own a Squishmallow? They seem to be very popular now and I’m kinda behind the times on learning about them. Our granddaughter got a BUNCH of them for Christmas and now I know why everyone likes them! They are sooo cute and sooo soft and well, squishable! 🙂 (I’m thinking I might need one…or a few!)
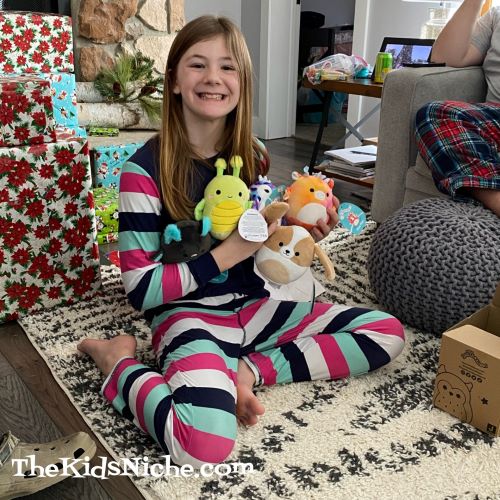
And then there were mini squishmallows too! 😉
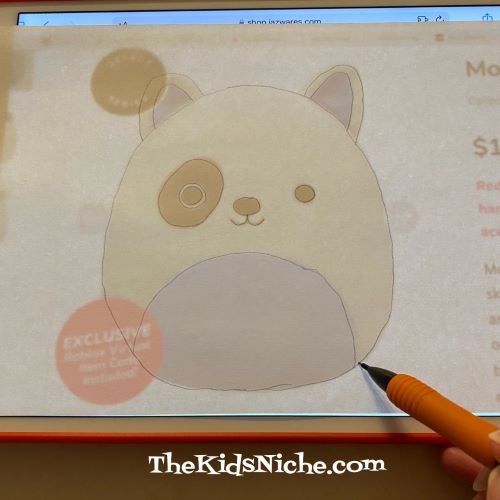
Our granddaughter has been tracing characters and coloring them and that gave me the idea that it would be fun to draw Squishmallows. There are a couple of ways you can do that. One way is to find a picture of a Squishmallow online and save the picture to your tablet.
Lay a piece of thin white paper over the picture and trace the outline of the Squishmallow.
Take the paper off the tablet and color the picture with your favorite crayons, markers or colored pencils. Use the picture as a guide for what colors to use.
Molina is actually white but the white part didn’t show up in a picture so I colored her a light color so you could see her better. Another way you can trace/draw a Squishmallow is to print an online picture first.
Hold the picture up to a window (or tape it on the window) and use a piece of thin white paper to trace it just like we did with the first one.
Color the picture and ta dah! You now have a drawing of Gorm too!
You can make a whole collection of Squishmallow drawings to decorate your bedroom or maybe you’d just like to do one or two. I hope you will have fun drawing your own Squishmallows! 🙂
Hi there! Welcome to a new week of fun things for kids to do! Today I want to show you a way for kids to draw a cool tree.
All you need is a piece of paper and a brown crayon and several different shades of green crayons. You might want to start out with a smallish sized piece of paper, say, around 6″ x 9″. A full sheet of paper for this tree could take quite a while to finish and therefore lose your child’s attention.
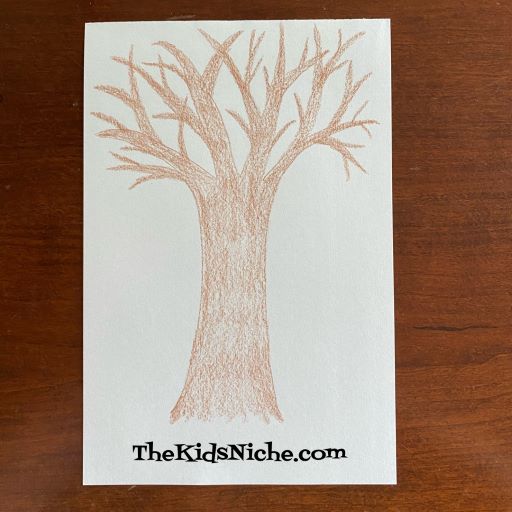
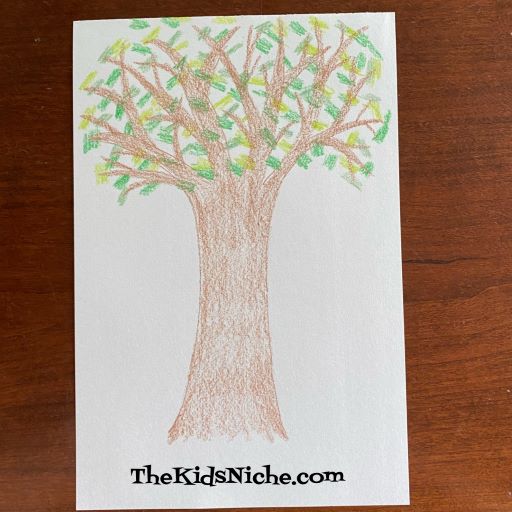
Grab your paper and your brown crayon and here we go! Start by drawing the outline of a tree with a few main branches.
Color the tree trunk and branches with your brown crayon.
Add a few branches to each of the main large branches on your tree.
Then add a few more smaller branches to the medium sized branches you just drew. It’s fine if your branches overlap each other.
Switch to a green crayon. Color small little patches all over the tree branches. Don’t cover the entire tree because you will switch and use a few more shades of green to fill up your tree with leaves.
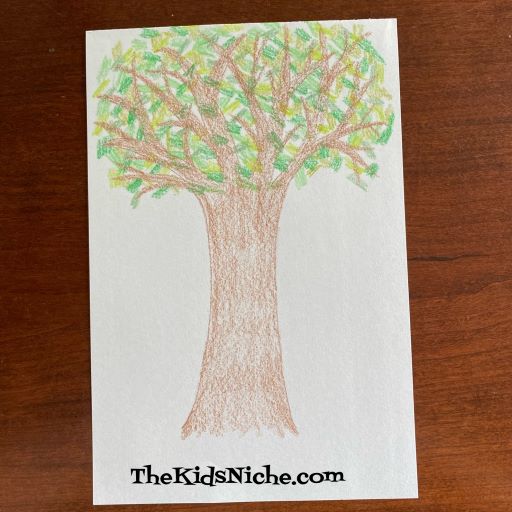
Switch to the second shade of green crayon and make some more small patches of green.
Continue adding small patches using as many shades of green crayons you have. Green color number 3…
Green color number 4…
And number 5… If you don’t have 5 different colors of green, just use as many different greens as you have. Continue making leaves until your tree is as full as you would like it to be.
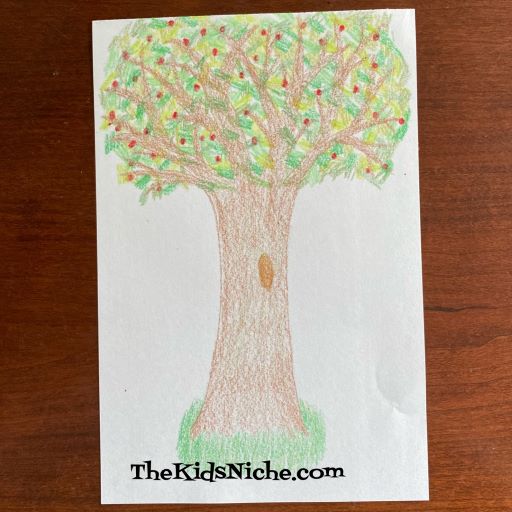
Your tree can be finished now or you can add a few more details. Maybe you would like to lightly add some different shades of brown to your tree trunk and branches. Or maybe you would like a hole in your tree trunk for some animals to nest in. Some green grass around the bottom of the tree would be great.
Using a red crayon, you could add some tiny little red circles to your tree for apples. 🙂
And your tree looks wonderful! Great job! Remember, all the gazillions of trees in the world and none of them look exactly like another. 😉 Your tree is unique and is as wonderful as you are! 🙂 Have fun and maybe draw a whole forest of trees! 😉
Have you ever traced around your hand with a pencil and paper and turned that hand into a picture? One popular way is to make a turkey at Thanksgiving time. But today we’re making some new friends by tracing around our hands and coloring them in with crayons or markers.
All you need is a piece of paper, a pencil, crayons or markers and your hand. 😉
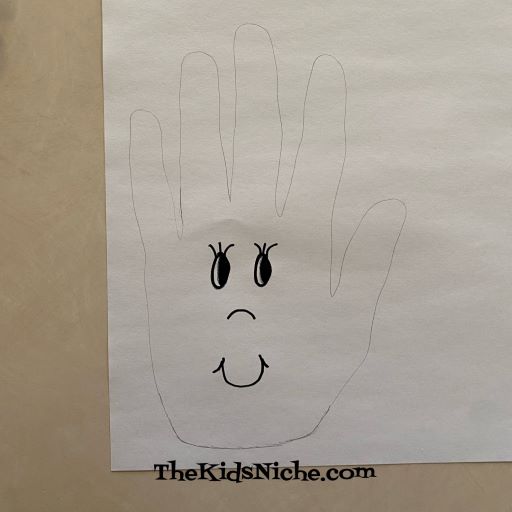
Start by placing one hand on the paper and using your other hand to trace around your entire hand and in between each finger with the pencil.
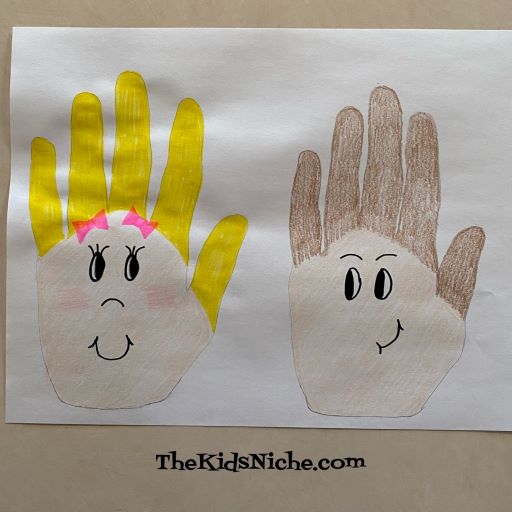
This will be a girl so draw a sweet girl’s face.
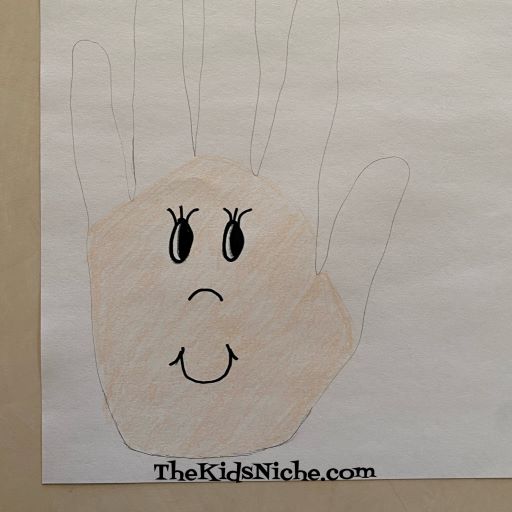
I used a Peach crayon to color her face.
I chose blond hair for my girl and colored her hair…or the fingers…with a yellow marker. (The marker did make the paper bump up for some reason.)
Add a couple of bows to her hair and a little pink color to her cheeks and you’re finished. I’d like you to meet Hannah. 🙂
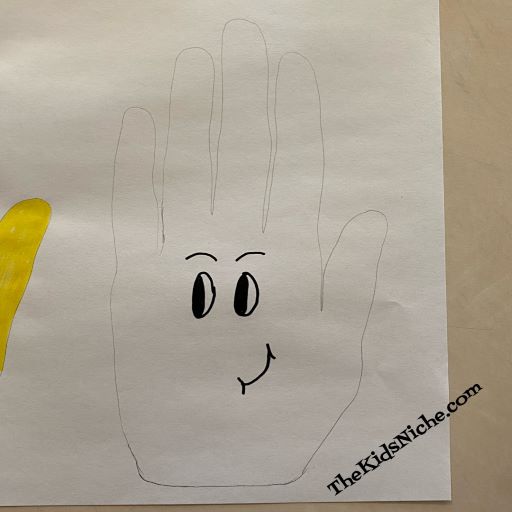
Hannah would like to have a friend, so let’s make a boy too. Trace around your hand again on the other side of the paper. Or on a new sheet of paper if the first one is out of space.
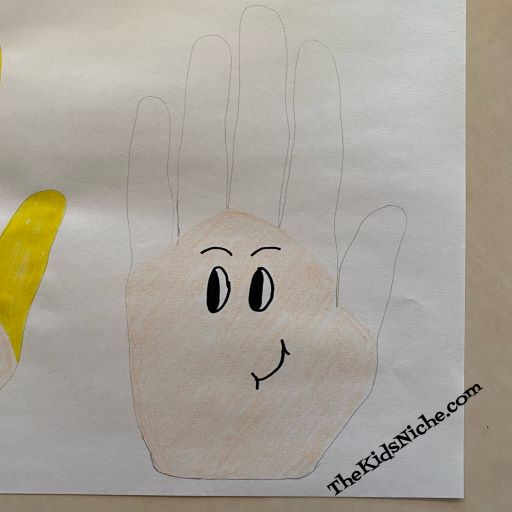
Draw an ornery face…boys are rather ornery, aren’t they? 😉
Color his face in with a crayon…I used Peach again.
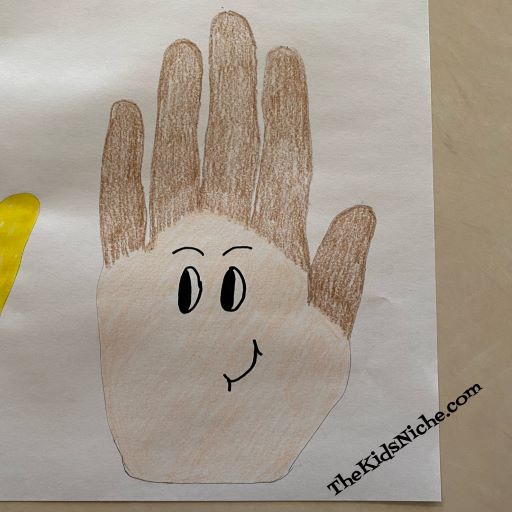
Color in his hair. I decided to give my boy brown hair. And ta dah, he is finished too! Now I would like you to meet Hans. 😉
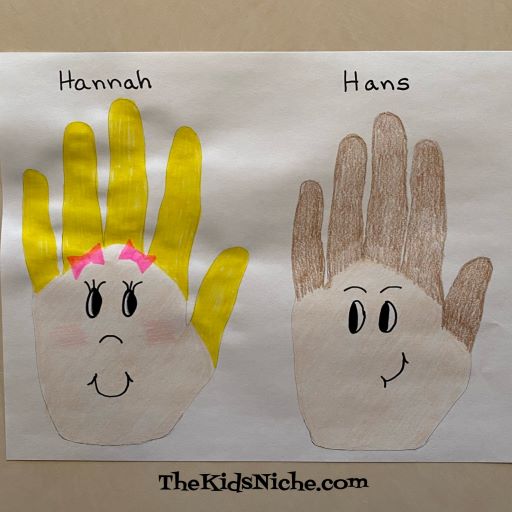
And there you have 2 new friends…Hannah and Hans. (Get it? Hannah and Hans made from hands? Haha!) 😉
I hope you will have fun drawing some Hand Friends! 🙂
This is a fun and easy activity that your kids may have done in school. We did it way back in the dark ages when I was in school. 😉 All you need is a piece of paper, some dried beans, lentils, seeds, rice, etc and some glue. A pair of tweezers and/or a toothpick might come in handy. I used some leftover lentils and rice mixture I had from making a batch of soup.
I suggest you choose the size of your pieces according to the age of the kids making a picture. For instance, the size I used is easily bumped out of position so you have to be careful and take your time. Larger beans for younger kids might be a good idea.
All you do is arrange the dried items in a pattern to make a picture and glue them in place. It can be a “real” item or just a pattern that the kids enjoy making. Start by pouring out a few of your dried items onto the area where you are working so you can get a hold of the individual pieces.
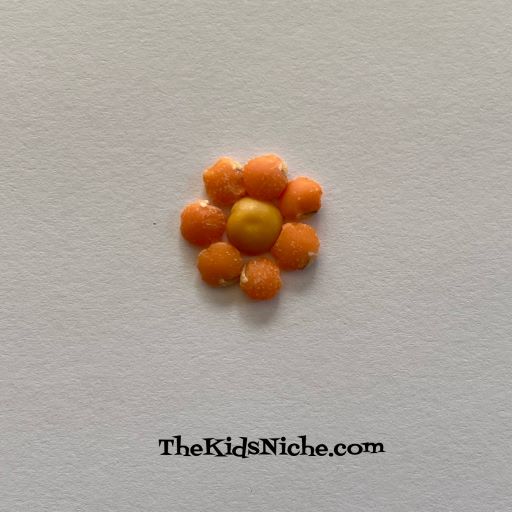
I decided to make some flowers. Here’s how I arranged the lentils to start a flower.
Then I made 4 flowers, switching the colors of lentils for some of them.
Next I added some stems and a few leaves.
Finally I added some rice at the bottom to be grass.
After everything has been glued down and the glue has had time to dry, you can write some words on your picture if you would like to. These would make adorable gifts for the kids to make and give at Christmas time. Putting it in a frame would make it even nicer. I hope you’ll have fun creating pictures! 🙂
We haven’t drawn anything in a while so let’s do another drawing activity today! We’ll start with some simple shapes and we’ll end up with Eloise the Elephant! 😉
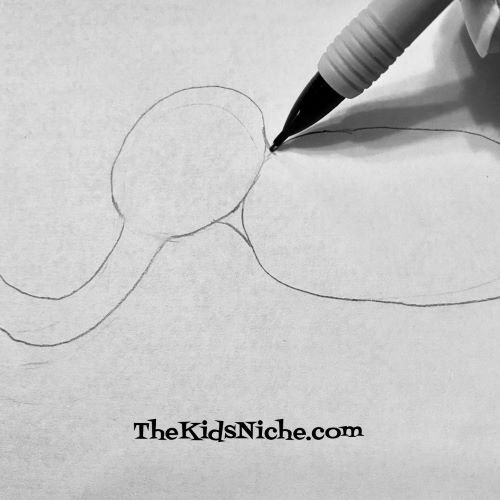
Grab a pencil and eraser, a piece of plain paper, a black pen or thin writing marker and something to color with. Here we go! Start by drawing a nice fat oval laying on it’s side.
Add another smaller oval which will be the elephant’s head.
Elephants are known for their trunks so let’s draw a trunk for Eloise next.
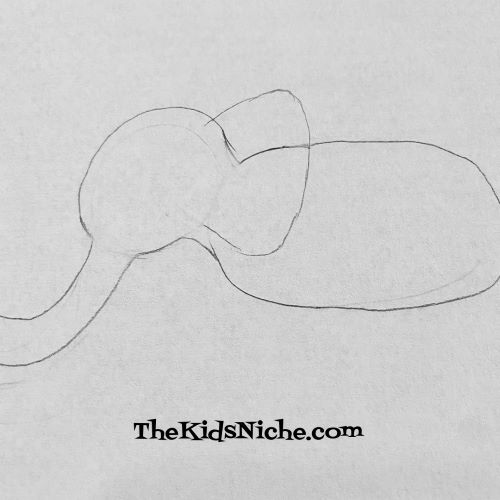
Add 2 small curved lines to better connect the head and body and make a neck area.
Now you can erase the lines of the 2 ovals that are between the 2 little curved lines you just drew.
Draw an ear. Then erase the lines that are inside the ear area.
Add just the top part of the second ear…it’s behind the elephant from our viewpoint so we can only see a small portion of it. Also draw in an eye, the bottom part of the mouth and 3-4 lines on the trunk.
Let’s move down and draw in 4 legs. Only 2 legs are seen completely from this viewpoint so draw in 2 legs using a rectangular shape. Then add 2 more legs that you can only see part of. Make the 2 legs that are on the other side of the elephant’s body a little shorter than the 2 on our side.
Erase the lines of the body that are on the 2 legs we can see from this side of the elephant.
It’s time for her tail!
Add some toes on her feet and some lines on her legs to show her wrinkly knees.
If you would like the outline of your elephant to be darker and more permanent, you can use a black pen or a marker that draws a fine line and trace back over what you’ve drawn.
After you are very sure that your ink is dry, you can gently erase any leftover pencil markings that are showing up. Test a very small spot first to make sure the ink won’t smear. That’s what I did, but you might not be able to tell the difference in these pictures.
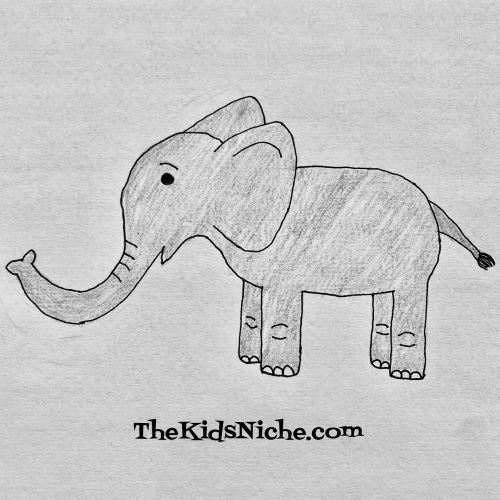
Get out your coloring supplies and give Eloise some color! 🙂 And you’ve done it! Eloise is now ready for any adventure you can dream up!
I hope you’ve had fun drawing an elephant with me! Of course, you can name your elephant something different from Eloise. 😉 If you really enjoyed today’s activity, you can draw a whole herd or parade of elephants!