Greetings once again! I hope everyone had an awesome Thanksgiving weekend! 🙂
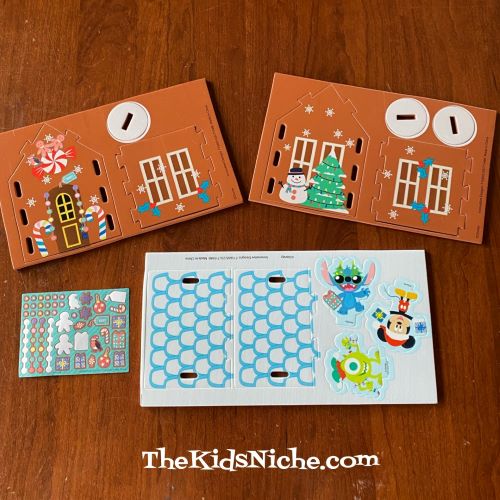
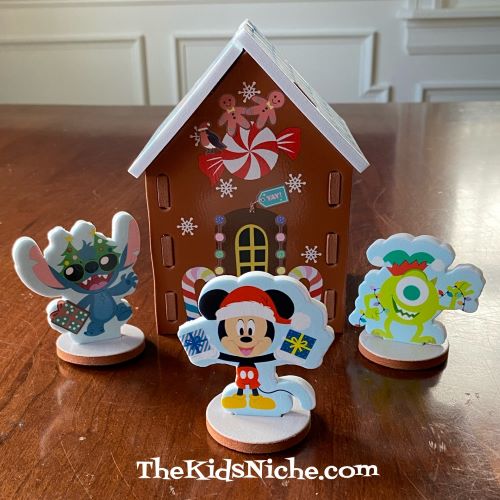
Do you find it hard to make edible gingerbread houses, but you think gingerbread houses are just so cute? (Am I the only one?! I can’t tell you how many gingerbread houses have ended in failure at our house!) How would you like to make a simple gingerbread house out of foam pieces that’s easy enough for the kids to make mostly on their own? While it’s not edible, it’s very cute and totally mess free! 😉 I found this adorable kit at our Target store for $3.00.
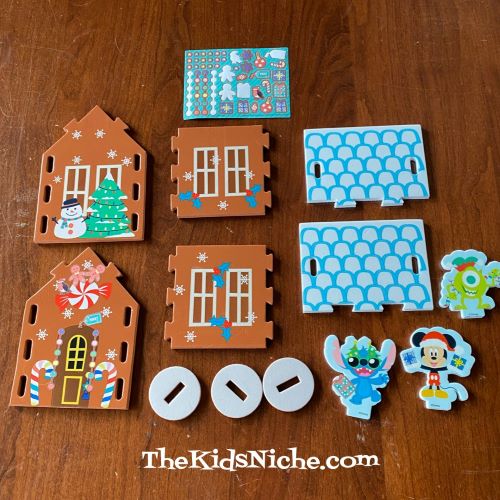
The foam sheets are already cut and some designs have been printed on the foam shapes.
The pre-printed shapes punch out very easily.
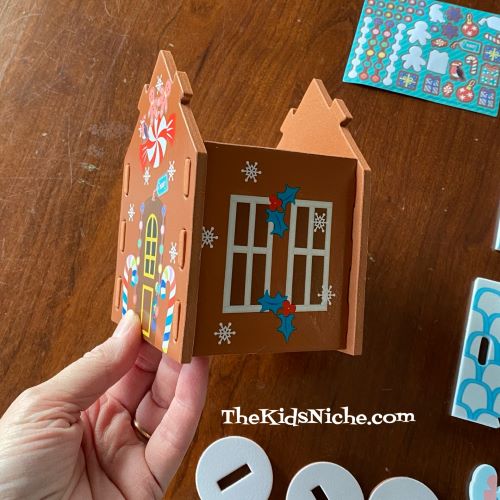
There are some instructions provided in the box, but our 10 year-old granddaughter didn’t even look at them. 😉 It goes together quite nicely. First she did the house part…
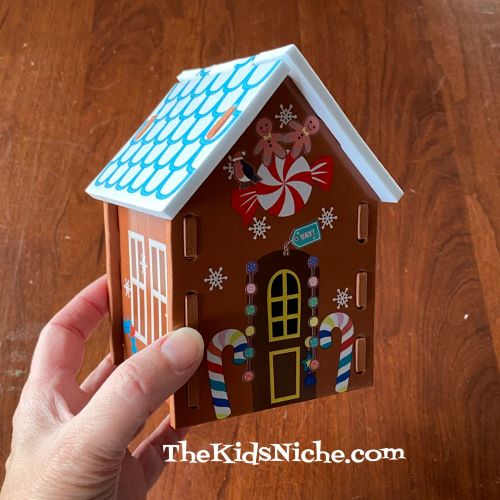
…and then added the roof pieces.
The Disney characters have stands so they will stay upright on their own. Stickers are included and you can decorate your gingerbread house as much or as little as you like.
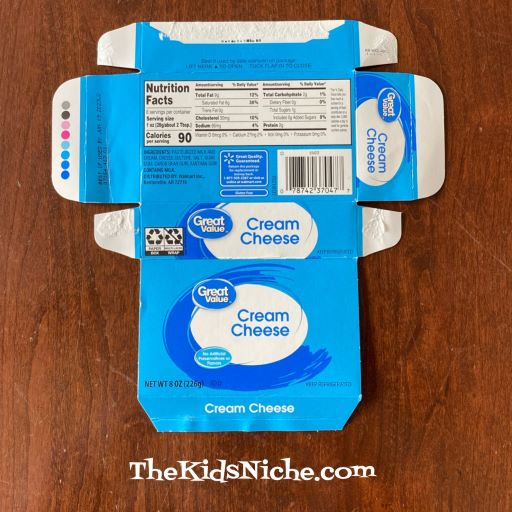
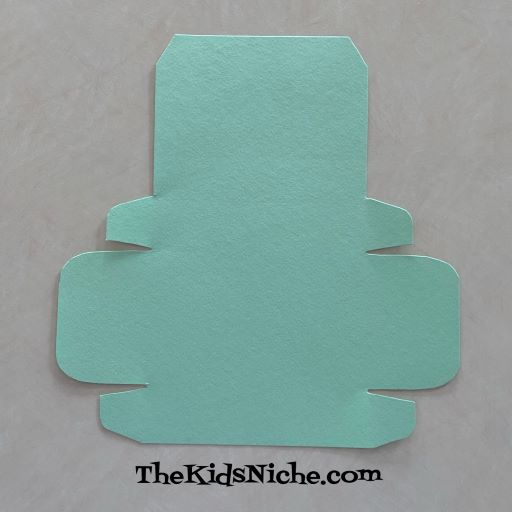
The other day I opened up a box of cream cheese and I noticed that if I opened it up completely and laid it flat that I could use it for a pattern to make another paper box. 🙂 So that’s what I want to share with you today. The next time you buy cream cheese, save the box!
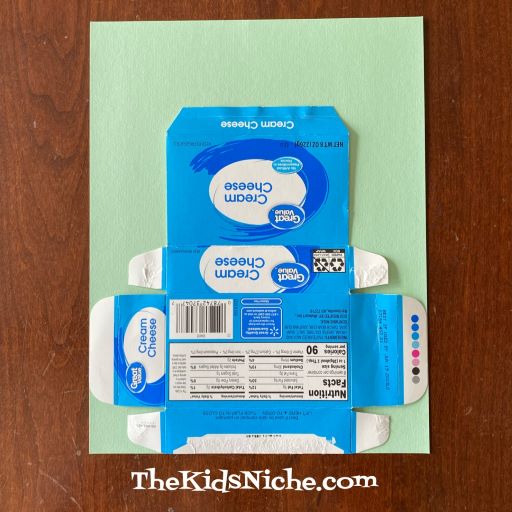
I used a piece of cardstock for making my box. Lay your pattern on the piece of cardstock. My pattern box fit just right in one direction on an 8 1/2″ x 11″ piece of cardstock.
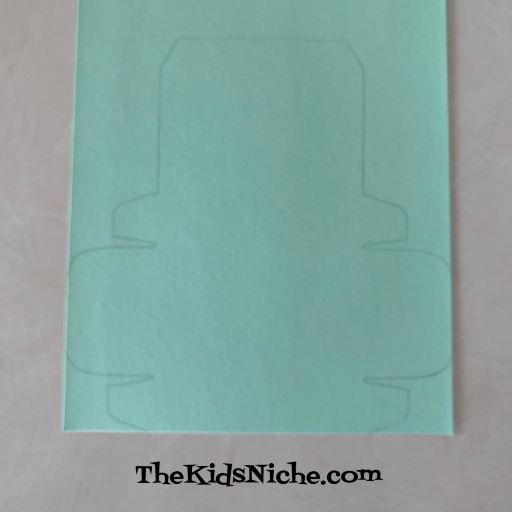
Trace around the outside of the pattern box using a pencil.
Cut it out along the line you just drew. Erase any pencil marks that you can still see after you finish cutting.
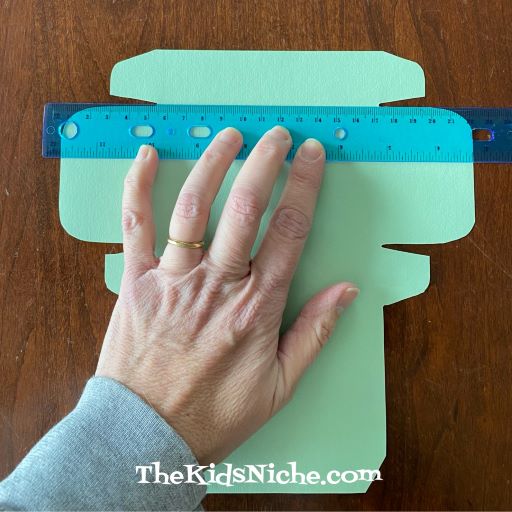
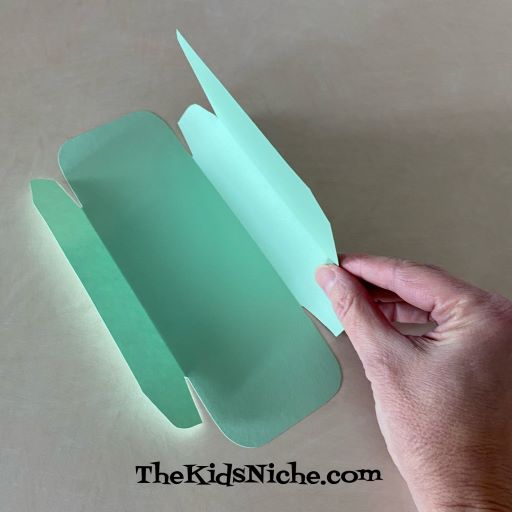
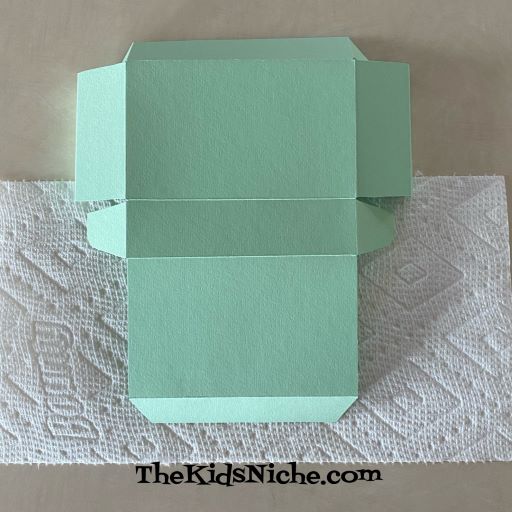
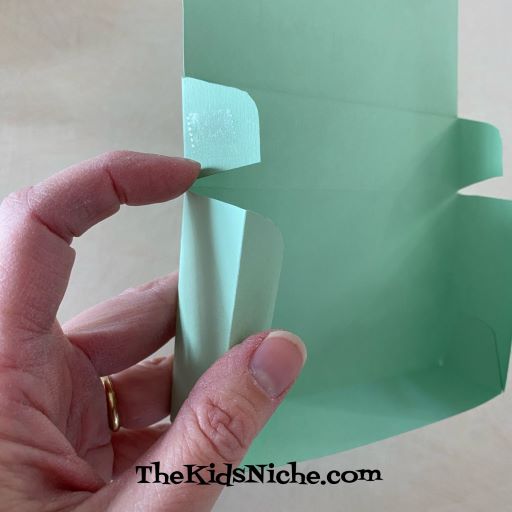
Using the pattern box as a guide, make a fold on your box every place the pattern has a fold. It’s very helpful to lay a ruler across the paper in the place you want the fold to be. This will give you an edge to press against and keep the fold straight.
I made all my folds that go in the same directions first.
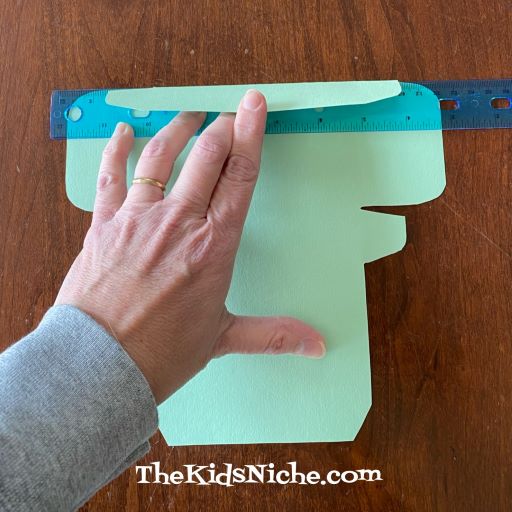
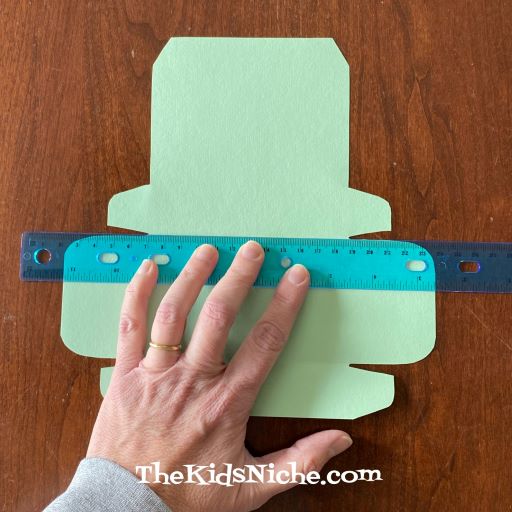
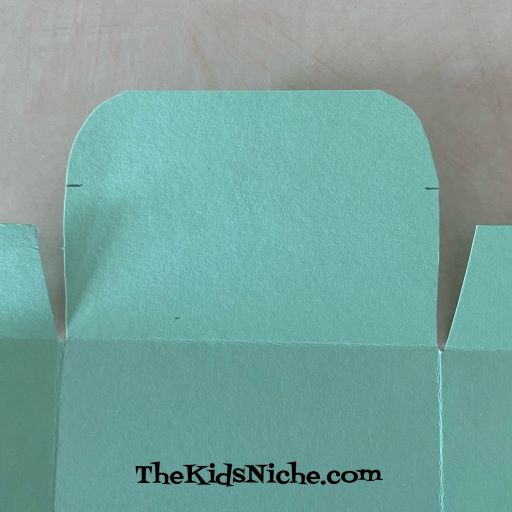
Then turn your box and make all the folds in the other direction. For a lot of the folds, you can see easily where the fold should be and use the edges for a guide for your ruler. One place that there wasn’t an easy mark was the part on the top of the box that folds down inside the box when it’s closed. I laid the pattern back on top of my box, bent the pattern up and made 2 small marks where the fold needed to be.
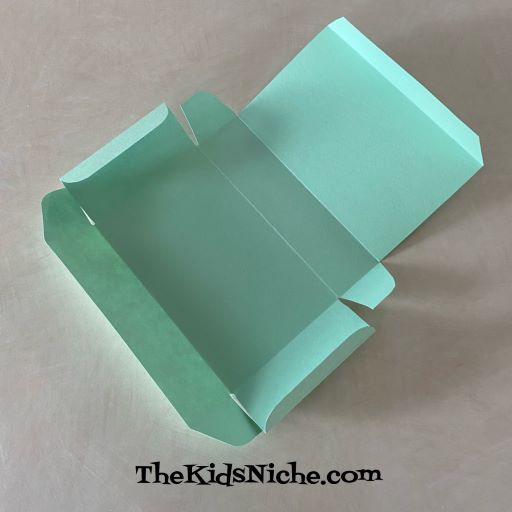
Now all the folds have been put in our box and it’s time to put it together!
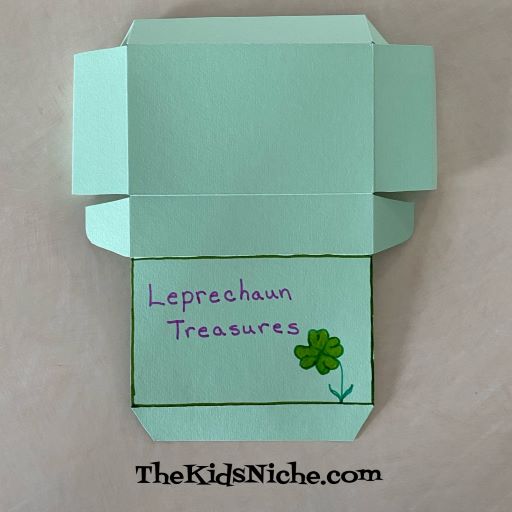
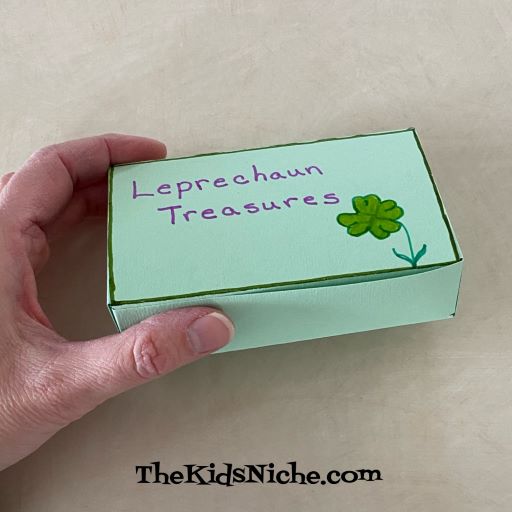
Oops, I’m getting ahead of myself! 😉 Before you glue/tape the box together, turn the box over and decorate the outside.
Since St. Patrick’s Day is in March, you might like to make your box for that holiday.
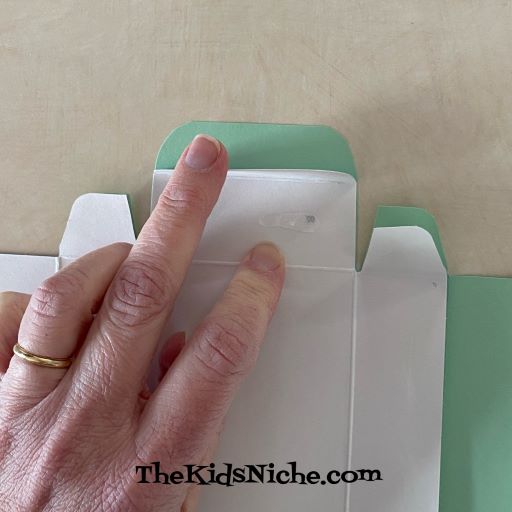
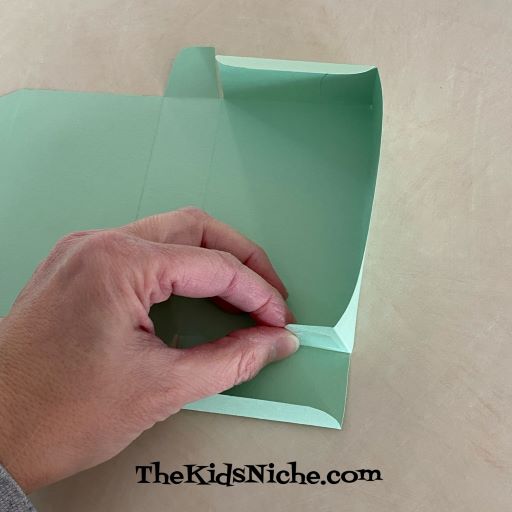
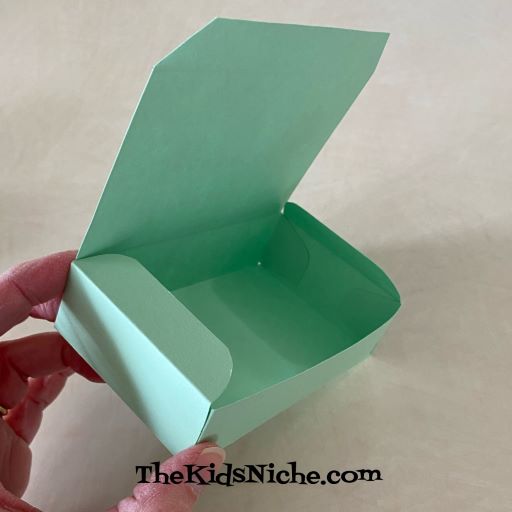
NOW to put it together! 😉 Fold the box up and put a little glue or double sided tape on the small tabs that fold inside the front of the box.
Do the same for the back side…put glue or tape on the small tabs that fit inside the box.
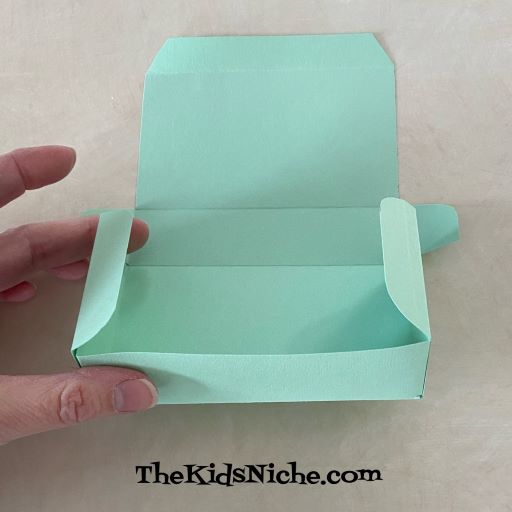
Close the top of the box and stick the front tab inside. Great job! You’ve made your first paper box! 🙂
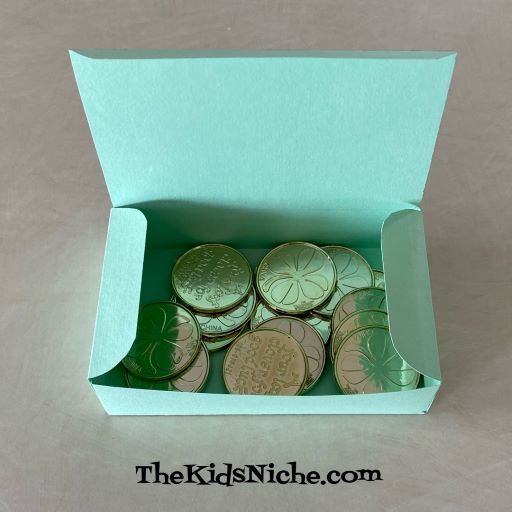
Don’t forget to hide something fun inside the box before you share it with that special person! These could be used for any holiday or special occasion that comes along. Just decorate your box to fit the occasion. And maybe even hide the box to be found at the end of a treasure hunt! 🙂
I hope you will have fun making your own surprise boxes! 🙂
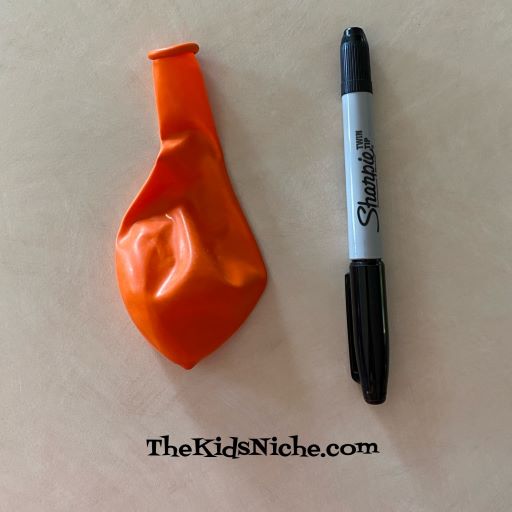
Hope you all had a good weekend! We’re back with a super fun and super easy way to make a Jack O’Lantern! (And cheap!) All you need is an orange balloon and a black permanent marker.
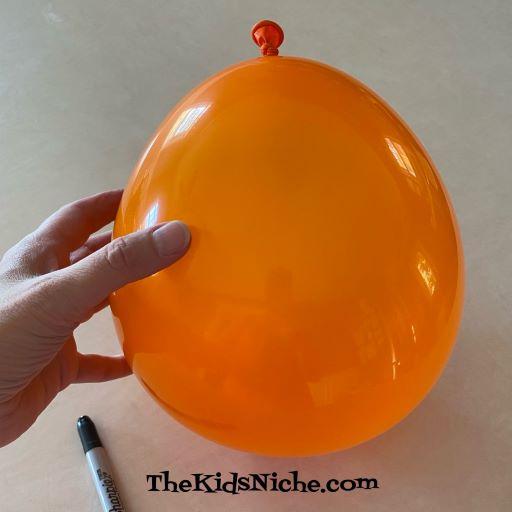
Step #1.) Blow up the balloon and tie it off.
Step #2.) Draw a Jack O’Lantern face on the balloon.
And you’re done! 🙂 You can tie a string to your Jack O’Lantern and hang it in a door way. Or find some place silly to put him. Like in your mom’s Autumn decorations… 😉
This is such a fast way to make Jack O’Lanterns that you can make a whole bunch of them! You can make a happy face or a scary one or a mean looking one. It’s a fun craft for a Halloween party too! 🙂
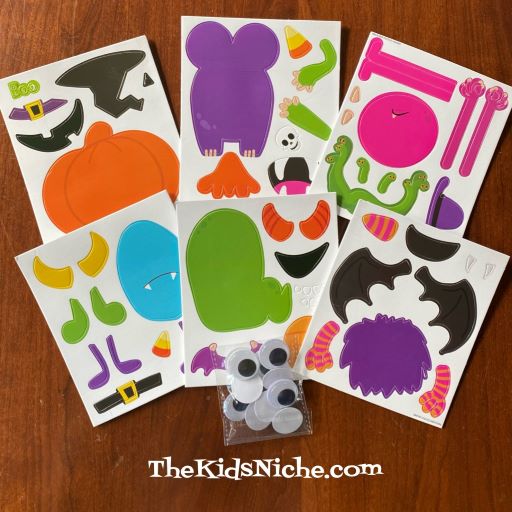
Hello, again and Happy Monday! Today I want to share an inexpensive Halloween craft with you that I found at Walmart. (I know, it’s still September, but the stores are FULL of Halloween stuff!) This package comes with 6 sets of a foam craft for only $1.98! When 6 kids can do a craft for $2, I think that’s a bargain!
Here’s what comes inside the package…
And these are the 6 Halloween characters you can make.
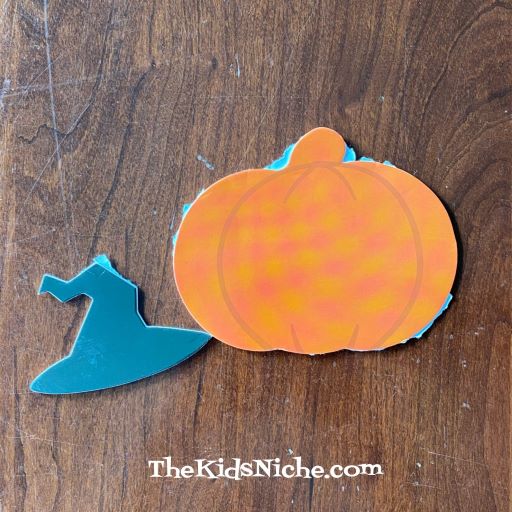
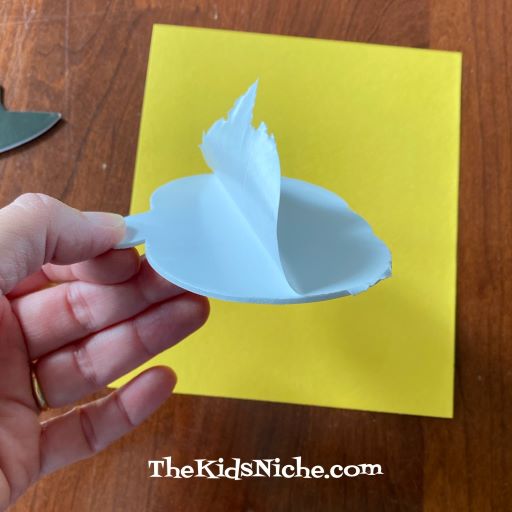
I made the Jack O’Lantern. The foam pieces are partially cut and they have adhesive on the back of them. I found it a bit difficult to punch the pieces completely out because the paper backing isn’t cut through all the way. But never fear! There is a simple way around that problem!
Use a piece of paper for the kids to stick the pieces on and just pull the foam pieces off the backing like you would do with a regular sticker. Don’t worry about punching each piece out because it isn’t necessary.
Use a different color of paper than the color the largest part of the character is so it will show up nicely.
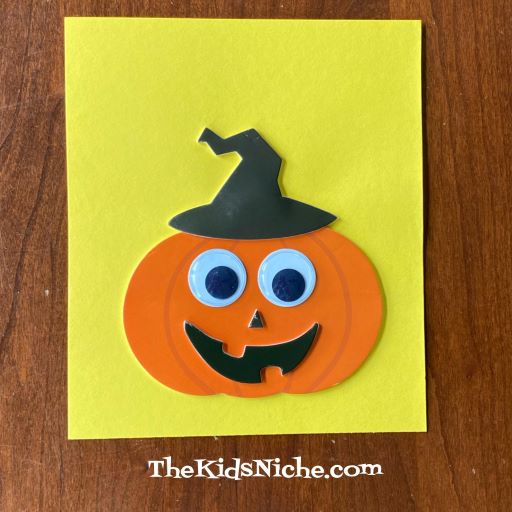
Continue applying the stickers to make your character. The wiggly eyes do not have the adhesive backing so you will need some glue to apply those.
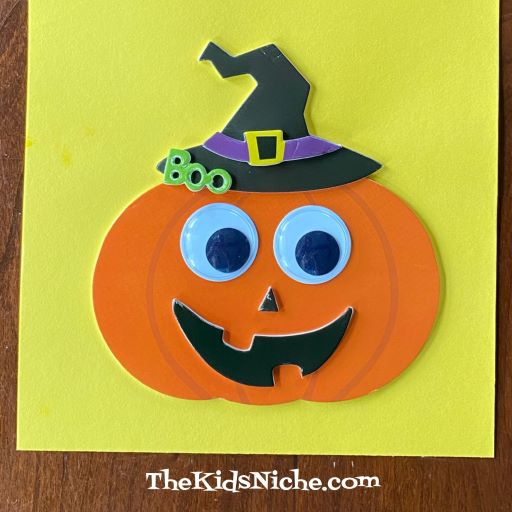
And the Jack O’Lantern is complete! 🙂 The tiny holes on the word “Boo” were a little tricky to get the extra pieces punched out, but using a toothpick helped.
You could use the picture as it is or turn it into a Halloween card. Have fun creating your 6 Halloween characters! 🙂