
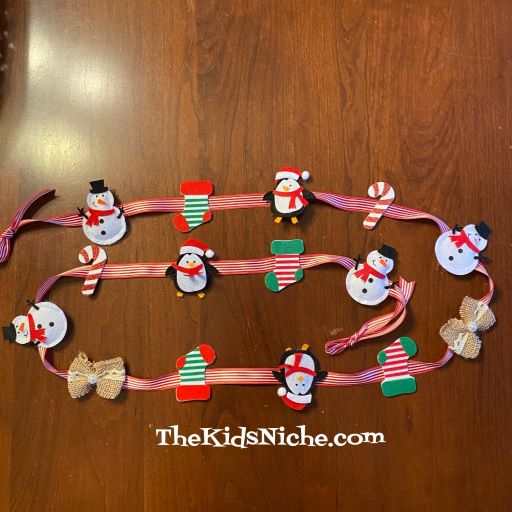
Today I want to share with you a Christmas garland that I made using puffy stickers. It’s simple to make but does require using a hot glue gun. Regular school glue might work but I wasn’t sure it would hold the weight of the stickers so I used a glue gun.
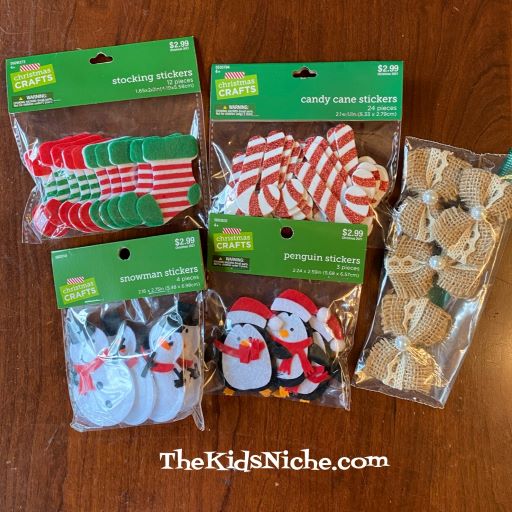
You’ll need some ribbon in the color/design of your choice and some puffy stickers. You could use regular stickers too, but leave the backing on them for this project. Begin by picking your ribbon.

Get your stickers out and ready. I found these at Hobby Lobby for 50% off. Except for the burlap bows…those are some I had leftover from another project.
Decide how long you want your garland to be and cut the ribbon a few inches longer to allow for making a slip knot on each end for hanging.

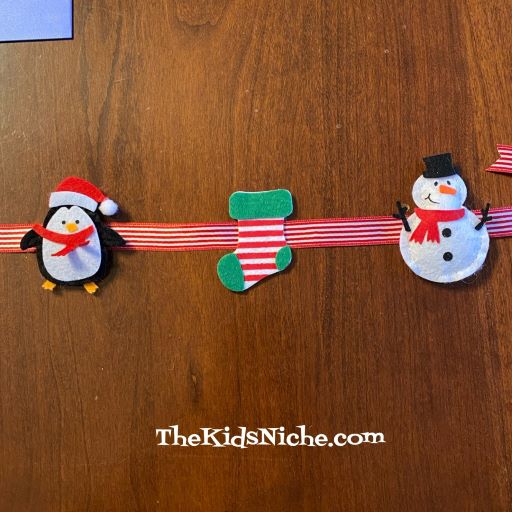
I folded my ribbon in half and made a tiny mark on the center. I picked which sticker I wanted to be in the center of my garland. Then I put some glue on the mark.

Don’t remove the backing on the sticker. Just place it on the glue dot and hold it in place for a few seconds.

I used a ruler to measure from the center of the sticker to 4 inches in each direction. I made a small dot on the ribbon with a pen and that’s where I placed the next dot of glue from the glue gun.

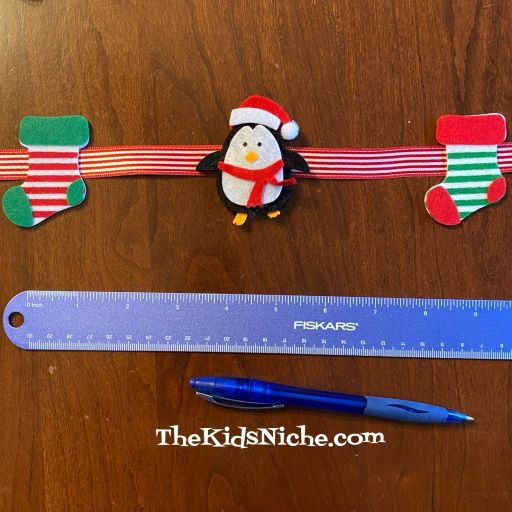
I followed the same pattern on both sides of my center sticker.
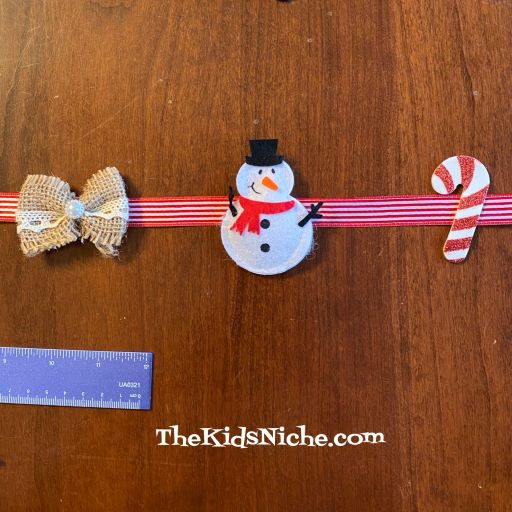
Just keep marking the ribbon every 4″ and gluing on stickers until you run out of room on your ribbon.

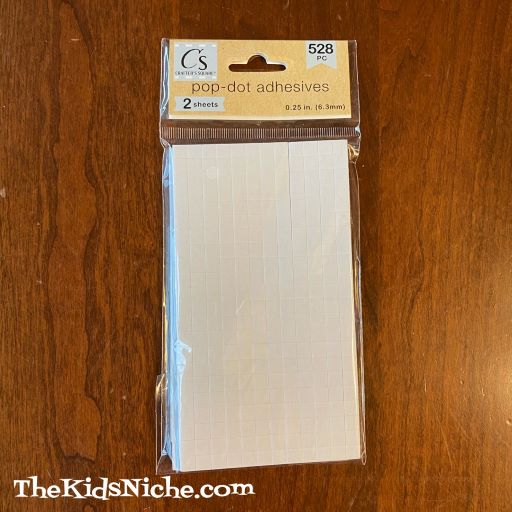
The weight of the puffy stickers made the stickers want to lean forward when I tried to hang the garland up. So I used some of these little dot adhesives to help hold my garland to our fireplace mantel. Depending on what type of stickers you use if you will need to do this step. (The pop-adhesive dots might not work well on painted walls so be careful where you use them.)
So here you are! I think my garland is cute and I’m sure yours will be too!

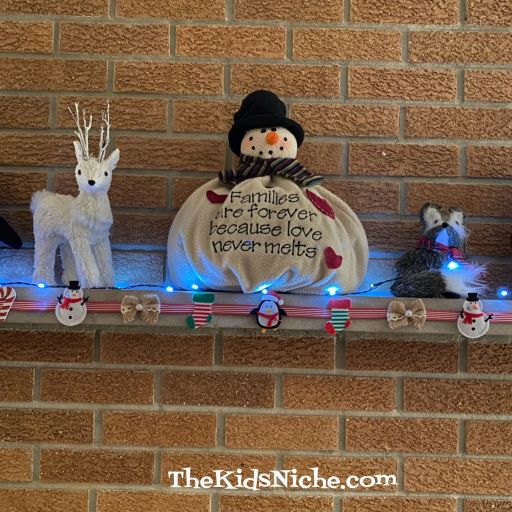
I hope you will have fun making a Christmas sticker garland for your home! 🙂
