Craft Stick Snowflakes

Are you looking for something to occupy the kids while they are off school for Christmas break? Here’s a super easy but fun way to make some great snowflakes. Our grandkids made these and shared these pictures with us. 🙂 (Thanks, Megan!)

They used colored craft sticks, glue, glitter glue and curling ribbon. If you only have the plain craft sticks you could add an extra step and paint them first. If you don’t have glitter glue, regular craft glue and glitter will work too.

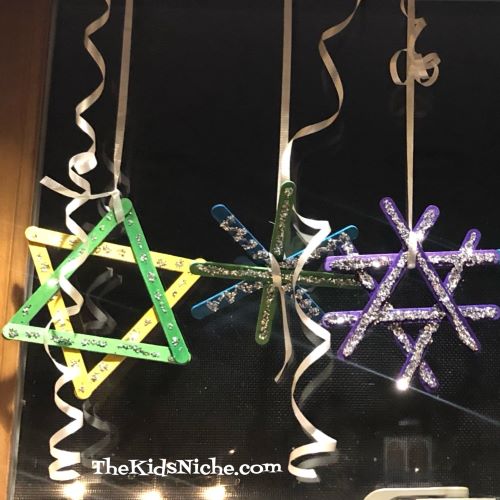
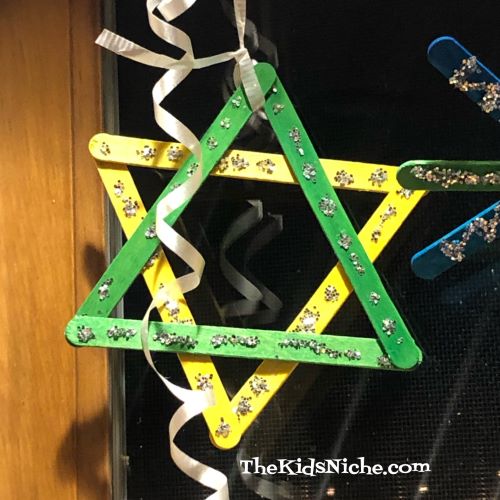
Glue the colored or painted craft sticks together into a snowflake pattern. As you can see from the pictures, there are several ways you can glue them together.

After the glue has dried a little, use the glitter glue to decorate your snowflake. Or if you are using glue and glitter, put drops or lines of glue on the craft sticks and then sprinkle glitter over it. Gently shake the snowflake to let the extra glitter fall off.

Tie a piece of curling ribbon onto the snowflake and hang your snowflakes up for everyone to enjoy.

If you open a pair of scissors and pull the ribbon across the blade part of the scissors, the curling ribbon will curl up and look pretty. You can do this to some extra pieces of curling ribbon to add a little more pizazz to your snowflakes. Hope you enjoy making craft stick snowflakes!! 🙂

Craft Stick Fun Project #1

Hello and Happy Monday! This week I want to focus on some craft projects using the wide flat craft sticks…the ones that look like short tongue depressors. 😉 Ever have the Dr. hold your tongue down with a stick so he/she can look at your throat? Yea, some sticks like that, but used in a much nicer way! I think we are all longing for Spring, so today we’re going to do a project using some cute little flower stickers with the sticks. I found the craft sticks and the flower stickers at Walmart.

These flower stickers have several flower shapes and a couple of leaf shapes and come with the adhesive on the back. All you have to do is peel and stick them where you want them. These are cute flower shapes and glittery too!

Some of the larger flower stickers have the center hole punched so that you can remove it if you want to.

If you don’t like seeing the wooden stick through the hole, just grab a yellow marker and color a circle on the stick.

Place the flower sticker on top of the yellow circle and presto! Your flower now has a yellow center like some real flowers do.

I did the same thing with a little differently shaped purple flower and used a different leaf.

How about putting 3 small flowers together on a stick?

For this stick, I used one of the bigger flowers that has the center punched, but I left the center in place…and added a smaller flower too.

If you save the center circle pieces from several flowers, you can even decorate the sticks with them. Plus a few leaves used in a different manner.

Let your children have free rein with the sticks and stickers and see what neat ideas they come up with themselves. You can give them a small cup or vase to display their Spring flowers in. Or you can add a name to their flower stick and use them to mark their place at the table or as a bookmark or tuck them into a special snack cup…the ideas are endless and I’m betting your kids will think of their own ideas of how to use them. 🙂

Most of all, have FUN! Hopefully this project can help us all hang on until the real Spring flowers arrive! Be sure to check back later this week for more craft stick ideas! Thanks for visiting!