Let’s Make a Leprechaun for St. Patrick’s Day!

Happy St. Patrick’s Day! 🙂 Did you remember to wear green? I hope nobody pinches you if you forgot! Today’s post is about making a leprechaun out of a paper plate! Sound fun? Let’s get started!

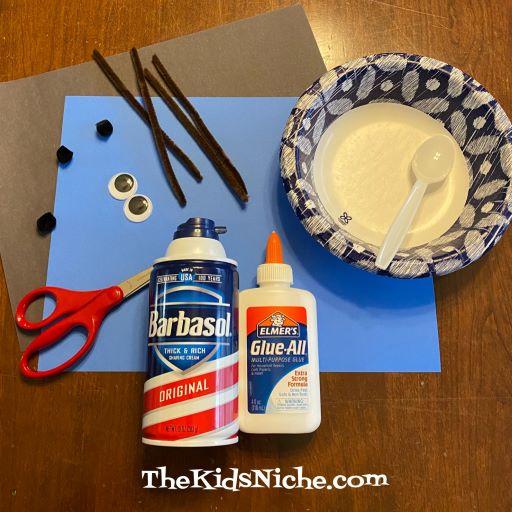
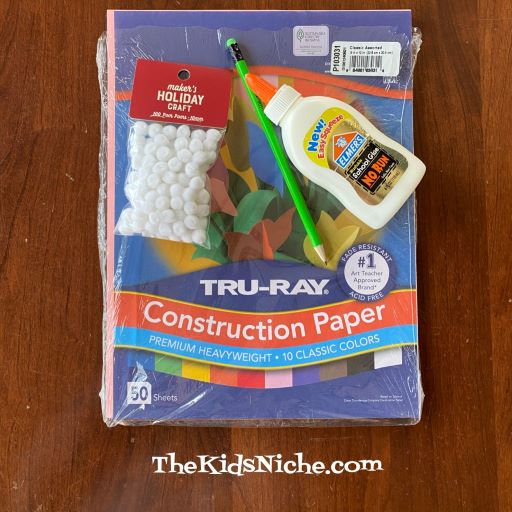
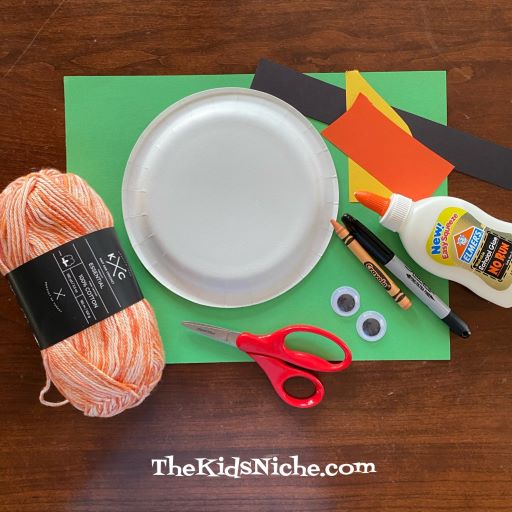
You will need a small paper plate that is blank on the back, some orange yarn (I couldn’t find solid orange yarn), glue, scissors, a peach or tan crayon, a black marker, green construction paper, a set of large wiggly eyes (or draw your own eyes) and some scraps of black, yellow and orange construction paper.

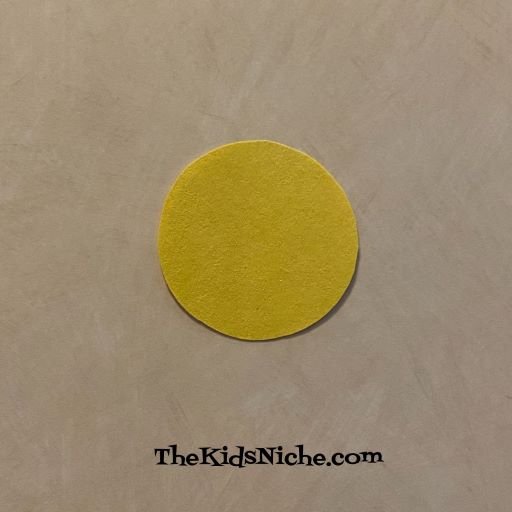
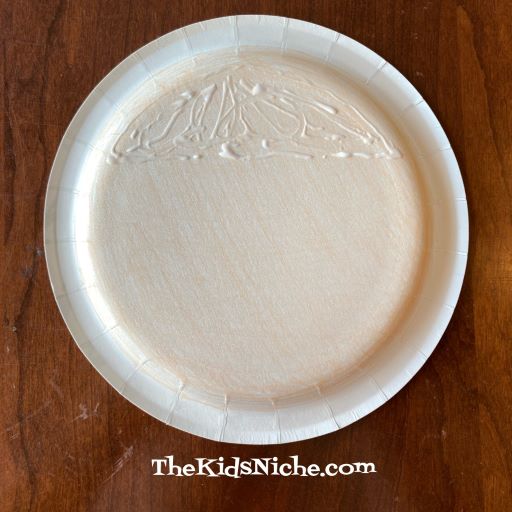
You will create your leprechaun on the BACK of the plate. Depending on how you look at the pictures, you might think we used the front, but we didn’t. 😉 Use the peach or tan crayon to color the back of the plate. It’s rather hard to see in the picture because the color is so light, sorry.

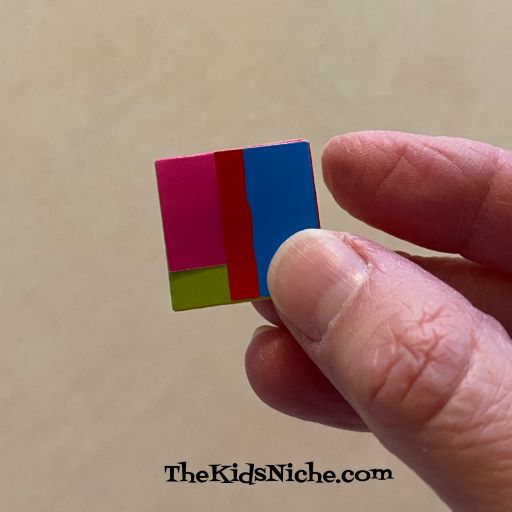
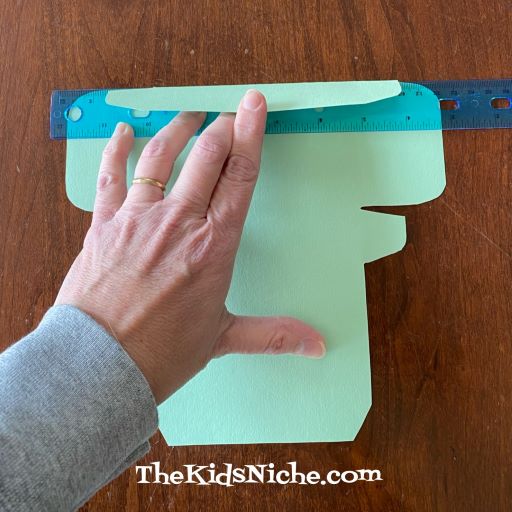
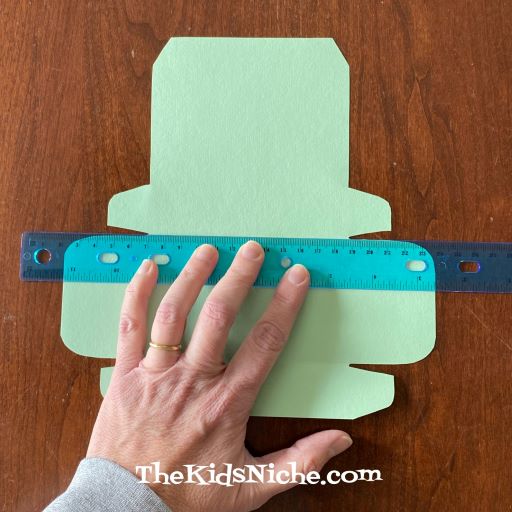
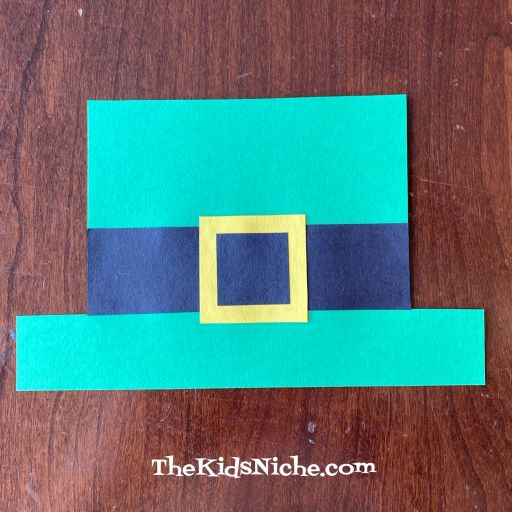
It’s time to make the leprechaun’s hat. Using the green construction paper, cut out a simple hat.

Use a strip of black paper to add a band to the hat.

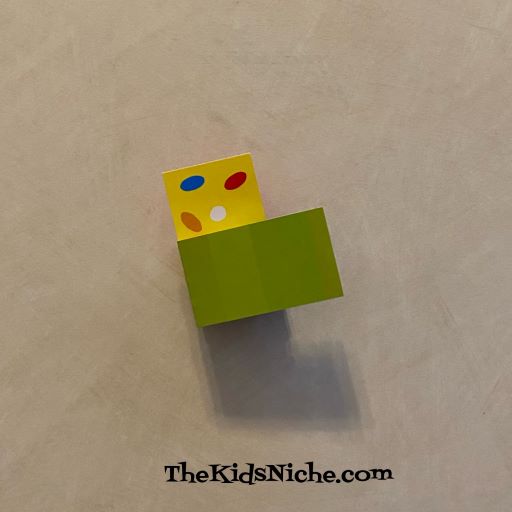
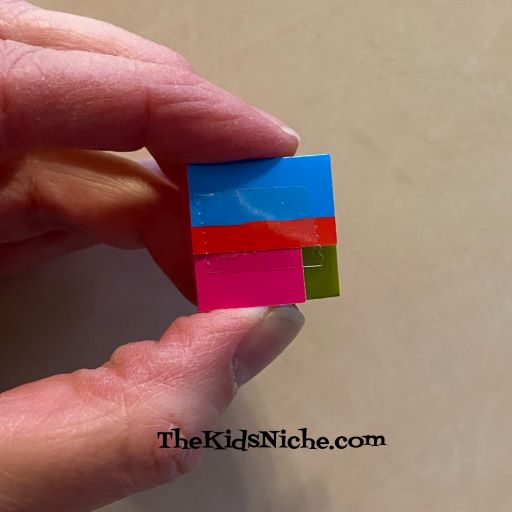
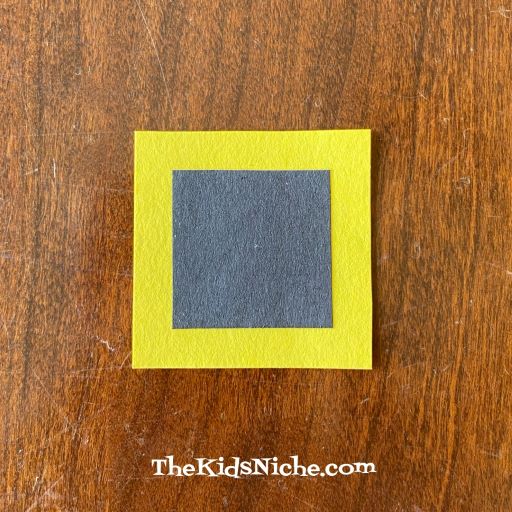
Now we’ll make the buckle for the hat. Cut a square from the yellow paper that is a little bit larger than the height of the black band. Cut a small square from the black paper that is smaller than the yellow square. Glue the black square in the center of the yellow square.

Glue the buckle in the center of the black band on the hat.

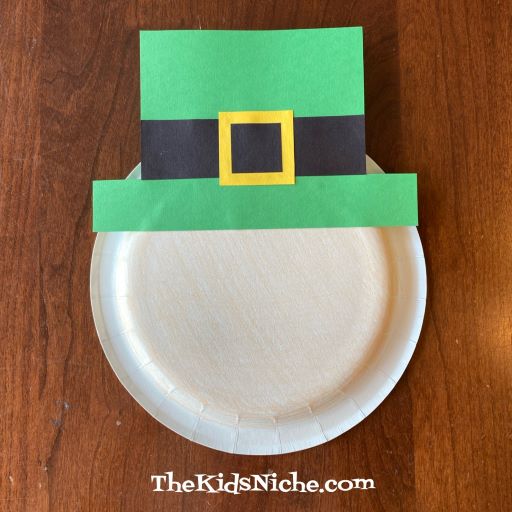
To glue the hat onto the leprechaun’s face, apply glue to the top portion of the plate where the hat will touch.

Press the hat onto the plate.

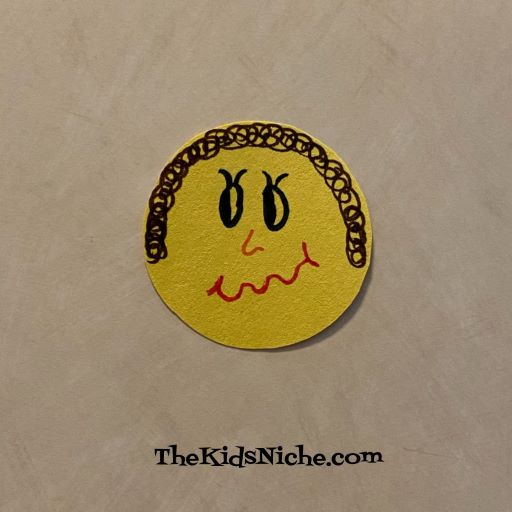
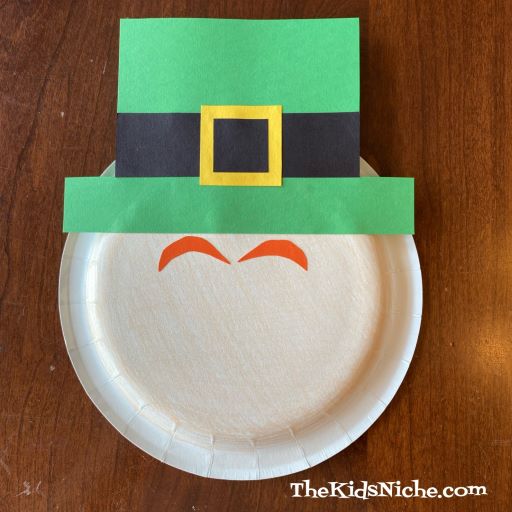
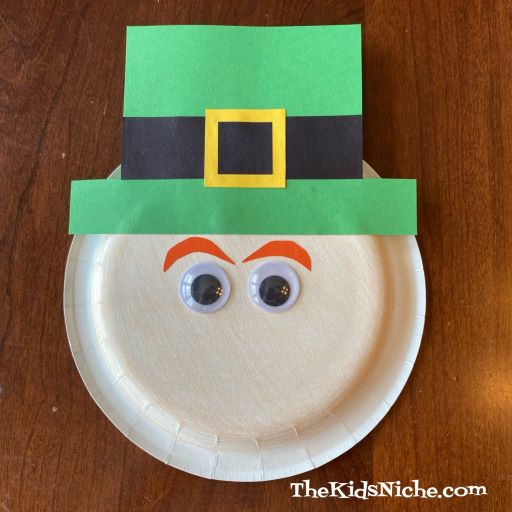
Next cut 2 eyebrow shapes from the scrap of orange paper. Glue them on just below the bottom of the hat.

Glue on the wiggly eyes or draw on some eyes with the black marker.

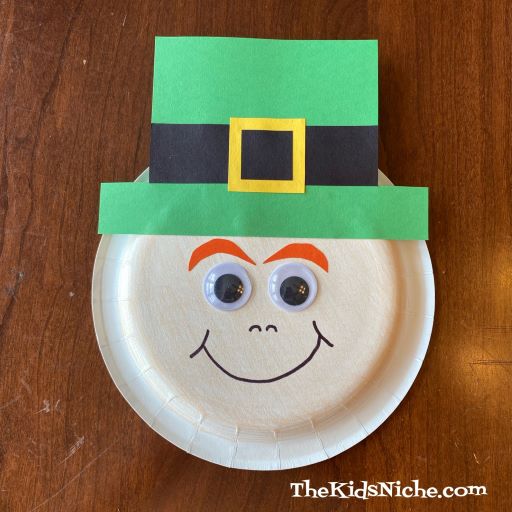
Now draw on a bit of a nose and a mouth.

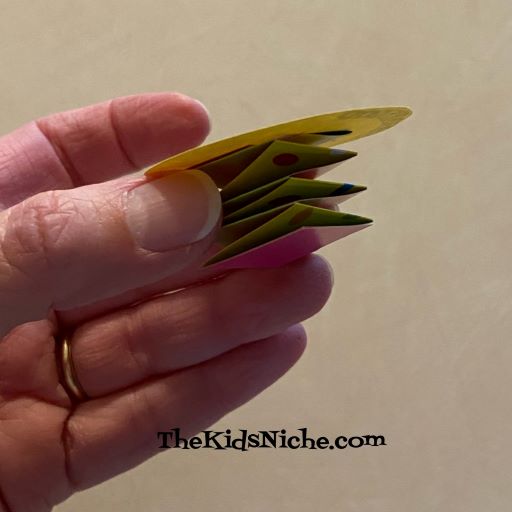
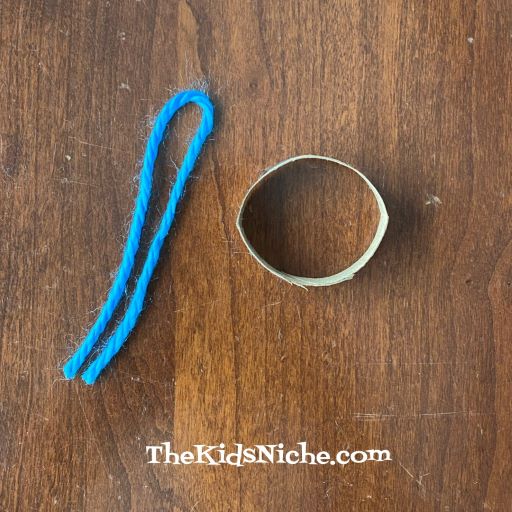
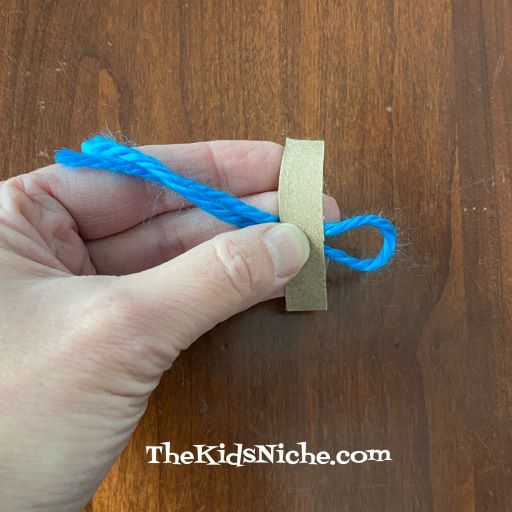
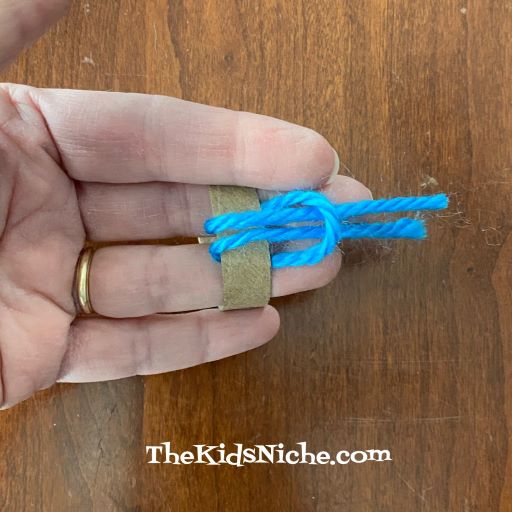
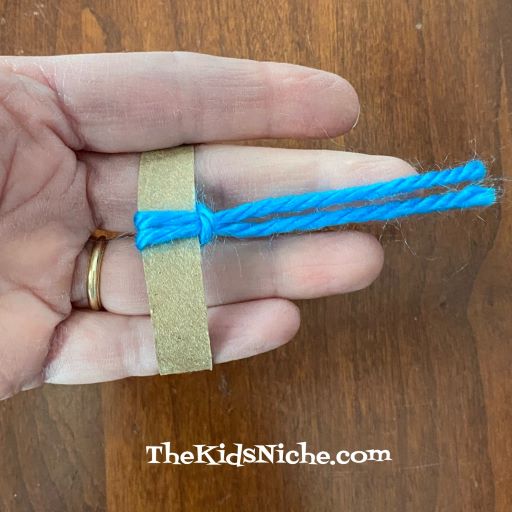
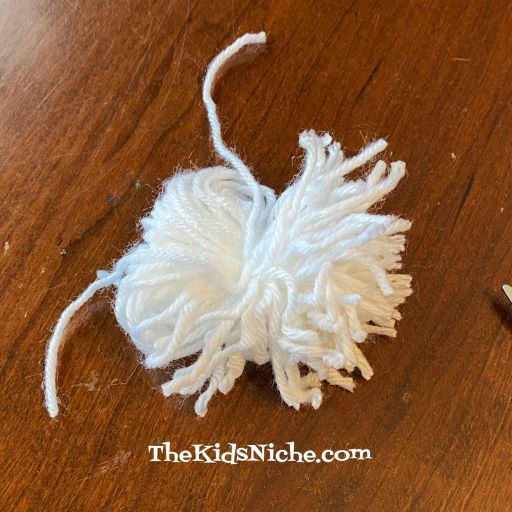
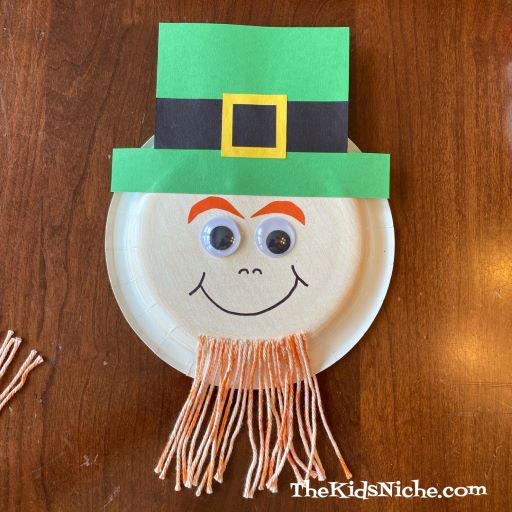
Cut a bunch of yarn pieces around 3 1/2 – 4″ long. You will need a lot of them! Lol This bunch is just a start. 😉 I used 102 pieces of yarn.

Put a small line of glue on the plate where the leprechaun’s chin would be. Lay the ends of the pieces of yarn on the glue, lining them up evenly.

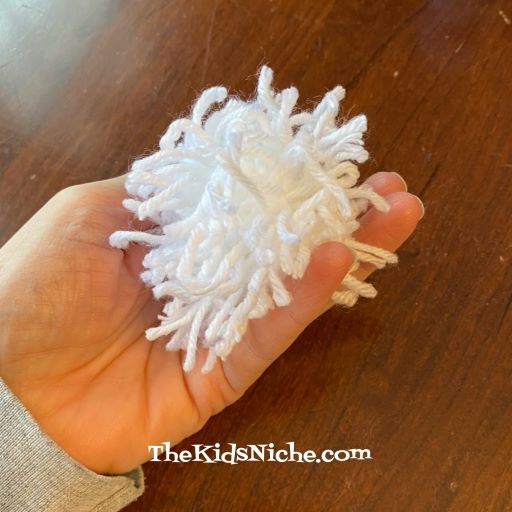
Continue adding pieces of yarn until the leprechaun’s beard is as full as you want it to be.

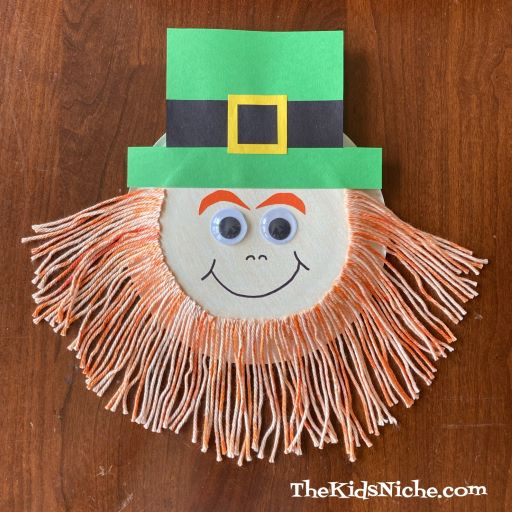
And you’re finished! Great job! Your leprechaun is now ready for St. Patrick’s Day! Better keep an eye on him because leprechauns can be pretty sneaky and they love to play tricks on people! 😉 Happy St. Patrick’s Day! 🙂

Last Minute Stocking Stuffers!

If you are on the hunt for some last minute stocking stuffers, check out your nearest Joann Fabric and Craft store! They have an AWESOME sale on some really fun looking craft type kits for kids. How good is the sale? 70% OFF!! Wow!

To make it even easier, they have signs posted to help you with the math! LOL 😉

Here are some of the kids I found:

#1.) Pom pom sticker kit

#2.) Paper garland kit

#3.) Plaster handprint kit

#4.) Foam stickers

#5.) Suncatcher kit

#6.) Sand ornament kit

#7.) Color-in 3D gingerbread house

#8.) Air-dry clay kit

#9.) Reusable sticker book

#10.) Color-in tablecloth

#11.) Pom pom character kit

#12.) Bead ornament kit

These kits should provide hours of fun for your favorite kiddos! 🙂

Fun Foam Gingerbread Kit

Greetings once again! I hope everyone had an awesome Thanksgiving weekend! 🙂

Do you find it hard to make edible gingerbread houses, but you think gingerbread houses are just so cute? (Am I the only one?! I can’t tell you how many gingerbread houses have ended in failure at our house!) How would you like to make a simple gingerbread house out of foam pieces that’s easy enough for the kids to make mostly on their own? While it’s not edible, it’s very cute and totally mess free! 😉 I found this adorable kit at our Target store for $3.00.

The foam sheets are already cut and some designs have been printed on the foam shapes.

The pre-printed shapes punch out very easily.

There are some instructions provided in the box, but our 10 year-old granddaughter didn’t even look at them. 😉 It goes together quite nicely. First she did the house part…

…and then added the roof pieces.

The Disney characters have stands so they will stay upright on their own. Stickers are included and you can decorate your gingerbread house as much or as little as you like.

So simple and yet so cute and festive! 🙂

Can You Find the Pictures?

Here’s a fun project you can make to entertain younger children. Or kids that are just a bit older can help make it themselves and still enjoy playing with it. I’m not actually sure what to call it, but it’s an activity that looks like a child is using a paper flashlight to shine on and find pictures. The supplies are likely things you have on hand. You’ll need a gallon size plastic zipper bag (I used a freezer type bag), some markers (I used permanent markers), a piece of black construction paper, a piece of white cardstock and a pair of scissors.

Begin by cutting the black construction paper so it will fit inside the plastic zipper bag.

Using the piece of white cardstock paper, draw a flashlight. Be sure to extend the “light beam” out from the end of the flashlight as if the flashlight is turned on.

Add some color and cut out the flashlight. Do not color in the “light beam” area.

Using the markers, draw and color pictures on the outside of the plastic bag. Make sure that the color will stay on the bag when it dries. I’m not sure if all types of markers will work. (No, I’m not the world’s best artist, but the kids won’t mind.) 😉

You can draw pictures on both sides on the outside of the bag. Once you’ve finished your pictures, slide the black paper inside the bag.

Yes, you can still see the pictures somewhat, but when you slide the flashlight inside the bag in front of the black paper, the pictures will show up more brightly. It looks like your kiddo is shining a light on the pictures! 🙂

They can slide the flashlight all around inside the bag to find all the pictures. If you draw pictures on both sides of the bag, be sure to show the kids how to turn it over and slip the flashlight in on the second side.

I wrote the letters of the alphabet on the second side of my bag so the kids can try to find the letters in the correct order.

Simple to make and lots of fun for the kids to find all the pictures or letters! 🙂

Boing! Boing! Bouncing Characters!

Hello and welcome to The Kids Niche once again! 🙂 Today we’re going to put a little bounce in your step! Or maybe a little bounce into some fun characters that you make yourself. Ready, set…let’s go!

You will need some strips of paper…approximately 1″ wide and at least 7″ long, but they could be a little different from that and still work. Construction paper or scrapbook paper works great. I used some paper that was printed on both sides, but that isn’t necessary. Then you’ll need some scraps of paper, glue or double-sided tape, markers, scissors and a pencil.

Begin with the 2 strips of paper.

Put a small amount of glue or double-sided tape on the bottom edge of one strip.

Place the second strip at a right angle to the first one on top of the tape or glue.

Now you will fold the strips of paper across each other…one at a time…keeping them straight to the corner.

Continue folding the strips until you come to the end of the strips.

This is a side view of what it should look like.

Here we are at the end of the strips.

Fold the last bits over and glue or tape in place.

Another side view…this is the part that makes the bounce. It’s rather like an accordion.

Now let’s make the character’s face. Start by cutting out a circle from your scraps of paper. I used a very small cup to trace around.

Draw a silly face on the circle.

Put some glue or double-sided tape on the top of the accordion piece.

And stick the circle on top.

Put your bouncing character on the tabletop and press it with your finger. It will bounce up and down. 🙂

I also made a bouncing cat by folding 2 more strips of paper together. I cut out an orange circle and 2 orange triangles.

Draw a cat’s face on the circle, color in a bit of the ears and glue or tape it together.

Tape it onto the bouncing part you made and you’re ready to play with your bouncing friends!

I hope you’ll have fun bouncing these guys all over the house! 😉

Making Your Own Paper Surprise Boxes

The other day I opened up a box of cream cheese and I noticed that if I opened it up completely and laid it flat that I could use it for a pattern to make another paper box. 🙂 So that’s what I want to share with you today. The next time you buy cream cheese, save the box!

I used a piece of cardstock for making my box. Lay your pattern on the piece of cardstock. My pattern box fit just right in one direction on an 8 1/2″ x 11″ piece of cardstock.

Trace around the outside of the pattern box using a pencil.

Cut it out along the line you just drew. Erase any pencil marks that you can still see after you finish cutting.

Using the pattern box as a guide, make a fold on your box every place the pattern has a fold. It’s very helpful to lay a ruler across the paper in the place you want the fold to be. This will give you an edge to press against and keep the fold straight.

I made all my folds that go in the same directions first.

Then turn your box and make all the folds in the other direction. For a lot of the folds, you can see easily where the fold should be and use the edges for a guide for your ruler. One place that there wasn’t an easy mark was the part on the top of the box that folds down inside the box when it’s closed. I laid the pattern back on top of my box, bent the pattern up and made 2 small marks where the fold needed to be.

Now all the folds have been put in our box and it’s time to put it together!

Oops, I’m getting ahead of myself! 😉 Before you glue/tape the box together, turn the box over and decorate the outside.

Since St. Patrick’s Day is in March, you might like to make your box for that holiday.

NOW to put it together! 😉 Fold the box up and put a little glue or double sided tape on the small tabs that fold inside the front of the box.

Do the same for the back side…put glue or tape on the small tabs that fit inside the box.

Close the top of the box and stick the front tab inside. Great job! You’ve made your first paper box! 🙂

Don’t forget to hide something fun inside the box before you share it with that special person! These could be used for any holiday or special occasion that comes along. Just decorate your box to fit the occasion. And maybe even hide the box to be found at the end of a treasure hunt! 🙂

I hope you will have fun making your own surprise boxes! 🙂

Making a Melting Snowman

Today is the last day of February! Who is ready for Spring?! 🙂 To celebrate that winter will (hopefully) be leaving us soon, we made a melting snowman!

You will need some shaving cream (I used Barbasol), some Elmer’s glue, 2 big wiggly eyes, a piece of cardstock (a darker color shows up the best), some brown or black pipe cleaners, 3 small black pom poms or buttons and some colored paper. (You can make the snowman parts all out of colored paper if you’d like to.) You will need a bowl and spoon for mixing and a disposable bowl and spoon works best for easy cleanup.

Mix 1/2 Cup of shaving cream and 1/8 Cup of Elmer’s glue in the disposable bowl.

I suggest you wash your measuring cups right away to prevent the glue from drying in them. After you’ve mixed the shaving cream and glue together, spoon it out onto your piece of cardstock.

Spread the mixture using the back of the spoon until you have the shape you want for your melted snowman.

I cut 2 brown pipe cleaners in half and wrapped one half-piece around another to make some stick arms for the snowman. You can also cut some arms out of paper instead.

Stick the arms onto the melted snowman. I started out with my arms too high and I moved them down a little farther.

Add 2 wiggly eyes, some black pom poms or buttons and an orange carrot nose and a black hat cut from paper.

I cut a thin squiggly line from black paper for the snowman’s mouth.

Allow your snowman to dry for a couple of hours. It will still be puffy and soft to the touch but not sticky. And there you are! The last of the snowmen have melted on this last day of February! (Keeping my fingers crossed that we are done with snow, but we might not get that lucky!) 🙂

Simple Handmade Valentine

It’s February and that means Valentine’s Day is right around the corner! Here’s a simple but fun Valentine that your kids can enjoy making. You can make it as a Valentine card to give to that special someone or let it be a decoration to brighten up your house for Valentine’s Day.

You will need some construction paper, a pencil, glue, little pom poms and a marker or two.

I chose to use red paper and white pom poms, but you could use pink or white paper with red, pink or white pom poms. Go with what you have on hand or can find easily at a store. Begin by drawing a heart shape on the paper. I used half of a piece of construction paper and I also traced around a heart shaped cookie cutter.

If you would like to write a message on your heart, do it now.

Put a line of glue all around the outline of the heart.

Place the little pom poms on the glue and press them down a little bit.

Keep placing the pom poms on the line of glue…

…until you have filled the whole line with pom poms.

That’s all there is to it! You’ve made a cute Valentine! 🙂 You can decorate the rest of the paper if you’d like to or leave it as it is. Have fun making your own handmade Valentine! 🙂

Valentine’s Day is Coming!

Hi everyone! 🙂 Today is January 25th and Valentine’s Day is just about 3 weeks away. So I want to start sharing a few ideas to make your Valentine’s Day more fun. 🙂 Today we’re going to make a simple Valentine’s card that adds a little something extra to it. This would be great for your kids to make at home for those in-school Valentine’s Day parties.

This card doesn’t need any fancy supplies. You will need some construction paper, scissors, markers, a single hole punch and some new pencils.

I discovered through a bit of trial and error, that making a heart that is a little bit bigger makes this card work better. I started out using a cookie cutter to trace around for making a heart, but it wasn’t really big enough to insert the pencil without tearing the paper. Let’s get started! 🙂

Start by folding one end of a piece of construction paper over about 3 1/2 to 4″.

Cutting on the folded edge, cut out the shape of half of a heart. Remember, make it a fairly large heart.

Open your heart and lay it flat on the table.

Using the hole punch, make 2 holes in similar areas of the heart as in the following picture. Don’t get too close to either edge of the heart or it’s easy for the hole to tear out.

Check to see if the holes are big enough for the new pencil to fit through. If they aren’t big enough, you can make them a little wider with the hold punch by sliding it over just a tiny bit and punching it again.

Next, decorate your Valentine heart. 🙂 And you might want to sign your name on the backside.

Slide the pencil through the 2 holes and your Valentine is ready to share! 🙂

You might be able to find some really cute Valentine pencils at a nearby store. I didn’t have any right now and we just had another snow storm so I’m not planning to be at a store any time soon! 😉 I hope you will have fun making your own happy Valentines to share with others this Valentine’s Day! 🙂

Yarn Gnomes

I had fun today making an adorable yarn gnome!

For this little cutie, you will need white yarn, colored yarn, scissors, glue (or glue gun), 1 small round wood bead and a toilet paper roll.

First we will make the hat. Cut a piece off the end of the toilet paper roll less than an inch wide. Anywhere between 1/2″ to 3/4″ is fine.

Next you’ll need to cut a bunch of pieces of yarn 8-9″ long. It will depend on the thickness of your yarn how many pieces you will need. I used around 34 pieces for my hat.

To begin making the hat, take one piece of yarn and fold it in half.

Slide the folded end of the yarn through the cardboard ring you cut off the toilet paper roll.

Take both ends of the piece of yarn and feed them through the folded end of the yarn.

Pull it up snuggly, but be careful not to bend the cardboard ring.

Continue adding pieces of yarn in the same manner until you have filled up the cardboard ring.

Push the yarn close together so you don’t see the cardboard underneath.

Made it all the way around!

Now push all the ends of the yarn through to the other side of the ring.

Cut another piece of yarn to tie all the ends of yarn together.

Trim the longer piece of yarn down to the same size as the top of the hat. You can trim the hat tassel more evenly if you like. Wad up a tissue into a small ball and stuff it into the hat to give the hat some shape.

Now on to making the gnome’s face/beard. You will make a pom pom in the following manner: wrap the white yarn around your hand (or a piece of cardboard) at least 50 times. Again, it depends on the thickness of your yarn. The more times you wrap the yarn, the fuller the gnome’s beard will be.

Carefully slide the yarn bundle off your hand, holding the yarn together as it’s wrapped. Cut a piece of white yarn and tie it tightly around the middle of the yarn bundle.

Cut the loops in half on both ends of the yarn bundle.

One half done…

Now fluff the pom pom up using your hands to move the loose ends around.

If you like, you can trim the pom pom down into a smooth ball shape or because it’s a gnome, you can leave his beard looking at bit scraggly. I went with scraggly. 😉 Put a good amount of glue inside the bottom of the hat.

Push the white pom pom against the hat and hold in place for a little bit.

Lastly, glue the wood bead in place to be the gnome’s nose.

Allow the glue some time to dry before handling the gnome too much. You can trim his beard to look the way you like it. All done and you have an adorable gnome of your own! 🙂

If you want to hang your gnome up, you could use a piece of matching yarn or thread and run it through his hat. Or make it a magnet by gluing a magnet on the back. I hope you will enjoy your new friend! 🙂