Easy Nilla Wafer Banana Pudding

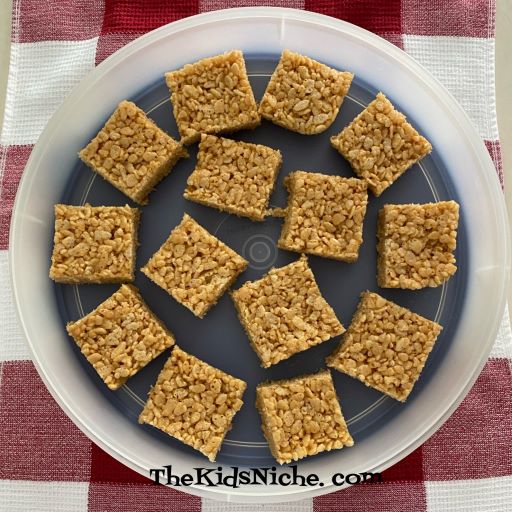
Do you look for easy dessert or snack recipes to make with your kids? Here’s a great one that’s been around for a long time and has many different versions. There are ways to make this dessert from scratch, but this way is quicker and easier because it uses instant pudding. Doesn’t it look delicious? ๐Ÿ™‚

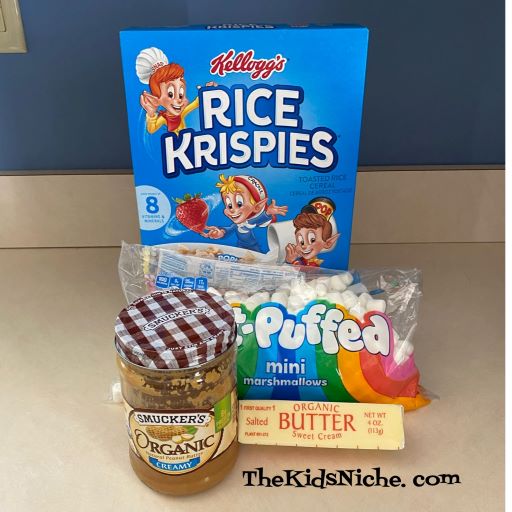
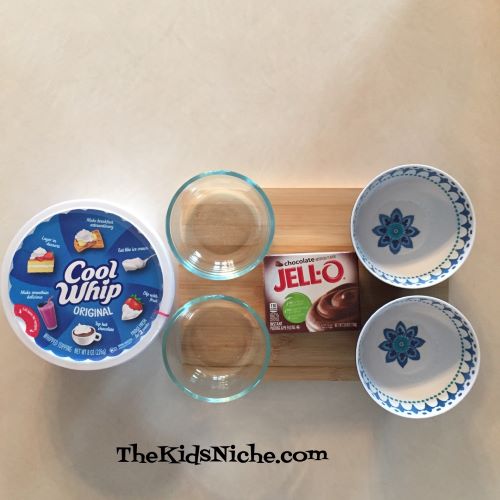
You will need a box of Nilla wafers, 1 box of instant vanilla pudding, milk and bananas.

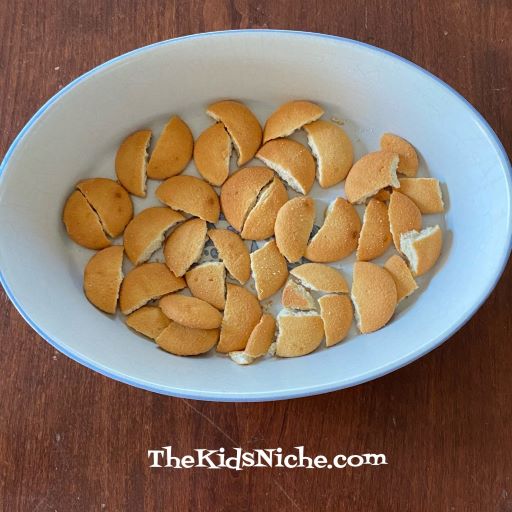
Begin by making a layer of Nilla wafers in the bottom of your dish.

You can use the Nilla wafers whole or you can break them in half. I prefer to break them because it’s easier for little mouths to eat them in smaller pieces.

Take a handful of Nilla wafers and put them in a ziploc bag and crush them into very small pieces.

Set the crumbs aside for a later step.

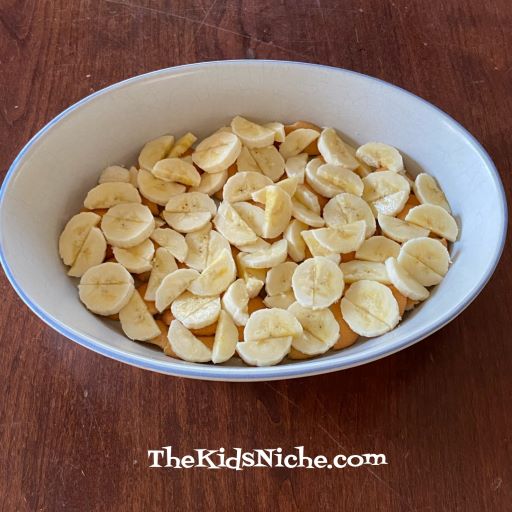
Next add a layer of sliced bananas on top of the Nilla wafer layer. I prefer to also cut the banana slices in half for little mouths.

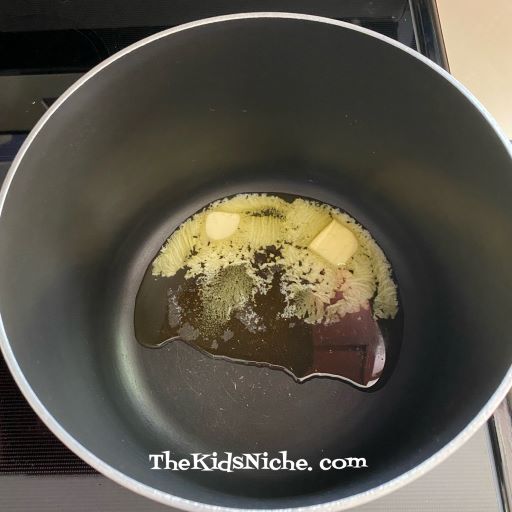
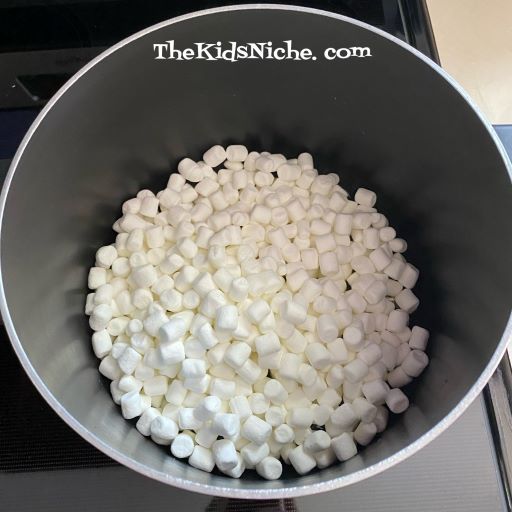
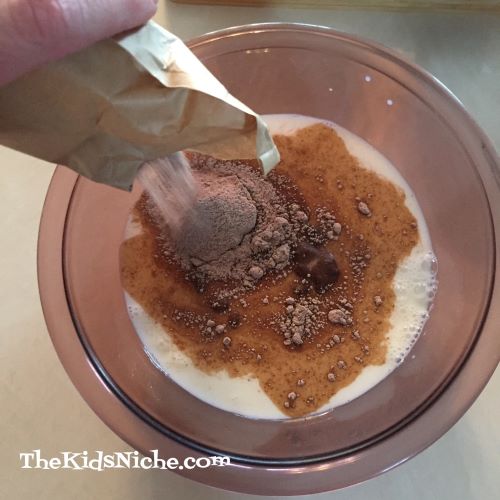
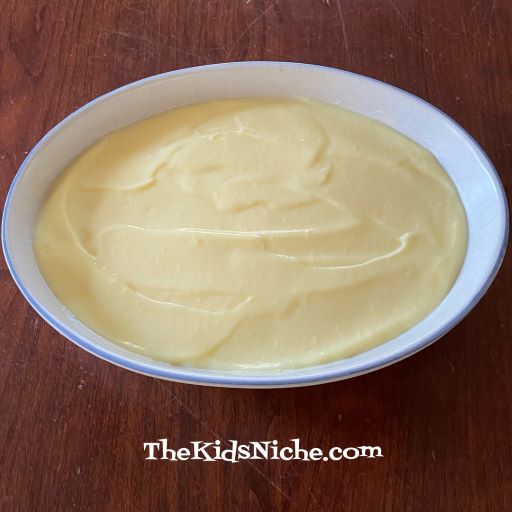
Prepare the instant pudding with milk according to the package directions.

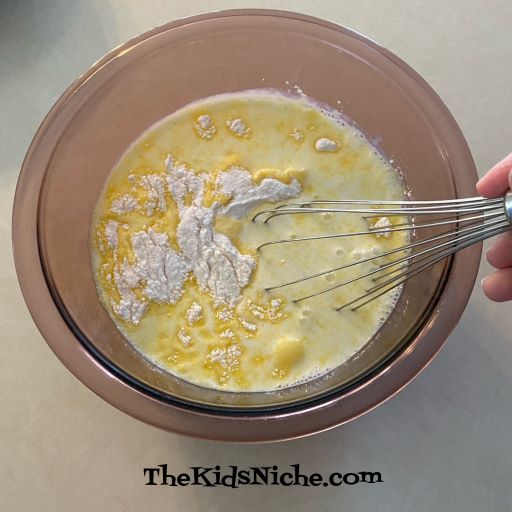
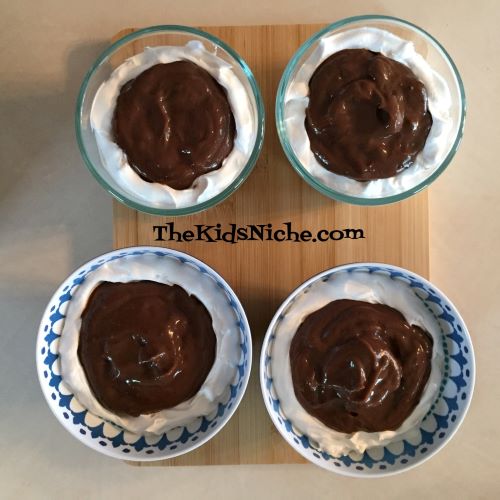
Pour the prepared pudding on top of the banana slices immediately after mixing, before it sets up.

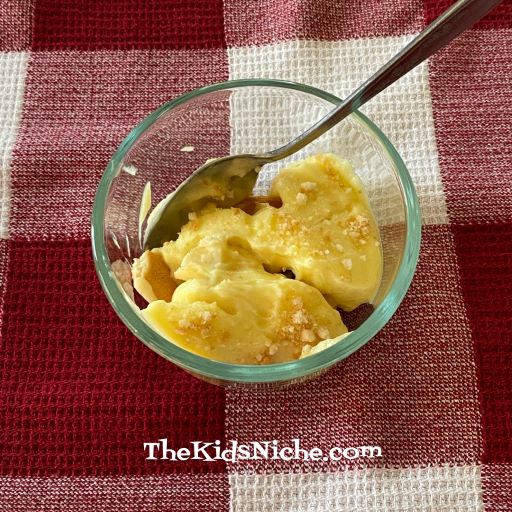
Sprinkle some Nilla wafer crumbs on top to make it look nice.

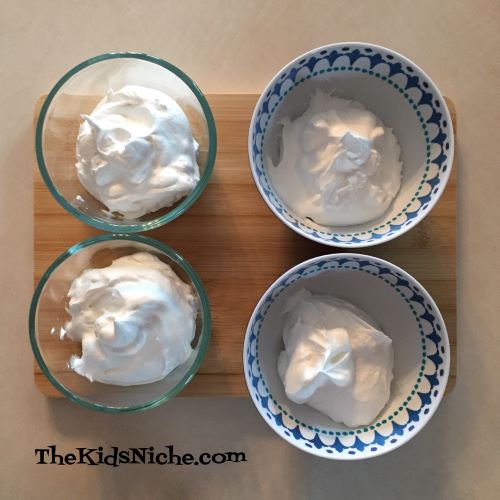
Pop your bowl of yumminess into the refrigerator and let the pudding chill and set up. Then it’s time to enjoy! You can add whipped cream or sprinkles on top. You can also make 2 layers of each item or prepare it in individual bowls. But this dessert is super quick and easy and great fun for the kids to help make! ๐Ÿ™‚

I’m back and I’m sharing Dessert Tacos today!

Wow, sorry I haven’t posted in ages but life has been happening. We had some lovely company come to stay for a few days and then I got sick with the flu. (Yes, while our company was here. Ugh!) So I’ve been coughing my head off and feeling blah for 2 weeks now. Finally on the mend, though the cough wants to hang on. But I hope to be back to sharing some fun things for you to try! ๐Ÿ™‚

Today’s post is about Dessert Tacos! Someone mentioned something the other day and my brain took off and I had to try my idea out. While not all of my ideas are winners, we really liked our Dessert Taco experiment! It’s not an exact recipe so feel free to tweak this to fit your family. I am drooling again just looking at the picture! ๐Ÿ˜‰

You will need some crunchy taco shells…I used these mini shells.

You’ll also need some cooking type apples, butter, white sugar, brown sugar and cinnamon. Some whipped cream makes a great finishing touch too! A word of caution: these are a bit messy to eat, but oh, so delicious! ๐Ÿ˜‰ Begin by placing your taco shells on a cookie sheet and set your oven to preheat to the temperature printed on the taco shell box.

While the oven is preheating, place some butter in the bottom of a large skillet. I used about 4 tablespoons.

Peel and slice 4 large cooking type apples.

Melt the butter in the skillet over a medium heat.

Add the sliced apples and cook on the medium heat.

As the apples start to soften, add some brown sugar and cinnamon. I used 1/4 cup brown sugar and 1 teaspoon of cinnamon.

Stir together and continue cooking until the apples are as soft as you like them.

After your apples are cooked, pour them into a bowl and cover to keep them warm until the shells are ready.

When your oven has preheated, pop the taco shells in for the suggested time on the taco shells box. The mini shells only need 3-4 minutes. If you are using larger shells, they will take a little longer to bake. While the shells are baking, mix together some white sugar and cinnamon. The suggested ratio is 1 part of cinnamon to 4 parts of white sugar. I used 1 tablespoon of cinnamon and 4 tablespoons of white sugar.

When the taco shells are heated, remove them from the oven and right away use a chunk of butter to rub over one side of each shell.

Sprinkle the cinnamon sugar mixture lightly over the buttered shells.

Turn the shells over and do the same to the other side.

Fill each taco shell with the warm apples. Make sure you have a plate handy to put them on once they are filled.

Add some whipped cream on top of the apples and these Dessert Tacos are ready to be eaten!

We were able to fill 6 mini taco shells and still have some apples leftover. We also had leftover cinnamon sugar and I saved it to use in another recipe later. Or maybe to make some more dessert tacos! ๐Ÿ™‚ I hope your family will enjoy these as much as we did!

Taste Testing Tuesday #77 – Peanut Butter Rice Krispies Treats

Have you ever eaten Rice Krispies treats? The oh, so yummy snack/dessert made from Rice Krispies cereal, butter and marshmallows? Rice Krispies Treats have been a very popular treat for a long time now, so I’m guessing most of you have eaten them. Wikipedia says “Rice Krispies Treats were invented in 1939 by Malitta Jensen and Mildred Day at theย Kellogg Companyย home economics department as a fund raiser forย Camp Fire Girls.” Thank you, Malitta and Mildred!! ๐Ÿ™‚

Some amazing Peanut Butter Rice Krispies Treats made an appearance at our 4th of July picnic this year (Thank you, Megan!) and I wanted to share this easy recipe with you.

You will need Rice Krispies cereal (6 cups), butter (1/4 cup), mini marshmallows (10 oz. package) and peanut butter (1/2 cup).

Melt the butter in a large pan on the stove using a medium heat.

Add the mini marshmallows…

Add the peanut butter.

Stir together as the ingredients begin to melt.

Keep stirring, over a medium heat, until all the marshmallows have melted.

Remove from the heat and add the Rice Krispies cereal.

Stir until well mixed.

Evenly press the mixture into a 9″x13″ greased pan. You can use a buttered spatula or wax paper to spread the mixture.

After it’s cooled a little, cut into squares and serve!! Oohh, yummy! ๐Ÿ™‚

These treats are great to take to a potluck (which we did last Friday and they were a hit!). Or just having them for dessert or snack at home will make any day special!

You can find many other flavors of Rice Krispies treat to make by searching online. I even saw “Grilled Rice Krispies Treats! It’s a simple versatile recipe but loved by many! ๐Ÿ™‚

Quick Yummy Pudding in a Cloud

Hope you are all doing well and practicing your social distancing! Let’s do our best to keep everyone healthy! How about a really quick and tasty dessert for the kids to make for something fun to do today? All you need is instant pudding mix (your favorite flavor, of course), milk, Cool Whip (or other whipped cream), 4-6 small dishes and maybe some sprinkles to make it look great. Gather your ingredients and let’s get started!

First, put a large dollop of Cool Whip into each of the small dishes.

Using the back of a spoon, spread the Cool Whip around the edges of each bowl so it makes a hole in the center.

I used a small box of chocolate pudding for this example. Two cups of milk are needed for this size package of pudding mix. Pour your milk into a mixing bowl and add the pudding mix.

Mix with a whisk for 2 minutes.

Oooo, this pudding looks so yummy! I’m drooling! Are you?

Now spoon pudding into the hole you made in the Cool Whip in each bowl.

If you have sprinkles, add them on top. Chill in the refrigerator for a little while. And then enjoy!! Does the pudding look like its floating in a cloud? ๐Ÿ™‚

I hope you had fun making Pudding in a Cloud and you have even more fun eating it! I’m off to eat mine now too! Thanks for visiting my blog! ๐Ÿ™‚