
I have seen the Diamond Dotz craft kits around for a while, but I finally sat down and made one today. It was fun! (My old eyes could have used the help of a magnifying glass though! Lol) This craft is not for really young children, but maybe starting around 8 years old, depending on the child. Here is the kit that I made:

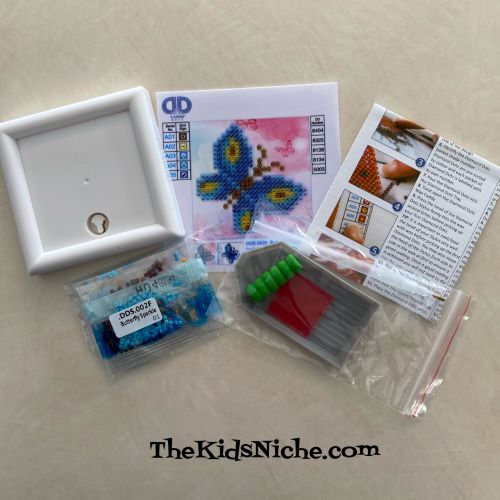
Here’s what came in the package: The special pre-printed fabric, a plastic frame, an applicator stylus, soft gripper for the stylus, a sorting tray, some wax and printed instructions.
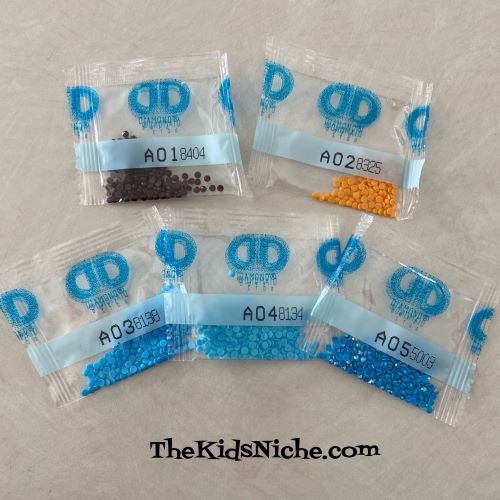
5 colors of Diamond Dotz
After laying all the supplies out on the table, the first thing to do is push the stylus down into the wax a few times until the bottom of the stylus is full. Once this is done the first time, you will only need to get more wax occasionally.

The wax makes it so you can pick up an individual dot with the stylus and place it on the picture. Make sure the dot is curved side up against the stylus and the flat side is down when placing it on the picture. Most of the dotz in this picture are facing upside down. You can gently turn them over using the stylus.

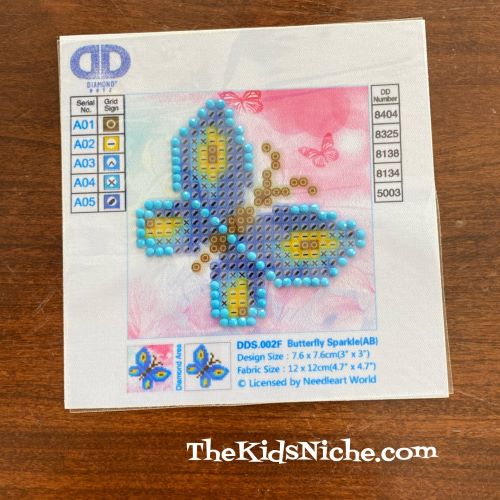
You pick out a certain symbol on the fabric, then find which color of dotz it represents by looking at the little chart. You will place the correct color of dot on each symbol like that on the fabric. As you can see, I have just placed the 4th dot on the fabric. The fabric is sticky where the dotz are to be placed.

This picture has all of the first color of dotz in place.
All of the second color (brown) is done.

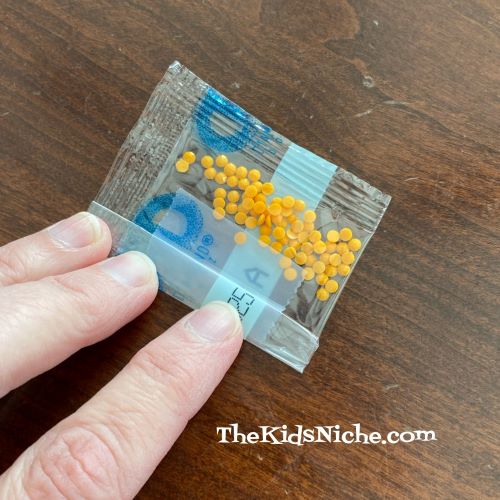
Now the yellow dotz…

Now the second color of blue.

And last, the sparkly blue ones.

Isn’t it pretty? One suggestion I’d like to make is after you are finished with one color of dotz, roll the open end of the little bag closed and put a piece of scotch tape across it to hold it closed. That way you’ll have the leftover dotz for a future project.
The instructions say you should roll a rolling pin or other round object like a glass, over the dotz to make sure they are all stuck firmly to the fabric.

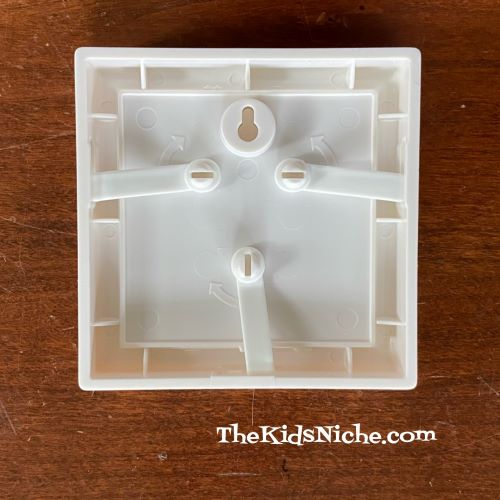
Now for the framing…there actually isn’t any instructions for using the frame but here is what I did. Cut the picture part out of the fabric following the outside of the square.

Take the outside of the frame and lay it face down.

Place the cut out picture face down into the frame.

Put the back piece of the frame into the opening and move the 3 tabs so they lock into place.
And your beautiful butterfly is finished and ready to hang!

The Diamond Dotz come in different sizes of pictures and you can even make greeting cards, stickers and bracelets. I hope you’ll give them a try because I think you’ll find them fun to do! 🙂
