
Today is the first day of July! (Wow, the year is half over already!!) Just 3 days till we celebrate the 4th of July in the United States. It’s a day to celebrate our great country and our freedom. I wanted to share a simple craft for the kids so they can help celebrate the 4th by making some decorations for the house. 😉 You’ll need 1 piece each of red, white and blue paper, scissors and glue. Let’s get started!

First you need to get lots of strips of paper. A nice size for this project is 1/2 to 3/4″ wide by 4 1/2″ long. (I’ll be sharing another craft idea tomorrow that will also use the same size strips so you might want to cut a bunch while you’re cutting!)

Each star needs 4 strips of paper. Start with 4 strips of the same color. Lay one strip down and put a small dot of glue in the center.

Place a second piece of paper across the first one so it make a plus sign (+). Hold it in place with your finger for a few seconds.

Put another dot of glue in the center again and lay the third piece of paper on top at an angle. Look at the picture for reference.

Add another dot of glue to the center again and lay the 4th strip of paper across at the opposite angle to the last strip. And that’s all there is to it! You’ve made your first star! 🙂

We made a red one and now you can make a white one.

And you can make a blue one.

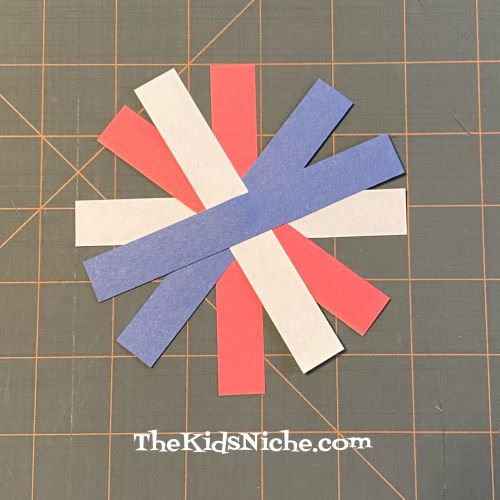
Or you can make some that are red, white and blue! Or just have 2 colors…it’s up to you.

You can even make a star using 6 strips of paper.
If you want to make the stars even more special, you could use some glitter glue on the strips or some dots or lines of glue and sprinkle on some glitter. Alas, I seem to be out of glitter so I couldn’t do this. Make as many as you like and hang them around your house by taping a piece of string to the back of each one. Have fun getting your house ready for the 4th of July! 🙂

