Hello again! I don’t know if I have invented something new or if this idea has been out there and I just never saw it, but here goes! You know how you can have an ice cream or a frozen yogurt bar where you put your ice cream or frozen yogurt in a cup and then add all the toppings you like? Well, let’s do that but use pudding! We made a pudding bar yesterday and it was lots of fun. First select your flavors of pudding and make the pudding. I chose vanilla, chocolate and butterscotch and I used instant pudding because it’s so quick and easy to make. The kids will have fun just making the pudding and helping to set up the pudding bar!
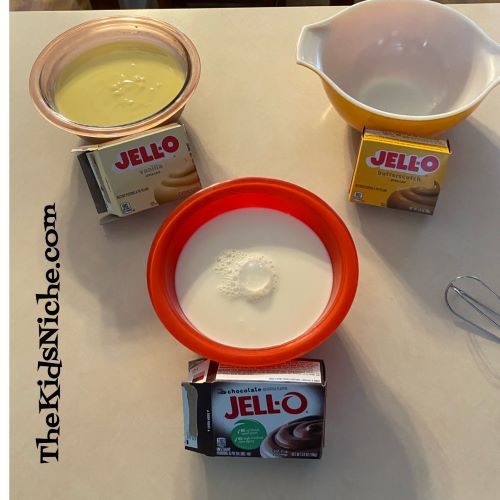
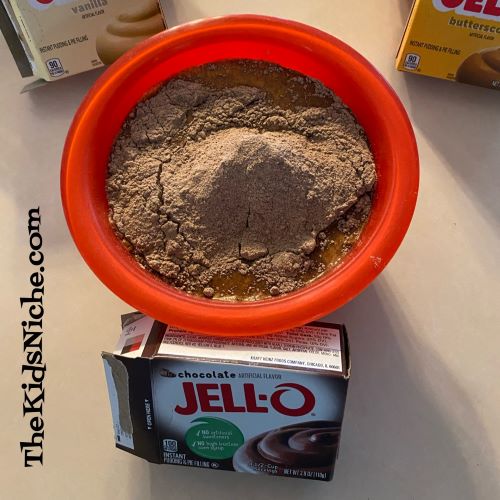
For this brand of instant pudding, you pour 2 cups of milk into a bowl, add the pudding powder from the box and stir for 2 minutes. This pudding is soft set in 5 minutes, but I made ours on Saturday evening, put them in the refrigerator overnight and served them for lunch on Sunday.
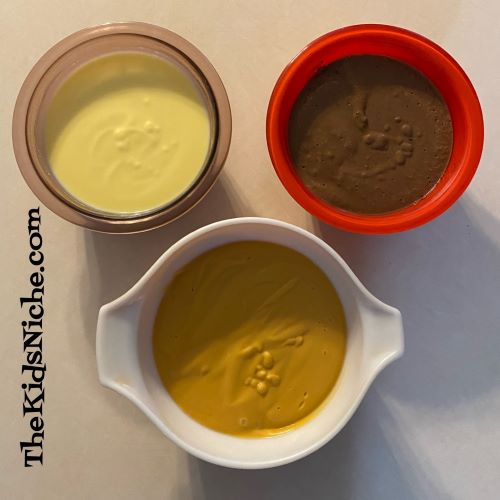
Pudding is ready to go!
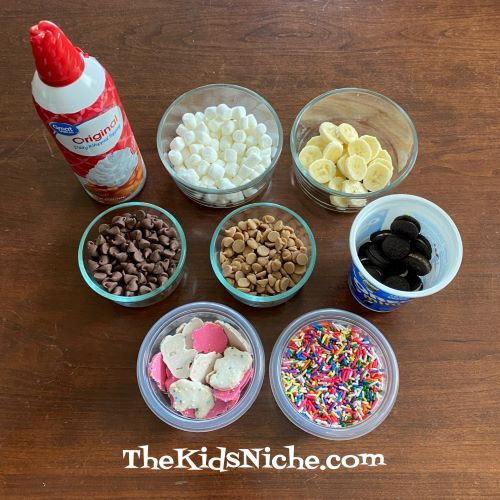
Now gather up all the things you would like to use for the toppings.
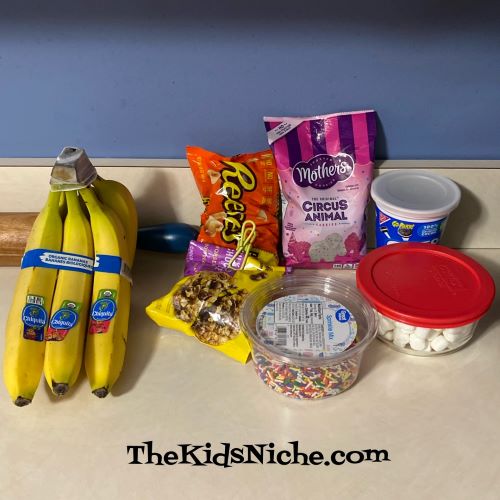
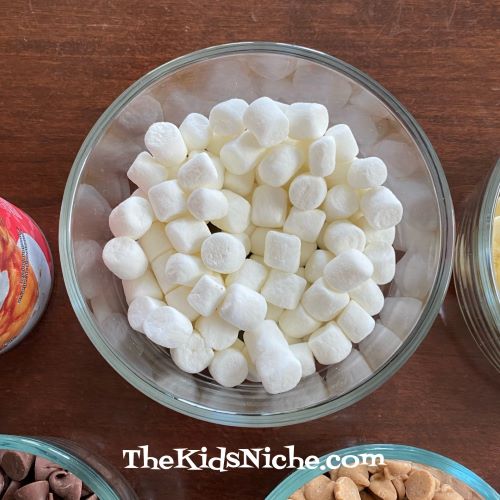
Put them into small containers so they are easy for people to serve themselves from. Here’s what we used: miniature marshmallows
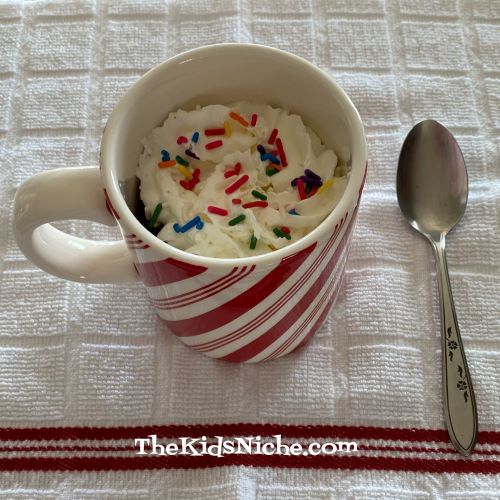
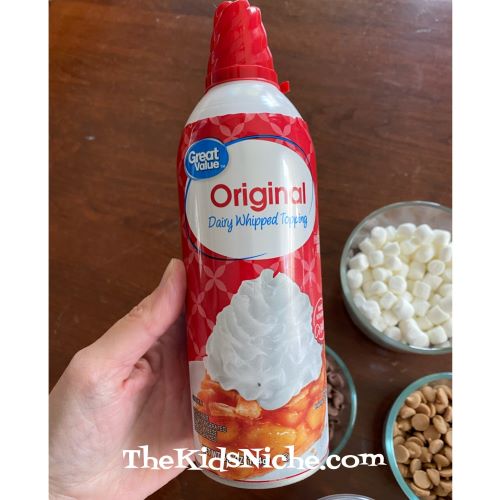
Whipped cream
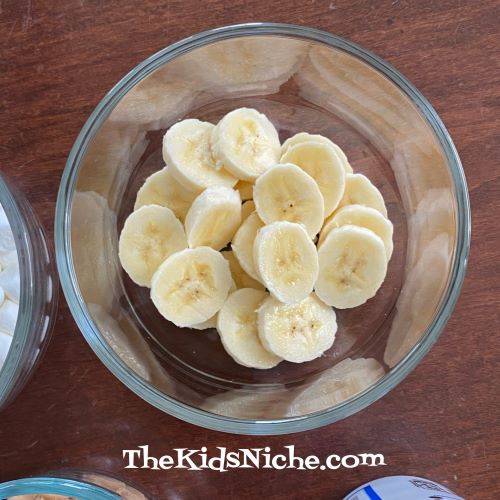
Banana slices
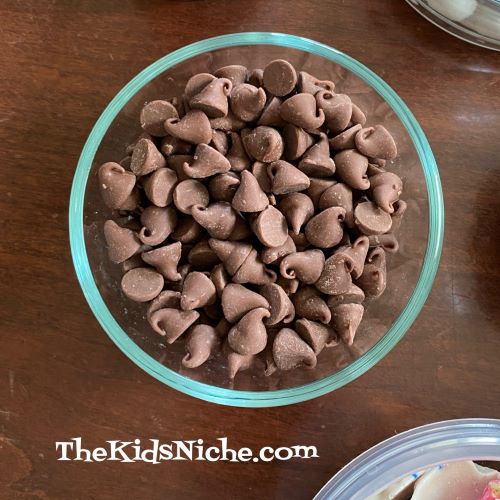
Chocolate chips…I used milk chocolate
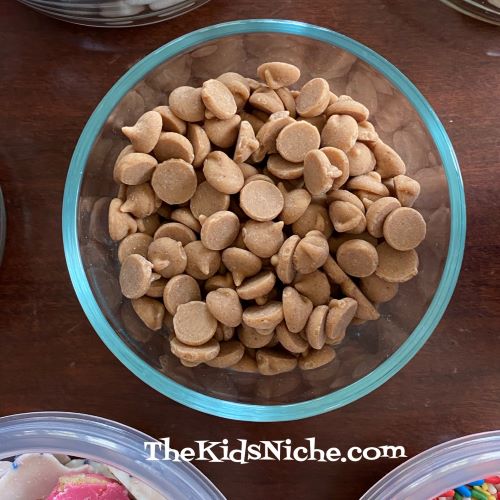
Peanut butter chips
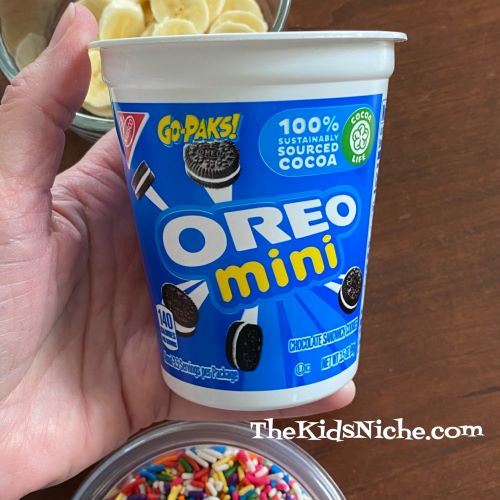
Miniature Oreo cookies
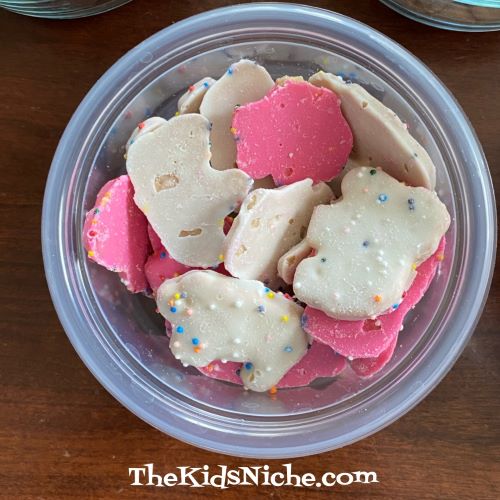
Small animal cookies
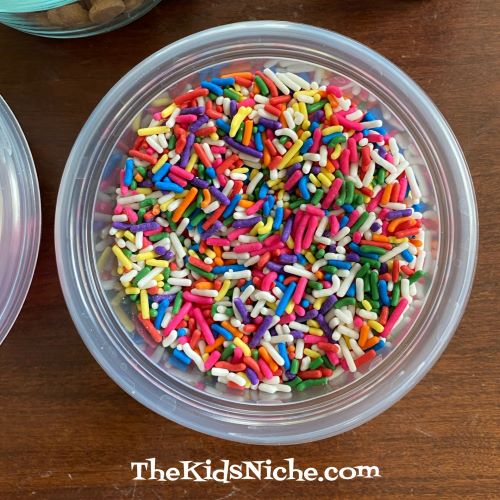
And sprinkles…sprinkles are very important. 😉
Assemble the toppings together and bring out the pudding!
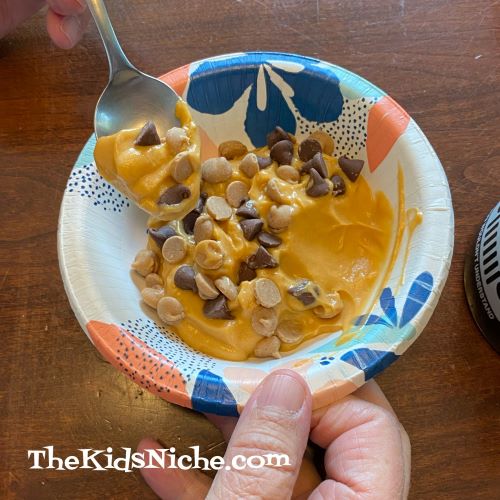
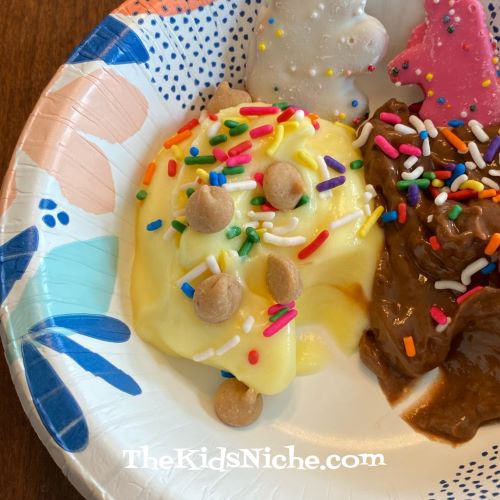
Use small bowls for serving the pudding in. Let each person put the type and amount of pudding in their bowl and then add their own toppings. You can serve it like a cafeteria line with each person serving themselves. Here are some interesting combinations we saw at our house: Butterscotch pudding with peanut butter chips and chocolate chips.
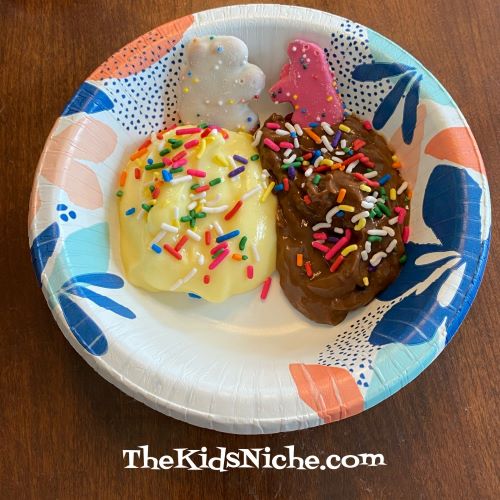
Then there was some vanilla and some chocolate pudding topped with sprinkles and 2 animal cookies.
How about vanilla pudding with peanut butter chips and sprinkles?
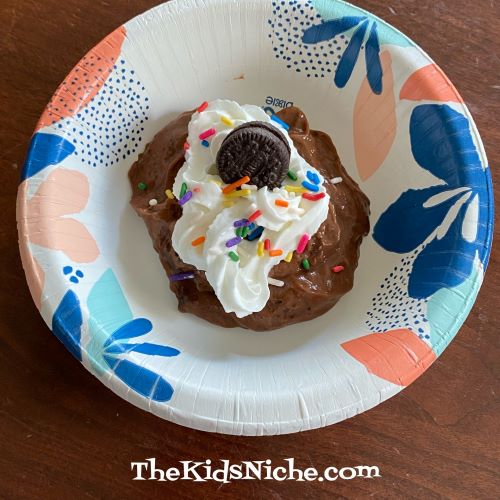
What do you think of chocolate pudding topped with whipped cream and a mini Oreo cookie?
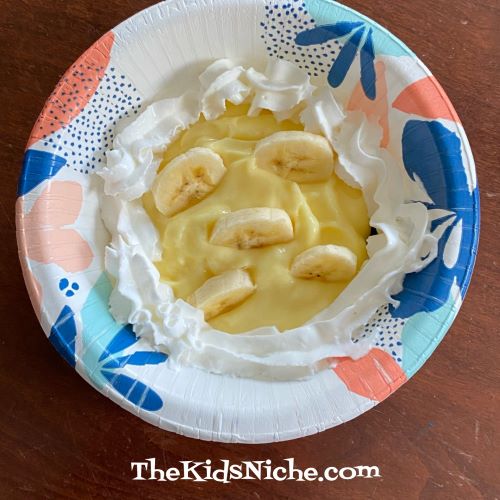
One bowl had vanilla pudding with banana slices and whipped cream.
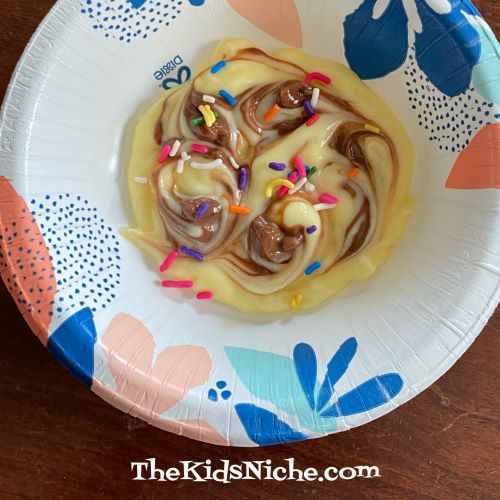
And last, but not least, how about some vanilla pudding with a little bit of chocolate pudding swirled in? Oh, and sprinkles…gotta have those sprinkles!
A pudding bar is a simple dessert to serve and so much fun for kids. It’s a fun novelty to serve your dessert up just the way each person likes it and it’s fun to see what combinations others pick. I hope you’ll give this a try and have as much fun as we did! 🙂