I realized today that we haven’t done any riddles on here in quite a while. So try these riddles and see if they make you laugh. 🙂
#1.) What did 1 waffle say to the other waffle?
Answer: “I like you a waffle lot!”
#2.) What do you call an alligator wearing a vest?
Answer: An investigator!
#3.) What did the horse say when it fell?
Answer: “I’ve fallen and I can’t giddy-up!”
#4.) What do you get if you put 4 ducks in a box?
Answer: A box of quackers!
#5.) What do you get if you cross a pig and a centipede?
Answer: Bacon and legs!
Well, what do you think? Are those riddles funny? Did you guess any of the answers right? I think my favorite one is #5. 😉 Be sure to try these riddles on your friends and family! 🙂
It’s only 10 more days until the official first day of Spring!! Are you getting excited? Whoohoo, I am! It’s going to feel like winter and it’s supposed to snow this weekend, but Spring is really just around the corner! It’s time to take our annual walk around outside (bundle up if it’s cold where you are!) and look for hints of Spring. Here’s a few that I found today!
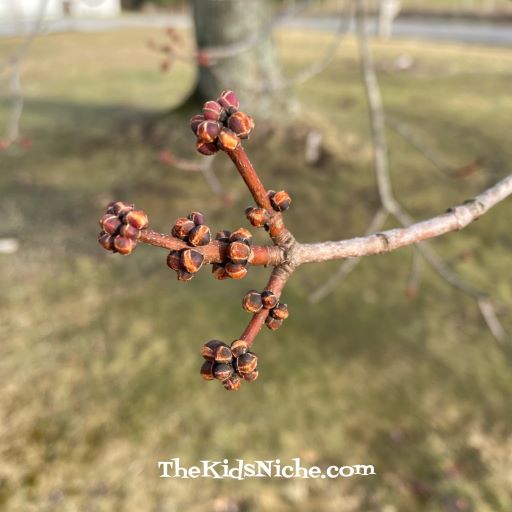
Look at the trees. Are they starting to get buds on them?
Violas are some pretty dainty, but really tough flowers and I found one blooming today!
The daffodil flowers are pushing their way up through the ground.
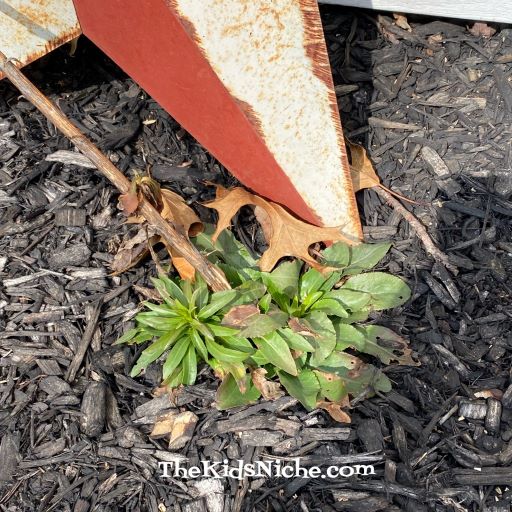
I can’t remember which flower this is at the moment, but, hey, it’s green and it’s growing! 🙂
This may look like a pile of old dried up leaves but look closely and you can see some green leaves growing down inside there! Can you spot any?
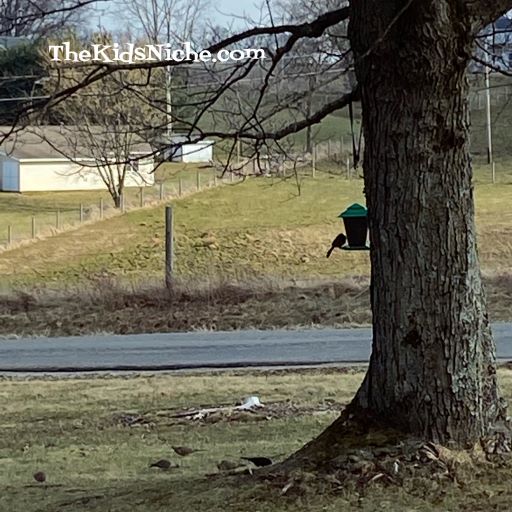
Some of our favorite birds are showing up at the bird feeders again! I counted 15 different kinds of birds here the other day. 🙂
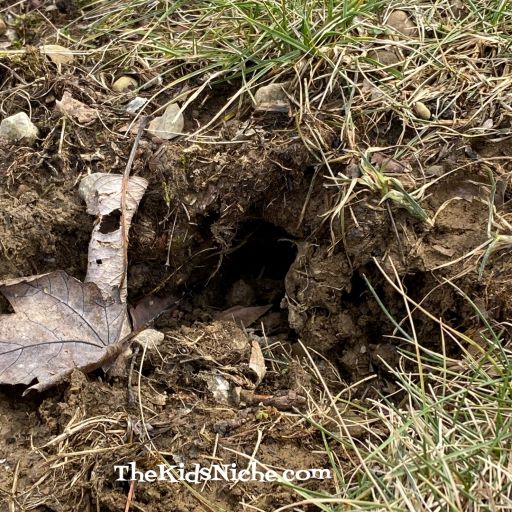
Our dog, Rusty, found this chipmunk hole today. He’s on the lookout now for the occupants of that hole. 😉
Now it’s your turn! What signs of Spring can you find outside close to where you live? If you get some snow this week or weekend, don’t get discouraged because Spring is almost here!! 🙂
Here is a cute and so simple way to make some great looking spring decor! You will need a pint canning jar (or other clear jar), some M&M’s candy and some artificial flowers.
Fill the jar with the M&M’s and cut the flowers to the size appropriate for your jar. Stick the artificial flowers into the jar with the M&M’s. And that’s all there is to it! 😃
How’s that for an easy and quick spring decoration?! So cute! 😉
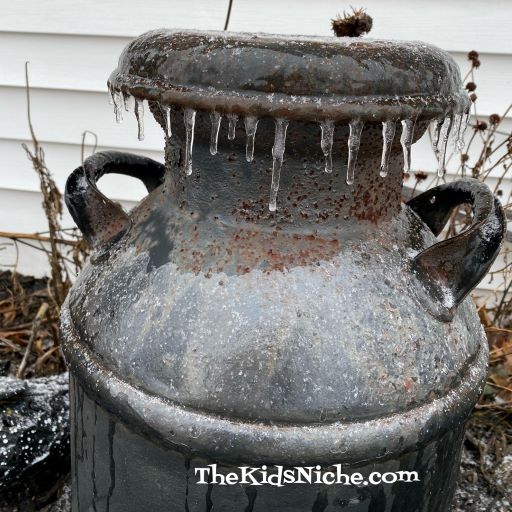
I don’t know how the weather is where you live, but we just had an ice storm last night into this morning. It’s rather pretty but it makes the sidewalks and roads quite slippery and almost impossible to stand up even on the grass! I’m getting a bit “winter weary” and am dreaming of warmer temperatures.
I decided we needed a craft today that will help us think about Spring coming! Let’s make a Spring Chick or two! 🙂
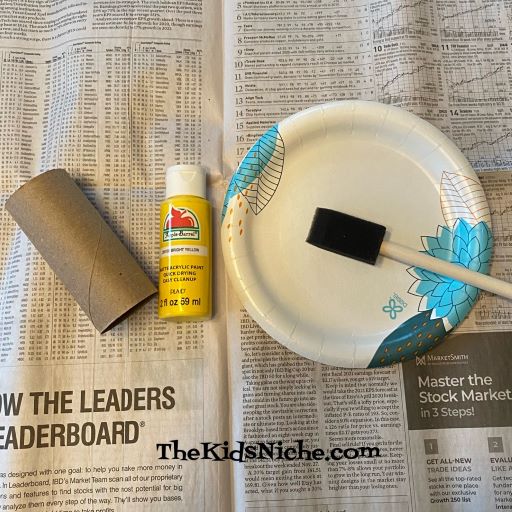
You’ll need a toilet paper roll, some paint, a paint brush, some craft feathers, glue, wiggly eyes, a small piece of orange paper and a pair of scissors. Oh and some newspaper to protect the table or countertop from the painting process. 😉
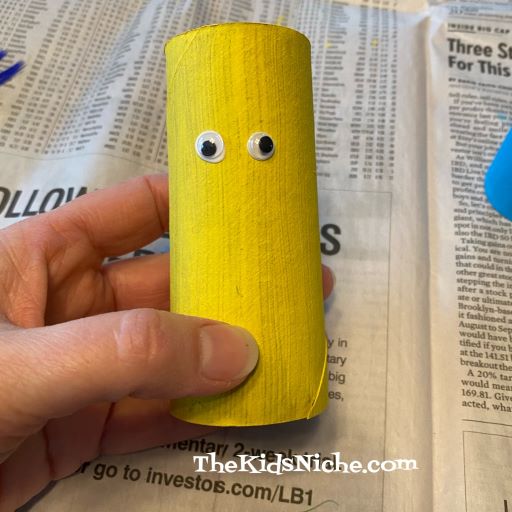
The first step is to paint the toilet paper roll in a bright cheery color. It’s up to you if you do 1 or 2 coats of paint.
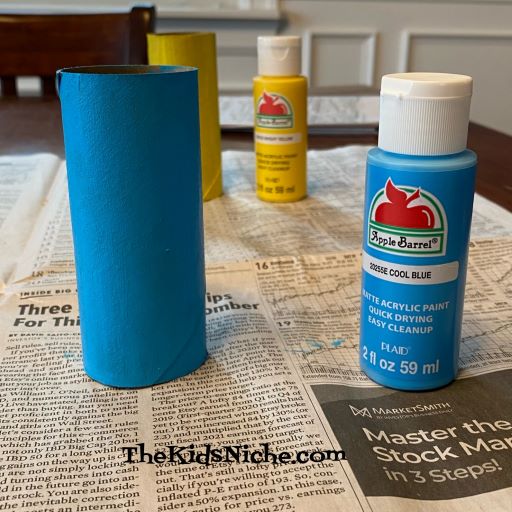
I decided to paint a second toilet paper roll while I waited on the first one to dry. 😉 (I love this blue color!)
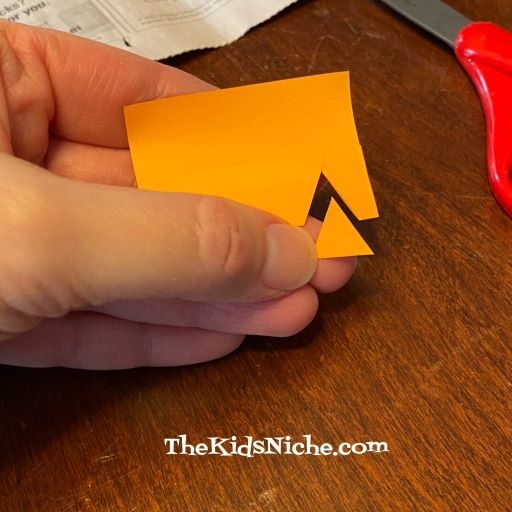
You can also cut out the chick’s beak while you wait for the paint to dry. Take your orange piece of paper…
Make a fold and cut out a triangle shape with the bottom of the triangle being on the fold.
The beak will open up like a real chick’s beak.
When your chick is dry, glue on 2 wiggly eyes.
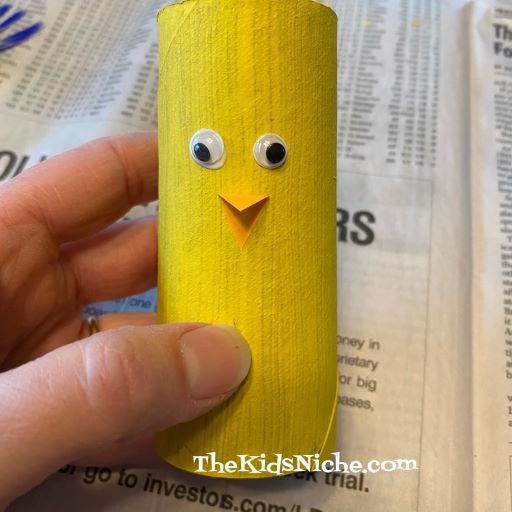
Next, to glue on the beak, put glue only on one side of the beak.
Then stick the glued side on the chick under the wiggly eyes.
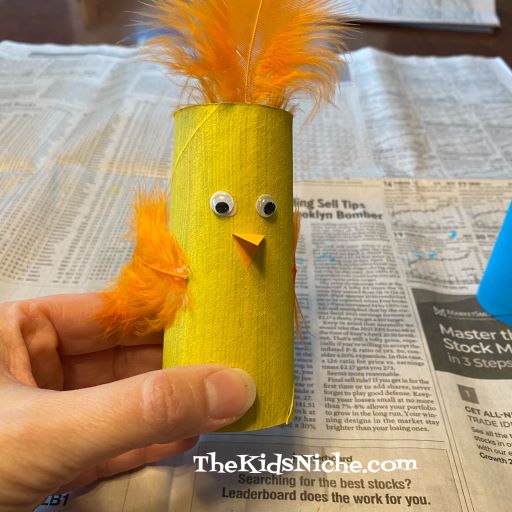
Glue on a few feathers inside the toilet paper roll on the front side.
If you want to, you can add a piece of a feather on each side for the chick’s wings.
And your Spring Chick is done! 🙂 For my blue chick, I added 3 feathers to his head but didn’t use any for wings.
Use your imagination and make your chick special!
I hope making some Spring Chicks will cheer you up and make your house brighter! Stay warm! 🙂
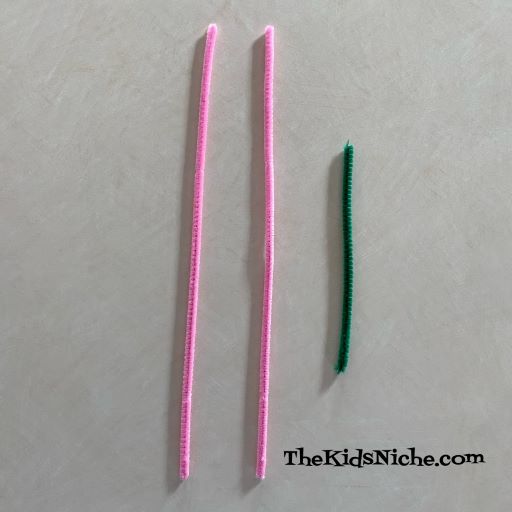
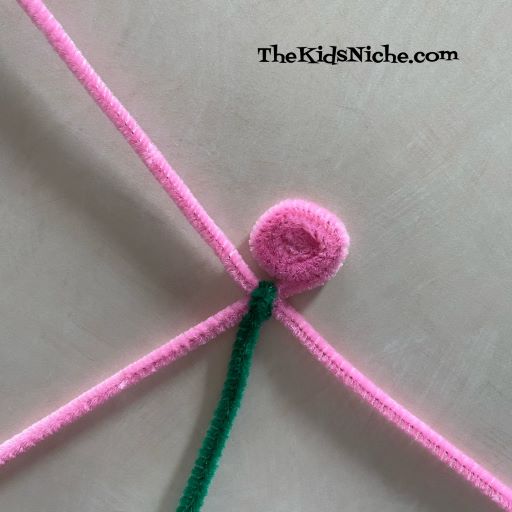
How about an easy, super quick pipe cleaner flower to cheer us up on this gloomy day? This little project takes 2 pipe cleaners the color you would like your flower to be and half of a green pipe cleaner for the flower stem. I chose pink for my flower.
Cross the 2 pink pipe cleaners in an “X” and use one end of the green pipe cleaner to wrap tightly around the spot where the 2 pink pipe cleaners meet.
Starting at the end of one of the pink pieces, roll up the pipe cleaner to the center where they all meet. It kind of reminds me of the way a snail’s body might look.
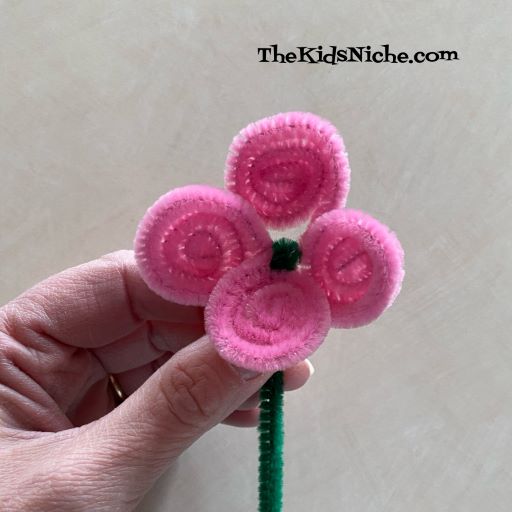
Do the same rolling with the second pink piece…
And then again with the 3rd and 4th pink pieces.
Finally you can bend each flower “petal” that you just rolled up to make it look more like a 3 dimensional flower.
You can make several flowers like this and have a bouquet of flowers or you can wrap the stem part around your wrist for a fun flower bracelet. I used one to hold the 2 handles of a bag together.
It’s a quick, easy, fun and looks great when you are done project! 🙂 Have fun making flowers!
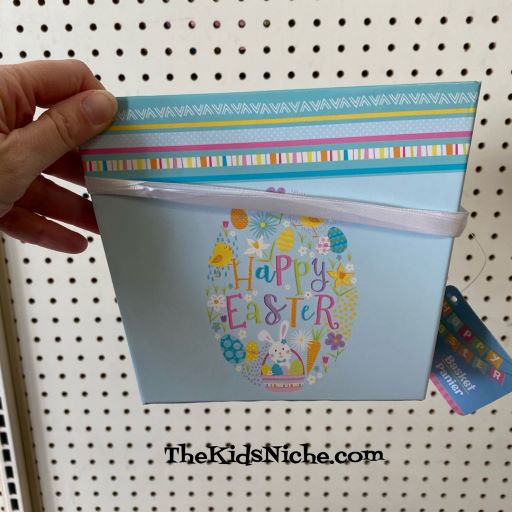
I know that the Easter holiday isn’t until April, but I saw some fun Easter items at a Dollar Tree store today. If any of these look good to you, don’t wait too long to head to your local Dollar Tree store because they tend to sell out of items fairly quickly! The Dollar Tree stores close to us have increased their prices to $1.25 for each item. But that is still much cheaper than other stores.
Let’s start with this adorable Easter box. They had 2 sizes of boxes at our Dollar Tree store, but items can differ from one store to another. This is a square box that is open on the top.
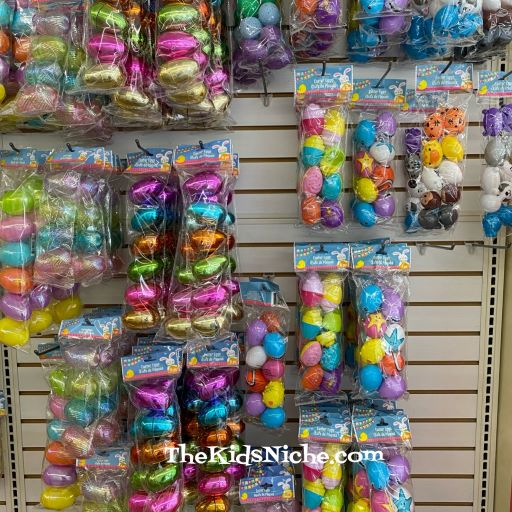
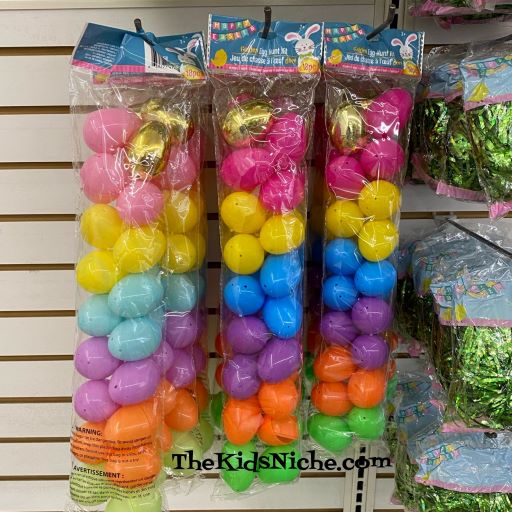
They also have a TON of plastic Easter eggs!! The packages go from as few as 6 large eggs to as many as 18 smaller eggs.
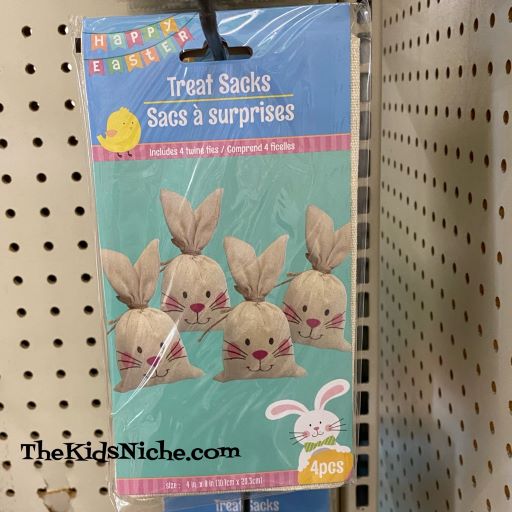
Here are some cute bunny treat bags! There are 4 in a package.
This is what they look like. They are made from cloth and I plan to put Easter treats inside a plastic bag before I put them inside of the bunny bags.
I found some adorable stuffed animals! 🙂
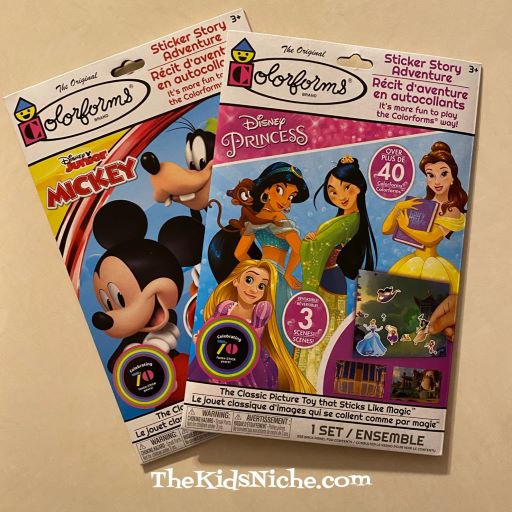
Colorforms Sticker Story Adventure boards make for some great quiet time play!
And, of course, there is a LOT of candy! SweetTarts Jelly Beans looked pretty yummy to me.
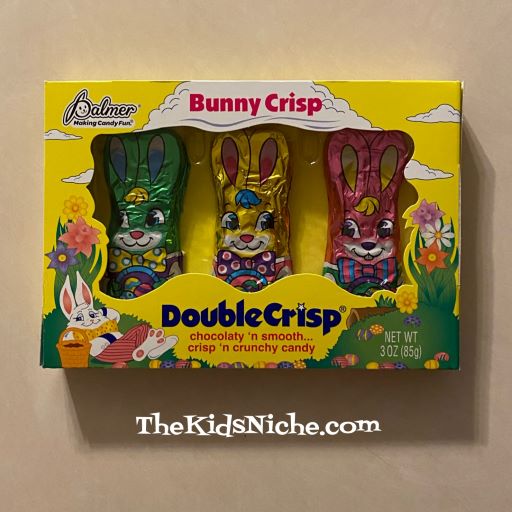
Don’t forget chocolate bunnies!
I hope this will be some help for you as you plan your Easter shopping list of things to get for the kiddos’ Easter baskets! 🙂
Learning the alphabet with 26 letters can be a bit daunting for some kids. Finding ways to make it fun can help to ease the stress or anxiety they might be feeling. Here are 2 quick ways to make it seem more like a game or a craft and help you sneak in some learning when they aren’t looking! 😉
The first way is to use some magnetic letters. I found this batch at Walmart. Your kids can play with the letters on the side of your refrigerator or try using a metal cookie sheet. The cookie sheet keeps the letter all in one easy place and means it can be taken to a chair or comfy spot for playing.
The second idea is to use some beads with letters printed on them. These come in several shapes, sizes and colors. With some string, your kids can make a bracelet while putting the letters on the string in order. Wearing the bracelet can make it fun to sing the alphabet song while moving each letter bead as that letter is sung.
Or make a slip knot in each end of the string after the letter beads have been strung and now the letters can be hung up. 🙂 Hope these 2 quick and easy ideas will bring some fun to your house while learning letters. 😊
I accidentally discovered something cool about pine trees and I thought you might find it interesting too. We have a very large pine tree in our yard.
I really like the shape of the pine cones that grow on this tree. So the other day I picked 2 off the tree and brought them inside to dry. I planned to paint them and use them for decorations.
I noticed that the pine cones were starting to open up as they dried.
Here is a picture of a dried pine cone and one that I just pulled off the tree today. Can you tell the difference?
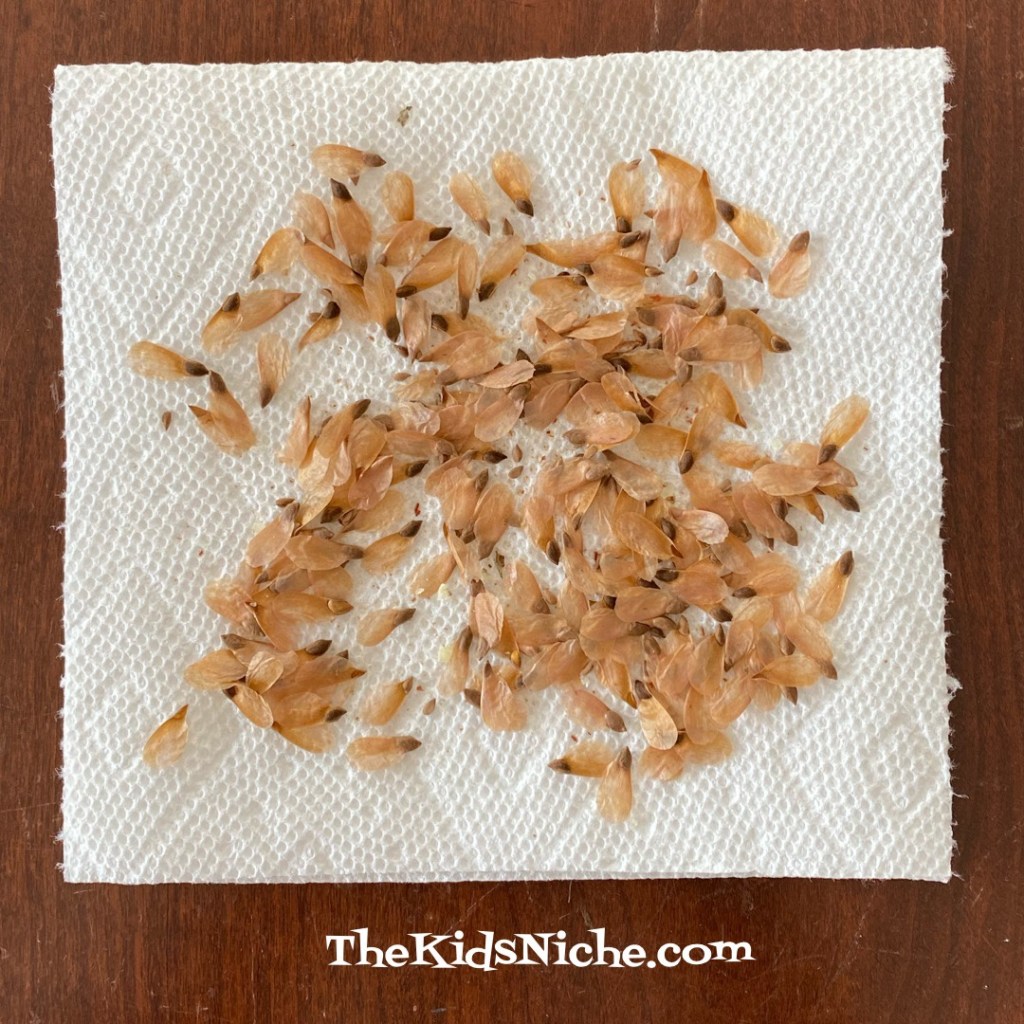
This morning when I picked up the 2 dried pine cones, guess what fell out?
Yep, seeds! 😃 Pretty cool, isn’t it? If you are like me, you might be wondering if those seeds can be planted and grow into pine trees? Well, from what I read online the answer is maybe. The seeds have to go through a process of being frozen for about 3 months and then they can be planted. These seeds have been outside all winter so they might grow. I just might plant a few and see what happens! 😉 Most of the time when you find a pine cone laying on the ground, it has already released its seeds. So now you know where pine tree seeds come from!
Valentine’s Day is getting closer and if you still need a card for someone young (or young at heart), this card might be just the thing. It’s quick and easy to make and adds a little something fun to your card.
Here’s what you’ll need: a piece of cardstock, a small piece of red cardstock or construction paper, scissors, glue, pencil, heart template or cookie cutter (or cut your own), markers/crayons/colored pens or pencils and a glow stick. I found a pack of 6 glow sticks at the Dollar Tree for $1. Oh, and a couple pieces of scotch tape.
We’ll begin by folding the piece of cardstock in half to make a large sized card.
Decorate the front of the card for Valentine’s Day.
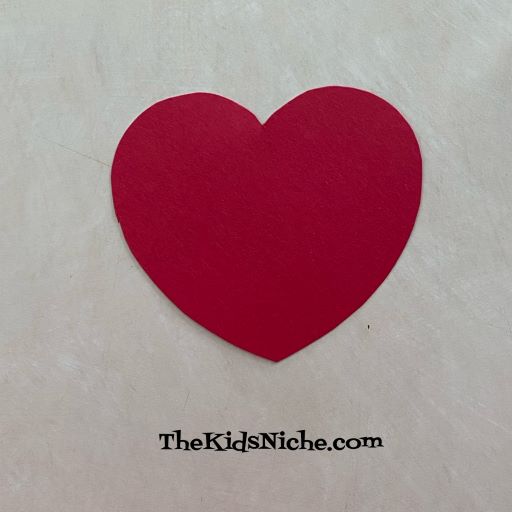
Next trace around the heart template or cookie cutter or draw your own heart on the red paper.
Cut out the heart shape with your scissors.
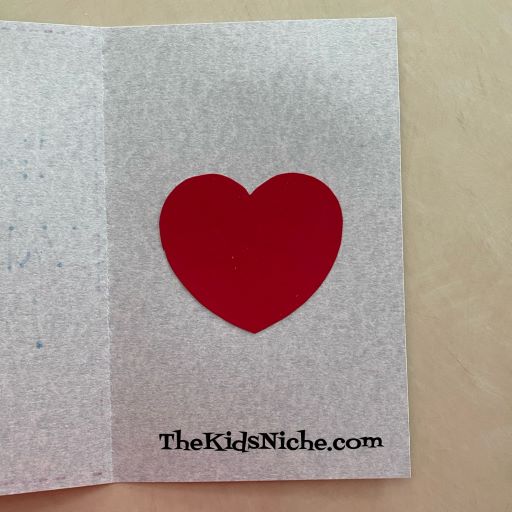
Open the card and glue the heart approximately in the middle of the right side section.
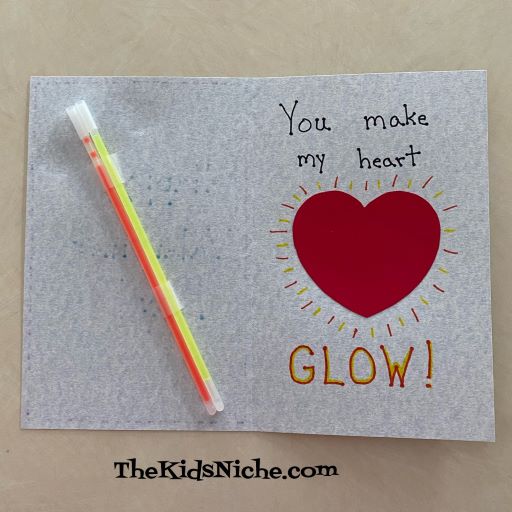
Next write the words, “You make my heart GLOW!” I used an orange marker for the word GLOW and added some yellow on the letters too. I also added some short lines all around the heart with the orange and yellow markers to make the heart look like it’s glowing.
Now for the fun part, tape at least 1 glow stick (not broken yet!) on the left inside section of the card.
And there you have it! The recipient can now bend the glow stick and make it glow! 🙂
Glow sticks make the card more interesting since there is something to DO after reading the card. It could also be fun if you bend the glow stick so it starts glowing, RIGHT before you give the person the card! Then the card itself will be glowing and they can still play with the glow stick. 😉 So make some of these Valentine’s Day cards for the special people in your life that make your heart glow! 😉
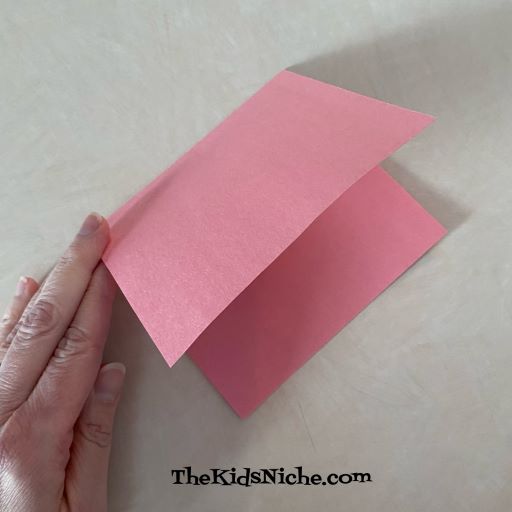
This is a fun card to open because there is a little heart inside that will twirl around when the card is opened. Sound fun? Let’s get started! You will need a piece of construction paper approximately 5 inches by 9 inches. (The size can vary.) Some scissors, glue, 2 small hearts cut from another color of construction paper, markers and some thread.
Begin by folding the piece of paper in half.
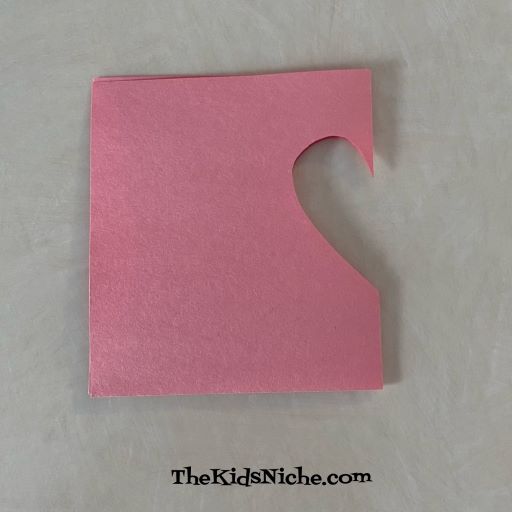
Using your scissors, cut a half of a heart shape on the fold.
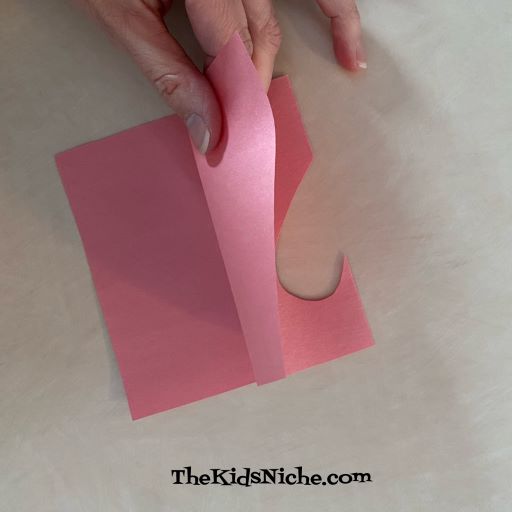
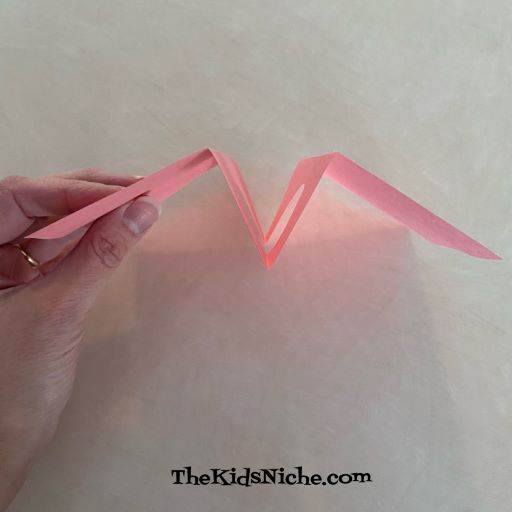
Fold one side of the paper end up past the heart shaped cut.
Do the same with the second side.
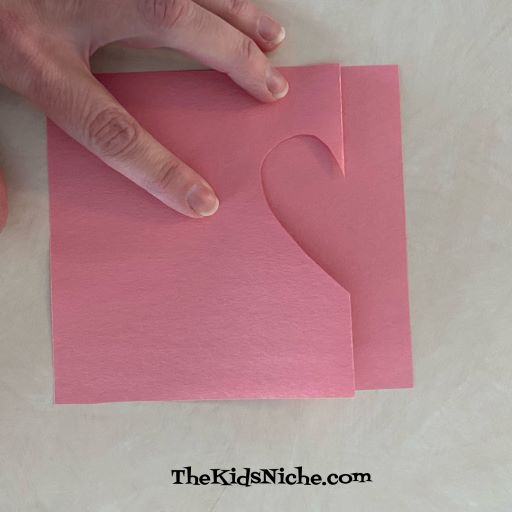
When you open the card up, it should look like this from the end view.
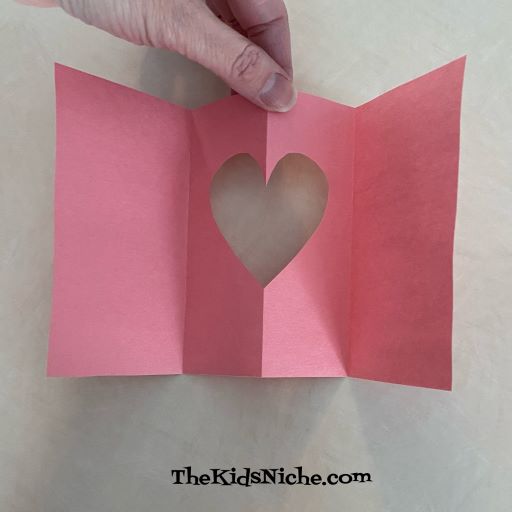
And it should look like this from the front.
Now turn the card over so the back side is facing up. The fold in the middle of the heart cut out should be going “down” with the folds on each side going “up”. Cut a piece of thread that is just long enough to cross the heart cut-out and have a little room on each side of the top and bottom of the heart.
Make sure your little hearts are small enough to fit in the heart cut-out with room all around it so it will be able to spin.
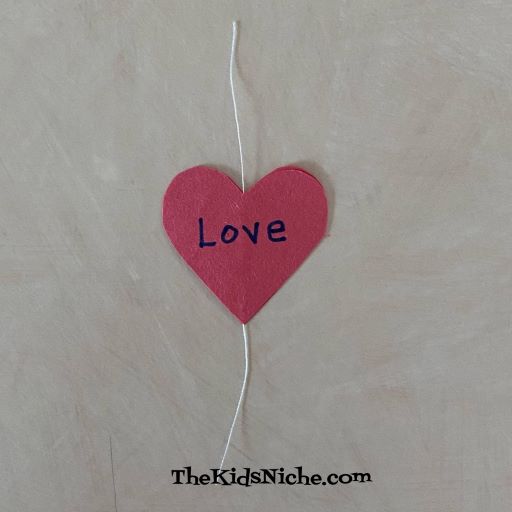
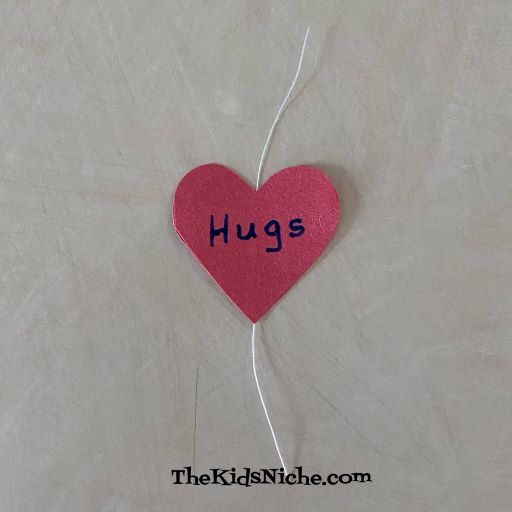
It’s time to make the twirling heart part. Put some glue on 1 small heart, making sure there is glue down the center of the heart.
Lay your piece of thread on the heart with the glue and make sure it is in the center of the heart.
Lay the second heart on top and press the 2 hearts together so they stick together completely.
Decorate the small heart in any way you like. I wrote a word on each side.
Double check that the fold in the center of your card is down or the back side of the card is facing up.
Run a line of glue right in the center of the fold crease.
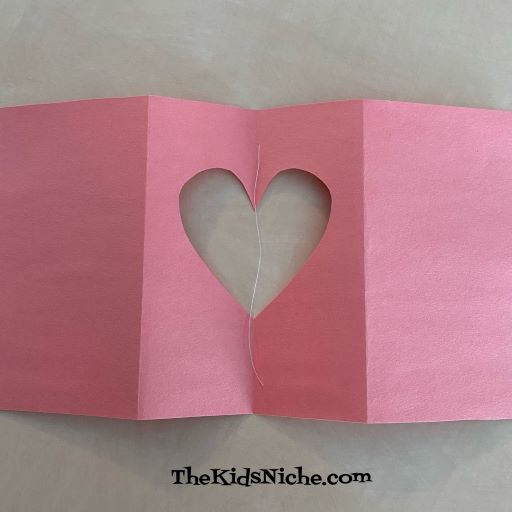
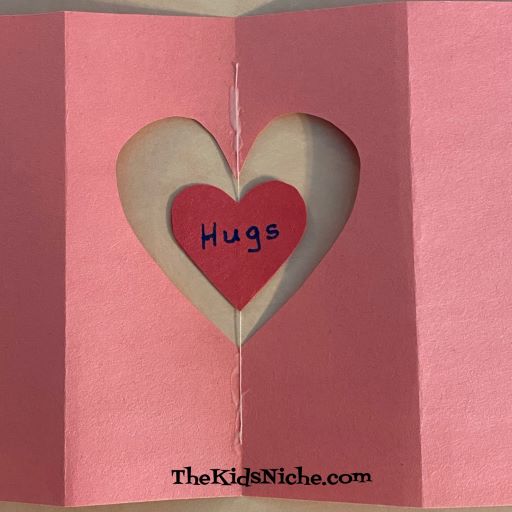
Place your small heart in the center of the heart cut-out with the strings laying on the lines of glue on each side.
Give the glue time to dry before moving on. The next step is to decorate your card by writing or drawing whatever you like on your card. The right side panel will be the front of your card when it is folded up.
This is what my card looks like when its folded.
Before closing your card, gently turn the small heart several times like you are winding it up. Carefully close the card, checking to make sure the small heart is laying flat.
When the card is opened, the small heart inside will spin! 🙂 You might want to hold the card closed with a paper clip or place it inside an envelope.
I hope you will enjoy making this Twirling Heart card! 🙂