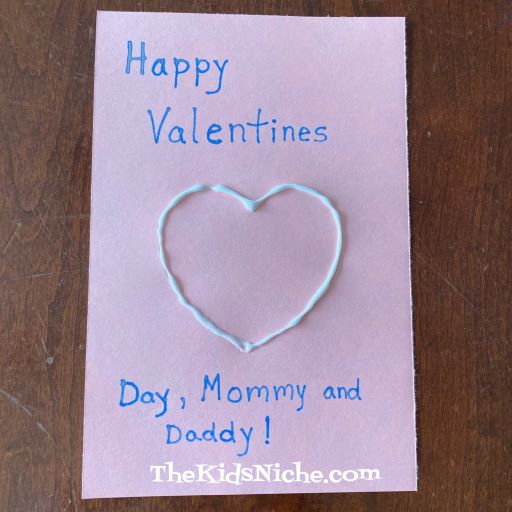
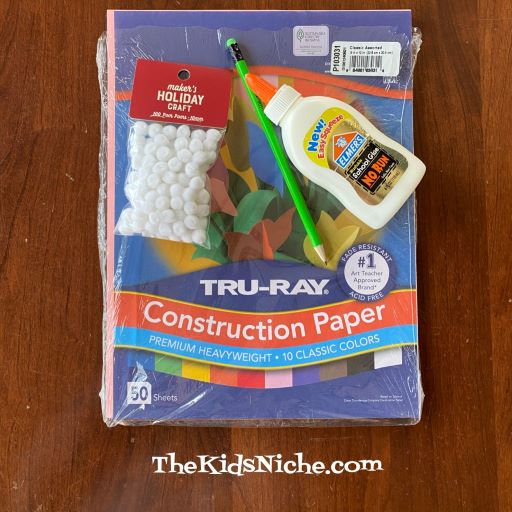
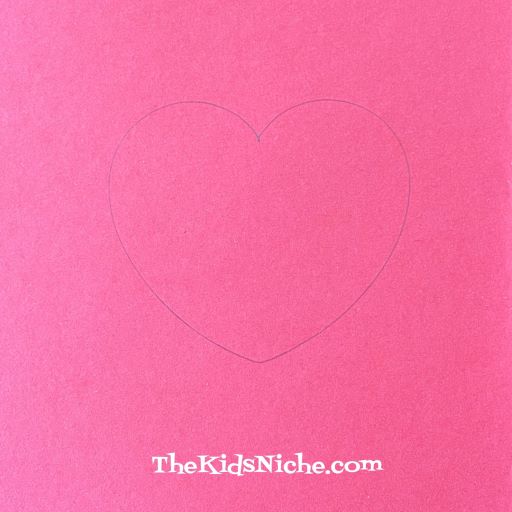
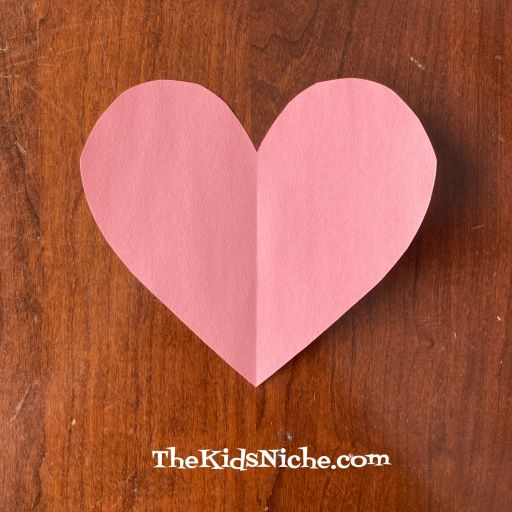
I had some other Valentine’s Day crafts in mind to do for you, but when I got sick with Covid, that all kinda went by the wayside. But I do have one more cute Valentine card idea for you that’s super quick and easy. You can make it as a decoration or a card. You’ll need a piece of construction paper (I used pink), some glue, pretty string or yarn, a pencil, markers or crayons and scissors. Begin by drawing a heart on your piece of construction paper. I used a heart shaped cookie cutter to trace around for my heart. (My apologies for the poor quality of pictures. I was coming down sick when I made this and didn’t feel up to moving around to find better lighting.)
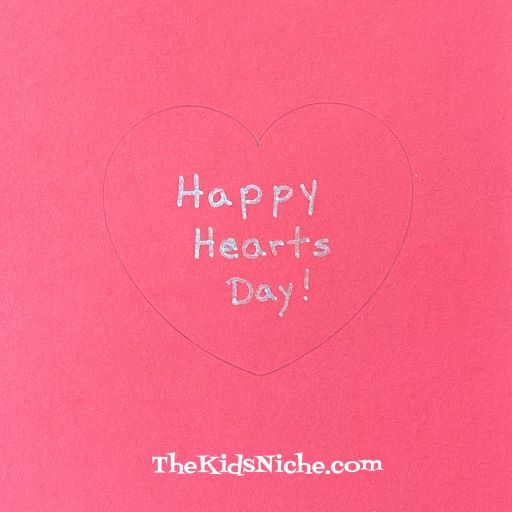
Write your message on your card.
Draw a line of glue on the heart shape.
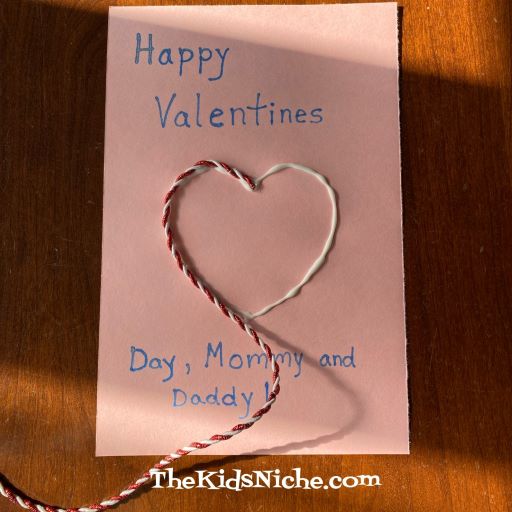
Lay a piece of the pretty string or yarn all around on the line of glue.
Cut the string or yarn to the right length to finish the heart shape.
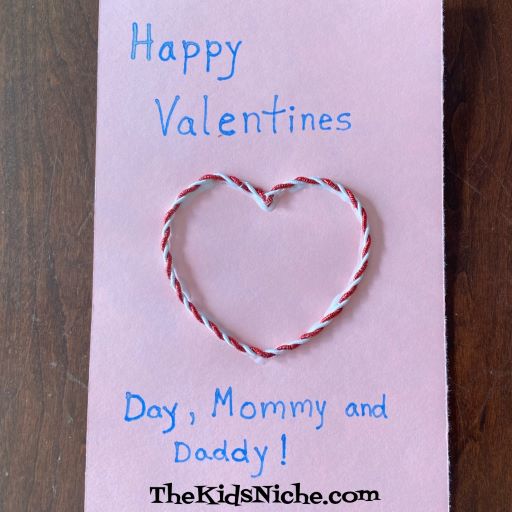
That’s all there is to it! 🙂 Your card or decoration is finished! Allow the glue time to dry and then share your craft with that special someone.
Hello again! Sorry I fell off the map there for a while, but my husband and I came down with Covid the same day. UGH! While we didn’t get seriously sick like some folks have, we were definitely miserable and were ready for it to go away long before it did. We are still feeling the crazy tired stuff but slowly improving! I’m hoping to be back in the saddle now here on the blog.
Yesterday was our last day of quarantine and we both had cabin fever. Time to get out of the house while still keeping our distance from people. We ordered “curbside to go” food from a local restaurant, drove through a local coffee shop drive through for some yummy drinks and then went looking at some of our favorite nature spots in our Jeep. Oh yes, Rusty, our Labrador Retriever came along. 🙂 Believe me, he had cabin fever too! LOL
Clear Fork Reservoir is not far from our house so that was our first stop. There is a small Marina there and a boat ramp. We were surprised to actually see a couple of people out in a boat. The trees are, of course, without their leaves, so it wasn’t as pretty as it is in the spring and summer, but the fresh air felt amazing!
Part of the reservoir water is thawed now, but there was still some ice in places. We got a chuckle out of watching some birds running around on the ice. We also dreamed about when the weather will be warm enough again to take our boat out for a spin. 😉
Knox Lake is not far from us either and so we spent a little time driving around that area and finding the different boat ramps. Then we googled where the Knox Lake dam is because its a little tricky to find. (Aaaand Google was wrong so that made it even more interesting!) But we were eventually successful!
There isn’t much to DO at the dam, but again, it was just nice to feel some fresh air and get out of the house for a bit.
We find it interesting to explore the area we live in and almost always find something we haven’t seen before. So even if you need to stay in your vehicle like we did, you can find something to explore. 🙂
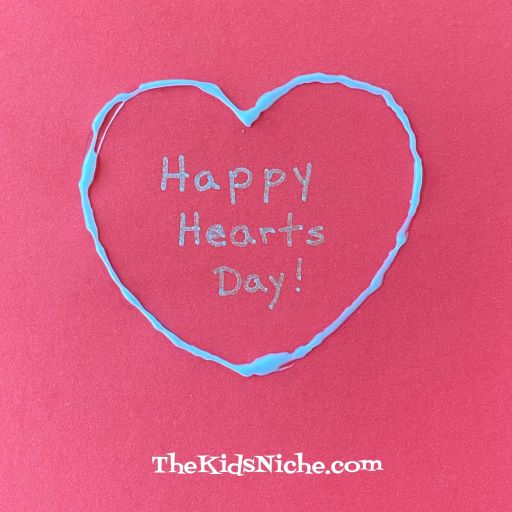
It’s February and that means Valentine’s Day is right around the corner! Here’s a simple but fun Valentine that your kids can enjoy making. You can make it as a Valentine card to give to that special someone or let it be a decoration to brighten up your house for Valentine’s Day.
You will need some construction paper, a pencil, glue, little pom poms and a marker or two.
I chose to use red paper and white pom poms, but you could use pink or white paper with red, pink or white pom poms. Go with what you have on hand or can find easily at a store. Begin by drawing a heart shape on the paper. I used half of a piece of construction paper and I also traced around a heart shaped cookie cutter.
If you would like to write a message on your heart, do it now.
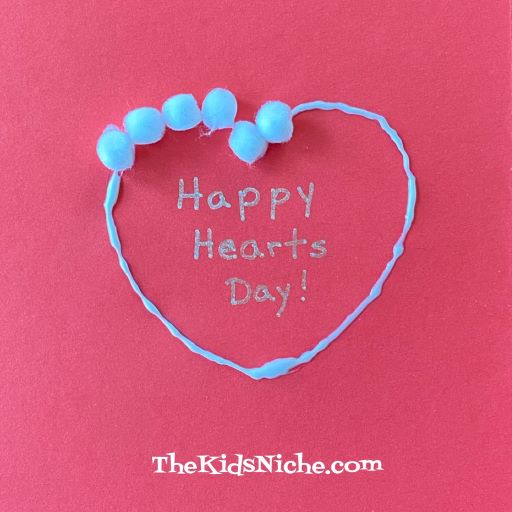
Put a line of glue all around the outline of the heart.
Place the little pom poms on the glue and press them down a little bit.
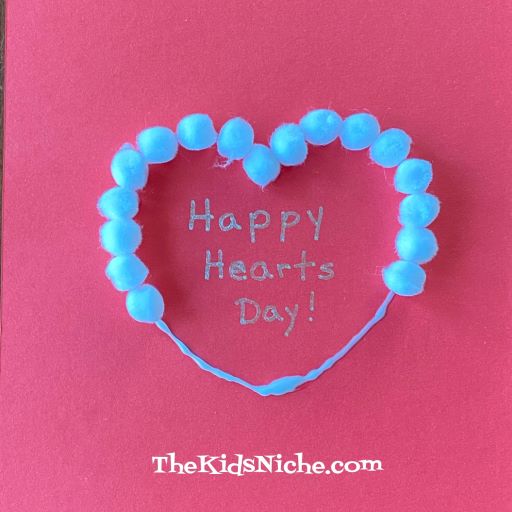
Keep placing the pom poms on the line of glue…
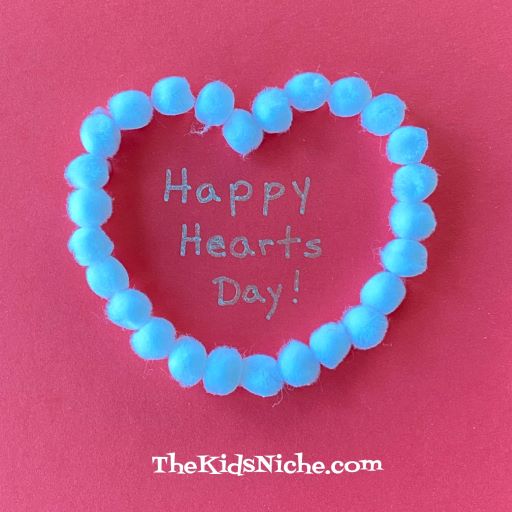
…until you have filled the whole line with pom poms.
That’s all there is to it! You’ve made a cute Valentine! 🙂 You can decorate the rest of the paper if you’d like to or leave it as it is. Have fun making your own handmade Valentine! 🙂
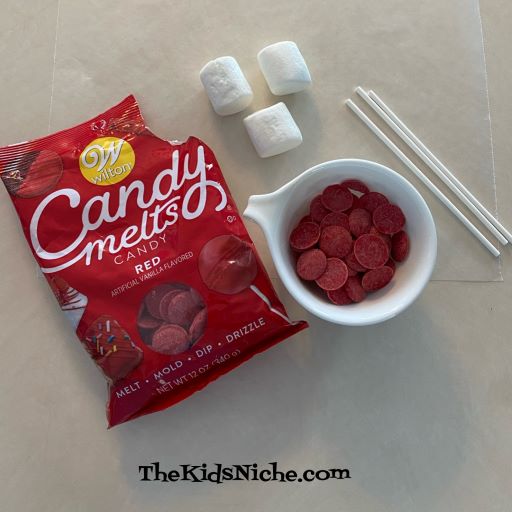
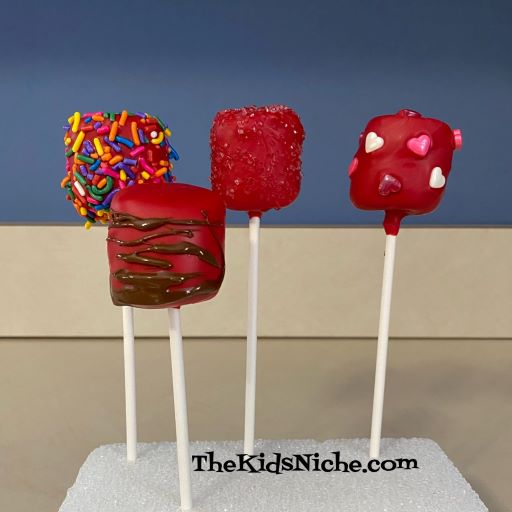
If you are looking for a yummy treat for your kids for Valentine’s Day, you might like this one – candy coated marshmallows! (My hubby ate 3 of them last night so they must be pretty good!) 😉
You will need marshmallows, paper sticks, candy melts and sprinkles or edible decorations.
Melt some candy melts in a small container according to the package directions. I melted mine in the microwave.
After the candy melts are melted, dip one end of a paper stick into the candy.
Push the stick into the middle of the marshmallow.
Submerge the marshmallow in the melted candy, turning it so it is completely covered with the candy.
Allow the excess candy to drip back into the dish and then lay the coated marshmallow on a piece of wax paper. Or if you have a piece of styrofoam, you can stick the marshmallow into the styrofoam to hold it.
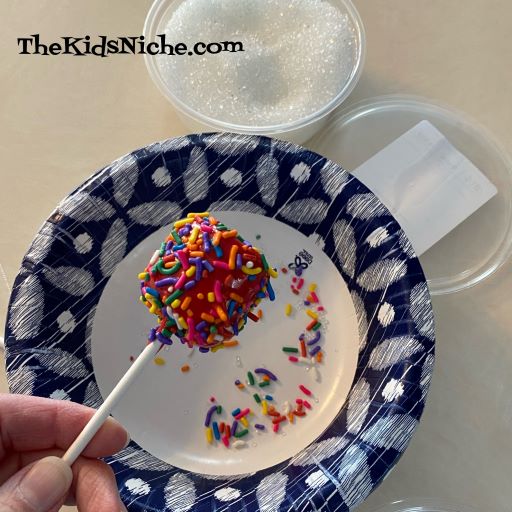
Quickly, before the candy hardens, add the sprinkles or edible decorations to the marshmallow. I used gourmet white sugar…
Sprinkles…
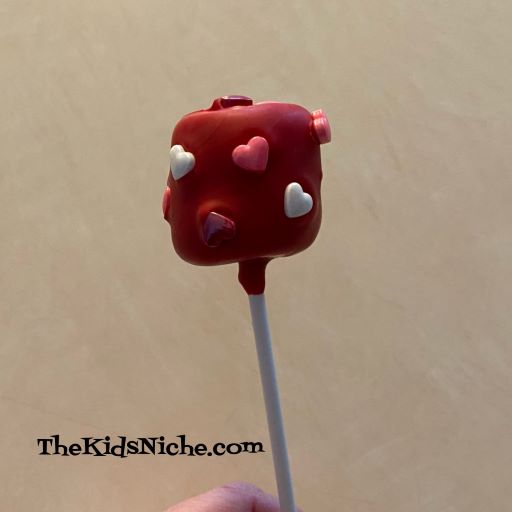
And candy hearts.
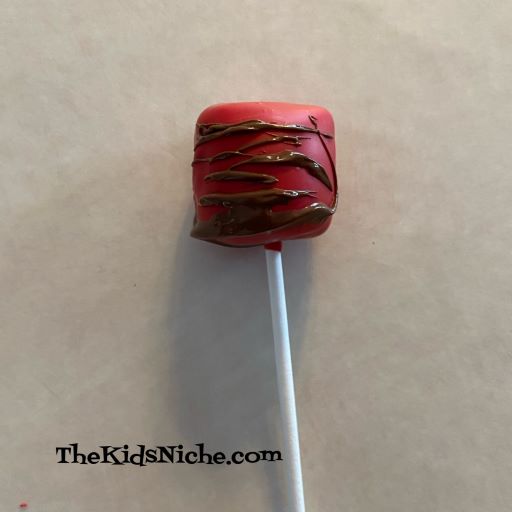
You can also use more of the melted candy wafers to decorate by letting some strings come down from a spoon.
And there you have it! Pretty candy covered marshmallows for a fun Valentine’s Day treat! You can stick them in a block of styrofoam for serving too. Or put them into individual plastic treat bags and tie them closed with a ribbon bow. 🙂
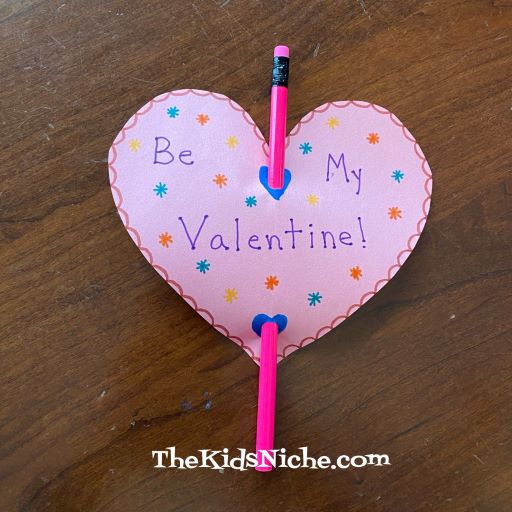
Hi everyone! 🙂 Today is January 25th and Valentine’s Day is just about 3 weeks away. So I want to start sharing a few ideas to make your Valentine’s Day more fun. 🙂 Today we’re going to make a simple Valentine’s card that adds a little something extra to it. This would be great for your kids to make at home for those in-school Valentine’s Day parties.
This card doesn’t need any fancy supplies. You will need some construction paper, scissors, markers, a single hole punch and some new pencils.
I discovered through a bit of trial and error, that making a heart that is a little bit bigger makes this card work better. I started out using a cookie cutter to trace around for making a heart, but it wasn’t really big enough to insert the pencil without tearing the paper. Let’s get started! 🙂
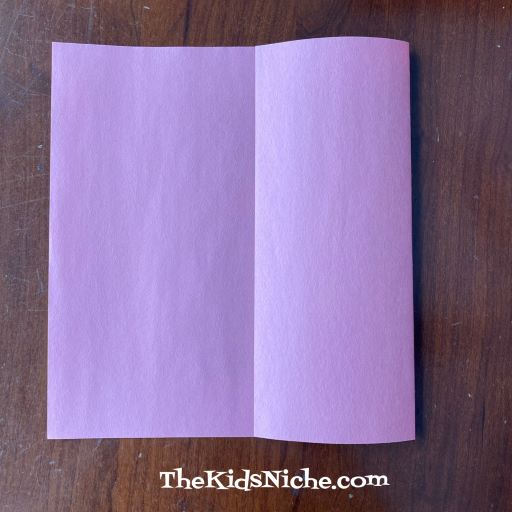
Start by folding one end of a piece of construction paper over about 3 1/2 to 4″.
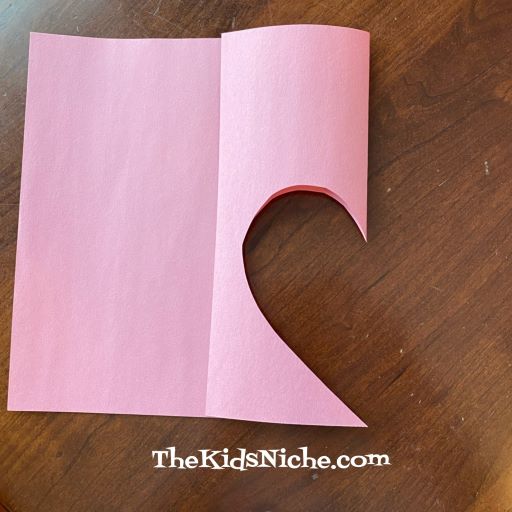
Cutting on the folded edge, cut out the shape of half of a heart. Remember, make it a fairly large heart.
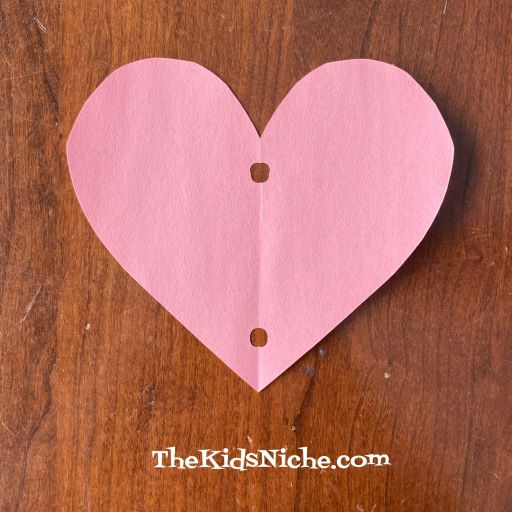
Open your heart and lay it flat on the table.
Using the hole punch, make 2 holes in similar areas of the heart as in the following picture. Don’t get too close to either edge of the heart or it’s easy for the hole to tear out.
Check to see if the holes are big enough for the new pencil to fit through. If they aren’t big enough, you can make them a little wider with the hold punch by sliding it over just a tiny bit and punching it again.
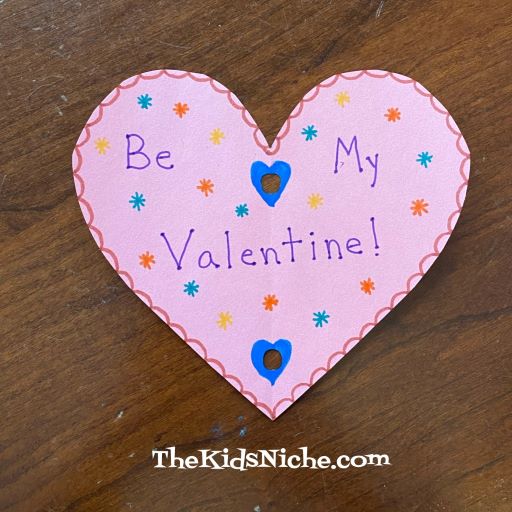
Next, decorate your Valentine heart. 🙂 And you might want to sign your name on the backside.
Slide the pencil through the 2 holes and your Valentine is ready to share! 🙂
You might be able to find some really cute Valentine pencils at a nearby store. I didn’t have any right now and we just had another snow storm so I’m not planning to be at a store any time soon! 😉 I hope you will have fun making your own happy Valentines to share with others this Valentine’s Day! 🙂
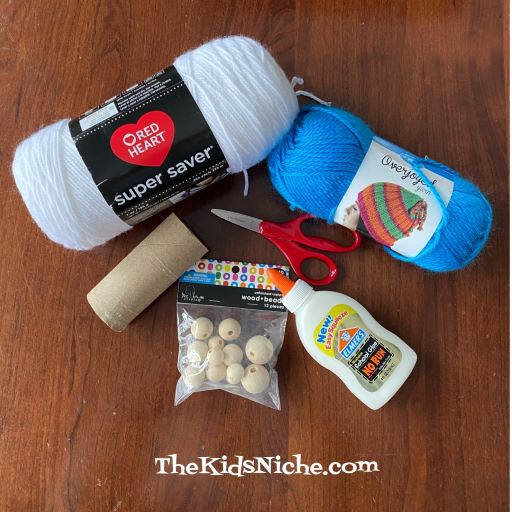
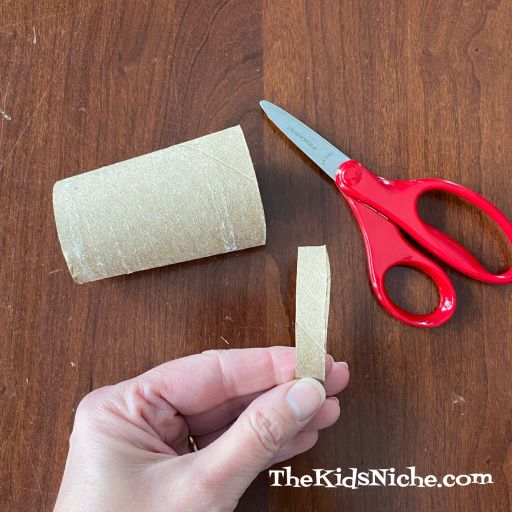
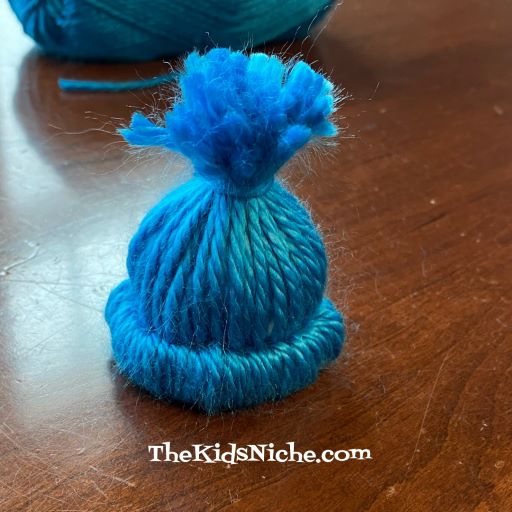
For this little cutie, you will need white yarn, colored yarn, scissors, glue (or glue gun), 1 small round wood bead and a toilet paper roll.
First we will make the hat. Cut a piece off the end of the toilet paper roll less than an inch wide. Anywhere between 1/2″ to 3/4″ is fine.
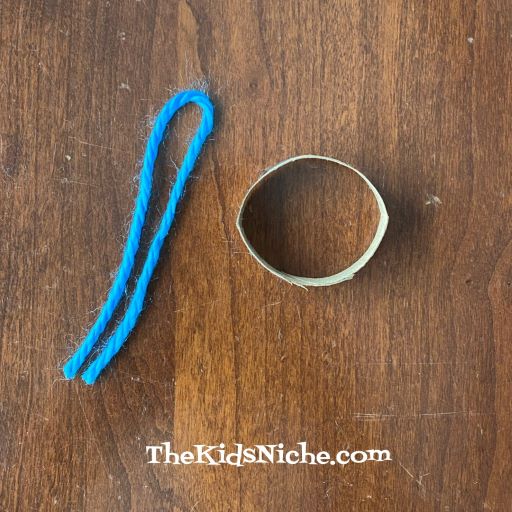
Next you’ll need to cut a bunch of pieces of yarn 8-9″ long. It will depend on the thickness of your yarn how many pieces you will need. I used around 34 pieces for my hat.
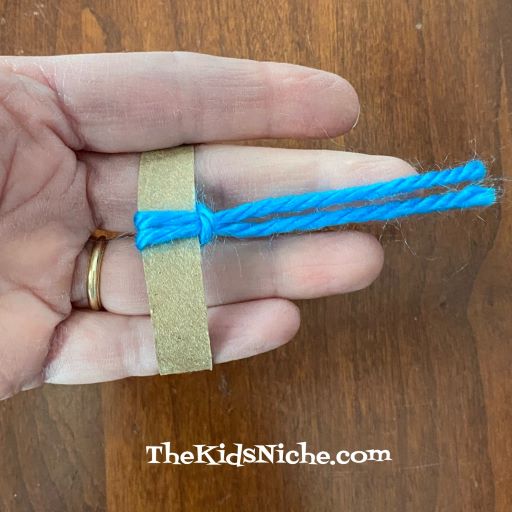
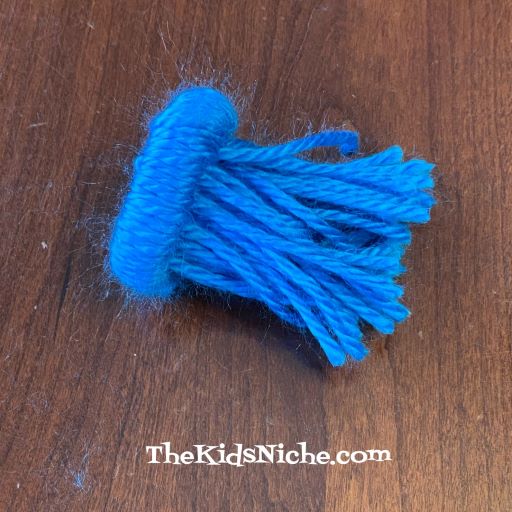
To begin making the hat, take one piece of yarn and fold it in half.
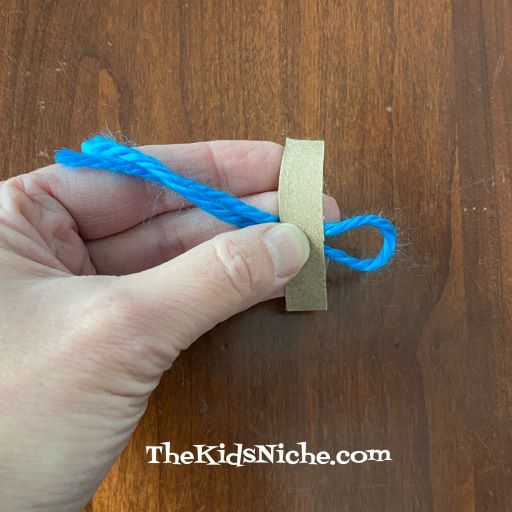
Slide the folded end of the yarn through the cardboard ring you cut off the toilet paper roll.
Take both ends of the piece of yarn and feed them through the folded end of the yarn.
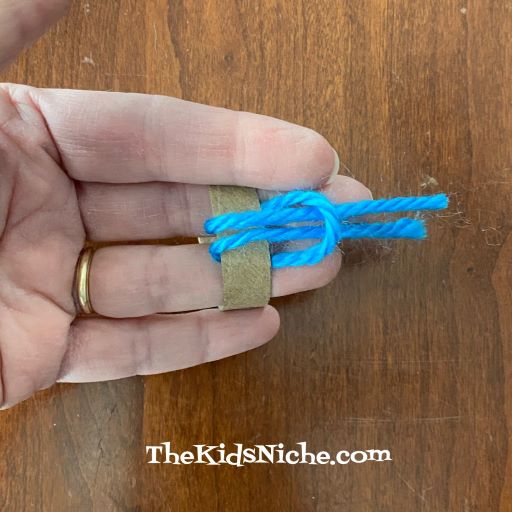
Pull it up snuggly, but be careful not to bend the cardboard ring.
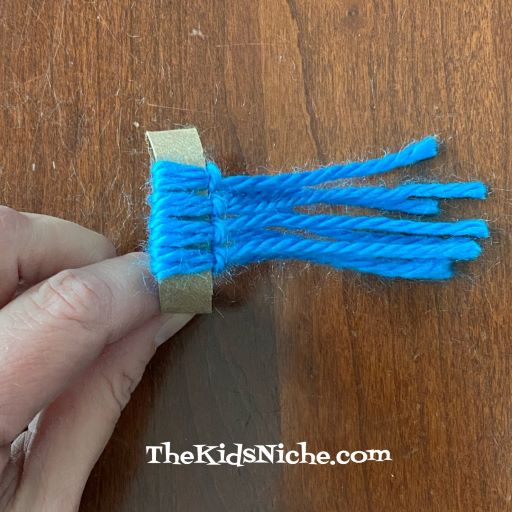
Continue adding pieces of yarn in the same manner until you have filled up the cardboard ring.
Push the yarn close together so you don’t see the cardboard underneath.
Made it all the way around!
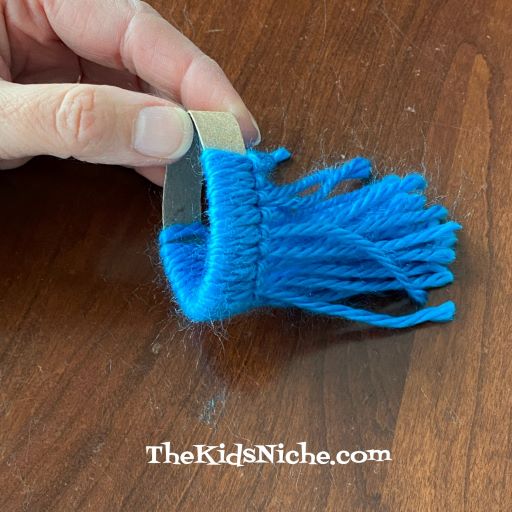
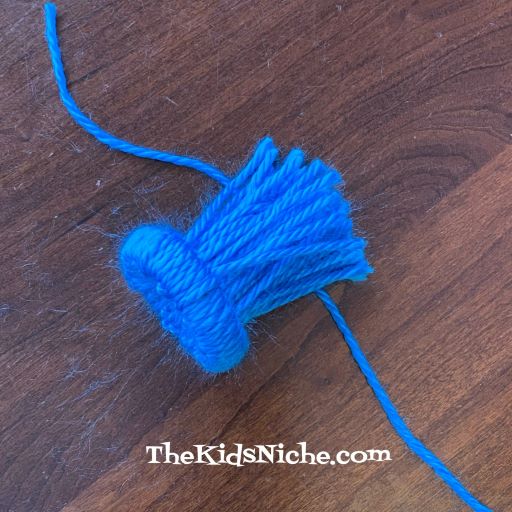
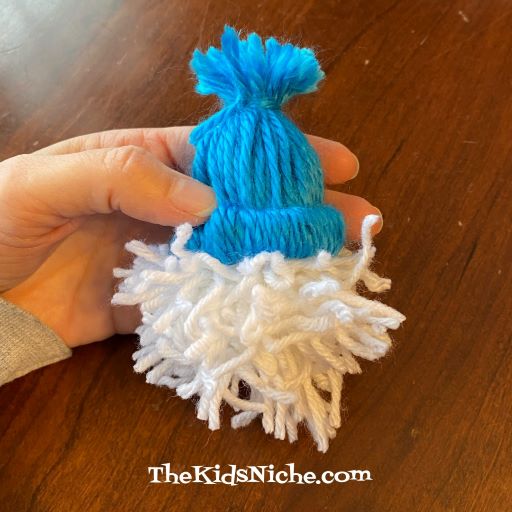
Now push all the ends of the yarn through to the other side of the ring.
Cut another piece of yarn to tie all the ends of yarn together.
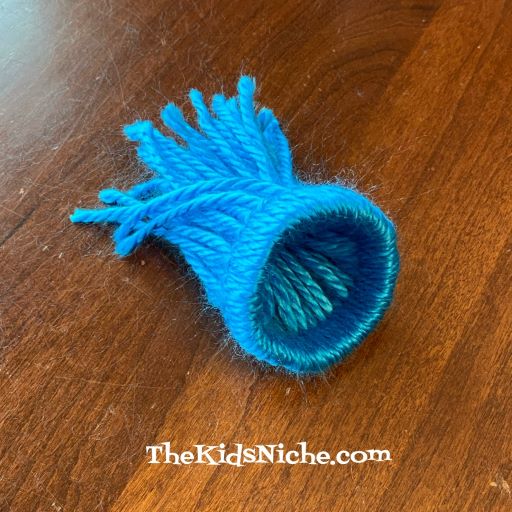
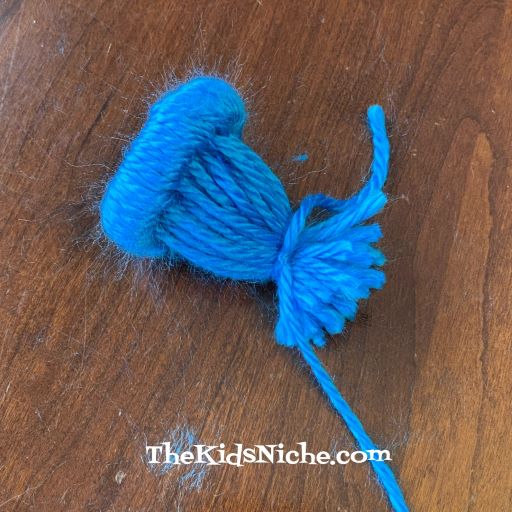
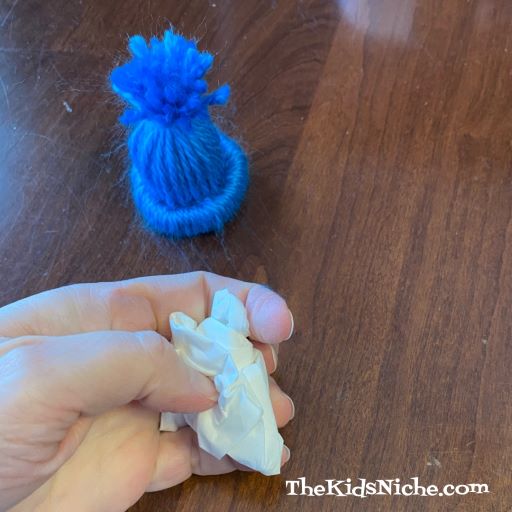
Trim the longer piece of yarn down to the same size as the top of the hat. You can trim the hat tassel more evenly if you like. Wad up a tissue into a small ball and stuff it into the hat to give the hat some shape.
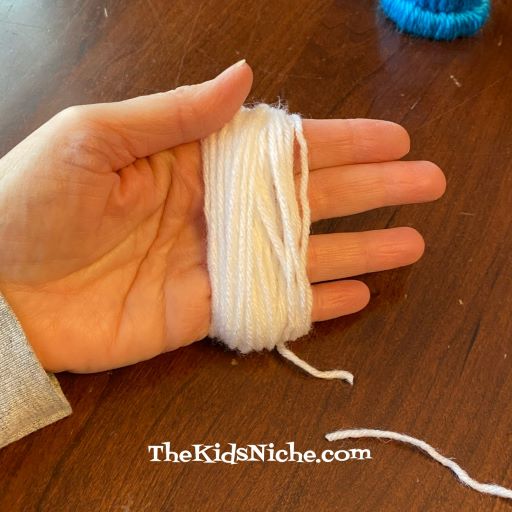
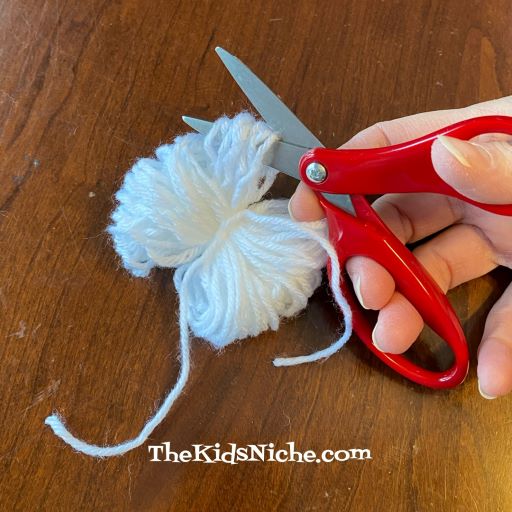
Now on to making the gnome’s face/beard. You will make a pom pom in the following manner: wrap the white yarn around your hand (or a piece of cardboard) at least 50 times. Again, it depends on the thickness of your yarn. The more times you wrap the yarn, the fuller the gnome’s beard will be.
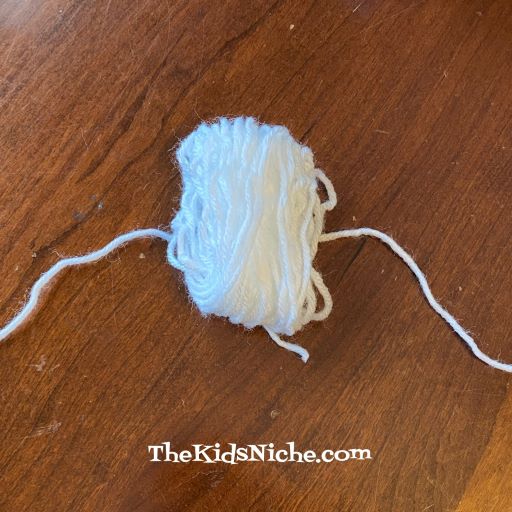
Carefully slide the yarn bundle off your hand, holding the yarn together as it’s wrapped. Cut a piece of white yarn and tie it tightly around the middle of the yarn bundle.
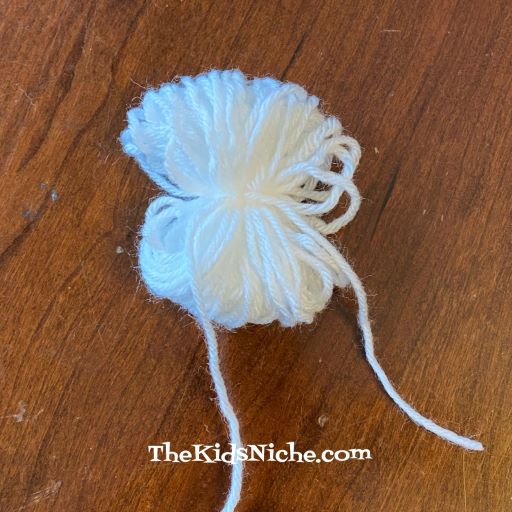
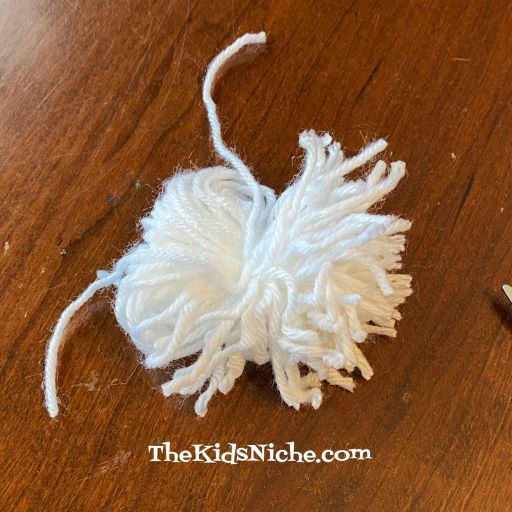
Cut the loops in half on both ends of the yarn bundle.
One half done…
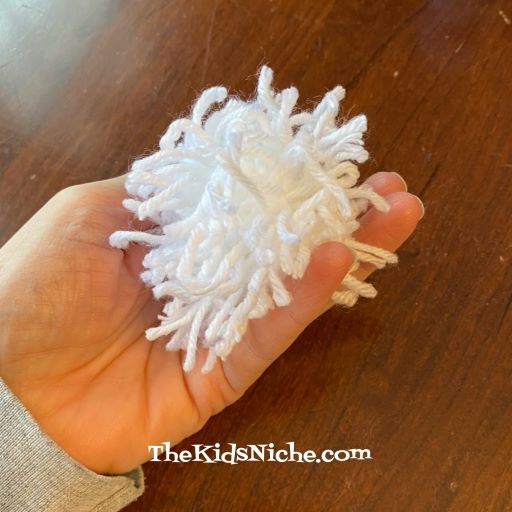
Now fluff the pom pom up using your hands to move the loose ends around.
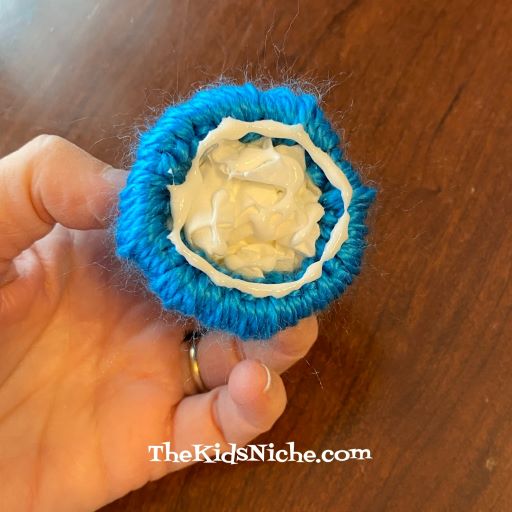
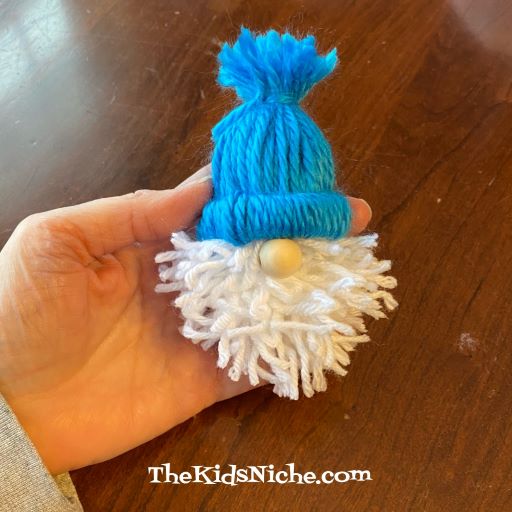
If you like, you can trim the pom pom down into a smooth ball shape or because it’s a gnome, you can leave his beard looking at bit scraggly. I went with scraggly. 😉 Put a good amount of glue inside the bottom of the hat.
Push the white pom pom against the hat and hold in place for a little bit.
Lastly, glue the wood bead in place to be the gnome’s nose.
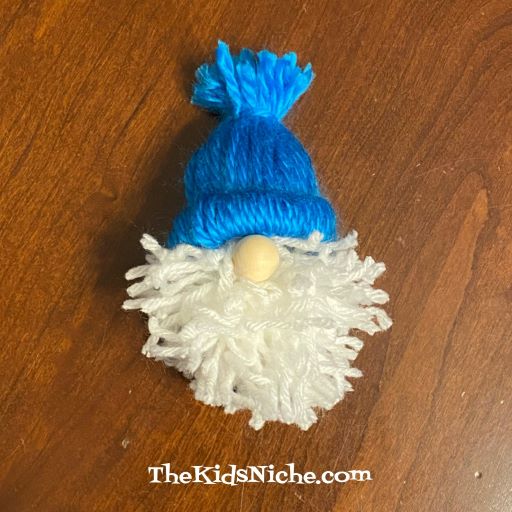
Allow the glue some time to dry before handling the gnome too much. You can trim his beard to look the way you like it. All done and you have an adorable gnome of your own! 🙂
If you want to hang your gnome up, you could use a piece of matching yarn or thread and run it through his hat. Or make it a magnet by gluing a magnet on the back. I hope you will enjoy your new friend! 🙂
I’ve been thinking today about ways that we have fun making wishes. I know that these are just for fun, but they can be just that…fun! Just making a wish can add cheer to your day and give you something positive to think about. So, what are some ways we make wishes? Here’s a few that I thought of…
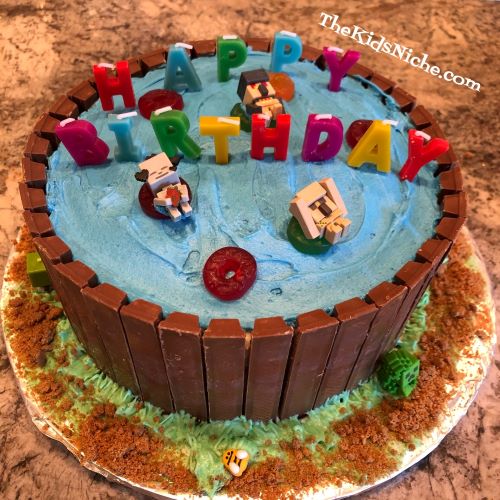
#1.) You make a wish before you blow out the candles on your birthday cake.
#2.) You can make a wish on the first star you see in the sky at night. When I was a kid, we would say this little poem when we saw the first star…yes, it had to be the first star you saw. 😉
“Star light, star bright, First star I see tonight. I wish I may, I wish I might, Have the wish I wish tonight.”
#3.) You can make a wish when you find a “wish chip” in a bag of potato chips. Just in case you haven’t heard of “wish chips”, it’s a chip that is folded over. Like these two chips…
(I was married before I heard about “wish chips”, so don’t feel bad if this is the first time you’ve heard of them.) But check out this chip! It’s folded over TWICE so does that mean you can make 2 wishes on 1 chip?! 🙂
#4.) You can make a wish before you blow all the white fluffy seeds off of a white dandelion. 🙂
#5.) One of my favorite childhood memories was when it was my turn to break the wishbone when Mom cooked a turkey. 🙂 Two people hold the wishbone between them, each having their hand on one side of the bone and their thumbs resting on the side of the top of the wishbone. On the count of three, both people pull up and out and the wishbone breaks into 2 pieces. The person that gets the biggest piece is supposed to get their wish. 🙂
Do you know more ways to make wishes? That’s the ones that have come to my mind today. I can almost hear Jiminy Cricket singing…”When you wish upon a star, Makes no difference who you are…” 😉 Happy wishing!
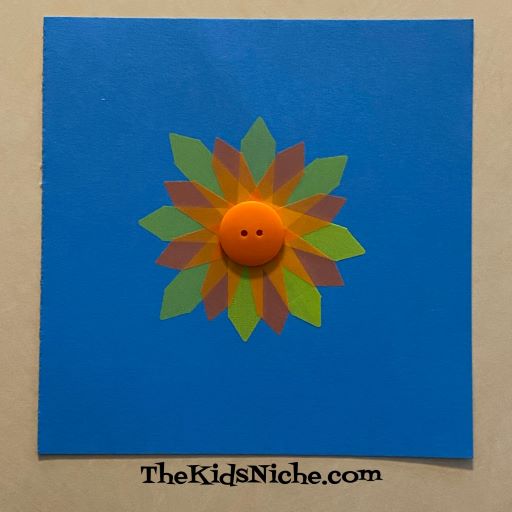
Yesterday it was raining and storming and so gloomy and today it’s cold and snowing! I think we all need something to cheer us up, so let’s make some flowers!
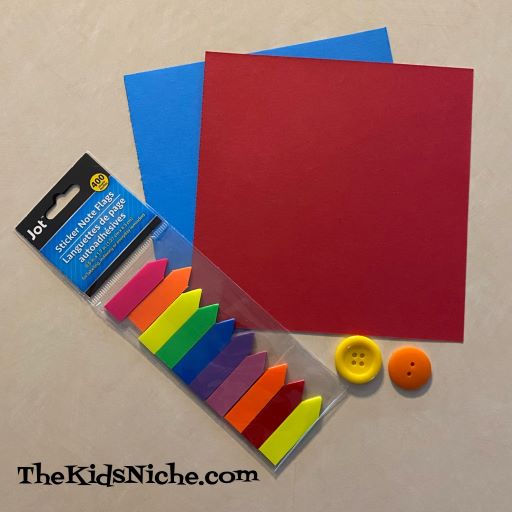
This project calls for some cardstock or regular paper, some sticker note flags, a large button for each flower and some glue.
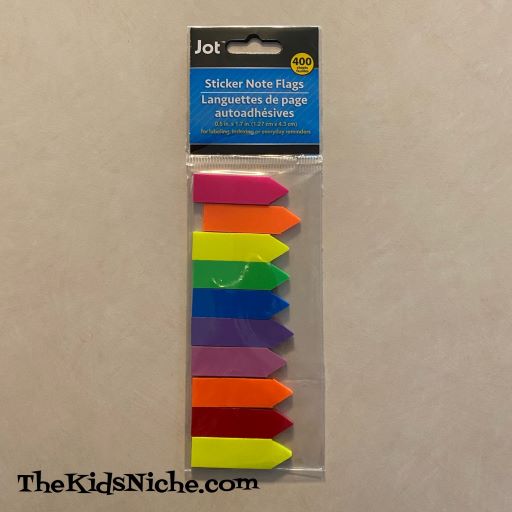
The sticker note flags that I’m using I found at a Dollar Tree store, but you can likely find some in the stationery section of any big box store or an office supply store.
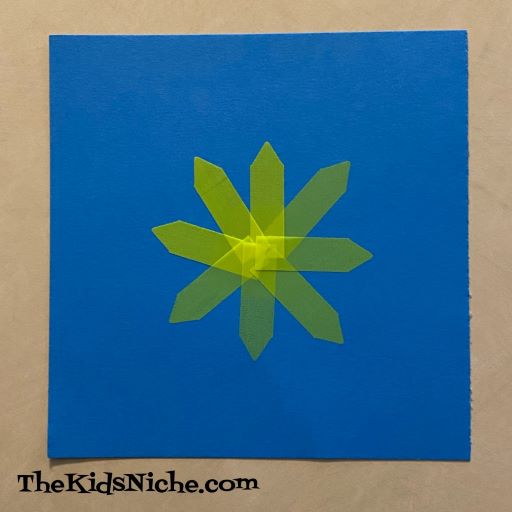
Only the pointed tip of these flags is sticky, but it’s not necessary to glue down the rest of the flag because they will be glued in place later all at one time. Pick the color of flags that you would like your flower to be. I went with yellow for my first flower. (Note: While I used colored paper, the flowers will show up brighter on white paper.)
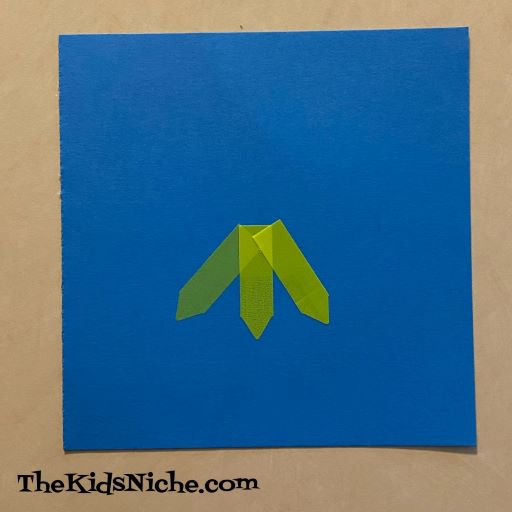
Begin by placing the flags in a circle with the points facing out. These will be the petals of the flower. Overlap the square ends of the flags in the center.
Keep placing the flags until you’ve made a complete circle. It doesn’t matter that the center looks a bit messy because it will be covered up.
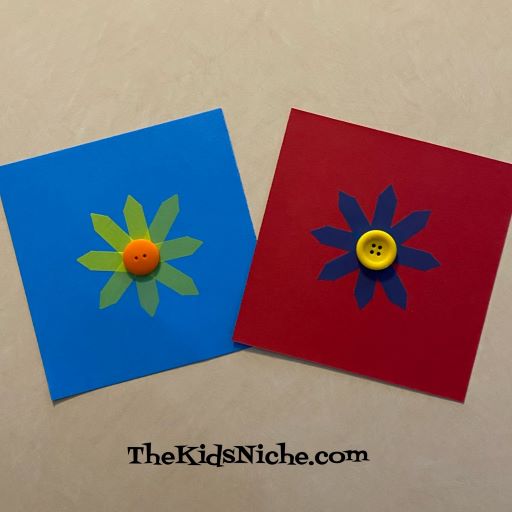
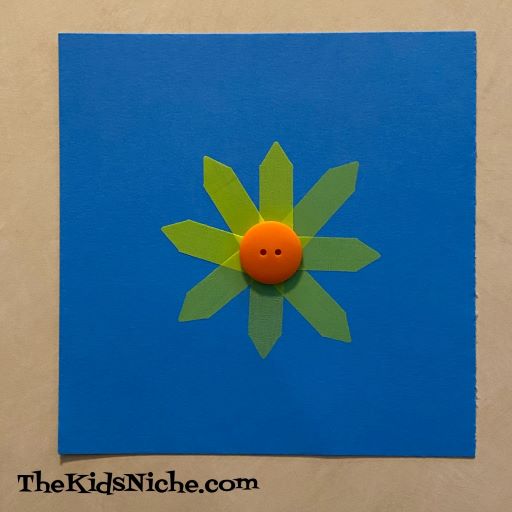
Glue a large button in the center and your first flower is complete! Feel free to decorate the rest of the paper as you like.
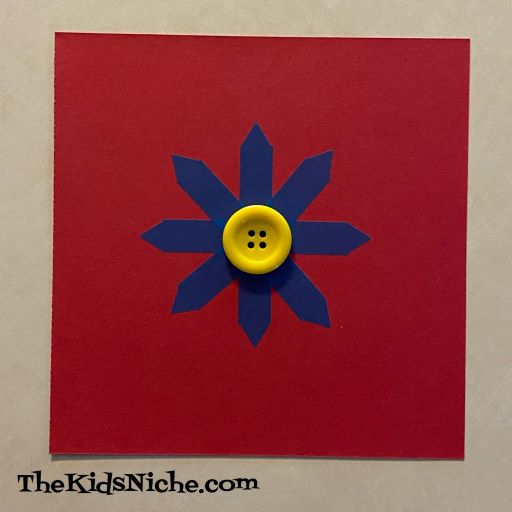
My second flower was made using blue flags on red paper. This time I laid the flags out opposite each other and they look lined up a little better on this flower.
I glued a yellow button in the center of this flower.
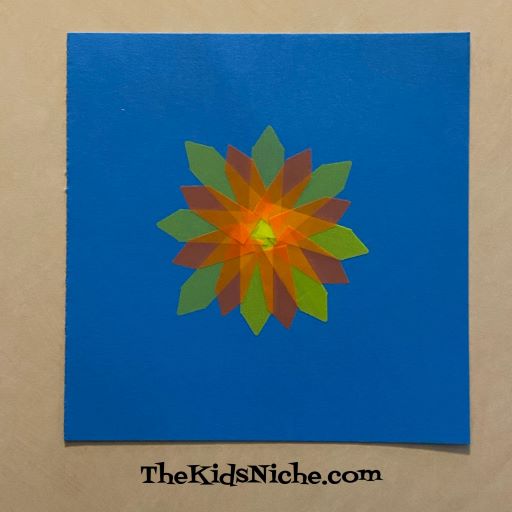
One more little trick you might want to try is to add another layer of flower petals before gluing on the button. I like using a different color of flags and trimming a little bit off the square end to make them fit on the flower.
And then add the button. 🙂
Your flowers could be hung up and enjoyed by the whole family or you could turn them into a card to share with someone special. I hope you’ll have fun making some colorful flowers and brightening your part of the world. 🙂