Hi everyone and thanks for stopping by! Raise your hand if you love Bluey! Ok, now how would you like to have Bluey for breakfast? 😉 If you don’t know who Bluey is, here is a picture of Bluey that I took at our local store.

We have a couple of grandkids that love Bluey! A sweet friend of mine shared the following picture with me. (Thanks, Carolyn!)

(Sorry I don’t know who originally posted this, but it’s awesome!) After seeing this picture I decided to have a go at making a Bluey for breakfast at our house. Here’s how I did mine:
I started out with 2 pieces of bread. The first slice of bread I added peanut butter to the top portion, a little strip of butter to make it look white and then I used blueberry cream cheese on the bottom to make it blue. (A blue or purple jelly would work as a substitute for the cream cheese.)

Using the second slice of bread, I cut 2 triangles to use for ears. I put peanut butter on them too.

Next I used a slice of orange cheese to make 2 small triangles for the inside part of the ears.


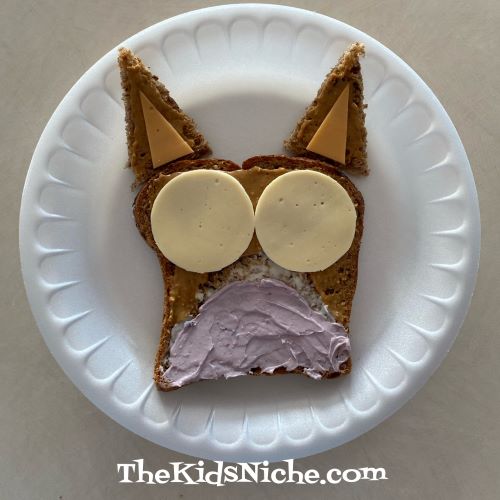
I then placed these items on a plate with the ears at the top.

A white or whitish slice of cheese came next. I used a k-cup to cut around and made 2 circles in the cheese.
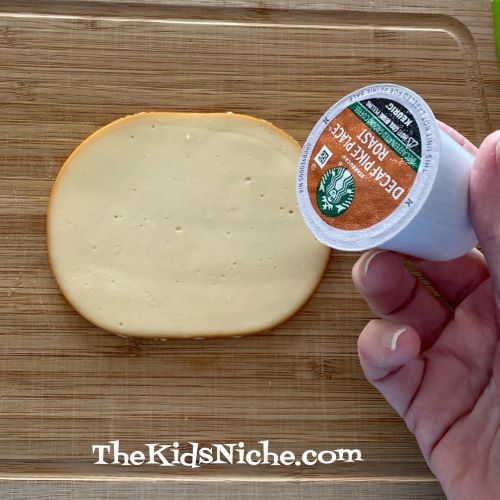

Yep, you guessed it, these are part of Bluey’s eyes.
I cut a banana into 1-2″ pieces and used the straightest piece for the nose.

2 small slices of banana cut in half provided Bluey with eyebrows.
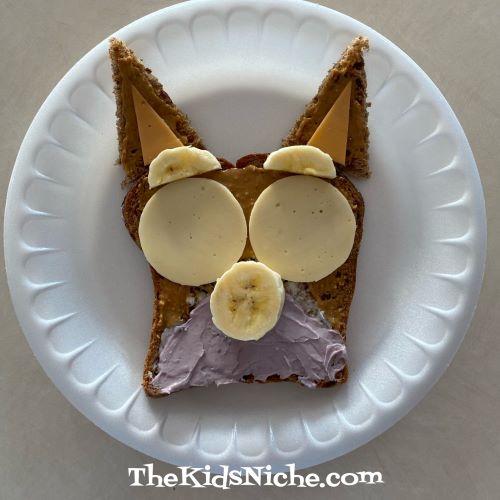
3 blueberries on the eyes and end of the nose supplied the finishing touch! And I present to you….Bluey for breakfast! 🙂

I think Bluey turned out very cute! This is a fun breakfast to make for your kids! And maybe even more fun if they help you make it! One last note, my husband thought Bluey tasted pretty yummy! 😉