Warm weather brings on lots of yummy foods! One of my favorites is blueberries! In Ohio, it’s still a little early for fresh from the bush Ohio blueberries, but they are showing up in our grocery stores now from other places in the U.S. What do you like to do with blueberries? Here are a few suggestions you might like to try:
#1.) Just plain blueberries! I love them just like they are with nothing else added. 🙂
#2.) With milk and honey. Mmmm!
#3.) Blueberry muffins, of course! 😉
#4.) In a fruit salad
#5.) Blueberry cobbler. Oohh, yummy!
The list goes on and on! Blueberry smoothies, blueberry sauce, lemon and blueberry scones, blueberry pancakes or waffles, blueberry pie, blueberry jam, blueberries in salads, blueberries on ice cream…you get the idea! Blueberries are wonderful and so versatile! I hope you’ll taste test a new blueberry recipe today! 🙂
I’m back with another round of Taste Testing Tuesday! This could be the trick to getting your kids to eat more veggies! It’s at least worth of try, right?! 😉 I’m talking about stir frying some vegetables.
There are many vegetables you can use in your stir fry or make a combination of them. You can stir fry some meat too or just go for the veggies. For this post, I used a little bacon to add some flavor but kept it mostly to the veggies. Here’s how I cooked ours: I started out frying a few pieces of bacon in a large skillet. I made a large batch so I needed to use our large electric skillet.
Remove the bacon after it has cooked till its nicely browned and crunchy. Place it on some paper towels to let the grease drain away. When it’s cool enough to handle, crumble it into small pieces. We’ll add it in at the end.
Here are some suggestions of veggies you might like to try but the list is almost endless!
Onions, chopped
Garlic, chopped
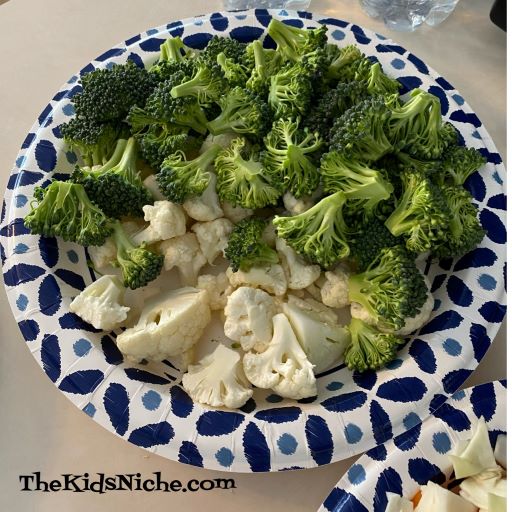
Raw broccoli and/or cauliflower.
Raw cabbage and/or raw carrots, chopped into small pieces
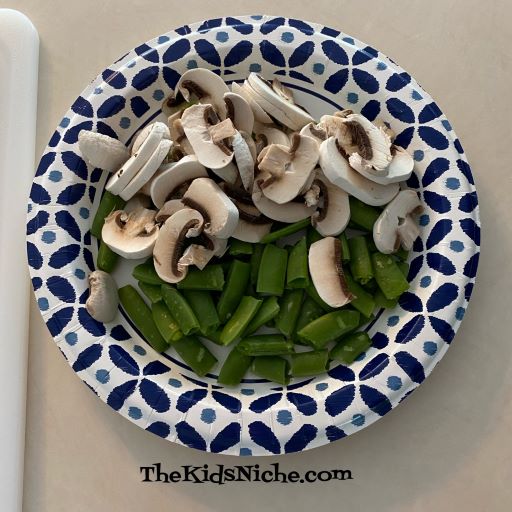
Raw mushrooms, sliced, and sugar snap peas. I broke the peas into 2 pieces for a nicer size.
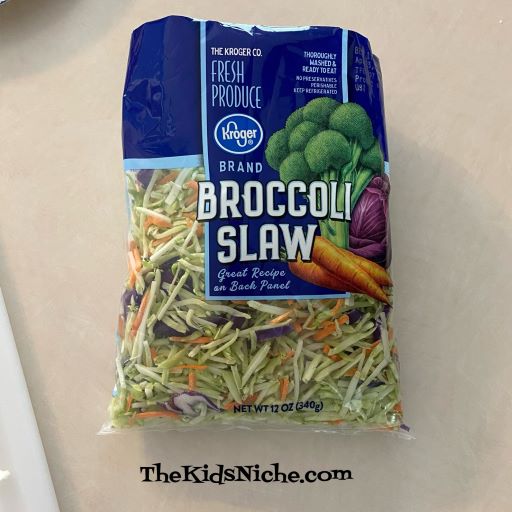
A package of broccoli slaw.
I used the bacon grease that was in the skillet after cooking the bacon and then I added a large chunk of butter. Once the butter was melted, I added the onions and garlic and cooked them for a few minutes before adding the other veggies.
I added the broccoli, cauliflower, carrots, cabbage and broccoli slaw next.
I cooked that for a little while and then added the mushrooms and sugar snap peas. We like the peas to still have some crunch to them and the mushrooms don’t take as long to cook up.
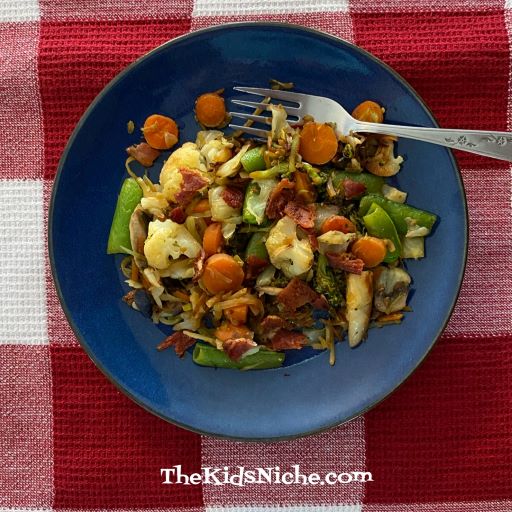
We like to add some soy sauce to our stir fried veggies. There are other sauces you might want to try like teriyaki sauce. I would like to add some pineapple tidbits too the next time we make some. Kids might like the pineapple too as it will add a bit of sweetness to the mixture. Remember to stir in your bacon pieces when the rest has finished cooking.
Yum!
I hope you’ll try stir frying some veggies for your kids and you will find another successful way of getting them to eat something healthy! The struggle is real, isn’t it?? LOL Been there, struggled through it too! You’ve got this! 🙂 Hugs!
Do your kids turn their noses up at steamed broccoli? If so, here’s another way of cooking it that might appeal to them more…roasting it in the oven. You can use fresh broccoli that you wash and cut up yourself or buy already washed and cut broccoli pieces from the grocery store or you can even use frozen broccoli. Today I used a bag of frozen broccoli because that’s what I had on hand. If you use frozen broccoli, you’ll want to thaw it and allow it to sit on a towel or paper towels to absorb some of the moisture.
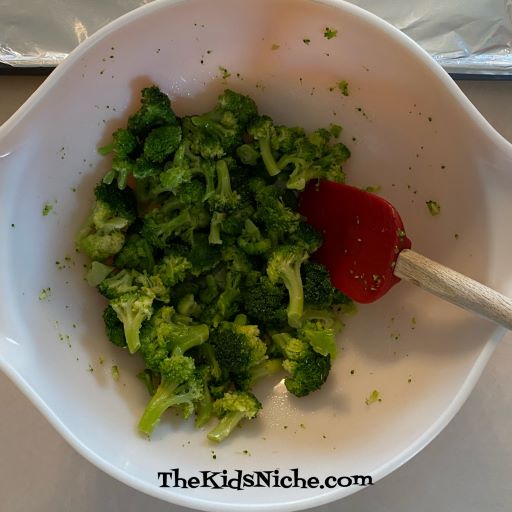
Melt some butter in a bowl.
Add the broccoli pieces and stir to spread the butter.
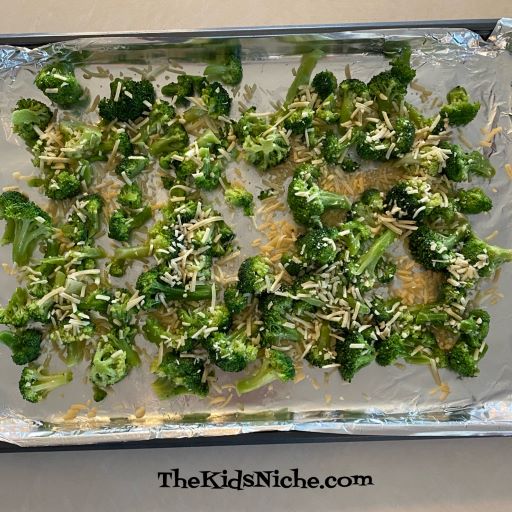
Spread the broccoli on a cookie sheet covered with aluminum foil or parchment paper.
Sprinkle with parmesan cheese. You can also add salt and pepper or whatever spices you enjoy.
Heat your oven to 400 degrees and bake (roast) for 15 minutes. Check for desired doneness. I cooked mine about 25 minutes because I like to let the broccoli brown some for extra flavor.
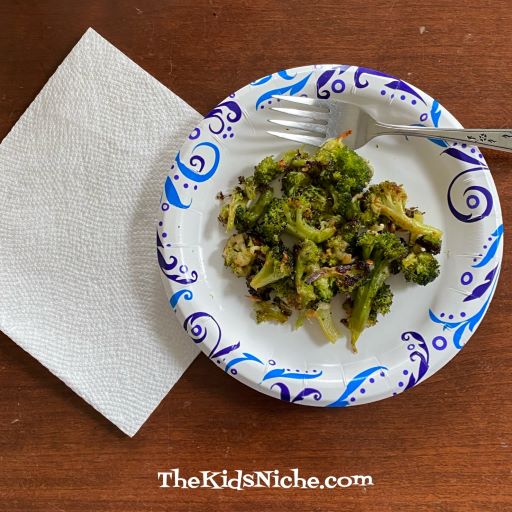
Serve immediately as the broccoli will cool off quickly. The broccoli and the cheese will both brown and will be so yummy together!
Hope this will turn into a favorite dish for your family! 🙂
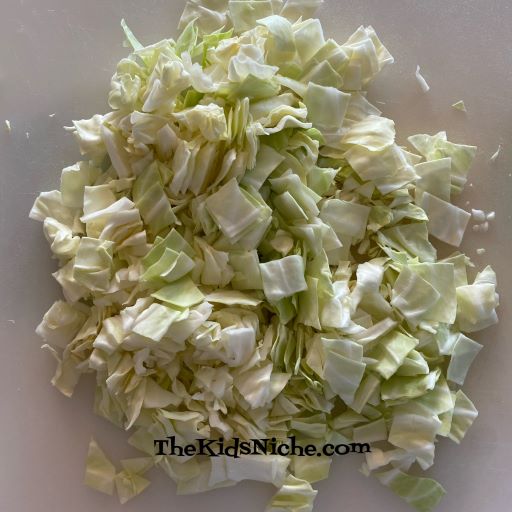
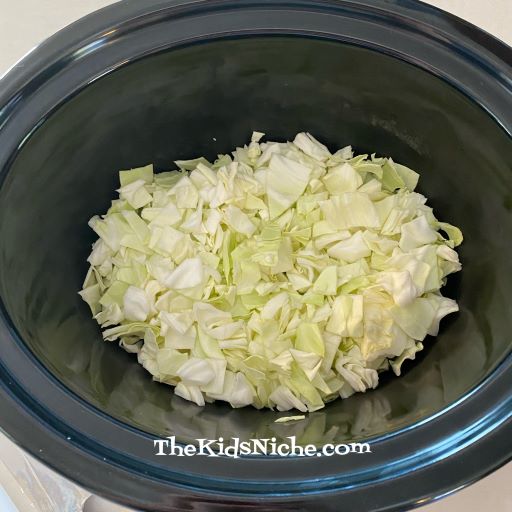
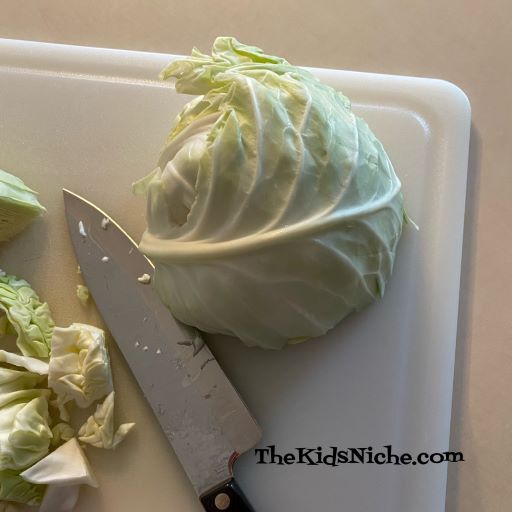
Hello, again! Last week for Taste Testing Tuesday we talked about ways to try eating cabbage. For this week, I wanted to share a recipe with you that I’ve eaten ever since I was a little girl. It’s original name was a bit off putting, so we will simply call it Sausage and Cabbage Soup. Now that the weather has turned colder again, it’s a great time to try some hot soup to warm your family up! Let’s start with the cabbage. Cut up about half of a large head of cabbage into small to medium sized pieces.
Place half of the cut-up cabbage into the bottom of a crockpot.
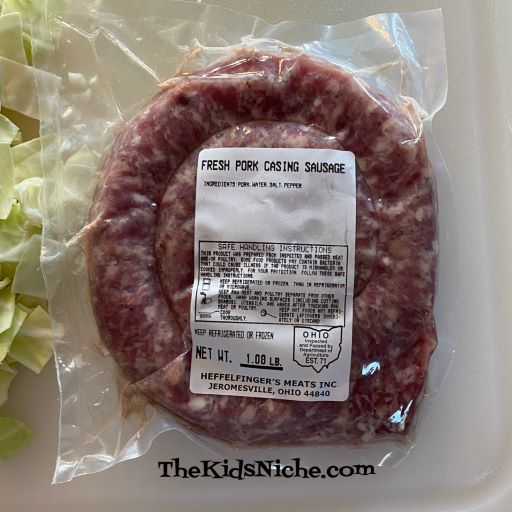
You will need about 1 pound of your favorite ground sausage. You can use rope sausage too and just remove the casing. You can use whichever level of spiciness in your sausage as your family likes.
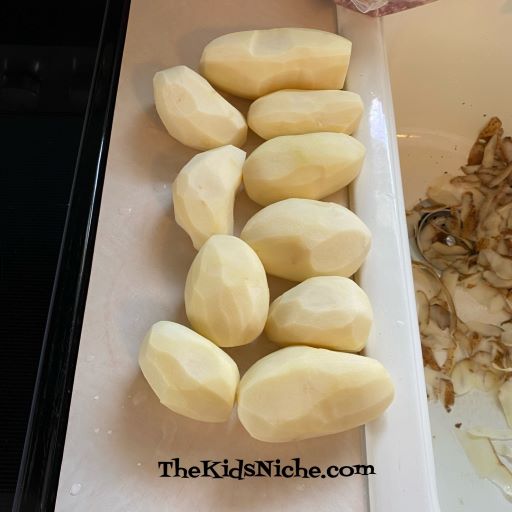
Peel around 6 or 7 nice sized white potatoes. I used a few more than that because some of our potatoes were pretty small.
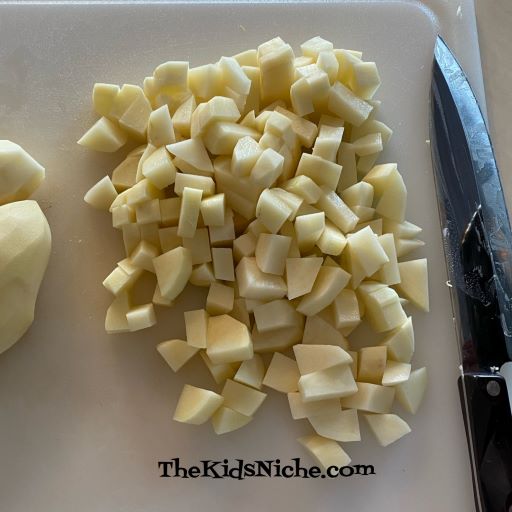
Chop the potatoes into small pieces.
Layer half of the cut up potatoes on top of the layer of cabbage.
Break half of the uncooked sausage into small pieces on top of the potato layer.
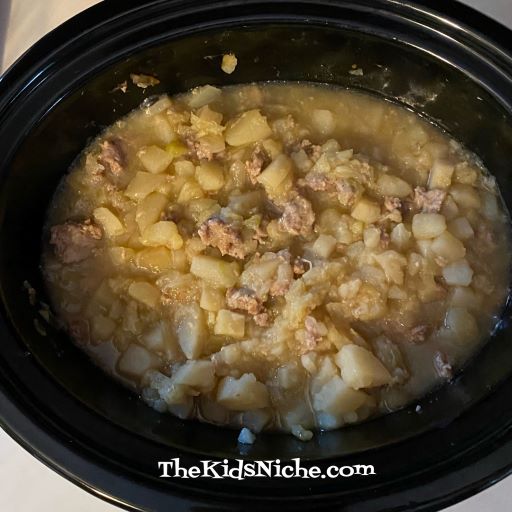
Make a second layer of each thing…cabbage, potatoes and sausage pieces. Now my crockpot is full.
Add salt and pepper or other spices to suit your family’s tastes. Pour water over all until the water comes up about halfway in the crockpot. Cook on high 4-5 hours. Stir once or twice while it’s cooking. When the cooking time is done, you will have a warm hearty soup! The ingredients will cook down and will look like less than you started with.
Each person can add more salt or pepper or other spices to their individual bowl of soup. I hope you will make this soup and your family will give it a taste test! 🙂
Cabbage may not be on your child’s list of favorite foods, but let’s talk about a couple of ideas that might change their minds. Yep, it’s Taste Testing Tuesday once again! 🙂
Cabbage is a super food which means it’s super good for you. When we have a head of cabbage, I like to use half of it in a recipe where the cabbage is cooked and the other half I use the cabbage raw. Let’s start with a cooked cabbage recipe…
Do your kids like bacon? (Yes, this recipe uses bacon! Yum, right?!) Start by frying several pieces of bacon in a skillet. For half a head of cabbage, use at least 6 pieces of bacon.
While the bacon is frying, cut the cabbage into small to medium-sized pieces.
When the bacon is done cooking, drain it on some paper towels and then crumble it into small pieces.
Leave the bacon grease in the skillet and add the cut up cabbage.
Add a couple slices of butter and cook on a medium heat.
Allow the cabbage to begin to brown some as this will add a scrumptious flavor to it.
Cook the cabbage until it is a soft as you like it. Then sprinkle the bacon pieces on top and stir to mix. Eat it while its nice and warm.
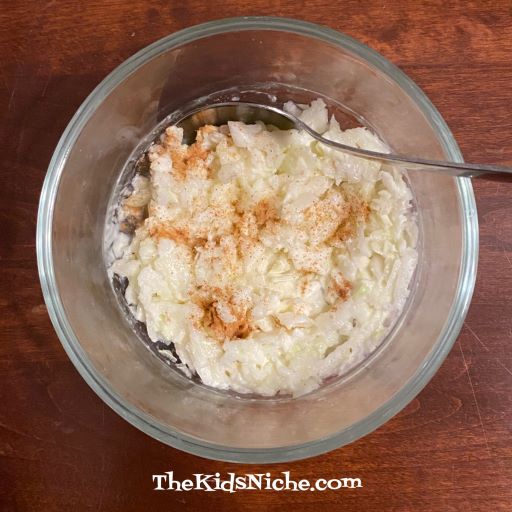
Now let’s look at some ways to eat cabbage raw. Fixing cabbage this way is often called Coleslaw, BUT Coleslaw has gotten a rather bad name over the years. There are different ways you can adjust the ingredients for Coleslaw that is more to your family’s liking. First chop or grate the cabbage into very small pieces.
One way to make Coleslaw is to mix in a little mayonnaise, a tiny bit of milk, a pinch of sugar and some dried fruit like raisins.
My husband likes it best with just some Italian dressing mixed into the raw cabbage.
Try grating or chopping some raw apple in with the cabbage and mixing in your favorite salad dressing, like Ranch. Top it with a little cinnamon.
If Coleslaw has a bad name in your family try calling it something else…like maybe Apple Salad. 😉 There are many many cabbage recipes online that you could test out on your family. Good luck! I hope you find some ways to eat cabbage that makes your kids grin and ask for more! 🙂
We’re back for another round of Taste Testing Tuesday! What goes well with apple slices? There’s no better way to find out than to have a Taste Test! Grab an apple and we’ll get started!
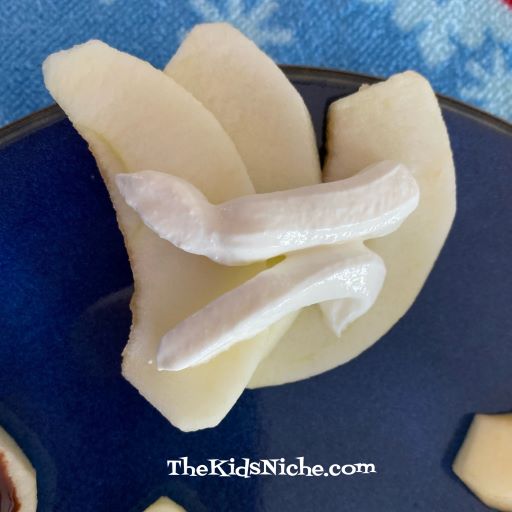
Start by peeling and slicing an apple. (If your family will eat apples with the skin on, all the better!) Look around your kitchen or pantry and see what ingredients you have on hand that might go well with apples. Make some separate little piles of apple slices and add a different topping to each one. I suggest leaving one group of apple slices plain.
Here are the toppings I used:
#1.) Just plain apple slices with nothing on them. (This might be the best way!)
#2.) Sour cream
#3.) Peanut Butter or another type of nut butter
#4.) Caramel sauce
#5.) Grated Cheese
#6.) Chocolate Syrup
Go with whatever you have on hand. A couple more suggestions might be cinnamon, brown sugar, Ranch dressing or cream cheese. For some added fun, make a chart and keep track of what each person doing the taste test thinks of each topping. This is the type of chart that I like to use for our taste tests. A smiley face means “Yum!”, and straight face means “It’s ok.”, and a frowning face means “No, thanks!” (Look at the picture to see who did this taste test. 🙂 )
Did you learn anything new while doing your taste test? Did you find a topping that you really like on apple slices that you never tried before? Which one was your favorite? I think my favorite is either the peanut butter or the caramel sauce. 🙂 I hope you enjoyed doing your taste test today!
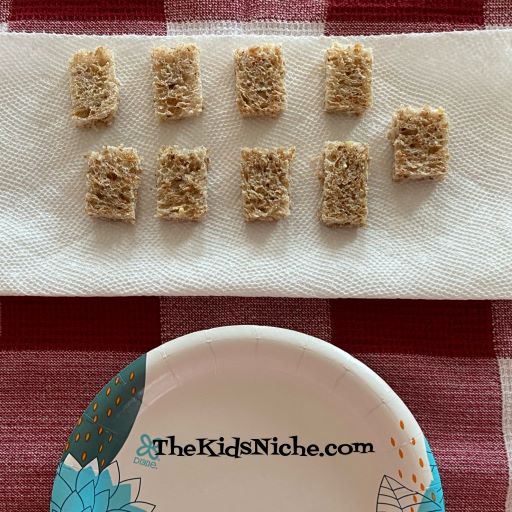
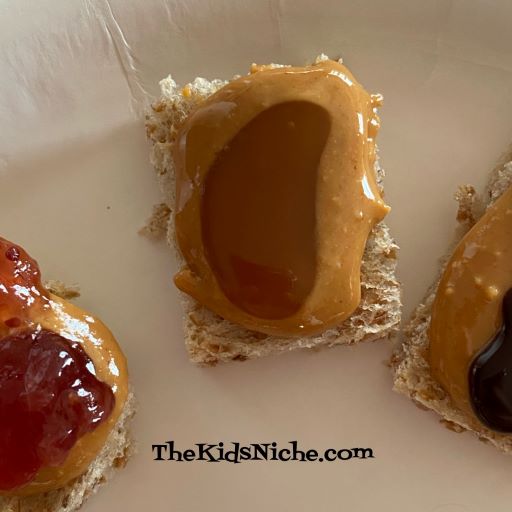
Here we go with another Taste Testing Tuesday! Did you ever think about all the things you can do with peanut butter? It can be used to make cookies, cakes, pies, pizza, chili and it’s paired with all sorts of veggies and fruits, oatmeal, drinks, candy…the list goes on and on! For today’s taste test, we’re just going to put some peanut butter on some small pieces of bread and see what we can think of to put on top of it. Are you ready? Let’s go!
First, cut some bread into small pieces or use some crackers like Ritz crackers. I made 9 little pieces of bread for 1 person’s taste test.
Spread some peanut butter on each piece of bread.
I will share with you the 9 foods that we paired with our peanut butter but feel free to come up with your own combinations.
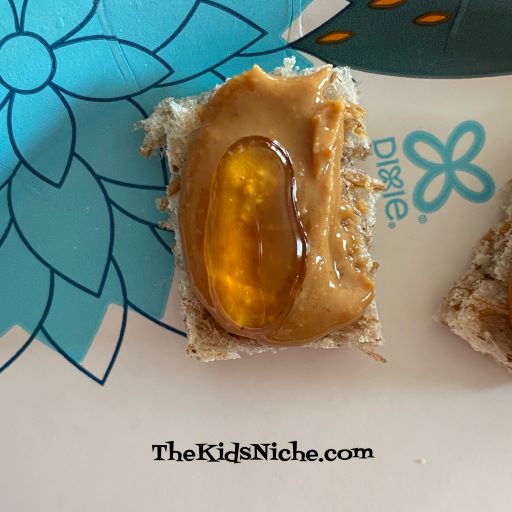
#1.) Strawberry Jam.
#2.) Honey
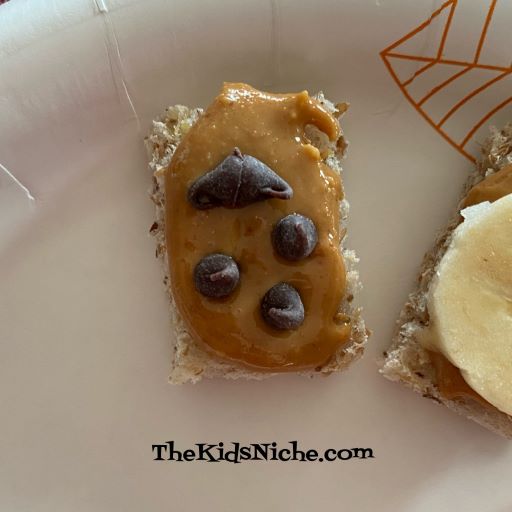
#3.) A slice of banana
#4.) Miniature Chocolate Chips
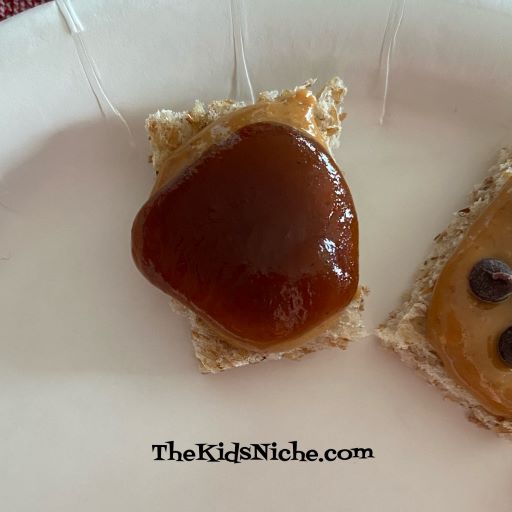
#5.) Apple Butter
#6.) Miniature Marshmallow
#7.) Raisins
#8.) Chocolate Syrup (The kind that goes on ice cream.)
#9.) Caramel Topping (Also the kind that goes on ice cream.)
Make the same taste test for each person that wants to participate. Let the tasting begin! They all look so yummy!!
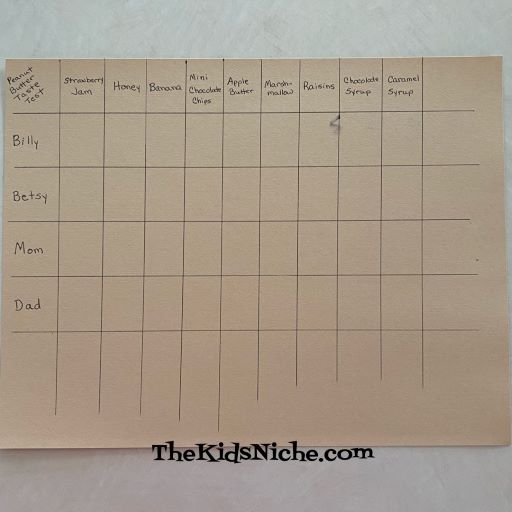
For some added fun, make a chart so you can record what each person thinks of each type of peanut butter bread. Here’s what my chart looks like:
I put the names of the participants down the left hand side of the chart and filled in the spaces across the top with the names of each item I added to the peanut butter and bread pieces. As you taste each kind of sample, draw a smiley face in the corresponding square on the chart to show what you thought of that sample. A face that is smiling means, “YUM!”. A straight face means “It was ok.”. And a frowning face means, “No, thanks!”.
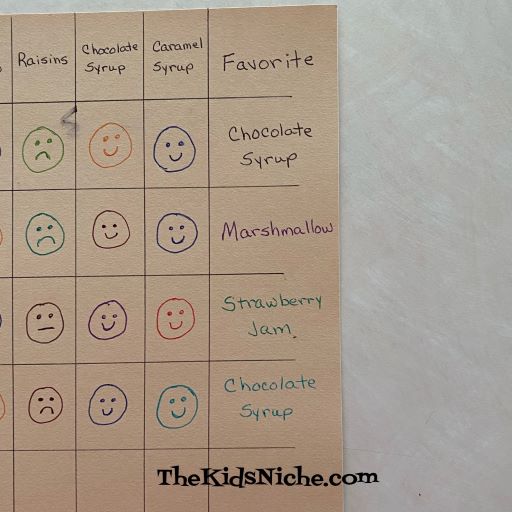
If you have room on your paper, you can add another column titled “Favorite” and each person can write in which sample they liked the best.
And now you know what your family likes with peanut butter! 🙂 I wonder if there were any samples that everyone liked? Or one that everyone didn’t care for? Whatever the results are, I hope you all enjoyed our Taste Testing Tuesday! 🙂
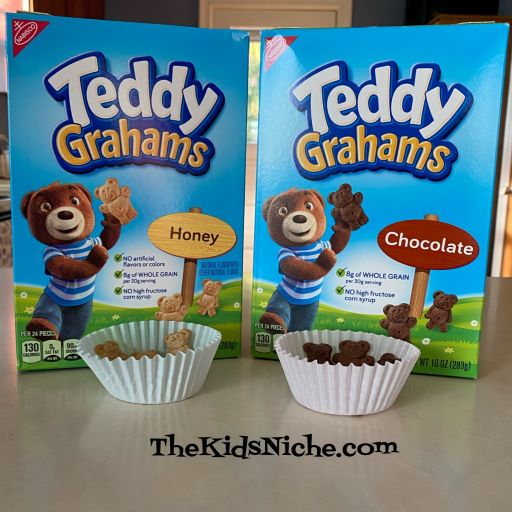
I’m finally back with another Taste Testing Tuesday! This week we’re looking at Teddy Grahams snacks. These are little graham crackers made in the shape of Teddy Bears. 🙂 Very cute and quite yummy! I only have 2 flavors to use for my taste test due to being in quarantine for weeks because of my hubby and I catching Covid-19 at different times. (I haven’t been to a store since October 15th!) Teddy Grahams come in a few more flavors so check your grocery stores to see what is available near you.
As you can see, the flavors used for our taste test were Honey and Chocolate. You might want to use some cupcake liners to serve your Teddy Grahams in.
These snacks are so cute! Can you see the two different poses the teddy bears are in? Here’s a close up of the Honey flavor.
Here are the chocolate ones.
I know Teddy Grahams also come in at least Chocolatey Chip and Cinnamon so be sure to keep an eye out for those flavors too.
The boxes of the Teddy Grahams also have some fun ideas on the back of the boxes.
And it looks like there are more discovery ideas at the Teddy YouTube Channel. 😉 (I haven’t seen it myself yet.)
Which flavor is your favorite? I think I like the Honey flavor best! 🙂 I hope you can have some fun with a Taste Test of Teddy Grahams snacks!
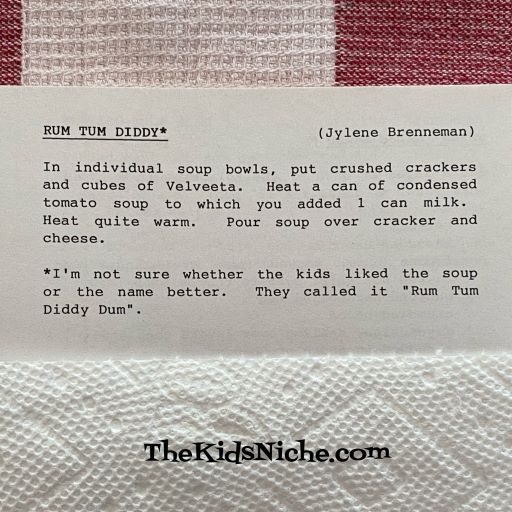
Today’s Taste Testing Tuesday takes me back to when I was a little girl and my mom would make us a special treat for lunch. It was called Rum Tum Ditty. The younger ones of us 6 kids decided it sounded much cooler to call it Rum Tum Ditty Dum! It just had a cooler ring to it! In fact, I remember marching around the kitchen and dining room saying “Rum Tum Ditty Dum!” over and over in time to our marching. (It’s a wonder Mom ever made it for us again after that! Lol)
Here is the recipe, straight from our family cookbook:
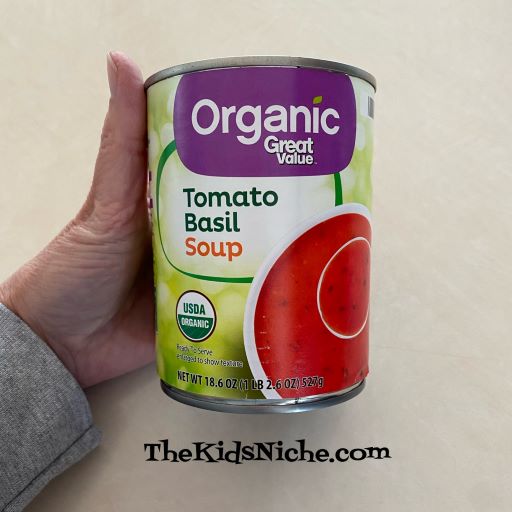
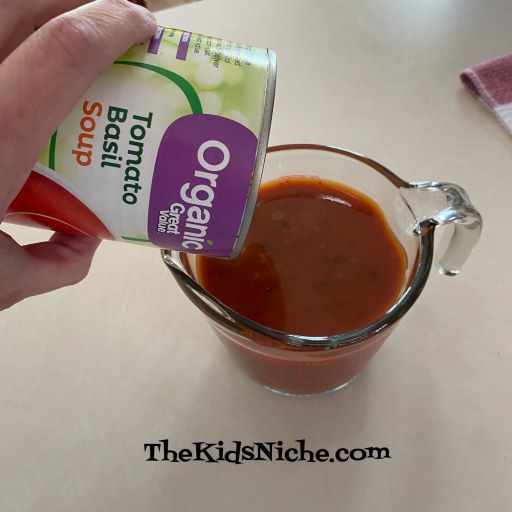
For our taste test today, I want to encourage you to use whatever kind of tomato soup you normally buy. When I was little, we used Campbell’s tomato soup and it does need a soup can of milk (or water) added to it. Many soups today don’t need any additional liquid, like the one in this picture.
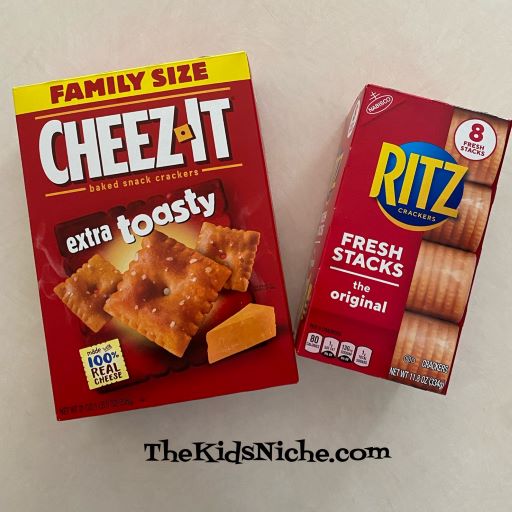
Also, you can use whatever kind of crackers you have on hand. We used saltine crackers, or as we called them “soda crackers”. But I prefer to use Ritz crackers now. Cheez-its would be awesome and so would most any other cracker.
You can use different kinds of cheese. We don’t often have Velveeta cheese on hand now, but my next favorite for this dish is American. But be open to trying whatever kind of cheese your family likes. Just know that some kinds of cheese are more “stringy” than others. Velveeta and American melt nicely into the soup and crackers.
This recipe is super simple! Break up some crackers into individual bowls. Maybe your family will like different kinds of crackers. No need for everyone to be the same. 🙂
Next, make the cheese into small pieces and add it on top of the crackers.
Pour the soup into a container safe for heating in the microwave OR pour it into a pan and heat it on the stovetop. The soup needs to be warm enough to melt the cheese.
When the soup is hot, pour it carefully into each bowl.
It will be smelling delicious by now!
Gently stir the mixture with a spoon. Look how yummy the melted cheese looks!
I like to eat it as soon as it is cool enough to eat safely, while the crackers are still a bit crunchy. And that’s all there is to it! Rum Tum Ditty! (Or Rum Tum Ditty Dum!) I hope you will give this recipe a try and make some new warm memories of your own! 🙂
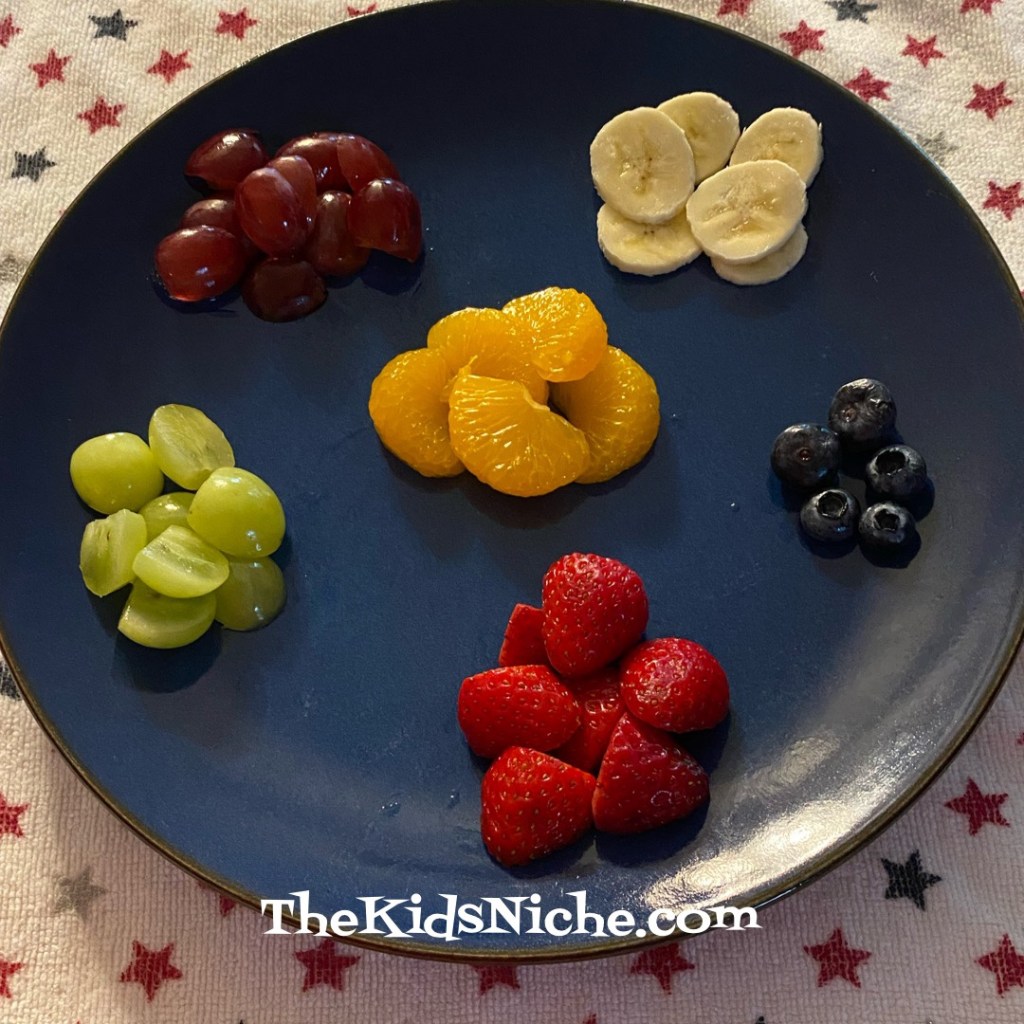
Hello there! Yep, it’s Tuesday so here we go again! Would you like to serve a fruit salad for part of a meal but it’s a big hassle because nobody likes the same fruit and you can’t remember who likes what?! Yea…been there, done that, right? So here’s one solution. Fix the fruit and then have a taste test. Once everyone knows what kind of fruit they like (and don’t like) each person can put their favorites into their individual bowl.
Here are some of the fruit I used but of course, use the fruit you and your family will eat.
#1.) Strawberries
#2.) White Seedless Grapes
#3.) Blueberries
#4.) Mandarin Oranges or small orange pieces
#5.) Red Seedless Grapes
#6.) Bananas
After all fruits have been tested by tasting, each person can add the fruit they like to their bowl.
Stir in a little yogurt or sour cream and ENJOY!
I love fruit salad, especially during the summer when it’s hot outside. It’s cool and refreshing. I hope this taste test will make fruit salads go over more smoothly at your house! 😃