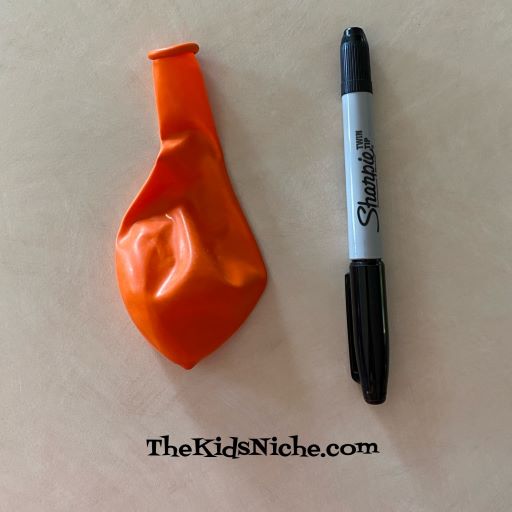
Hope you all had a good weekend! We’re back with a super fun and super easy way to make a Jack O’Lantern! (And cheap!) All you need is an orange balloon and a black permanent marker.
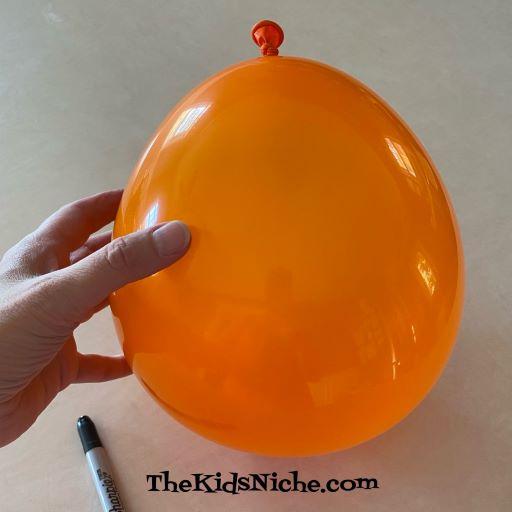
Step #1.) Blow up the balloon and tie it off.
Step #2.) Draw a Jack O’Lantern face on the balloon.
And you’re done! 🙂 You can tie a string to your Jack O’Lantern and hang it in a door way. Or find some place silly to put him. Like in your mom’s Autumn decorations… 😉
This is such a fast way to make Jack O’Lanterns that you can make a whole bunch of them! You can make a happy face or a scary one or a mean looking one. It’s a fun craft for a Halloween party too! 🙂
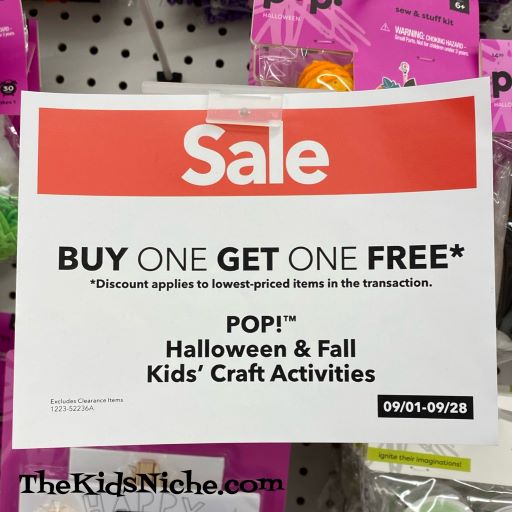
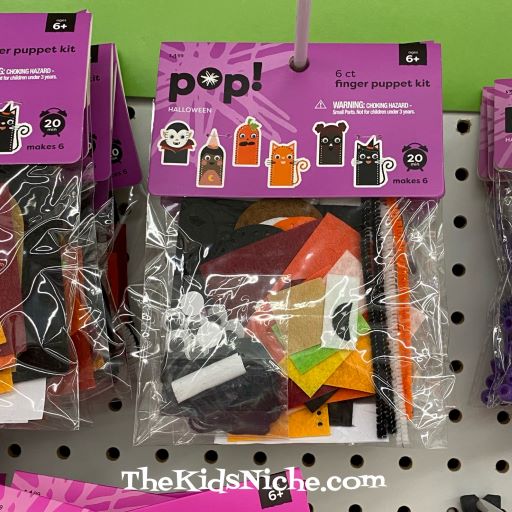
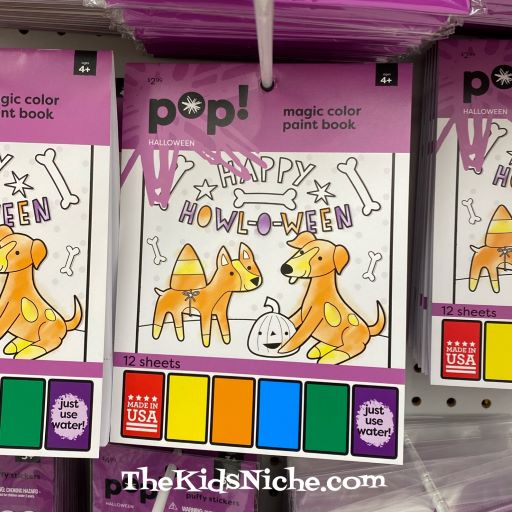
If you are looking for some fun Halloween crafts for the kiddos, here’s a sale at Joann Fabric and Craft Stores! But it looks like the sale ends today! (Sorry, I just saw it myself.)
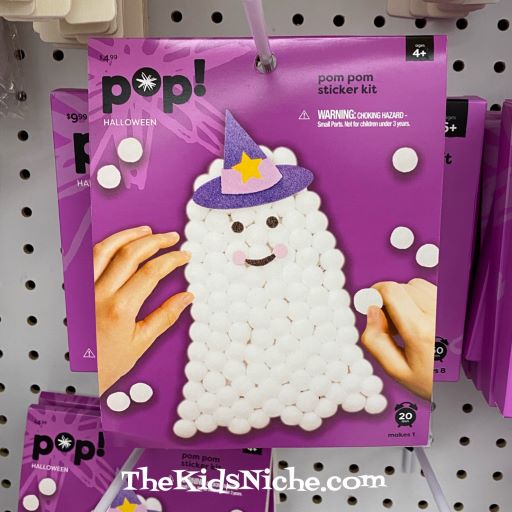
Here are a few of the craft kits that are on hand at our local store.
There were more craft kits there, but I didn’t take time to take more pictures. I wanted to get this posted for you in case you’d like to make a quick run to your nearest Joann Fabric and Craft store today! 🙂
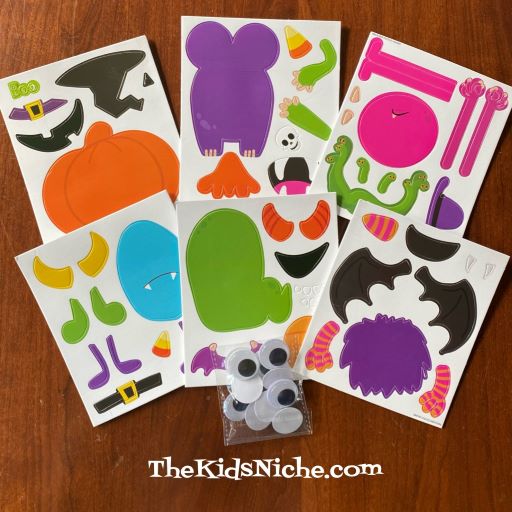
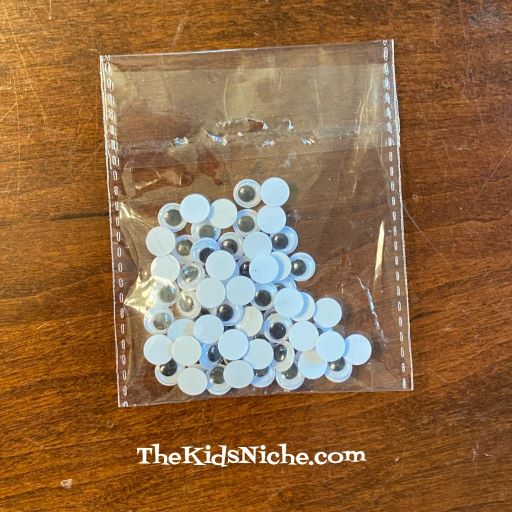
Hello, again and Happy Monday! Today I want to share an inexpensive Halloween craft with you that I found at Walmart. (I know, it’s still September, but the stores are FULL of Halloween stuff!) This package comes with 6 sets of a foam craft for only $1.98! When 6 kids can do a craft for $2, I think that’s a bargain!
Here’s what comes inside the package…
And these are the 6 Halloween characters you can make.
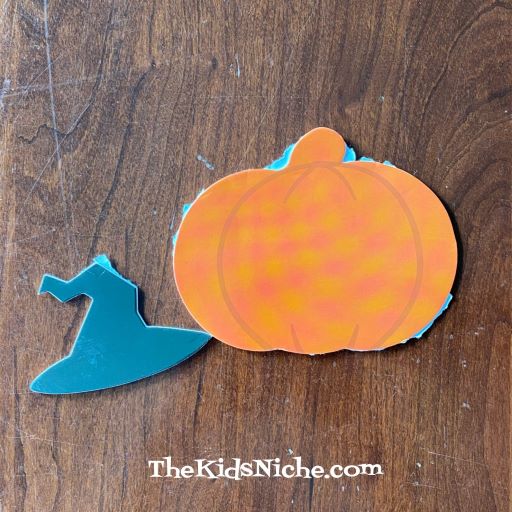
I made the Jack O’Lantern. The foam pieces are partially cut and they have adhesive on the back of them. I found it a bit difficult to punch the pieces completely out because the paper backing isn’t cut through all the way. But never fear! There is a simple way around that problem!
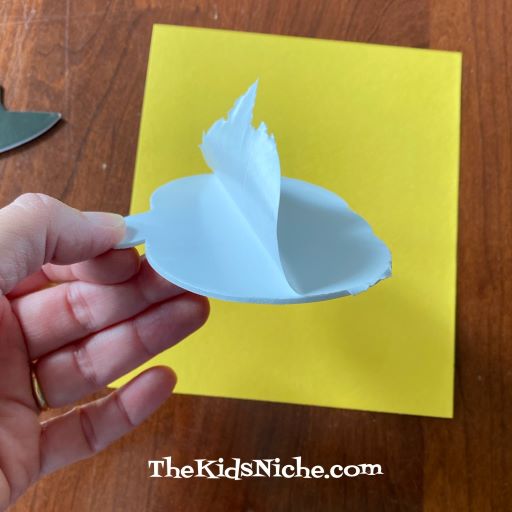
Use a piece of paper for the kids to stick the pieces on and just pull the foam pieces off the backing like you would do with a regular sticker. Don’t worry about punching each piece out because it isn’t necessary.
Use a different color of paper than the color the largest part of the character is so it will show up nicely.
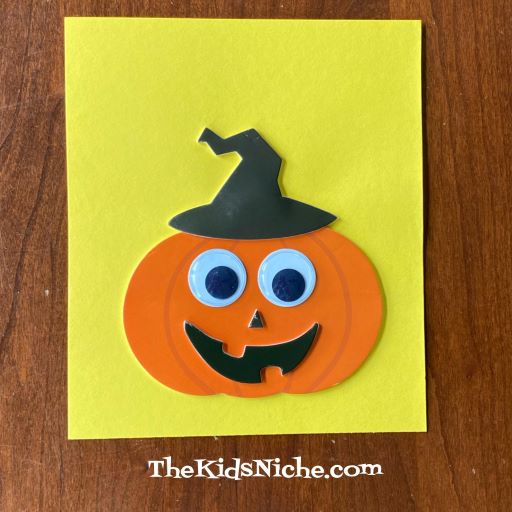
Continue applying the stickers to make your character. The wiggly eyes do not have the adhesive backing so you will need some glue to apply those.
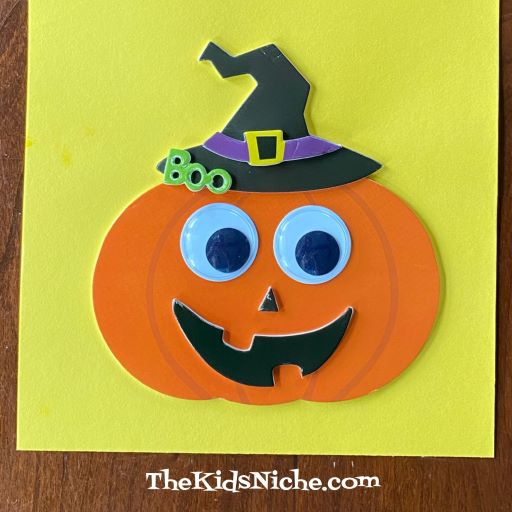
And the Jack O’Lantern is complete! 🙂 The tiny holes on the word “Boo” were a little tricky to get the extra pieces punched out, but using a toothpick helped.
You could use the picture as it is or turn it into a Halloween card. Have fun creating your 6 Halloween characters! 🙂
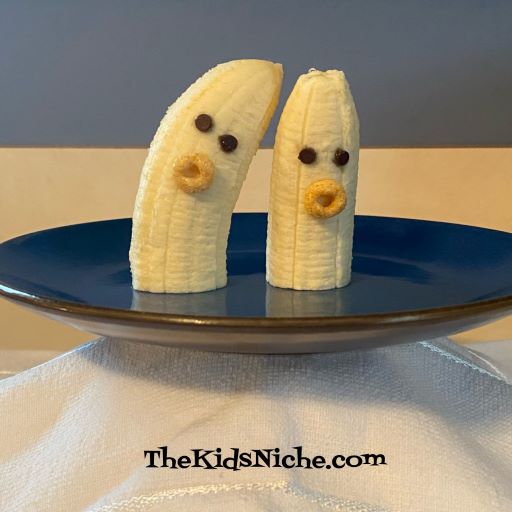
Are you looking for a last minute addition to your treat line-up for Halloween? You and the kids can have these super easy ghosts made in no time! All you need for the first project is a banana and some miniature chocolate chips. If you’d like to add an “O” for a mouth, you’ll need a few Cheerios cereal pieces.
Cut the banana in half and add 2 miniature chocolate chips for eyes. I pushed the pointed side of the chocolate chip into the banana. And there you are! 2 ghosts ready for spooking your guests!
Or if you want to give your ghosts a mouth, press in 1 piece of Cheerios cereal.
I can almost hear the eerie “OOOoooo!” these ghosts are making! 😉
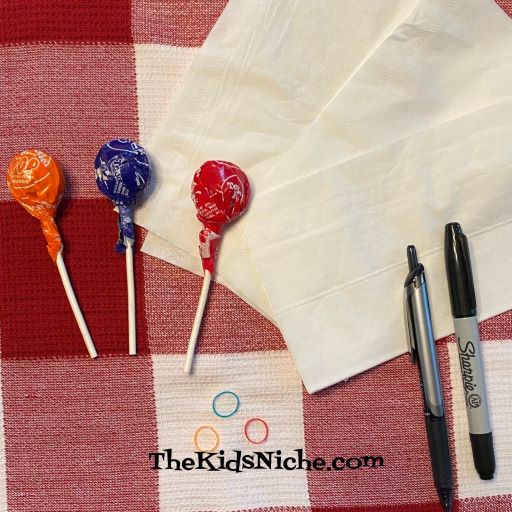
Are you ready for the second ghost treat? This one is easy too! You’ll need some lollipops or suckers, (I used Tootsie Roll Pops because the sucker part is nicely round), 1 paper tissue for each ghost, 1 small rubber band or a piece of string for each and a black marker or pen.
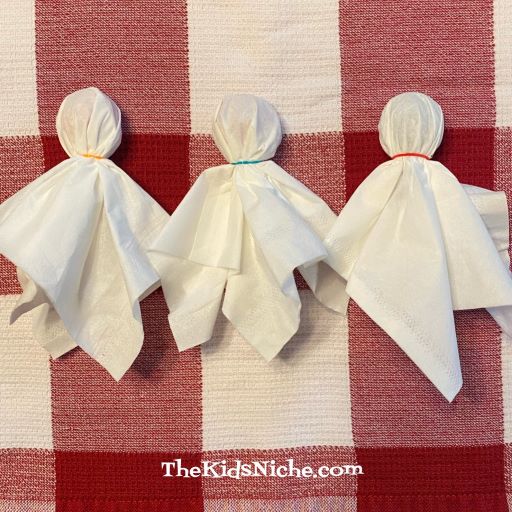
Ready? Let’s do this! First open up a tissue and lay it flat. Lay one lollipop on the tissue with the round part in the center and the stick pointing to one corner.
Fold the tissue over the lollipop to make a triangle.
Gather the 2 sides down around the lollipop to form a “head”.
Put the little rubber band or string around the “neck” of the ghost.
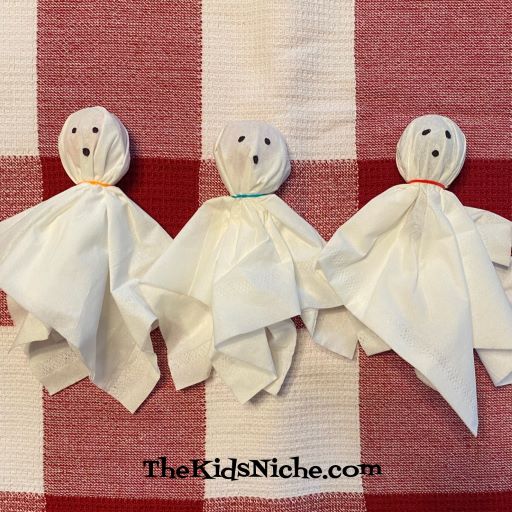
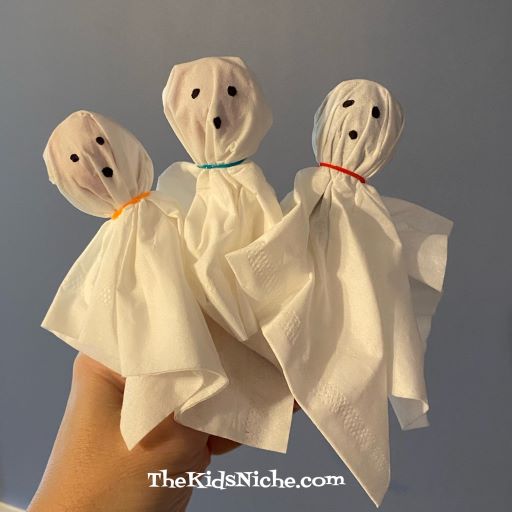
You can use the ghosts like they are or you can add some black dots for eyes and a mouth.
That was pretty easy, wasn’t it? Now you have 2 kinds of ghosts for your Halloween celebration!
October is the month for witches and goblins and ghosts aaaand….MONSTERS! So let’s look at one easy way to draw funny or scary monsters! There is no right or wrong way when drawing a monster because, well, monsters come in every shape and size and design, right?! They can be any color you want them to be and have as many (or few) eyes and arms and legs. This is YOUR monster! You’ll need just a few things…a piece of paper and some markers. Oh, and some wiggly eyes make them even cooler!
First, draw some shapes or blobs with your markers. Remember, any shape is A-OK! Yep, even a flower is great.
Next place some wiggly eyes on your monster shapes. You don’t need to glue them down yet unless you want to, then that’s ok. I didn’t glue mine down yet, just in case I wanted to move them as I continued designing my monsters.
Now add more details like noses, mouths, arms, legs, hair, etc.
When you’re finished adding details, glue the wiggly eyes down, if you haven’t already done so. And you did it! You are a MONSTER MAKER!! Great job! I’ll show you my monsters in closer detail to give you some ideas.
This one looks like a person…maybe he or she is making friends with the monsters?
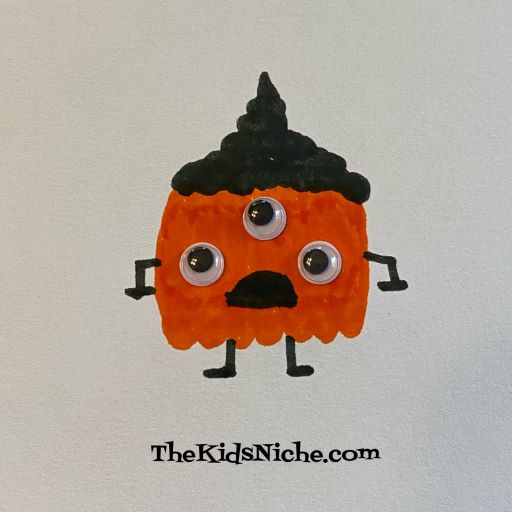
This monster has 3 eyes, 4 arms and 3 legs. Wow!
This orange guy has short arms and legs, funny hair and 3 eyes.
Here’s a one-eyed flower monster running away from something.
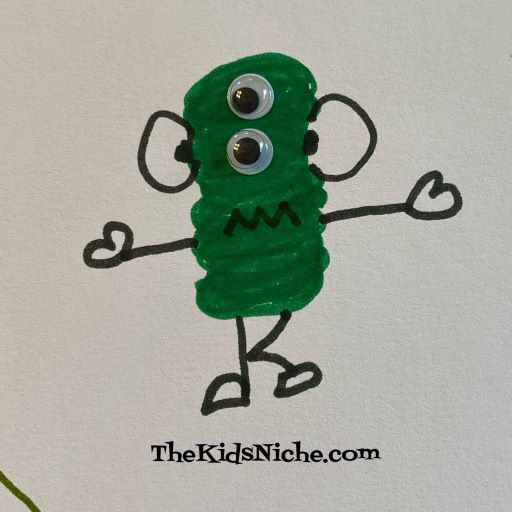
Whoa, this monster’s eyes go up and down instead of across! And look how big his ears are!
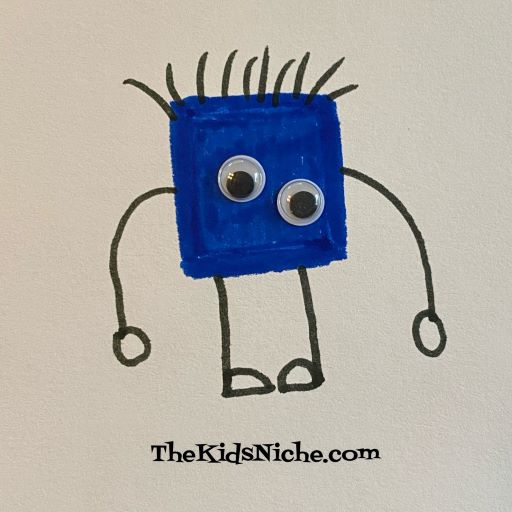
This guy might have been scared by someone…is it YOU? Maybe the monsters are scared of people?
I hope this will give you some fun ideas about how you can draw some monsters. You can even make up a story about your monster. Or draw them a house…or a pet…some trees…you get the idea! Have fun! 🙂
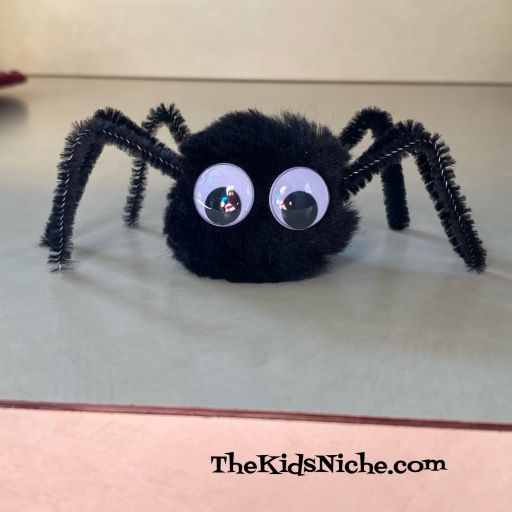
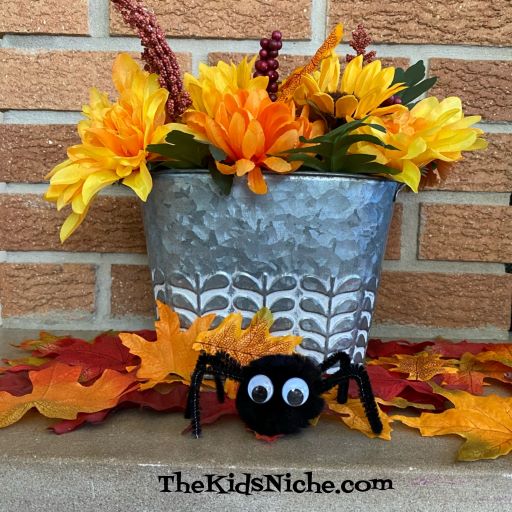
Are you looking for something fun to help decorate your house for Halloween? You might enjoy making some Halloween pom pom spiders with your kids. They are more cute than scary, but they could be scary in the right situation. 😉
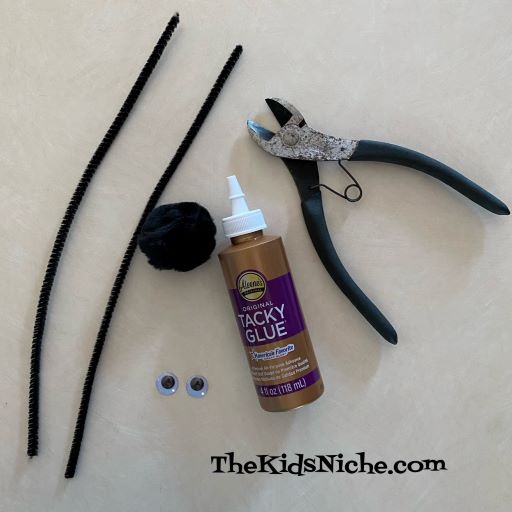
Here’s what you’ll need for this project: a black pom pom (I used a 2 inch size), 2 black pipe cleaners or chenille stems, some glue and 2 wiggly eyes. You will need to cut the pipe cleaners so a pair of wire cutters or a sturdy pair of scissors is helpful.
Begin by bending 1 pipe cleaner in half.
Then cut it on the crease so you have 2 halves.
Fold each of those pieces in half again and cut them on the crease also.
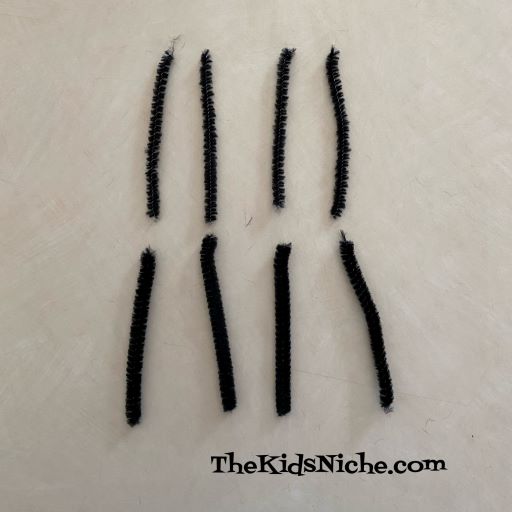
Do the same with the second pipe cleaner so you have 8 pieces.
Bend each of these pieces into a letter V shape. These will be the spider’s legs. I know that spiders actually have 8 legs, but that is a lot of legs to glue onto 1 pom pom so you may want to do like I did and let your spider have just 6 legs. 😉
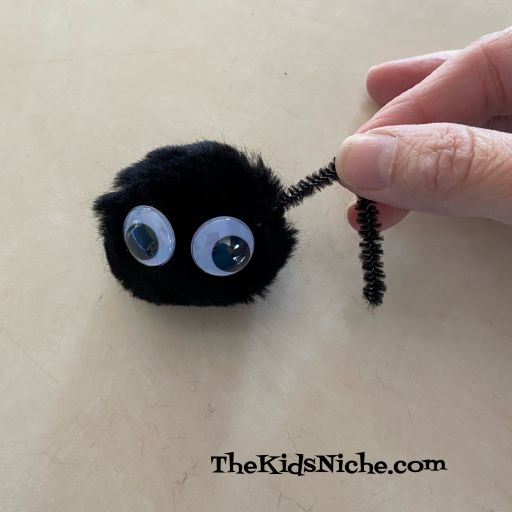
Now switch to working on the pom pom and glue the 2 wiggly eyes onto it.
Make sure the eyes will stay in place before moving to the next step. Apply glue all around one end of a “leg”.
Stick the leg into the side of the pom pom, leaving space for the other 2 or 3 legs to be added to that side.
I found it helpful to sit the spider’s body (the pom pom) on an upside down Dixie cup.
Hold each leg in place for a little bit so the leg doesn’t just fall back off. After putting 3 or 4 legs on one side, turn the spider so you can add the 3 or 4 legs to the opposite side.
You might want to let your spider sit and dry for a little bit before you move him around much. Once he is dry enough, that’s when the fun begins! 🙂
Where can you put your spider to make people laugh or even to give them a little Halloween scare? If you are careful and move the legs gently, you can reposition the spider’s legs to make him sit in different locations.
Want to give Mom a surprise? Hide him somewhere in the kitchen. 😉
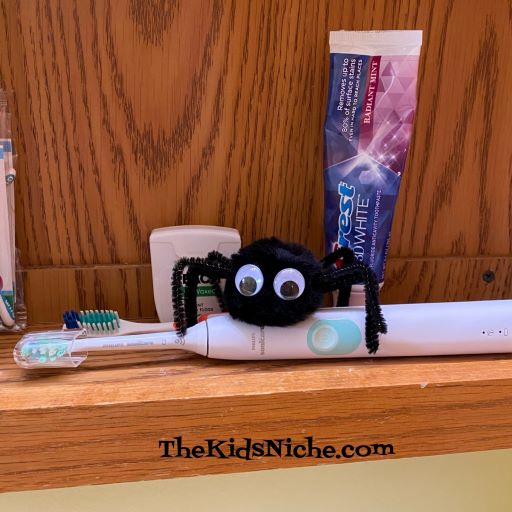
Or maybe in the bathroom so Dad finds him?
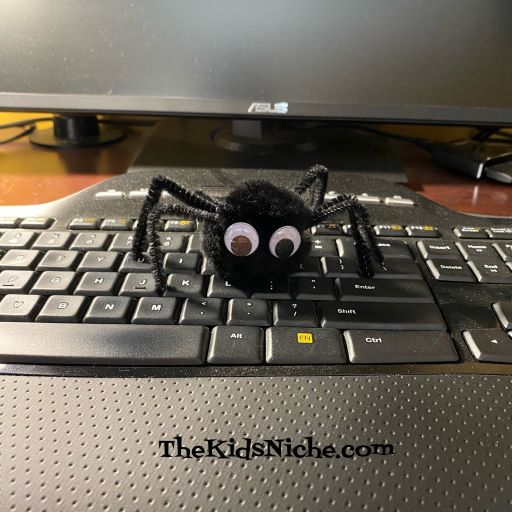
On someone’s computer keyboard? (Yes, it’s rather dusty, isn’t it? But since the owner is sick right now, we won’t mention it.) 😉
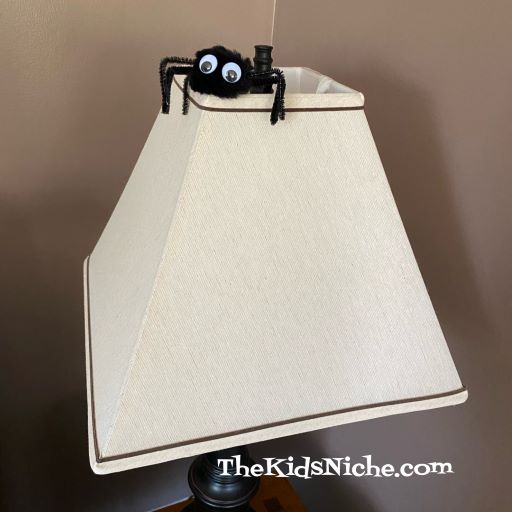
On a lamp in the living room?
In the refrigerator??!
Or maybe you should just keep him in with the Fall decorations. 😉 Wherever you put him, just be sure the person who will find him has a good sense of humor and they won’t mind!
I hope making this little Halloween spider will help bring some Halloween fun to your house! 🙂