Making a Simple Handmade Card

With the price of greeting cards these days, a great hobby can be making your own cards. Today I want to share a simple design that can be made in different ways for different occasions. This design can be made by kids too although especially young children will need some help.

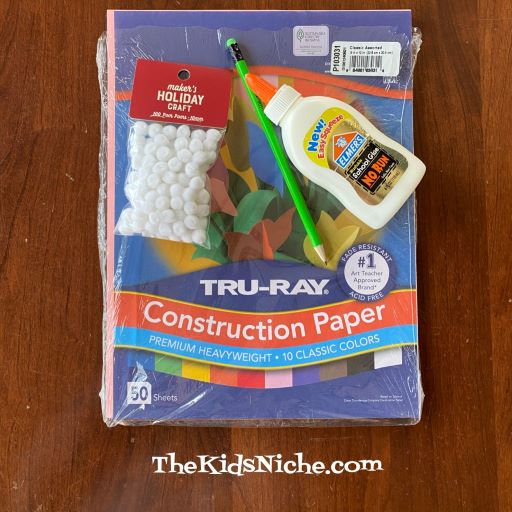
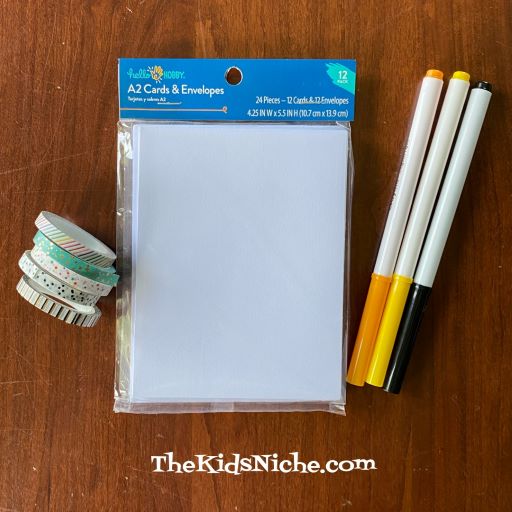
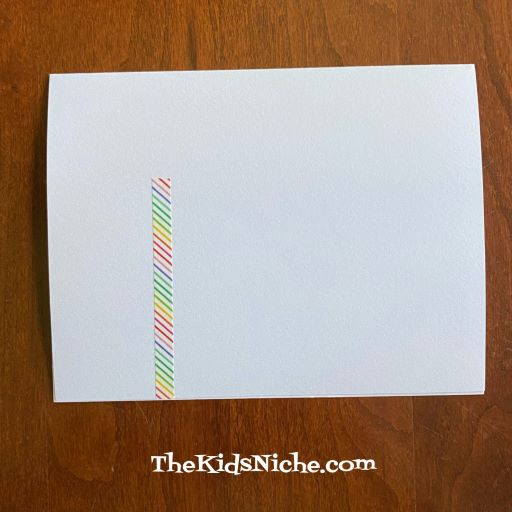
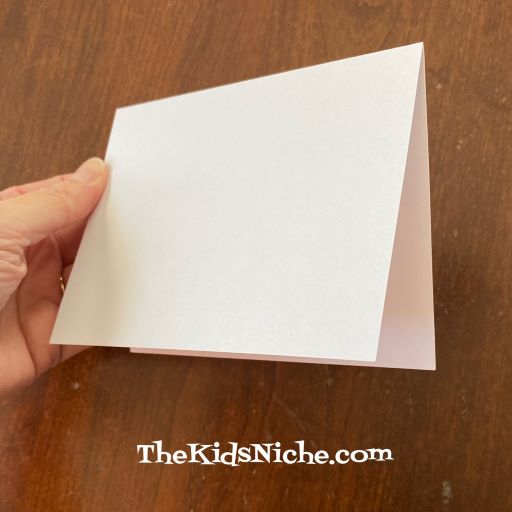
I used a premade blank card but you can also use a piece of cardstock. If using the cardstock, cut an 8 1/2″ x 11″ piece in half and then use one of the halves by folding it in half.

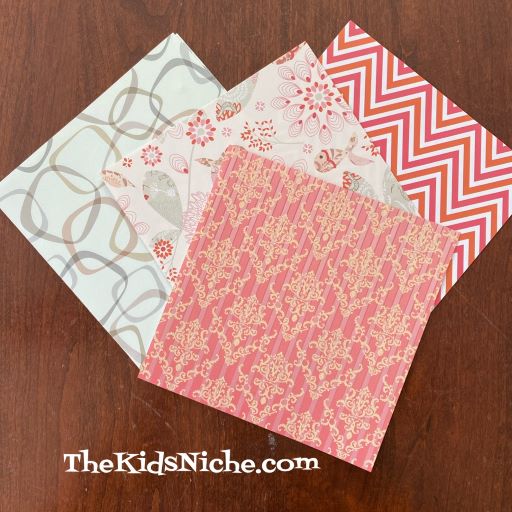
You’ll need 4-6 different pieces of coordinated printed paper like scrapbooking paper. I had a pack of origami paper, so that’s what I used.

Here are the 4 papers I used for my card.

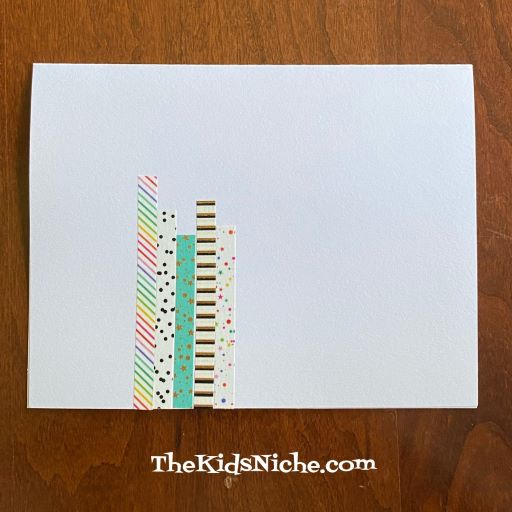
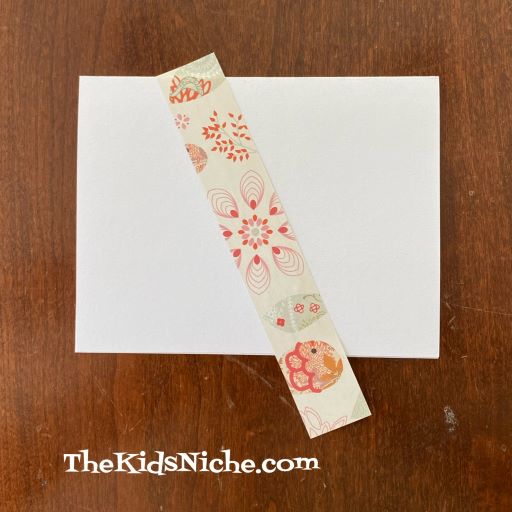
Cut some strips from your paper so that you have some of each color/print. I cut mine about 1″ wide by the length of the paper which was about 6″. You can make the strips all the same width or you can make them different widths. Both ways will work fine.

Select 1 strip of paper and glue it down to the front of the card. Let it hang over both edges.

Glue another strip of paper next to the first one. I left a small space between the strips, but you can line them up against each other if you prefer.

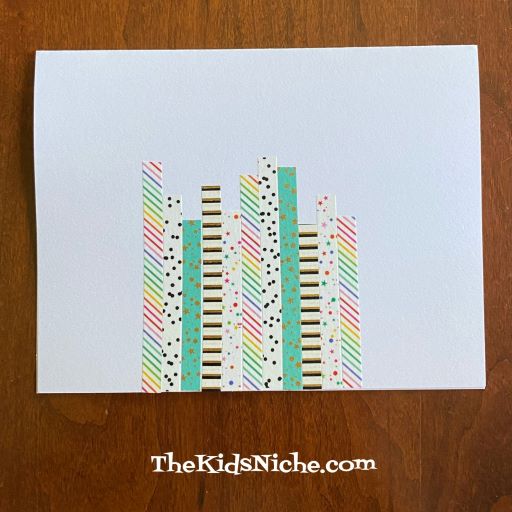
Continue gluing on strips until you have filled up the front of the card.

Using a pair of scissors, trim off the extra parts of the strips of paper all the way around the front of the card.

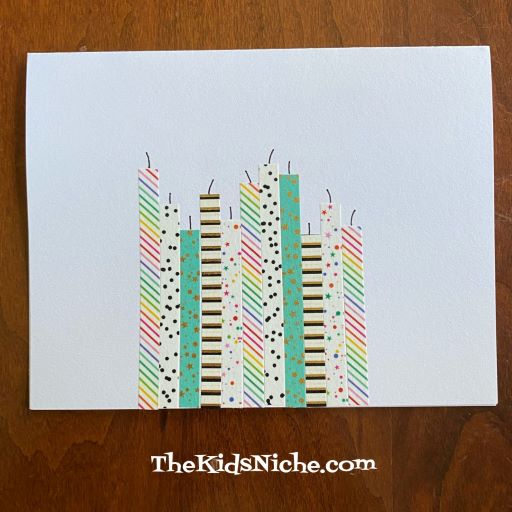
Then the outside of your card is finished. 🙂

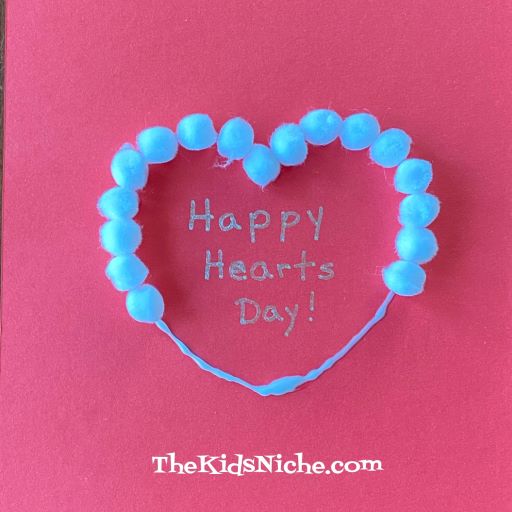
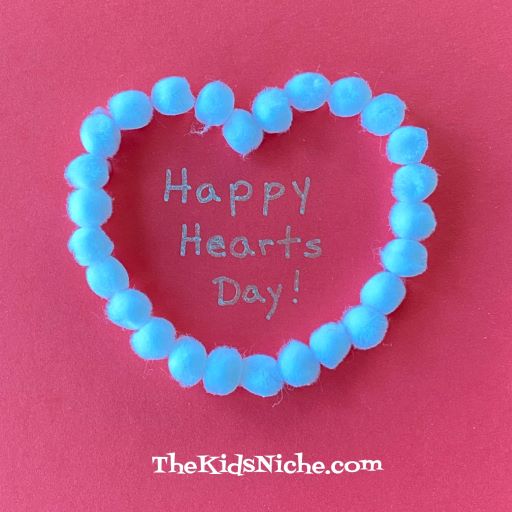
You can write a verse or greeting inside the card to fit the occasion. The paper can be coordinated with the occasion too. For instance, use birthday type scrapbooking paper for your strips when making a birthday card. I have some stamps and ink that I used to put a message inside my card.

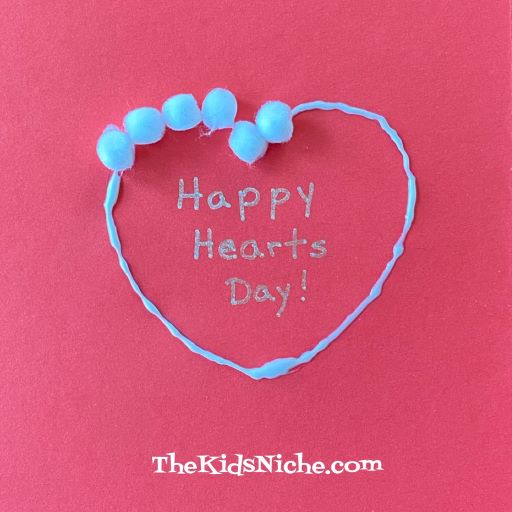
Little stickers can also add a nice touch to your card.

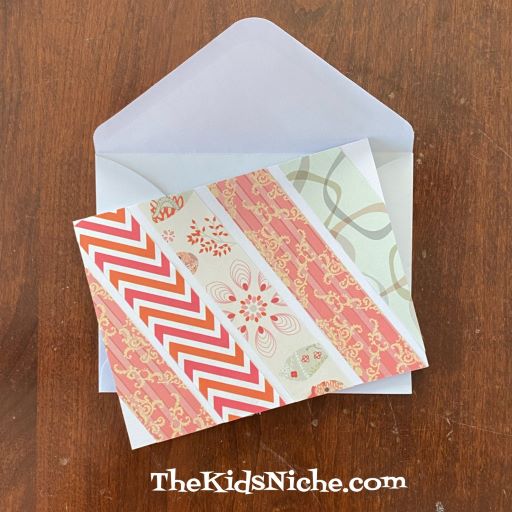
And there you are! You have a cute card ready to send to brighten someone’s day. 🙂

Simple Handmade Valentine

It’s February and that means Valentine’s Day is right around the corner! Here’s a simple but fun Valentine that your kids can enjoy making. You can make it as a Valentine card to give to that special someone or let it be a decoration to brighten up your house for Valentine’s Day.

You will need some construction paper, a pencil, glue, little pom poms and a marker or two.

I chose to use red paper and white pom poms, but you could use pink or white paper with red, pink or white pom poms. Go with what you have on hand or can find easily at a store. Begin by drawing a heart shape on the paper. I used half of a piece of construction paper and I also traced around a heart shaped cookie cutter.

If you would like to write a message on your heart, do it now.

Put a line of glue all around the outline of the heart.

Place the little pom poms on the glue and press them down a little bit.

Keep placing the pom poms on the line of glue…

…until you have filled the whole line with pom poms.

That’s all there is to it! You’ve made a cute Valentine! 🙂 You can decorate the rest of the paper if you’d like to or leave it as it is. Have fun making your own handmade Valentine! 🙂

Making a Birthday Card With Washi Tape

Today I want to share a super simple way to make a birthday card using Washi tape. In case you’ve never heard of it, washi tape can be bought at craft stores and big box stores. It comes in many colors/patterns and in different widths. Super cool stuff! Isn’t this card cute? 😉

For this project you will need some blank cards and envelopes, a few different colors/patterns of Washi tape, scissors and some markers. You can pick whichever width of Washi tape you like and the number of different colors/patterns that you use, but I used 5 colors/patterns in about 1/4″ wide.

Begin by cutting and placing a piece of Washi tape perpendicular to the bottom front of the card.

Continue cutting and placing strips of Washi tape in a line across the front of the card with each piece right up against the previous piece of tape. I like to vary the heights of the “candles” by using different lengths of tape.

Continue adding pieces of tape until you have the number of candles you want on your card.

Using a black thin marker, draw a short line on the top of each candle for the wick part of the candle.

Next take a yellow marker and draw a tear-shaped flame on the top of each candle wick. Use an orange marker to outline each flame. I drew my flames going in different directions, but you might like to make yours all lean the same way so it looks like someone is blowing on them.

Now all that’s left to do is to add whatever message you’d like to include. For instance, you might write “Wow…that’s a LOT of candles! Happy Birthday!” You can write on the front of the card and/or put a message on the inside of the card. It’s all up to you and what you want to say to the recipient.

Super simple card to make but so cute when you’re done! If you don’t have washi tape, you could cute strips of scrapbook paper or use construction paper of different colors. Your imagination is the only limit! 🙂 Have fun!