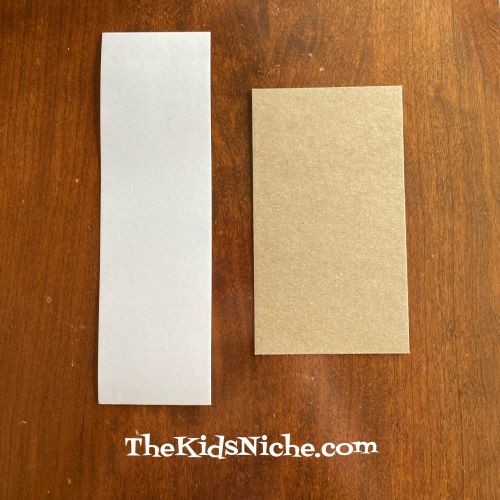
If you’re looking for a super easy craft for the kids to make, look no further! These bookmarks are very easy to make and the kids will love using them to mark their places in the books they are reading. All you need is some thin cardboard or cardstock, markers and stickers. I actually used the piece of cardboard that comes in a large box of tea bags and the cardboard from the back of a small notepad.
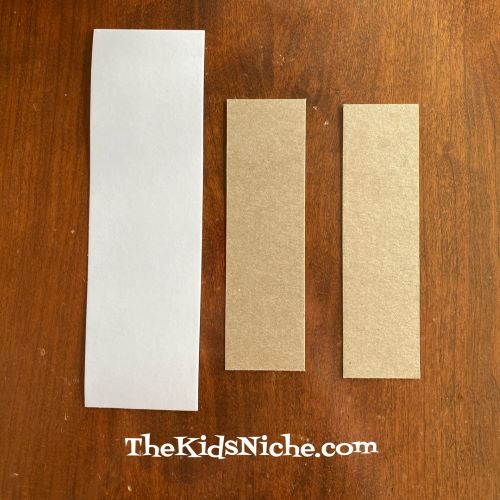
Cut the cardboard or cardstock to the size you want the bookmarks to be. I kept one of mine the size it was for a large bookmark and the other piece I cut in half for 2 smaller bookmarks.
Next grab the markers and stickers and turn the kids loose to decorate the bookmarks however they like.
I made one with Minion Pirate stickers. Ahoy, matey!
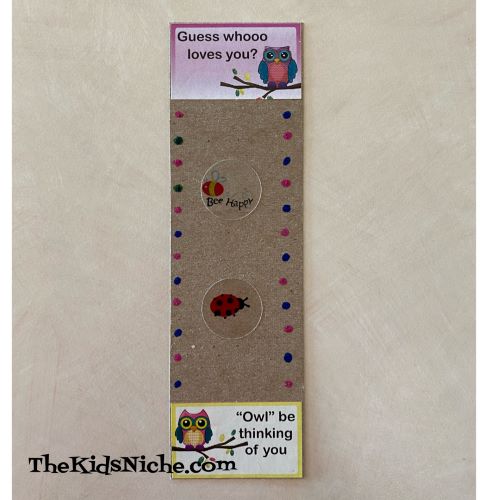
For the second bookmark I used some owl stickers, some bug stickers and added some dots using my markers.
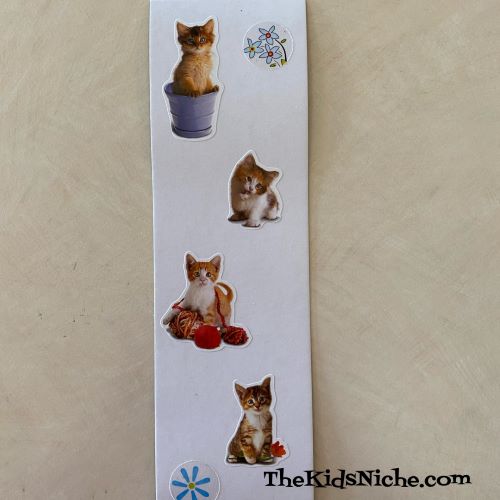
Last, but not least, I made a bookmark with a few kitten stickers and 2 flower stickers.
This is a super simple craft project but the kids will enjoy it and maybe be encouraged to spend more time reading so they can use their new bookmarks. 🙂 Have fun!
Have you heard the old folklore that “March comes in like a lion and goes out like a lamb”? Or sometimes it’s the other way around and it comes in like a lamb and goes out like a lion. 😉 March can be an interesting month for those of us that live in the northern part of the United States. Today was cloudy and windy, so for us, it came in like a lion. Here’s a fun little craft the kids can do in honor of the first day of March.
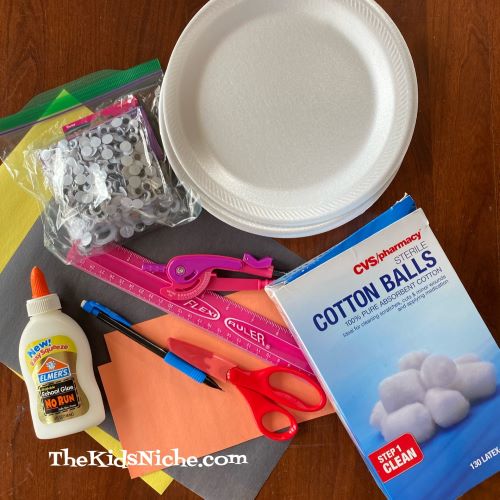
Supplies you’ll need include construction paper, pencil, ruler, 2 Styrofoam or paper plates, glue, scissors, wiggly eyes, a marker and cotton balls. A compass for drawing a circle will come in handy or a small bowl the size of the bottom of the plates you’ll be using works great.
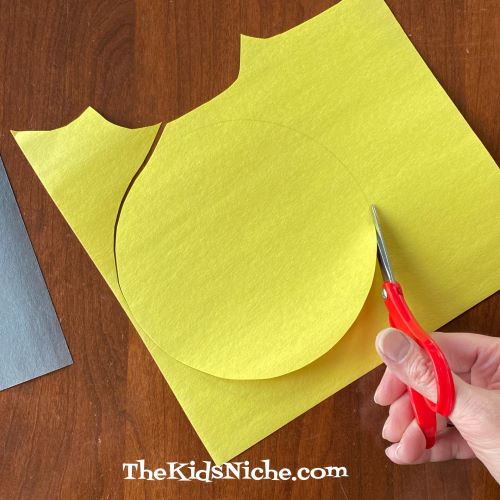
Let’s start with the lion. Draw a circle on yellow construction paper that is approximately the size of the bottom of the plates. You can draw a circle around a bowl, if you have one about the right size. It doesn’t have to be the perfect size, just close will work. 🙂
Cut out the circle using your scissors.
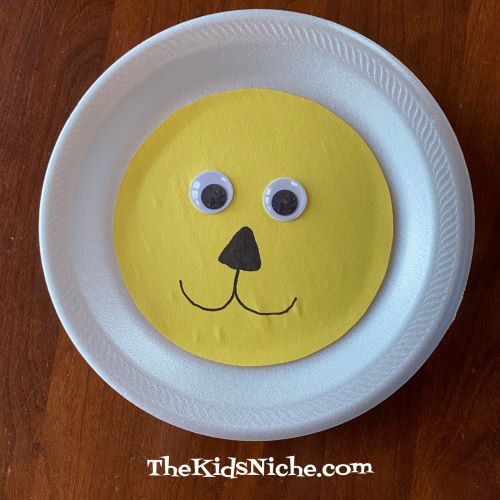
Glue the circle to the inside bottom of the plate.
Now glue 2 wiggly eyes in place.
Using your marker, draw a nose and mouth for your lion.
Now cut about 10 strips of yellow construction paper that are approximately 3/4″ wide by 3″ long. They don’t need to be perfect, just around that size.
Cut another 10 strips the same size from orange construction paper. Alternating colors, glue one end of each strip around outside edge of the lion’s face.
ROAR!! GROWL!! Great job! Your lion is complete! Now let’s make the lamb of March. Start by tracing around the bowl again, this time on black construction paper.
Cut out the black circle and apply glue to one side.
Position it on the inside bottom of the second plate.
Glue 2 wiggly eyes in place.
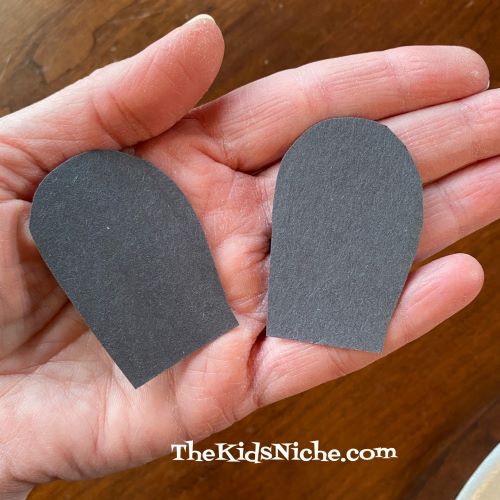
Cut 2 ear shapes from the black construction paper.
And glue in place.
Glue cotton balls all around the outside edge of the plate. Cover up some of the edge of the black face too. Add a nose and mouth, if you like.
BAA! BAA! And there you have finished your lamb too! Great job! Now, which way did March come in for you at your house? It will be interesting to watch and see if March goes out in the opposite way it came in! Have fun making your March lion and lamb! 🙂
Who is getting tired of snow? We live in Ohio and we still have a LOT of snow. (Just ask our dog, Rusty, because he finds it hard to go potty when the snow is up to his belly!) It’s starting to melt here and I am looking forward to seeing grass again! Today is also windy so being outside is COLD! But we can have fun making a snowman inside today. 🙂
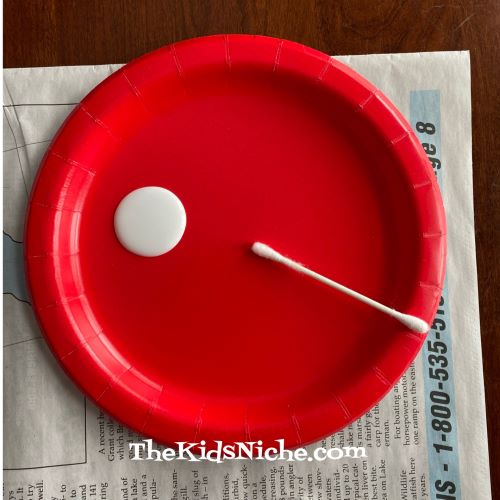
You’ll only need a few supplies…I used half a piece of blue construction paper, 3 Qtips (also called cotton swabs), a small amount of paint (white, black and red) and a small disposable plate.
You’ll probably want to lay some old newspaper down on the table to protect it from any run away paint drops. 😉 Lay your piece of construction paper on the newspaper and the small disposable plate. Have the Qtips within reach.
Put a very small amount of white paint onto the plate. I actually put more out then I needed.
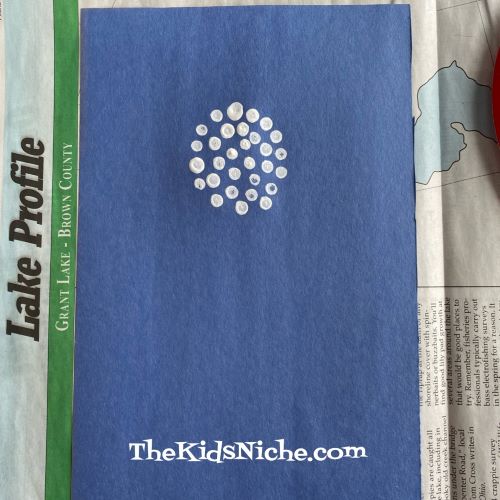
Using the end of one Qtip, dip it into the paint and start making dots on the construction paper in the shape of a snowman. I suggest starting at the top with the snowman’s head to avoid laying a hand or arm on the freshly painted dots.
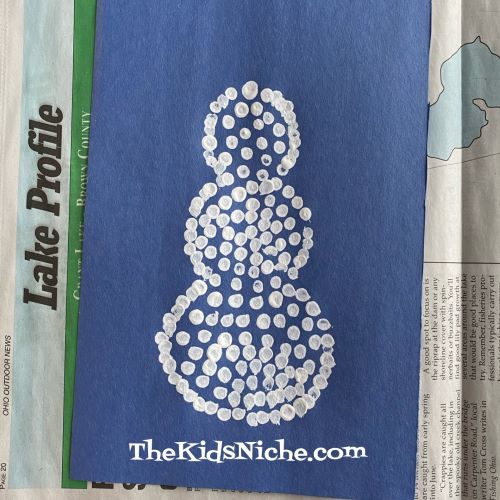
Make a second snowball for the snowman’s belly.
And then a 3rd snowball for the bottom of the snowman.
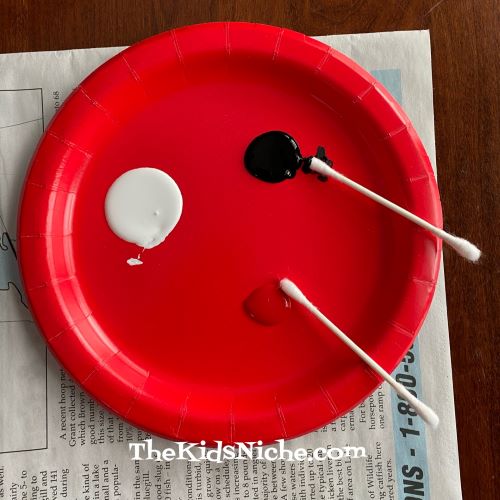
Now put a very small amount of black paint on the plate. And get a fresh Qtip.
Add dots to make a face…a few dots on his belly for buttons…add black dots for his stick arms…and more dots for his hat.
Now it’s time for a very small amount of red paint to be put on the plate. And grab a third fresh Qtip.
Add some red dots around the snowman’s “neck” to make a scarf.
And you’re finished! Great job! I hope you had fun making a snowman while you stayed inside where it’s warm! 🙂
It’s cold and snowing some more here! I’m trying not to complain but I could use a break from snow! So let’s see if we can tickle your funny bones with some riddles!
#1.) What do you call it when a snowman has a temper tantrum?
Answer: A meltdown! 🙂
#2.) What does a snowman eat for breakfast?
Answer: Frosted Flakes!
#3.) What does a Snowshark give you?
Answer: Frost bites!
#4.) What’s the biggest problem with snow boots?
Answer: They melt!
#5.) What do you call young dogs that play in the snow?
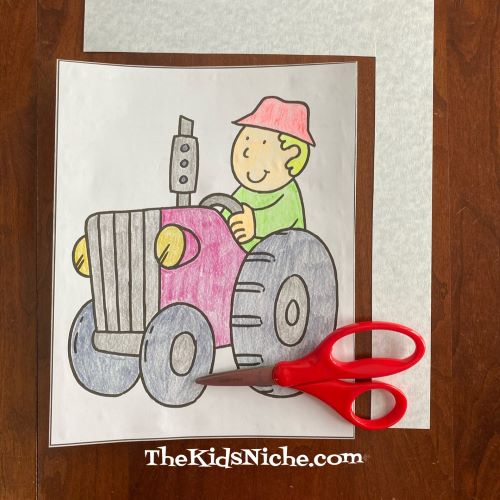
A lot of people in the United States are buried under snow along with frigid temperatures outside. I’m guessing there are a few moms that are going a bit bonkers with their kids running out of things to do in the house. So here is a fun project you can do at home that doesn’t take any fancy supplies to make. Let’s try your hand at making a handmade/homemade puzzle! You’ll need a picture (can be cut from a magazine or a coloring book, for example), a piece of cardstock or thin cardboard, pencil, ruler, scissors and glue.
First trim your picture to give it a smooth edge.
Spread glue over the entire back side of the picture. You need to cover all of it with glue so that when you cut it into pieces, your picture will be glued on each piece. Place your glued picture on the cardstock or thin cardboard.
Cut the cardstock around the outside edge of the picture.
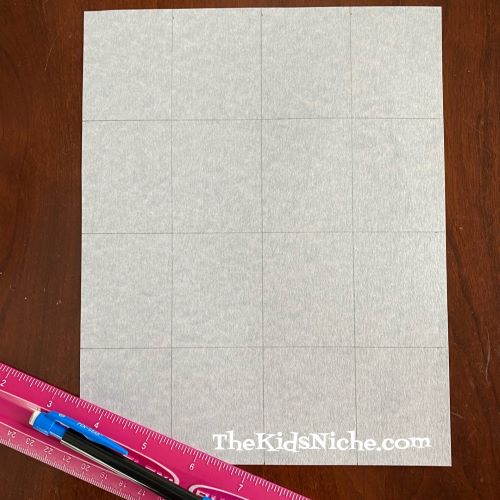
My picture wanted to curl up so I placed it under a heavy book for a little while. The next step is to turn the picture over. Decide how many pieces you want the puzzle to be and using your pencil and ruler, draw lines for cutting on the back of the puzzle. I made my puzzle into 16 pieces.
Cut the puzzle pieces apart by following the lines you just drew on the back.
Turn the pieces over and your puzzle is complete!
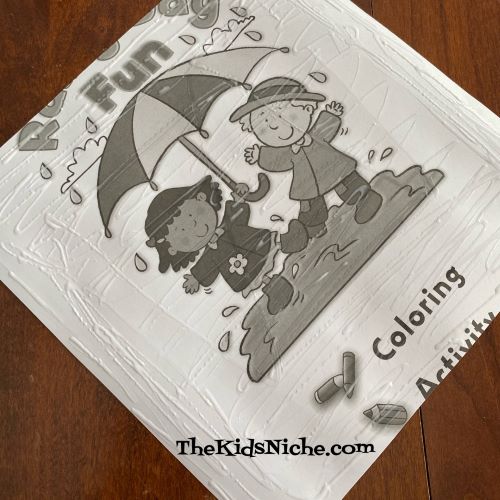
I made a second puzzle so I’ll share those pictures here too. Cut the picture to give it a smooth edge.
Apply glue to the entire back of the picture.
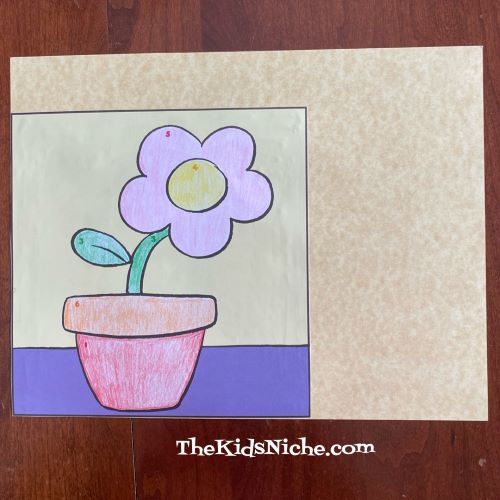
Place the glued picture on the cardstock or thin cardboard.
Cut the cardstock around the outside edge of the picture.
Draw lines on the back of the puzzle for where you want the puzzle pieces to be cut.
Cut the pieces apart with your scissors. Turn the pieces over and you’re done!
You can store your puzzle in an envelope or small box. Depending on the age of the child you are making this for, you can cut it into fewer or more pieces. Kids can have fun making these puzzles for other kids. Let the kids color a picture for making into a puzzle. If more than one child makes a puzzle, they can swap their puzzles back and forth for more fun. I hope you’ve had fun making your own puzzle! 🙂
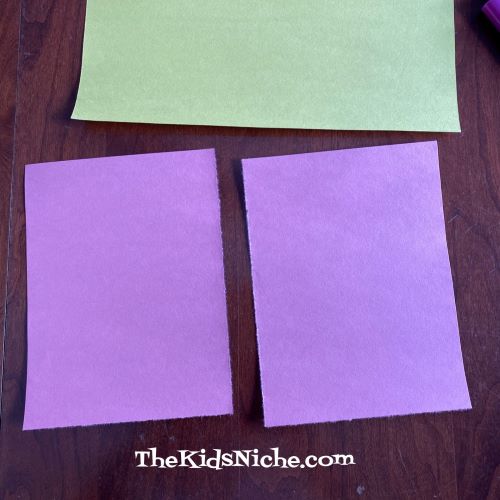
It’s almost Valentine’s Day! Are you looking for a project to keep the kids busy or to add to a Valentine’s Day party? This project is easy to do and looks amazing when you are done. You don’t need many supplies and it doesn’t take long to make it. You’ll need 2 half size pieces of construction paper, a pencil, scissors and a couple of markers or an ink pad. WASHABLE markers or ink is the best! 😉 (I’m speaking from experience and from my very colorful finger!)
Keep one piece of your paper for making the project on and the second piece you will need to cut in half.
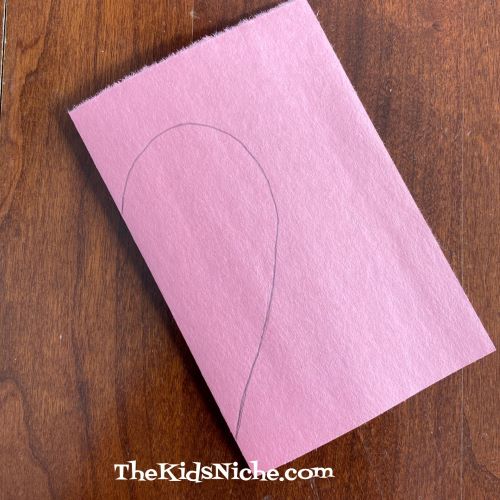
Take one of the half pieces and fold it in half.
Draw half of a heart on the fold.
Cut out the half heart shape using your scissors.
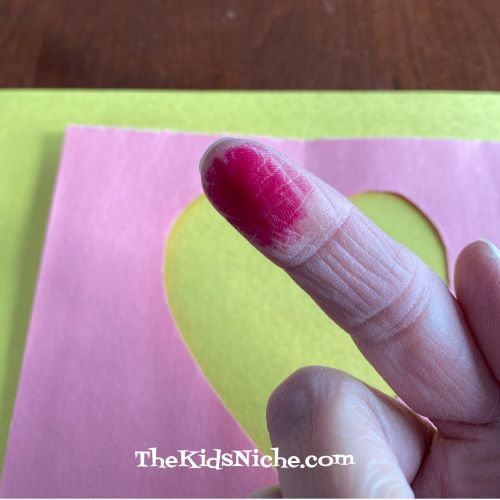
Put the heart shape aside for another time. Open the heart stencil and lay it on top of the other sheet of paper.
Using your marker or ink pad, put ink on one of your index fingers.
Press your finger onto the paper inside the heart stencil area. (The cut out heart area.) Continue doing this step until you have either made a complete outline of your heart or you have colored the entire heart in with your fingerprints.
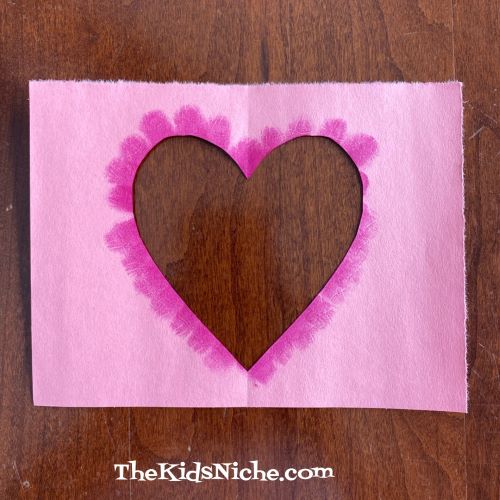
When you have finished the number of fingerprints you want to make, remove the stencil.
Isn’t that pretty? You can leave it this way or fill in the rest of the cut out heart area. Actually the stencil looks pretty cool too!
Here is one with the inside of the heart filled in with more fingerprints.
You can use your heart design just to hang it up and make your house look pretty or you can make it into a card to give to someone special on Valentine’s Day. Hope you had fun making your fingerprint heart! 🙂
Are you still looking for Valentine cards that are simple enough for your kids to make? Here’s another suggestion for you! We’ll call this one the Soda Pop Valentine card. 😉 You’ll need a piece of paper, glue, a black marker, colored pencils or crayons, a pencil, scissors, a cut out paper heart and a straw.
I used half a sheet of pink construction paper for my card. I folded it in half to make a nice size for a card. On the front, using a pencil, draw a soda pop bottle.
With a thin line marker or black pen, trace over the bottle you just drew so that it stands out more plainly.
Color in the bottom 2/3 of the bottle whatever color you’d like your pop (soda) to be. I used brown for Root Beer. I wrote the words Root Beer on my bottle but you can write whatever kind of pop you like to drink and color it the same color as the drink you chose.
(Sorry I’m not sure why this picture looks purple!) Now imagine that the straw you have is inside this bottle of pop. (soda) Cut your straw to fit the bottle. Have the bottom of the straw just touching the top of the pop (soda) in your bottle. The top of the straw should stick out above the bottle opening.
Add a line of glue down the length of the straw and hold it in place on your card for just a little bit till the glue can start to set up.
If you have a permanent black marker, you can draw the rim of the bottle on your straw too so it looks more like it is inside the bottle.
Now with a pen or marker write the words, “I “soda” love you!” (I sorta love you!)
Next, you should write on the cut out heart these words…”I love you so much I think my heart might “pop”! 😉
Then glue the heart to the inside right hand side of your card.
If you like, you can add some little lines around the outside of the heart to help make the heart look like it’s ready to pop!
And there you are! All finished! Great job! Who will you share your Valentine card with? Remember to sign your name so the person will know you are the one that made this great card for them. 🙂
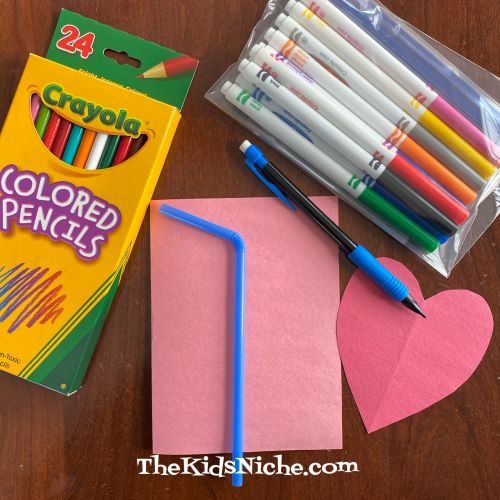
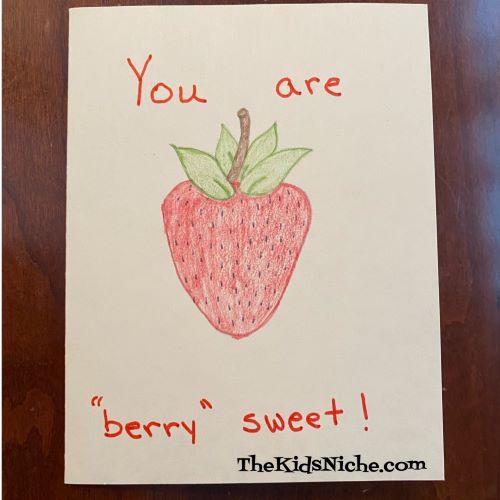
We’re back with another idea for a Valentine card kids can make. This one involves strawberries and blueberries. Ready? Grab a piece of paper or a blank card, a pencil and colored pencils or crayons and some markers. Start with a half a sheet of paper, cardstock or construction paper.
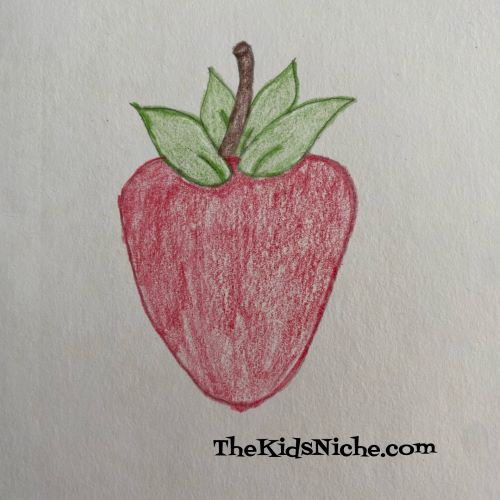
Fold it in half to make it card-sized. On the front of the card, we’re going to draw a strawberry. Start out by drawing this shape.
Next, add some leaves and a stem.
Use your colored pencils, markers or crayons and color the strawberry. I used colored pencils.
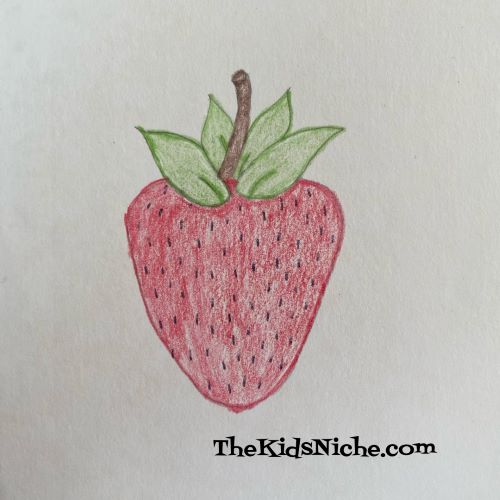
Looking good! Now make some tiny little lines for the seeds on a strawberry. I used a black pen to draw mine.
Your strawberry is finished! Now add the words, “You are “berry” sweet!” to the front of the card.
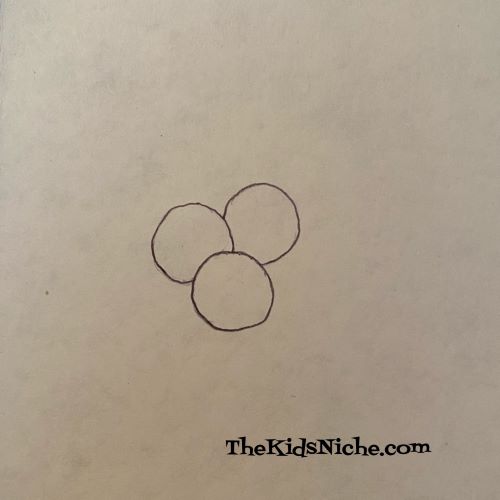
Open the card and on the inside right hand side, let’s draw some blueberries. I drew 3 but you can draw however many you like. Start with a circle and then add 2 more circles that are partially hidden behind the first one.
Add one small circle inside each of these circles. Then add 5-6 almost triangles to the little circle.
Color the blueberries. You’re almost done! Add the words, “Have a “berry” Happy Valentine’s Day!”
Great job! Who will you give your handmade Valentine to? Remember to sign your name. I hope you’ve had fun making this “berry” nice Valentine’s Day card! 🙂
We’re coming at you today with another fun card that kids can make for Valentine’s Day. All you need is a piece of paper, colored pencils or crayons and a black marker.
My paper is construction paper so I cut it in half.
Take 1 of the pieces and fold it in half to make a nice size for a card.
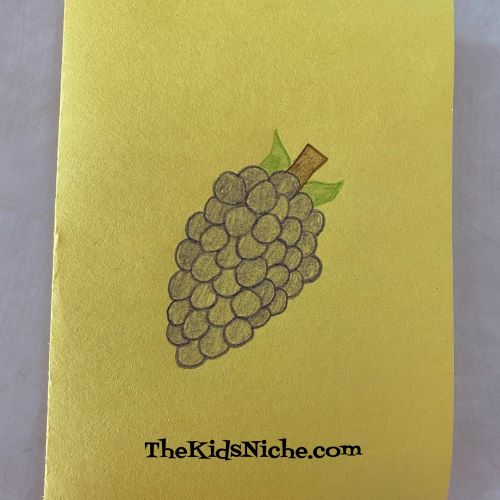
Now draw a bunch of grapes on the front of the card. Draw circles and partial circles to make the grapes. I used a purple colored pencil but grapes can be other colors too.
Keep drawing and coloring in the grapes until you like how big your bunch is.
Add a brown stem at the top of the grapes.
Use green to draw in a couple of leaves.
Now add a simple face. I used a black marker to draw 2 dots for eyes and a curved line for a mouth.
Add the words “I love you a “bunch”! ” at the bottom of the card.
Open the card and on the right hand side, draw another bunch of grapes like you did on the front of the card. Write the words at the bottom…”Have a “grape” Valentine’s Day!”
Remember to sign your name. Give it to someone special on Valentine’s Day! I hope you enjoyed today’s craft! Have a “grape” weekend! 😉
We’re back with another great Valentine’s Day craft project! If you saw yesterday’s post about a tissue paper heart activity and you saw that I suggested you save the stencil looking part of that project for another project, this is it!
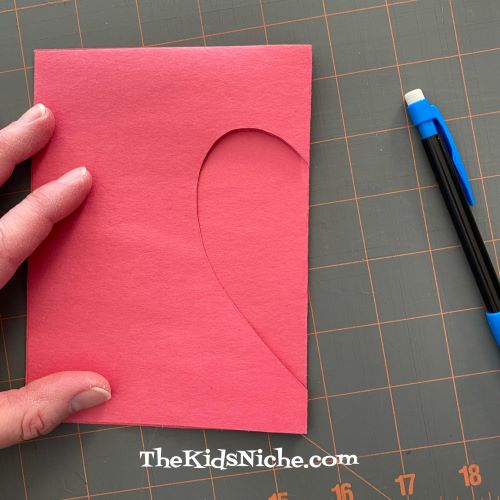
If you didn’t see that post, what you need to do is cut a piece of construction paper in half. Then taking one of those pieces and fold it in half.
Draw half of a heart shape on the folded edge of your paper. Then cut along the line you drew. When you open it, you will have a heart. 🙂 For this project, we will be using the piece with the heart cut out, but you might want to save the heart to use it for something else.
For today’s project, you will need another half sheet of construction paper, a pencil, scissors, glue and several different colors of tissue paper. First cut a 1″ wide strip from each color of tissue paper. You will need only a short piece of each color. (I had a lot left over!)
Now, take the half piece of construction paper and fold it in half. Lay the first stencil on top and trace the half of a heart on the fold like you did for the first one.
Cut out the second heart so you have 2 matching pieces.
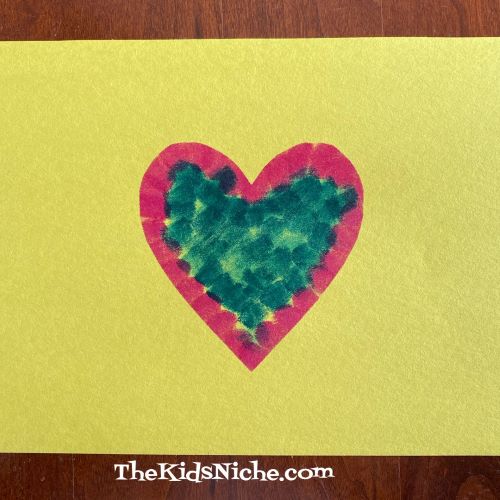
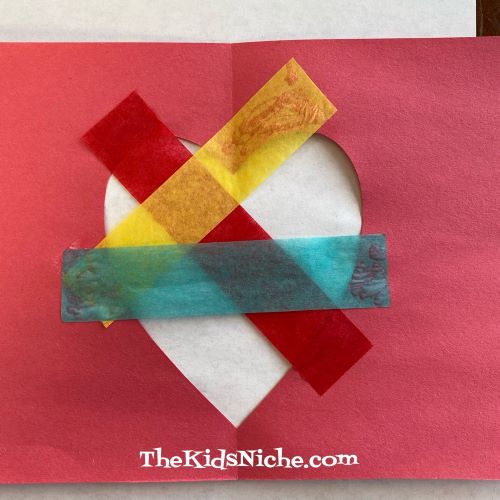
Unfold the 2 pieces. Place the side that you drew on facing up. This will become the backside of the stained “glass” heart. Using the strips of tissue paper, lay one across the heart opening and glue the ends down.
Take additional pieces of the tissue paper strips and place them, one at a time, in different directions over the heart opening…and glue the ends down.
Add a few more strips…
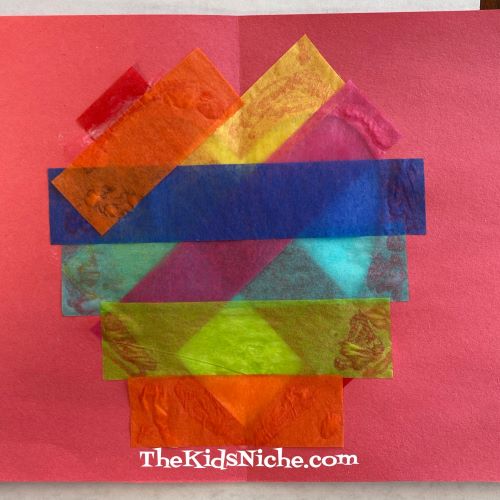
Keep adding strips until all the open spaces of the heart have been covered with tissue paper.
Take the other piece of construction paper you cut the heart out of and apply glue as it is shown in this picture.
Place it on the paper you have been gluing the strips to so that the edges meet and the 2 hearts match up. This will cover up all the ends that you glued down and allow the light to shine through the heart cutout. And there you have it! You’ve made a stained “glass” Valentine heart! Put it up to a window and look how pretty it is when the sun shines through the heart!
Doesn’t that look nice? Make as many as you like (Or as many as your parents will allow!) and put them close to your windows to make your house look festive. 🙂 You could also make a hole at the top and put a piece of string through so you can hang up your stained “glass” art. I hope you had fun today! Check back for more Valentine’s Day ideas soon!