Crazy Letter Writing Fun

Do you write letters to your grandkids? Letter writing seems to be a thing of the past for a lot of people, but who doesn’t love to get mail? A hand written letter does something special to warm the heart and is appreciated by almost everyone. Not long ago, we received a very special letter from our grandson, Hunter. The grandkids had spent a week with us and Hunter wrote us a special thank-you note. Look at what he did:

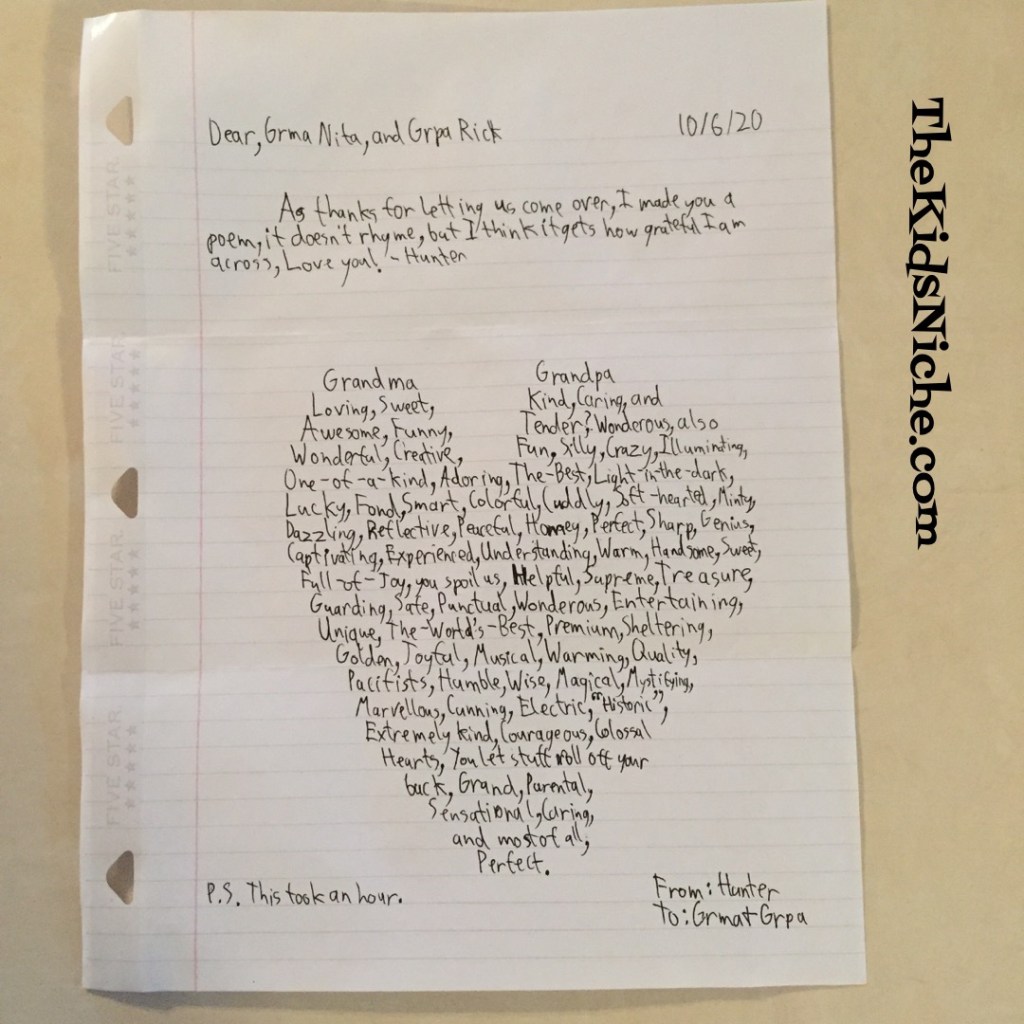
He wrote it in the shape of a heart! Isn’t that neat? 🙂 What an original idea!

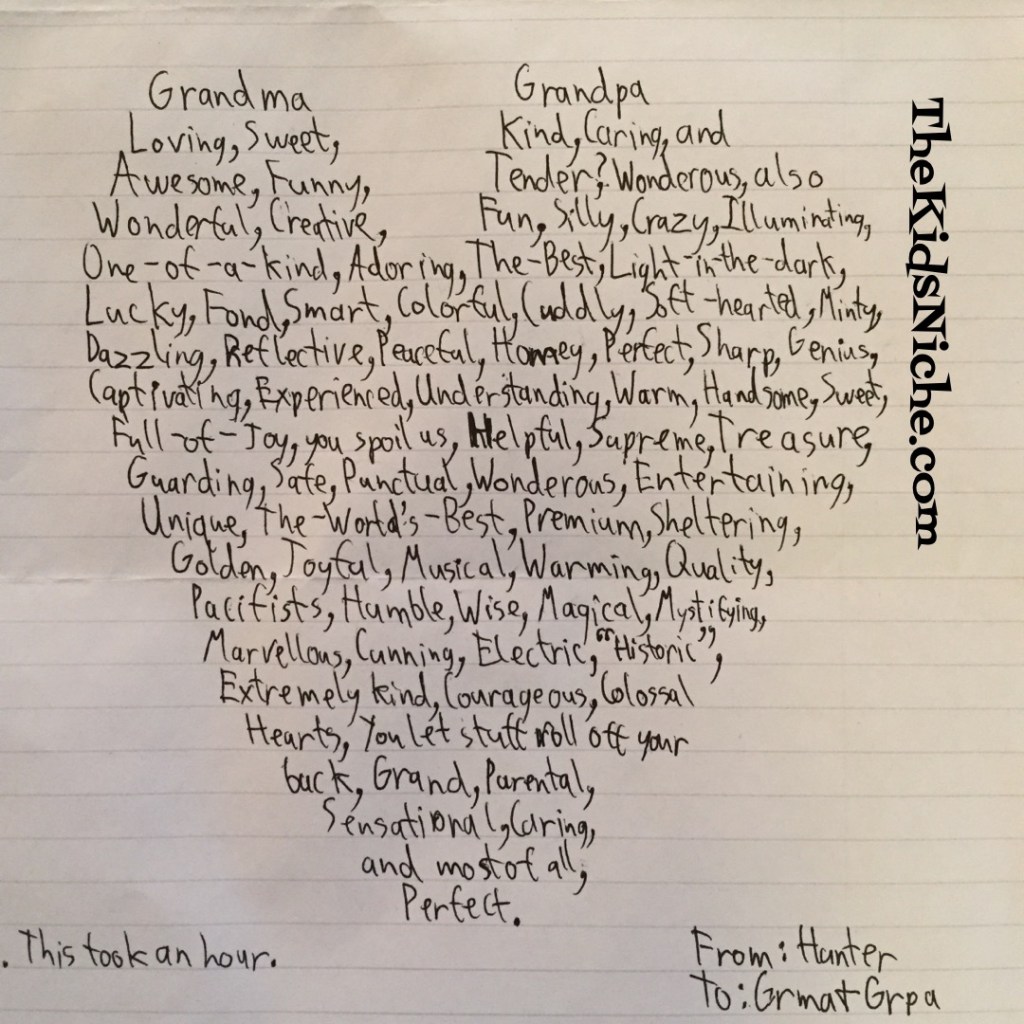
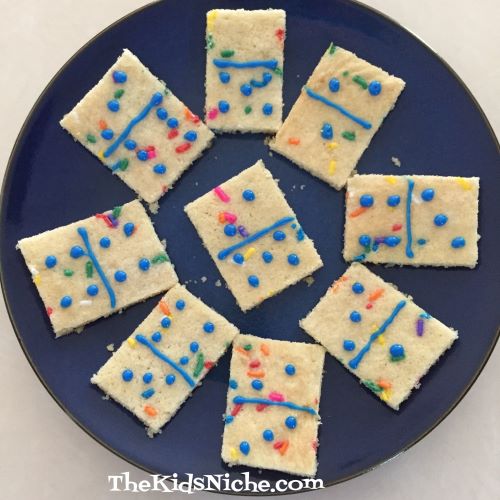
The words he wrote were also very sweet but I did laugh when I saw that he said we are “historic”. LOL (Is that a nice way to say “old”? Haha!) His letter got me to thinking of funny ways to write letters that could cheer someone up. So the letter I wrote back to him looks like this:

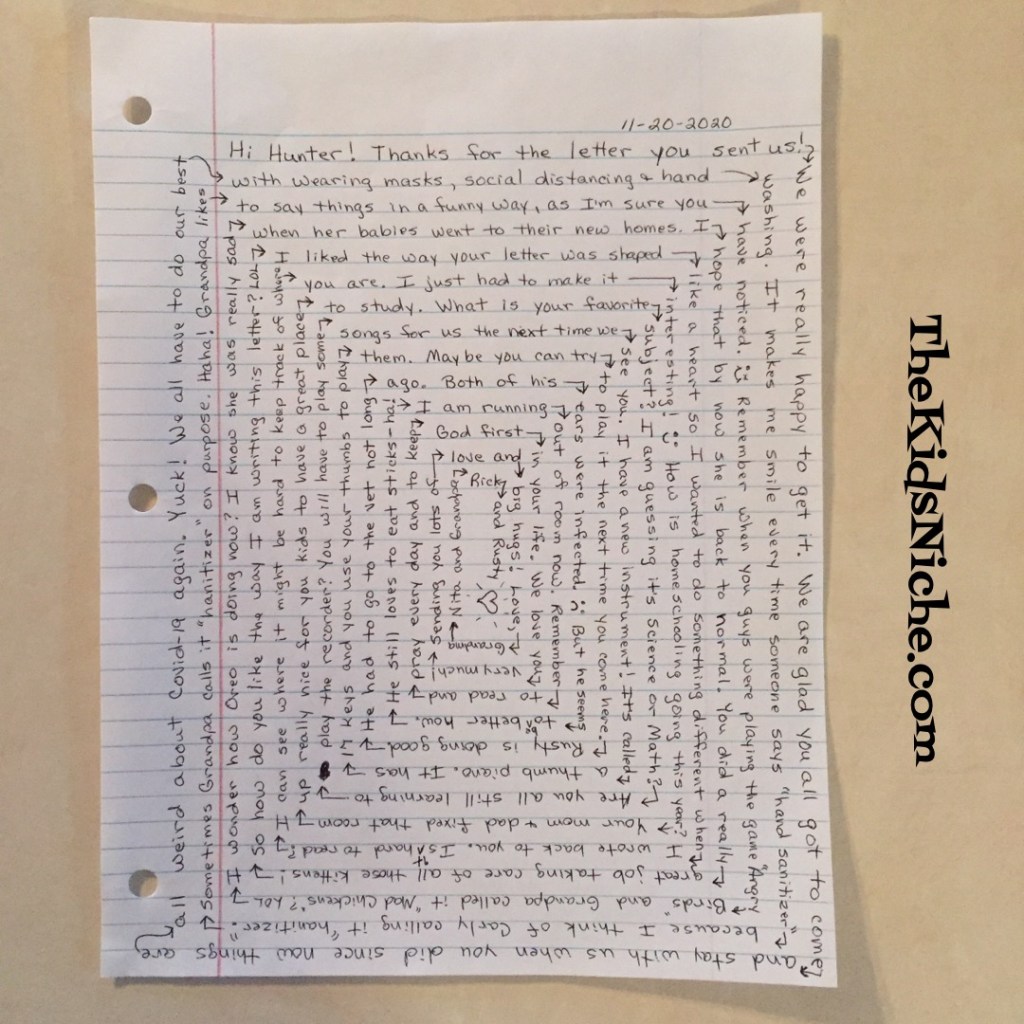
Can you see how I wrote it? I started out the usual way of writing in the first space. But when I got to the right side of the page, I turned the page and wrote down the right side.

When I came to the bottom of the page, I turned the paper again and wrote along the bottom.

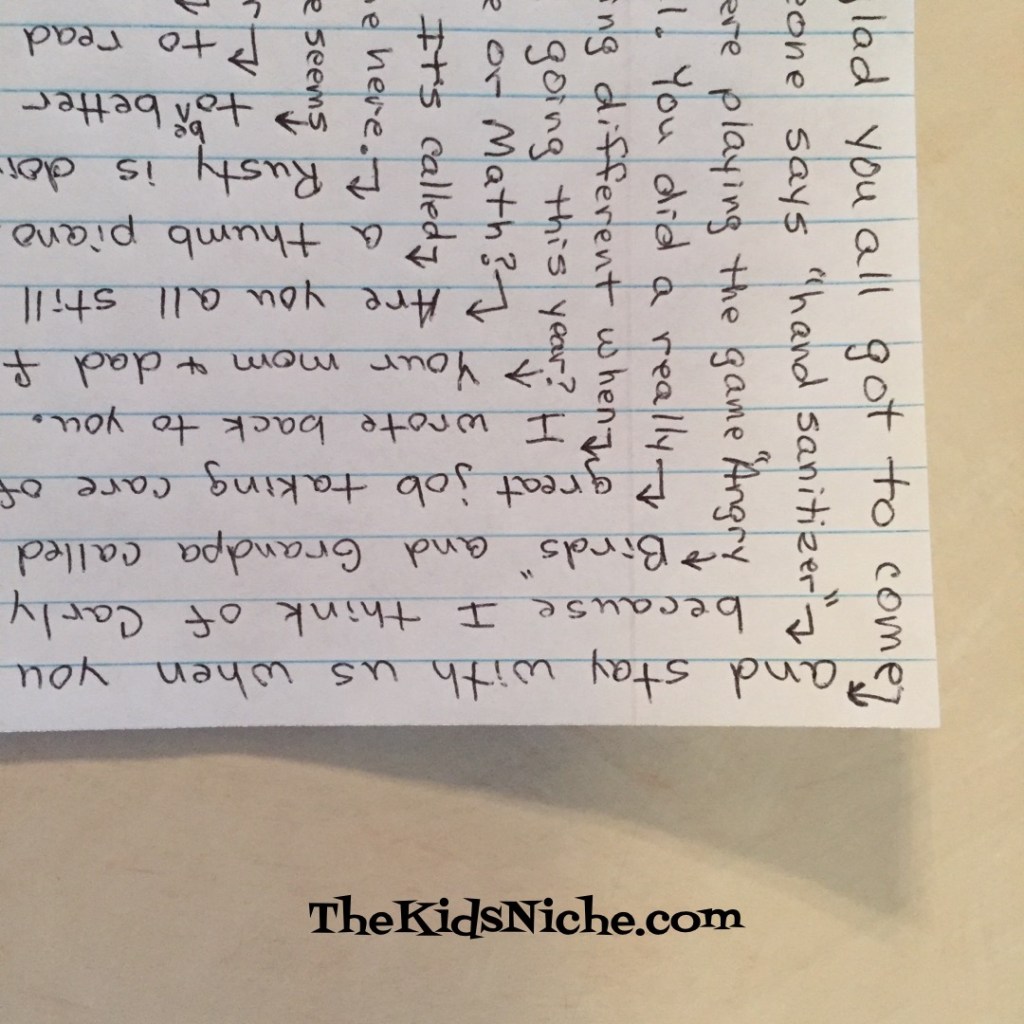
So I wrote all around the outside edge, around the entire paper. Each time I came back to the beginning, I moved in another space and continued going around and around and the space got smaller and smaller until I ran out of room to write.

When Hunter gets his letter, he will have to turn the paper around and around to read it. 😉

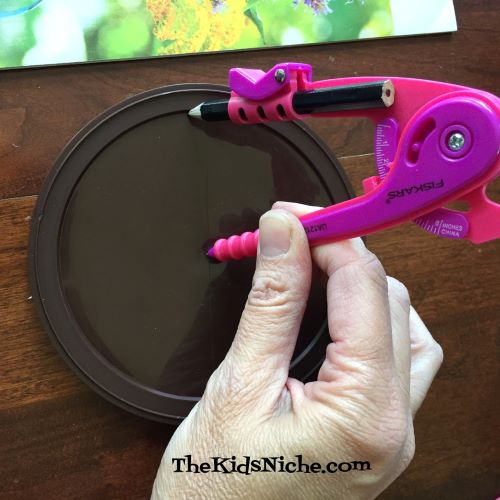
Another way to write a goofy letter is in a circle. I drew a circle with a pencil to start my next letter to Hunter’s brother, Kendan.

As you probably guessed, I wrote this letter in a circle with each line moving a little closer inside.

Can you think of any other fun ways to write a letter? In a triangle shape? Maybe a square or an oval? I’m pretty sure I will think up some other fun ways to write letters, but maybe these 3 ideas will get you started on your own letter writing adventure! Have fun! And you just might get a letter in return! 😉

Is It Too Soon to Build a Snowman?

How do you feel about snowmen? I love them!! Especially the crafty kind that you can make in your house and they never melt! 😉 We had some cold days recently that felt like winter and we even had a light dusting of snow, so I got to thinking about snowmen and decided to make some. (Now it’s warmed back up and the temperature has been in the 60’s.) This is an easy craft for kids and takes just some “normal” kind of things you might have around your house. Let’s take a look at my snowmen…

I thought they turned out to be pretty cute! Some things that you’ll need to make these snowmen are empty toilet paper rolls, white paint, paint brush, pipe cleaners, small pom poms, ribbon or yarn or felt, maybe a button or two, wiggly eyes, orange and black markers and either a bottle of glue or a glue gun. (I used the glue gun.)

The first step is to paint the empty toilet paper rolls with white paint. Let them dry however long your type of paint requires.

Glue on 2 wiggly eyes. It doesn’t really matter what size the wiggly eyes are. I used 3 different sizes for my snowmen.

Cut a pipe cleaner in half…or even smaller…to use for the top part of the snowman’s ear muffs. Glue the 2 ends to opposite sides of the toilet paper roll. Place the ends on either side of the eyes in a place where the snowman’s ears might be if he had some. 😉

Next glue a pom pom over each end of the pipe cleaner to finish making the ear muffs.

Use the orange marker to draw a triangle below the wiggly eyes to be the snowman’s carrot nose. Use the black marker to draw on a mouth and eyebrows. (I drew the eyebrows on after I took the next picture. Oops!)

For the snowman’s scarf you can use pieces of yarn or ribbon or felt or fabric…you get the idea. 😉 For this snowman, I put 3 pieces of yarn together. Glue the scarf in one spot on the back of the snowman. Then wrap each side around to the front and cross one side over the other and glue in place.

I glued a little star button on top of where the 2 sides cross in the front. You can add 3 black dots for the stones or buttons on the snowman’s tummy, if you like.

And there you are! Great job! You’ve made a snowman! 🙂

For my second snowman, I followed the same steps, but for his/her scarf I took 3 pieces of yarn and braided them together. I tucked one end around the other in front, like you do when you are beginning to tie your shoes. Then I glued it in place.

For my third snowman, I again followed the same steps, except this time I made his/her scarf out of a piece of ribbon. And I glued on a matching button.

You can make your snowman look however you like. He/she might look different because you have different materials to use than what I had. You can shape his/her mouth in different ways to make him/her look happy or sad or silly. I’m sure he or she will look great! The important thing is to have fun making your snowmen! 🙂

Sand Art Makes a Day Fun!

Hi, everyone! Hope you are having a good day! Let’s talk about having fun with Sand Art! When some of our grandkids stayed with us a couple weeks ago, we had fun making Sand Art with a Sand Art kit. The kit contained 3 bottles, 3 corks, 5 different bags of differently colored sand, one tool and 2 tiny funnels. Each person chose a bottle for their project. It’s a good idea to spread some old newspaper on the table before you begin in order to make cleaning up afterwards easier. We poured the sand into paper cups that we had cut to make them shorter and easier to handle. Each color of sand was poured into a separate paper cup in order to keep all the colors apart.

The idea of the Sand Art kit is to place a small funnel in the opening of a bottle and slowly add a little bit of sand. You can add different colors of sand and make the bottle have different layers and make your own unique design.

The tool that was included in the kit can be used to move the sand around some after its inside the bottle or to help you make indentations in the sand.

The more layers of sand you use, the more colorful your bottle will be.

Or you can do it like our Little Miss did and use the tool to stir the sand together and you’ll have one bottle with a mixture of colors. 😉

We also had some “real” sand that we brought home from a beach vacation a few years ago and some of the kids added some of it to their bottle. It’s the top layer in this container.

After your bottle is filled up, you can place the cork in the opening to keep your sand from spilling out. If you fill your bottle all the way to the top, with just enough room left for the cork, the cork will also help preserve your design should your bottle get tipped over. Tapping your bottle gently on the table as you work adding layers of sand, will help it to settle nicely too.

Since we had some sand left over after filling the bottles, we got out some Elmer’s glue and some small flat wooden circles and we made some great designs with the sand. Just put a little bit of glue on the wood circle in the shape you desire, and sprinkle some sand over top. Gently pick up the wooden circle and let the pieces of sand that aren’t stuck in the glue to fall back onto the newspaper under your project. Or if you are using just one color of sand, you can let it fall back into the sand cup. Its a good idea to let the glue dry in between colors, if your kids have the patience to wait that long. Haha! Here are some designs we came up with:

(The circle of the left is from another craft that she did.)

The artist of the last design also used some colored markers to add to the details of his picture.

Sand Art makes a fun project and helped us have a good afternoon together. I hope you’ll give it a try too! 🙂 If you already have your own containers you would like to use, you can purchase colored sand on Amazon.com and maybe some other places too.

Domino Cookies!

Let’s do one more post about fun things to do with dominoes. This time we’ll talk about making cookies to look like dominoes! Sound yummy?

I used a recipe that’s in an old Pillsbury cookbook. These cookies are simple to make and the kids could have fun helping you mix them up, bake them, decorate them…and then help eat them too, of course! Here’s a copy of the recipe:

First gather all the ingredients together. We use vanilla in place of the almond extract.

Here we are doing step #1 of the recipe.

Adding the dry ingredients…

Spreading the dough in the pan…

Spread the dough all the way to the edges of the pan. It will be a thin layer of dough. We also added sprinkles which the recipe doesn’t call for, but kids love sprinkles, right? (When decorating the cookies to look like dominoes, the sprinkles do rather take away from the domino effect, so you might not want to use them. But sprinkles are cool, so you decide. Ha!)

The recipe calls for 10-12 minutes of baking time, but our batch was getting a little too brown after just 10 minutes, so you might want to check your cookies at 8 minutes.

Allow the cookies to cool, then cut them into rectangular shaped pieces. I used a tube of purchased frosting for decorating. Just make a line across the middle of each rectangle cookie and add some dots to each side. Presto! You have dominoes!

Easy peasy! Domino cookies make a fun snack and go along with our other posts on learning with dominoes. Don’t forget to share your cookies! 😉

Domino Stacking Fun

Have you heard about domino stacking? This is an activity that we used to do when I was little but I never knew it was called domino stacking until just a few days ago. The idea is to stand the dominoes upright on the end edge and line them up in such a way that when the first one is pushed over, it starts a chain reaction that causes all of the dominoes to fall down without anyone touching them. It’s a simple concept but it does take some patience and a steady hand to line the dominoes up correctly without bumping into one and setting the whole thing off before you are ready! LOL

Begin by lining the dominoes up in a line, leaving a little space between them but only enough space so they will fall into the next domino and they will all fall down in order. Hint: the dominoes with square corners stand up better than the ones with rounded corners.

You can set them up in any design you like, just make sure they will fall into the next domino in line.

After you have them set up, push only the first domino in the line so that it falls over onto the second domino.

Here’s another setup I tried.

I could have spaced the dominoes a little farther apart and it would still have worked too. This one goes down fast! Watch closely!

This spiral setup was fun to try. 🙂

Just one more setup to show you and then you should try it for yourselves! I predict your kids will love it! This one kinda looks like an arrow. I was trying to make it go in 3 directions at the same time.

So dig out all your dominoes and have a family night of fun! Try out different setups and see what works. Get a little crazy and amaze yourselves at how awesome your setups are! 🙂

Re-Purpose With Duck Tape

Here we go again with another re-purposing idea! Today we’re turning an empty Ovaltine container into a fun place to store something awesome. Never heard of Ovaltine? It’s an awesome chocolate powder that turns ordinary milk into yummy yummy chocolate milk! Mmmm! 🙂 It’s sad when the Ovaltine container is empty, so here’s a way to cheer you up even when the chocolate is gone. 😉

The Ovaltine container is made partially of cardboard so be careful cleaning it. You can wash the inside of the container but avoid getting the outside wet. Dry it quickly and completely and you’re ready to start decorating. There are many colors and prints available in Duck Tape, so find one you like.

I found this neat variegated blue with tiny stars.

Remove the lid of the container and set it aside for later. Wrap the first piece of duck tape around the top on the container, being careful to keep it as straight as possible. Following along the top edge will help.

For the next piece of tape, I chose to go along the bottom edge in the same way I did the top edge.

Add one more strip of duck tape around the middle of the container, overlapping on both the top and bottom strips of tape.

The can part is done! Now let’s make the lid look great too. If you have a compass, you can place the point of the compass in the center of the lid and extend the pencil to meet the inside edge of the lid.

Keeping the compass in this position, you can draw a circle that will fit the lid. A great place to find a cool picture for your lid is by using old magazine pages.

Draw the circle using the compass and cut the picture out with scissors. Using glue or double-sided tape, attach your picture to the lid. Here are a few pictures I found that I liked. Flowers…

More flowers…

A hummingbird with flowers…

Maybe you like animals better than flowers? How about this adorable kitten?

Or this beautiful foal?

There are so many things you could use to decorate the lid! You could color your own picture or use a circle of colored paper and decorate using stickers. Let your mind think up something fun to use from things you have around the house. If you don’t have an Ovaltine container, look around for something similar…duck tape works on just about any surface. If you use double-sided tape on the lid, you can change the picture later when you’re ready for something new.

I hope you enjoyed this project and you use your imagination when looking for containers to re-purpose using duck tape! Thanks for stopping by! 🙂

Walmart Clearance Gem

I just wanted to share a quick tip on a neat looking item that’s on clearance at the Walmart store close to us. That’s the Crayola Crayon Melter.

While I have never used one of these, it looks like you put Crayola crayons in the Crayon Melter which melts the crayons and allows you to create melted crayon art. It is normally priced at $19.97, but is on sale for the clearance price of $10.

So if you have been looking for one of these, be sure to check in at your friendly neighborhood Walmart. 😊

Let’s Draw Bubbles and Juan the Hippos

Hello and welcome to another fun drawing post here at The Kids Niche! Today let’s try drawing Bubbles and Juan the Hippos. Doesn’t he/she look friendly and excited to meet you? 🙂 You will draw the hippos the same until the end when you can decide if you want to draw Juan (a boy) or Bubbles (a girl)…or both! 🙂 My grandsons named these hippos for me! 🙂 Thanks, Hunter and Kendan!

Grab a piece of paper and a drawing utensil and let’s go! Starting with the top of her head, draw part of a sideways oval.

Next draw the area that will be Bubbles’ nose. Almost like another sideways oval but one side dips in.

Next is the area for her mouth.

She’s looking a little odd so far, isn’t she? So let’s start adding some things that will make her look like a hippo! We’ll add 2 small ears on the top of her head…and a little line inside each ear.

Next, draw 2 eyes and 2 little marks, 1 mark above each eye.

Now let’s draw in the details of her nose. Add 2 ovals and color them in for her nostrils. Add 3 dots close to each nostril.

Bubbles is looking much better, but we need to draw her mouth yet. Draw a second curving line close to the first one at the bottom. Add 4 teeth…or however many you want Bubbles to have. And lastly, add a line down the middle to divide her nose a bit.

Great job! Now you can draw a hippo! The finishing touches to make Bubbles, is to add eyelashes to her eyes and a bow on her head.

To make Juan the Hippo, you can add a hat to the top of his head. This hat even has a feather added.

Thanks for joining me today to have fun drawing hippos! 🙂

More Re-purposing With Kids

Hello! Hope things are going well for you! Today let me show you a couple more fun ways to re-purpose things you might have around your house into some entertainment for the kids. This first one I have to show you is using and empty…and washed…plastic container that had spinach and artichoke dip in it. (Oooo, that’s making me hungry!)

The outer plastic wrap came off very easily for me.

The sticker on the lid however, didn’t come off so I simply cut a circle out from a white piece of paper and glued it on top.

Then I cut a slightly smaller circle out of a piece of scrapbook paper and glue it on top of the white paper circle.

Your project can be finished here or you can add a piece of ribbon or duck tape around the side of the container. You’ll want to glue it in place.

And there you are! Another great little container for storing special treasures inside!

Item #2 on today’s blog post is super simple! Do your kids like to play outside in the warm weather and use squirt guns on each other? (Or on an unsuspecting parent or grandparent! Ha!) But you really don’t want to pay the price for squirt guns? Save up a few dish soap bottles or spray bottles…make sure they are washed out and rinsed well. Fill them up with water and let the kids have a grand time spraying each other to cool off! (That actually sounds really good for today – it’s currently 92 degrees with the “real-feel” temperature of 95. Whew!)

Hope these suggestions spur you to do something similar for a fun project today! 🙂

Turtle Suncatcher Craft from Crayola

Wow, it’s been raining for DAYS here and it’s getting tiring! I went looking for something fun to do to cheer ourselves up and I came across this adorable craft on the Crayola website – Turtle Suncatchers!

Turtle Suncatcher_Step 09

Aren’t they adorable?! Here’s the link to check it out: https://www.crayola.com/crafts/turtle-suncatcher-craft/

It looks like a great rainy-day boredom buster! Have fun! 🙂