Finger Painting Fun!

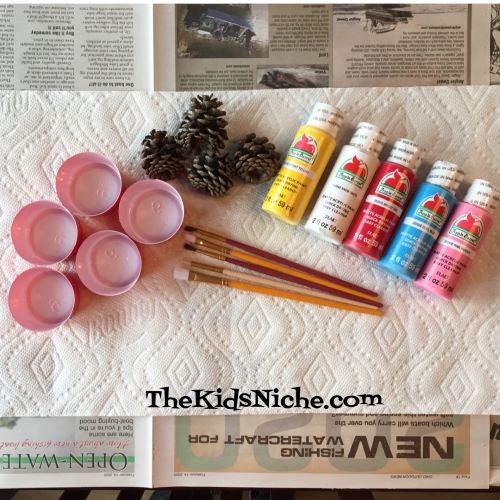
Grab some newspaper to cover your table and a smock or old shirt to cover the kids and let’s have some fun finger painting! I have fond memories of finger painting when I was little . 😉 I found this inexpensive set of finger paints at Walmart for $4.34.

Yep, they are washable!

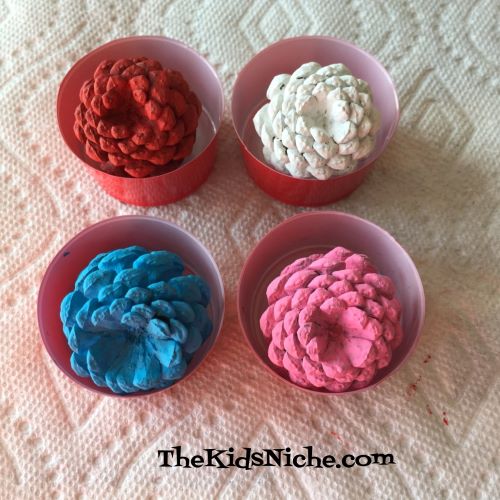
There are 6 colors in the set.

I also found some white construction paper for $1.47. (Why do packs of construction paper never have white in them?!)

Don’t forget your most important utensil – damp paper towels for cleaning up! LOL

Newspaper, smock or old clothes, paint and paper…looks like we’re ready to go!

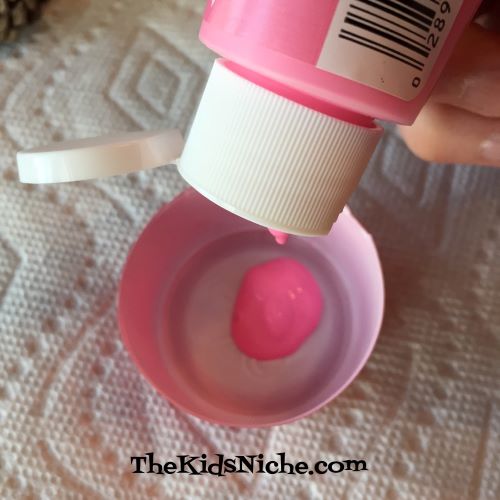
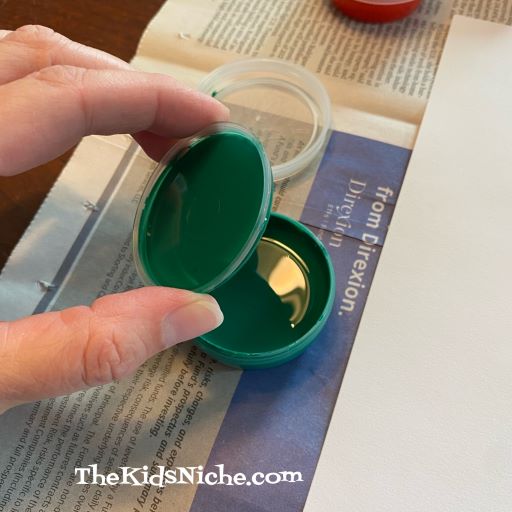
Select your first color…I decided to start with green. There is another kind of plastic lid inside the first lid.

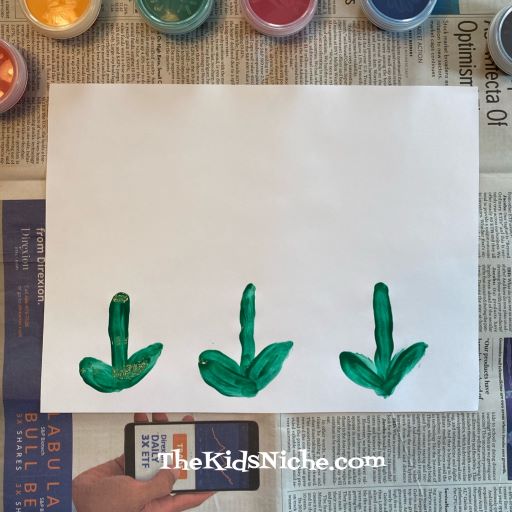
Flower stems and leaves are the beginning of my painting. Just trying something super simple that kids can do. 😉 You need a very small amount of paint on your finger at a time!

Now for some flower petals…

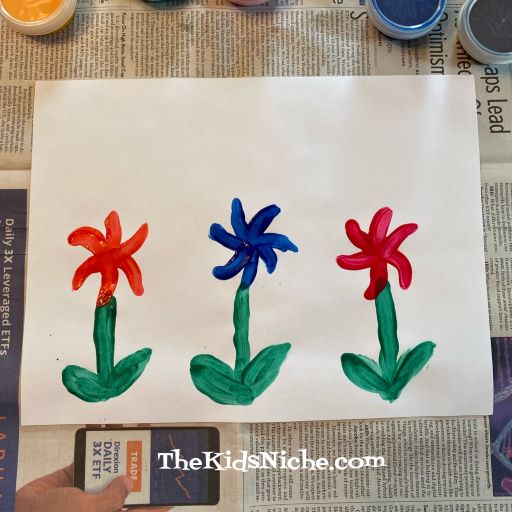
Let’s add a yellow dot to the center of the flowers, a sun in the top corner and some blue streaks in the sky.

Of course, you and the kids can paint anything you want! No brushes needed! You can put a small amount of each color on a styrofoam plate that the kids can dip their finger onto while they are painting. You never know, this might be the beginning work of a future great artist! Have fun!

Clearance Items at Joann Fabric and Craft Stores

Are you looking for some small craft kits to add to your kids Easter baskets? If you are, head to your nearest Joann Fabric and Craft Store and check out their clearance items! They have a great assortment of little craft kits at some nice discounted prices. I’m guessing each store may have different things on clearance, but here are a few things on sale at my Joann Fabric and Craft Store.

Little Makers Wood Painting Kit. This cute little wooden kitty kit comes with a little paintbrush and 3 colors of paint. Clearance price is $1.97.

Little Makers Paint and Stitch Kit. This one is cute as it requires painting the heart but also has some string crafting to add a nice extra touch. Clearance price is $2.97.

Some items are take an additional 25% off the red sticker clearance price! There are plaster painting kits, shrink art kits, bead art kits, string art kits, pom pom kits, wooden ornaments to color with markers kits and suncatcher kits. Wow! Not all of each kind of kit was on sale.

Another section has canvas coloring kits and canvas painting kits, foam kits, foam mosaic kits, felt kits and toilet paper roll kits.

Also close by are more assorted craft kits, but be careful which ones you grab because not everything is on clearance. The clearance items will have a red clearance sticker on their hook.

One more nicely priced item for kids that I saw is the CraZArt Modelife modeling material. (Similar to Playdough) There was about 5 colors to choose from. These were on clearance for $2.97.

So there were lots of fun products at great prices! Grab them up before they are gone! 🙂 Happy shopping!

Painting Pine Cones Fun

Did you say “Whaaaat? Painting pine cones?!” Yea, it sounds a bit odd, doesn’t it? Well, if the cold weather and the long wait for Spring are getting you down, let’s paint some pine cones to look like gorgeous flowers to cheer you up! It will look like Spring has arrived inside your house! 🙂 Let’s gather the needed supplies…bright colored paints (You need yellow for sure), cheap paint brushes, newspaper or something to keep the table clean, small cups or dishes to hold the paint and pine cones, of course. The pine cones that work for this project are the shorter round ones shown in the picture below.

For little containers to hold the paint, I used disposable plastic cups and cut them down to a shorter size. I made enough of them to hold the paint but also to rest the pine cones in while the paint dried after I painted them. Pick out your first color and completely paint the pine cone, making sure to cover both sides of each scale.

Here’s my first painted pine cone starting the drying process.

I chose pink, blue, red and white for my pine cone/flower colors.

It’s rather hard on the paint brushes since you are painting in between the scales. That’s why I said CHEAP paint brushes. 😉 You can throw them away when your project is done.

Here are my 4 painted pine cones…one of each color…drying in the little cups.

Now watch the magic happen!! Get your yellow paint and paint just the center of the BOTTOM of each pine cone…and PRESTO! They now look like flowers!!

Very cool, isn’t it?! Place them in a little container and look how pretty they are! Doesn’t that brighten up the room?

I hope you found this project fun and surprising! The more you make the better they look together! 🙂