A Patriotic Craft for the 4th of July

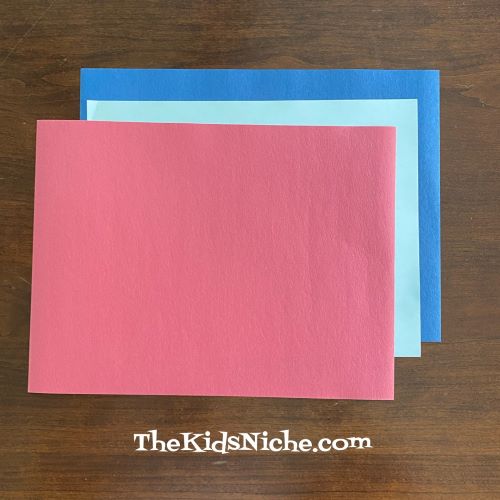
If you saw my blog post from yesterday, you might remember that I said we would be using the same red, white and blue strips of paper for another craft today. If you didn’t see that post, no problem! Here’s what you’ll need for today: 3 pieces of paper, (1 of each red, white and blue), scissors, ruler, pencil and glue.

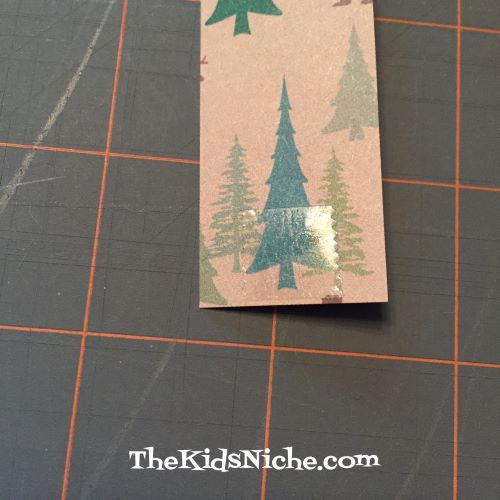
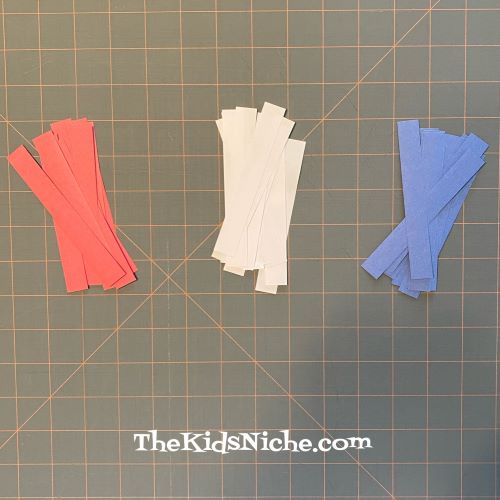
Cut a bunch of strips from each color of paper. The strips can be anywhere from 1/2″ to 1″ wide and 4 1/2″ to 6″ long.

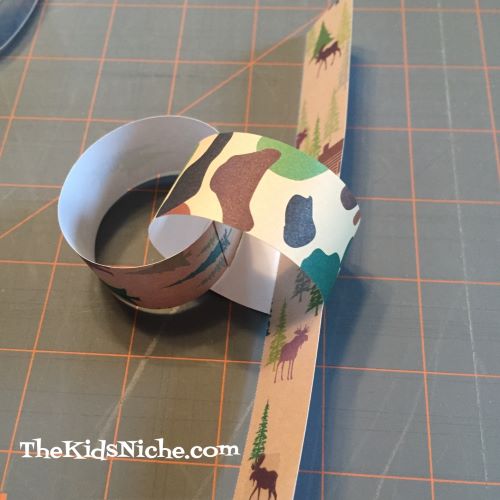
So what are we making, anyways?! We’re making a patriotic paper chain! 🙂 Take a red strip of paper and glue the 2 ends together to make a circle.

Next, take a white strip of paper and feed it through the red circle and then glue the ends of the white strip together into a circle too.

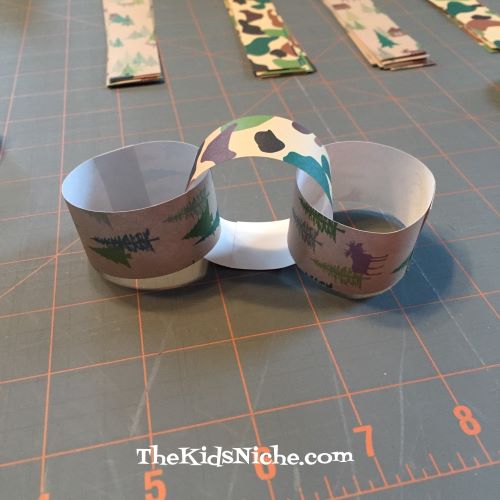
Now your paper chain has 2 links.

Take a blue strip of paper and feed it through the white circle…then glue the ends of the blue strip together into a circle too. Now we have 3 links!

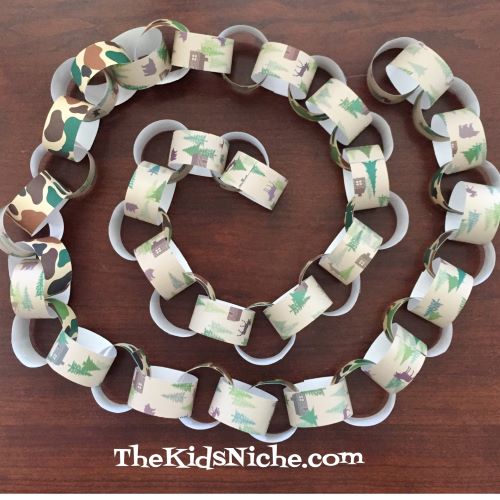
Continue feeding a new strip of paper through the last link in the chain that you made and gluing the ends of that strip together into a circle. Keep your chain laying in the same direction so you can remember which link is the last one you did. You can make the color pattern in any way you like. For my chain, I made the whole chain in the red, white, and then blue pattern.

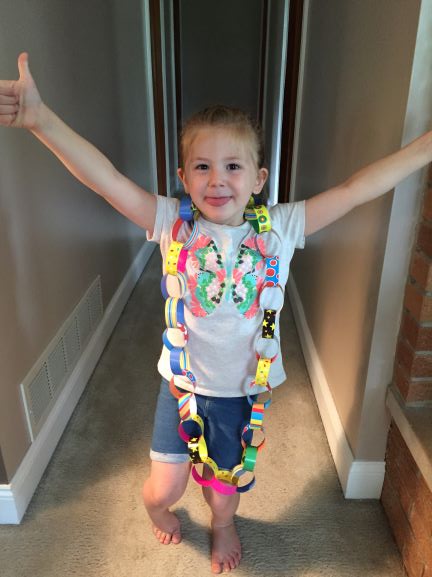
And there you are! That’s all there is to it! You can make your paper chain as long or as short as you like. A short one could be a bracelet or a crown, a little longer one could be a necklace to wear for the 4th of Jul or a really long one could be hung up as a garland to make your house look patriotic for the holiday. It’s up to you! Have fun making your patriotic paper chain!! 🙂

Paper Chains

Have you made paper chains before? I’ve made so many that I lost count a long time ago! I made TONS of them as a kid AND as an adult. My kids loved making them and, of course, I’ve made them with the grand kids. But they are so versatile they could be used not just for “kid fun” but for birthday parties, baby showers, family reunions, bridal showers, summer barbecues, school’s-out-for-the-summer celebrations or just to decorate a kid’s bedroom. It has to be one of the easiest crafts ever thought of!

All you need is strips of paper and some type of adhesive.

I make my paper strips 1″ wide and 6″ long. I used my cutting mat, Omnigrid ruler and a rotary cutter (used only for paper, not my quilting one!). You can use a ruler and scissors too. You can use pretty much any paper you like from plain white printer paper to construction paper to scrapbook paper to…you get the idea. Just so it’s thin enough to bend into a circle. Start by making LOTS of paper strips. Apply glue (or I prefer to use double sided tape) to one end of your paper strip on the printed side, if your paper is printed.

Form a circle or loop by sticking the other end of the paper strip to the glue/tape.

Take another paper strip and slide it inside the first loop…then apply the glue/tape and make another circle.

That’s all there is to it! Just keep adding paper strips as links in your paper chain. 🙂 You can make your chain as long or as short as you like.

These can be easily hung just about anywhere – in a doorway, on the fireplace mantle, on the edge of a table, etc. They can even become a very big necklace! LOL

I mailed a set of paper strips to the grand kids for Valentine’s Day…

Easter is coming up soon…

Or somebody special might be having a birthday!

What little girl (and some big ones!) doesn’t love unicorns?

Your imagination is the limit! 🙂 For those of you that would like to try this but feel like you don’t have enough time for cutting all those strips of paper, I’ve made up a few kits of paper strips that I will be posting on my Facebook page that you can purchase from me. If interested, check out my Facebook page at:
https://www.facebook.com/groups/1150831384977940/

Go have some loopity-loop fun! 🙂