Do You Wanna Build a Snowman from Paper Snowflakes?

Making a snowman is always fun but here is a new little twist that I think you will like! On December 12, 2019, I showed you how to make paper snowflakes. If you missed that post, you can find it here: https://thekidsniche.com/2019/12/12/do-you-want-to-make-snowflakes/

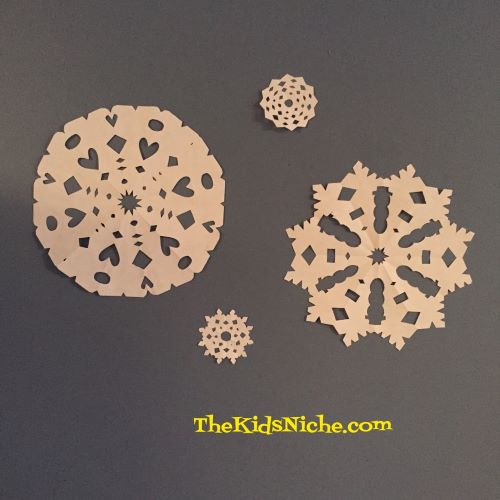
Here are some of the snowflakes I made that day.

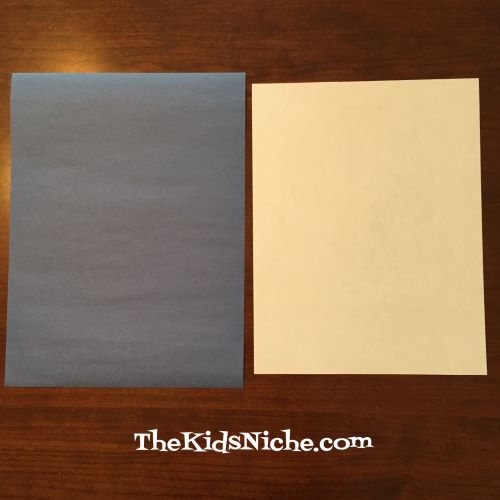
Paper snowflakes are the foundation for our snowman craft for today. You’ll need a piece of colored paper for the background and some white paper for the snowman. I chose blue construction paper for my background.

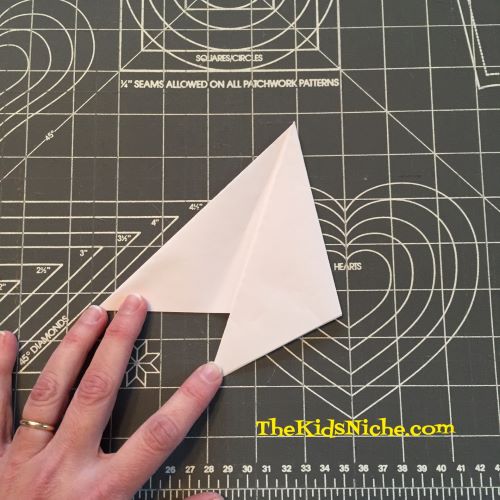
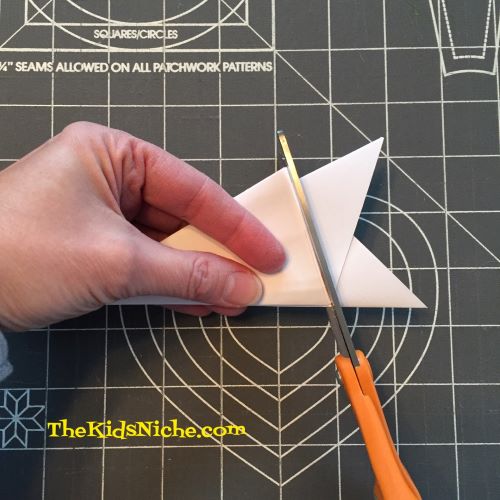
You’ll need 3 squares cut from the white paper. I made mine slightly different sizes since a snowman’s body is usually bigger than his head. I used a 4″ square for the bottom part of the snowman, a 3 1/2″ square for his middle and a 3″ square for his head. Using only the 2 larger squares, make them into snowflakes. ( https://thekidsniche.com/2019/12/12/do-you-want-to-make-snowflakes/) Cut the smallest square into a circle for the snowman’s head.

Glue the bigger of the 2 snowflakes to the bottom center of your background paper.

Next, glue the second snowflake on for the snowman’s belly.

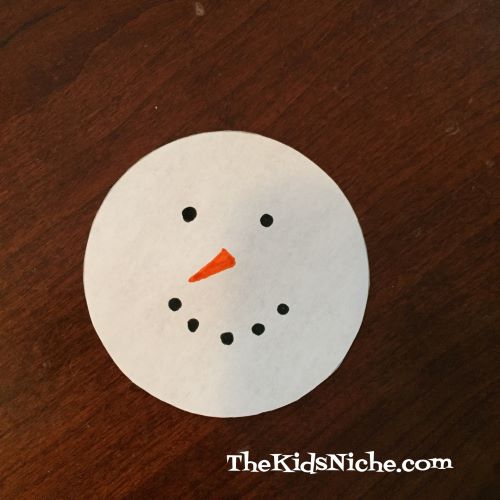
Now draw your snowman a face on the white circle.

Glue the snowman’s head above the 2 snowflakes on the background paper.

Decorate your snowman in the way you want him to look. I cut a little square and a skinny little rectangle from black construction paper to make my snowman a black hat.

I drew 2 arms with a marker and made them look like sticks for my snowman’s arms.

To finish off my snowman, I used 2 pieces of red ribbon to make a scarf.

All done! Isn’t he a handsome fellow? I hope you had fun making a snowman with paper snowflakes! 🙂

Do You Want to Make Snowflakes?

I don’t know if Elsa and Anna would be impressed, but we can have fun making our own snowflakes too! 😉 And we can stay warm while doing it! All you need is a piece of paper and a pair of scissors. I used a piece of white printer paper to make mine. Here we go! First, you’ll need to make a square from your paper. All you have to do is fold one corner over across to the opposite straight side and make a triangle…look at the picture for help to understand what I mean.

Cut off the extra paper with your scissors so you just have the triangle left. (If you open the triangle, you’ll see that you now have a square piece of paper.)

Now fold the triangle in half from left to right…or right to left. 😉

Turn the triangle around so the longest edge is at the bottom. Then fold the right side over about 1/3 of the way…

Then the left side over to meet the right side edge. If the sides don’t quite meet evenly, go back and move the first fold a little and try again.

Now trim off the extra to make a triangle.

Cut designs all around the edges but don’t cut all the way across. Leave some of the fold on both sides. Take a look at the type of cuts I made on mine. Small children may need some assistance with this step as the thickness of all the paper can be a bit hard to cut through.

Carefully open your paper up and you’ll see the beautiful snowflake you made!

Isn’t that awesome?! They say there are no 2 snowflakes alike so every one you make will look a bit different and that’s just the way it should be. Let’s look at another one I made…first you can see the type of cuts I made…

And now look at the pretty snowflake!

You can make different sizes of snowflakes just by starting with a different size square piece of paper. Look at this little one I did!

And here’s what it looks like opened up.

I hope you found this to be another fun winter project! Make as many as you can and decorate your house with snow that won’t melt any time soon! 🙂