Another Pipe Cleaner Flower

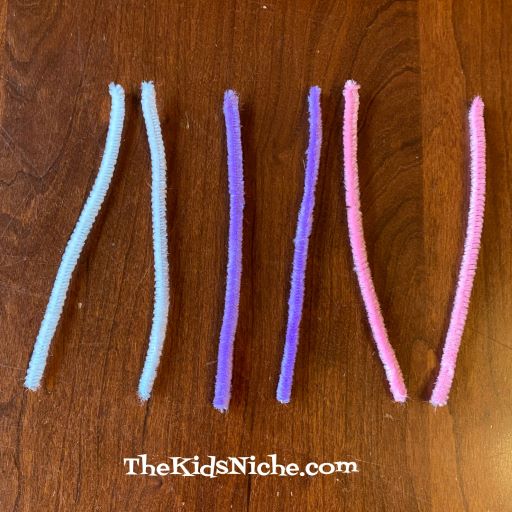
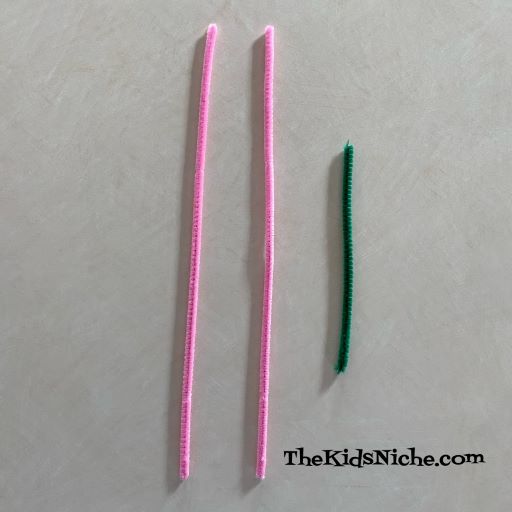
How about an easy, super quick pipe cleaner flower to cheer us up on this gloomy day? This little project takes 2 pipe cleaners the color you would like your flower to be and half of a green pipe cleaner for the flower stem. I chose pink for my flower.

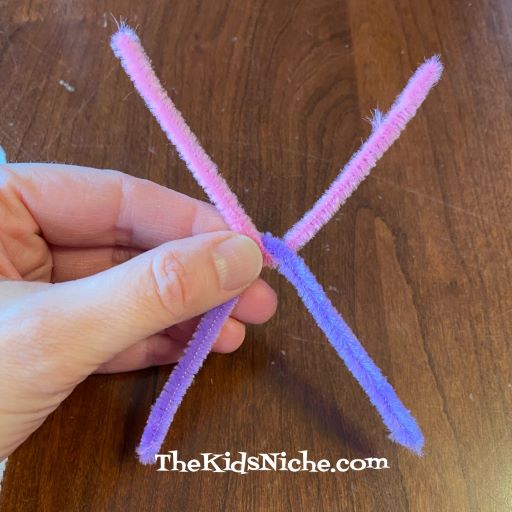
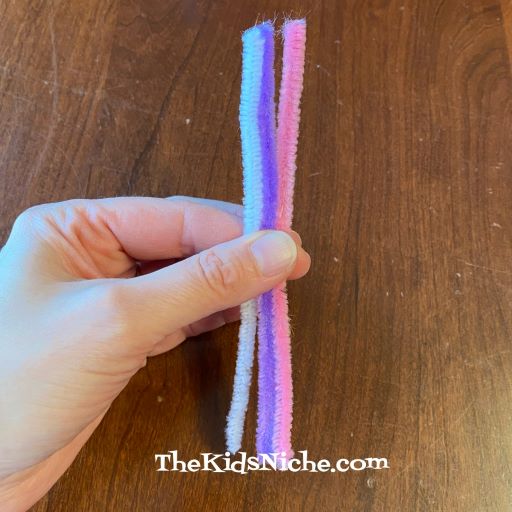
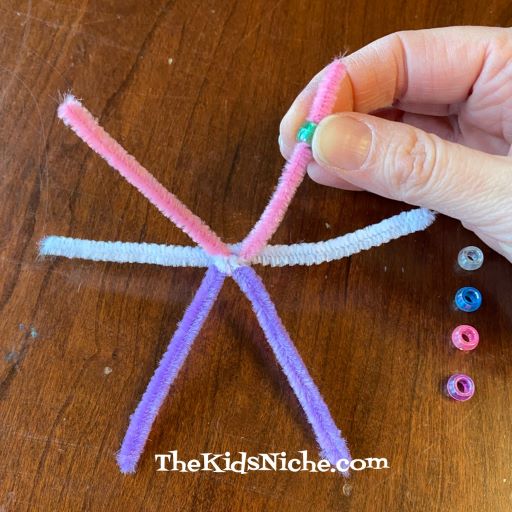
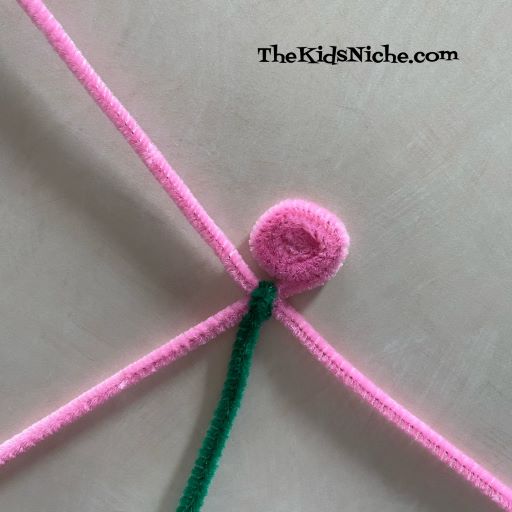
Cross the 2 pink pipe cleaners in an “X” and use one end of the green pipe cleaner to wrap tightly around the spot where the 2 pink pipe cleaners meet.

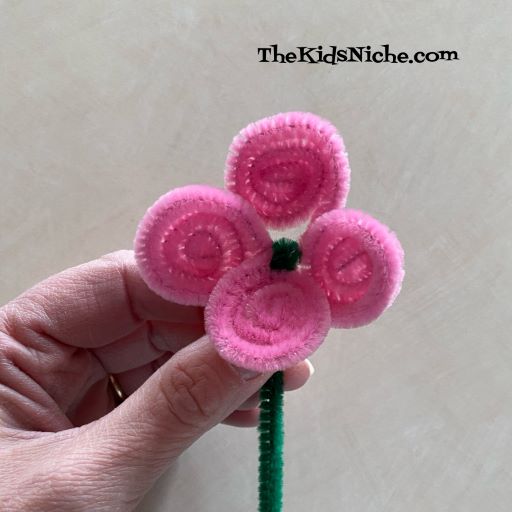
Starting at the end of one of the pink pieces, roll up the pipe cleaner to the center where they all meet. It kind of reminds me of the way a snail’s body might look.

Do the same rolling with the second pink piece…

And then again with the 3rd and 4th pink pieces.

Finally you can bend each flower “petal” that you just rolled up to make it look more like a 3 dimensional flower.

You can make several flowers like this and have a bouquet of flowers or you can wrap the stem part around your wrist for a fun flower bracelet. I used one to hold the 2 handles of a bag together.

It’s a quick, easy, fun and looks great when you are done project! 🙂 Have fun making flowers!

Super Cute Tiny Teddy Bear Made With Pipe Cleaners.

I found this oh, so adorable little teddy bear while I was looking through Pinterest. I had to see if I could make him look as cute as the instructions showed him and I think my second try turned out pretty well. 🙂 I didn’t have ribbon that was really thin enough so my bow might look a little bit big for him, but he’s still adorable.

This would be a fun project for kids that are a little older, say maybe starting around 8-10 years old. You only need 1 pipe cleaner per bear plus a little bow and 3 seed beads and some glue. The bears are pretty little which adds to their “cuteness factor”. They fit in the palm of your hand.

Here is a link to the Pinterest page with a video that shows you how to make the teddy bears.

Or here is another one that has written instructions and pictures in case you want to see things a little slower than the video. 😉

I hope you and your kids will give these fun little bears a try!

Let’s Make Beaded Snowflakes

January is here and so are cold temperatures and snow for some of us! Let’s make some snowflakes today that won’t make us any colder! These are easy to make and so pretty! (And they are great for practicing some fine motor skills.)

You’ll need 3 pipe cleaners (or chenille stems), a pair of scissors or wire cutters and some colored pony beads.

Cut the 3 pipe cleaners in half.

3 half pieces will make 1 snowflake so you now have enough pipe cleaner pieces for 2 snowflakes. Here are 2 different ways to wrap the pipe cleaners into the snowflake shape: #1.) Fold 2 pieces into a “v” shape.

Put the 2 pieces together at the bends.

Wrap the 3rd pipe cleaner around the center of the other 2.

OR way #2.) Hold the 3 pieces of pipe cleaner together…

And give them a twist or two in the center.

Now it’s time to use the pony beads. You will need 5 beads for each “spoke” of the snowflake for a total of 30 beads. The colored beads can be in whatever order you decide to use. You can make a pattern of colors for your child to duplicate like the following pattern: green, white, blue, pink and purple.

When they have enough beads laid out in the right order, it might look something like this:

Slide the beads onto the piper cleaner spokes in the same order.

After the 5 beads are on the pipe cleaner, bend the rest of the pipe cleaner spoke into a circle and push the end back into the last bead.

Continue sliding the beads onto each pipe cleaner spoke and bending the end in until all 6 spokes have been done. Isn’t it pretty?!

You could also have your child find 5 beads of the same color for each spoke. These beads match the color of the pipe cleaner spoke they will be placed on.

This way is also quite pretty!

Or you can let your child put the beads on in any order that they like. If you would like to hang your snowflakes up, simply add a piece of thread or string through one of the circles. I hope you will have fun making these beaded snowflakes! 🙂

Super Quick and Easy Candy Canes

Candy canes are one of people’s most favorite things to decorate with for Christmas. So here is the quickest and easiest candy canes you’ve ever made! All you need is some red and white pipe cleaners (or chenille stems as some people call them). It’s also fun to mix in some green ones and even to use the sparkly red, silver and green kind. We’ll start off with one each of the fuzzy red and white pipe cleaners.

Twist the two pipe cleaners together so they look like the stripes on candy canes. I also like to twist the ends together a little tighter and bend the end over so folks don’t get poked by the sharp ends.

Bend the twisted pipe cleaners into the shape of a candy cane. That’s all there is to it! 🙂

Here are a few variations you can make…fuzzy red, white and green…

Or try the sparkly pipe cleaners…

Or make a tri-color sparkly one.

Whatever kind of pipe cleaners you go with, you’re sure to have fun making these simple candy canes!

You can hang them up just by hooking them over something or add a bit of thread or string to hang them. These are so fun and simple to make that you’ll want to make a dozen! 😉