Crafting an Easy Octopus

Let’s talk about octopus today and then I’ll show you how to make one with a few craft supplies. I bet you know quite a bit about an octopus already. Like do you know how many “arms” an octopus has? Yes, eight! Wow, do you think it would be cool to have 8 arms?! Is the body of an octopus soft or hard? It’s soft, so soft in fact that they can alter their shape so that they can squeeze through small spaces. How many eyes does an octopus have? It has 2 just like we do and they have excellent eyesight! Octopus are actually quite intelligent too. How do octopus protect themselves from predators? One way is to camouflage themselves into their surroundings so its hard for their enemy to see them. Another way is by expelling “ink” which is a dark colored substance and that gives them some time to swim quickly away. Did you know that when an octopus swims, it’s “arms” extend behind them? So, what do you think? Are octopus pretty cool? I think so too! Now let’s craft an octopus! 🙂

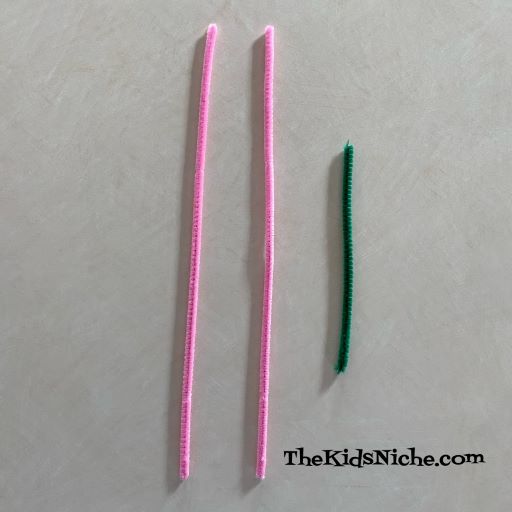
You will need 2 pipe cleaners (or chenille stems), 1 pom-pom, 2 wiggly eyes, a pair of wire cutters or strong scissors and some glue.

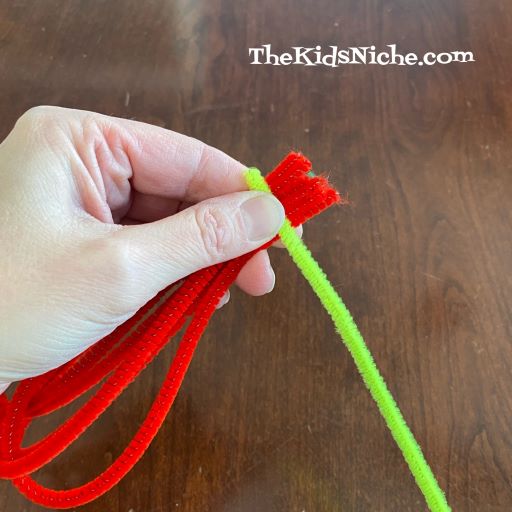
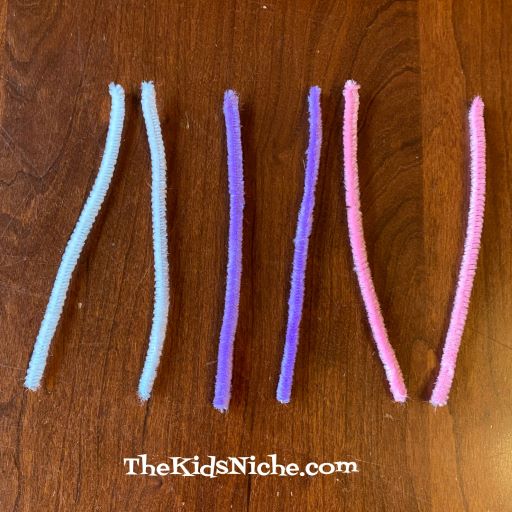
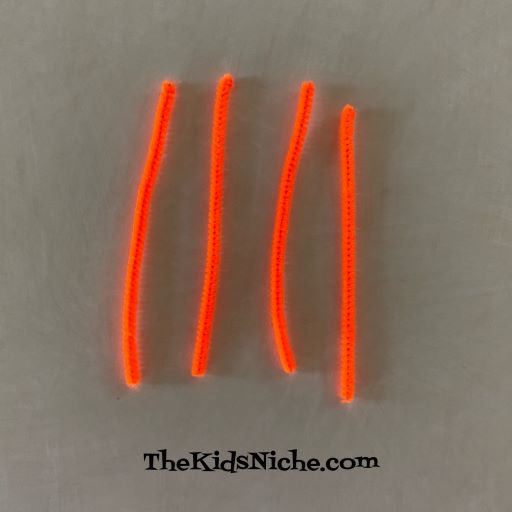
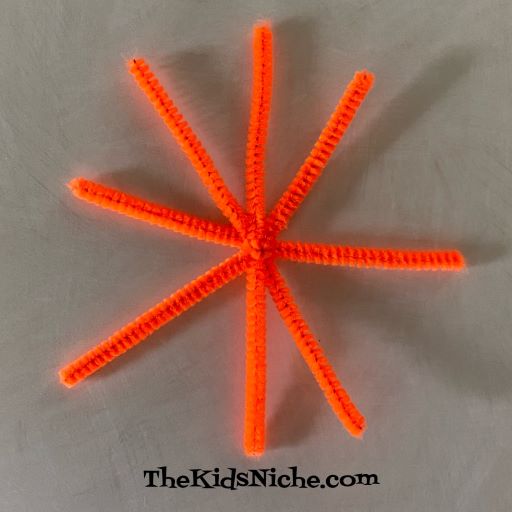
To begin, use the wire cutters to cut the 2 pipe cleaners in half so you have 4 pieces.

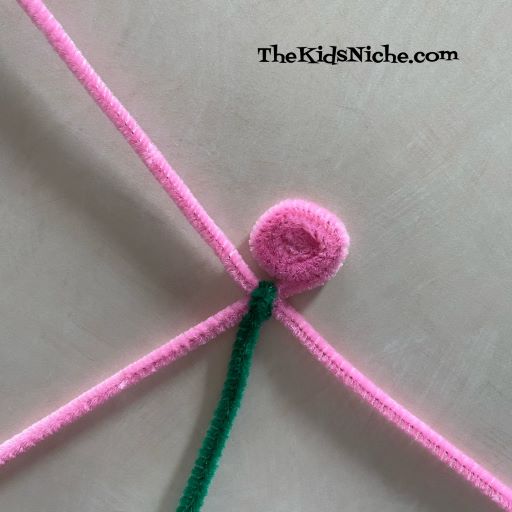
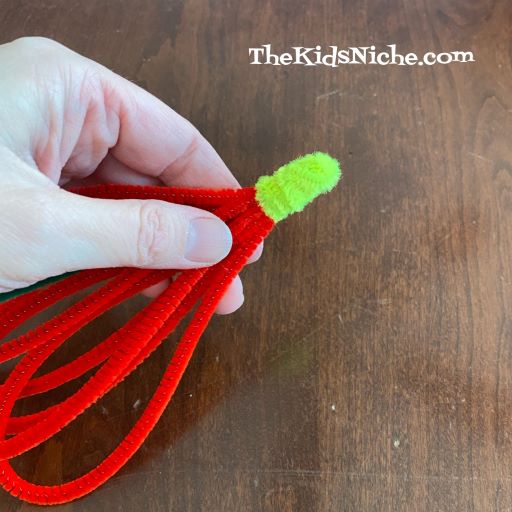
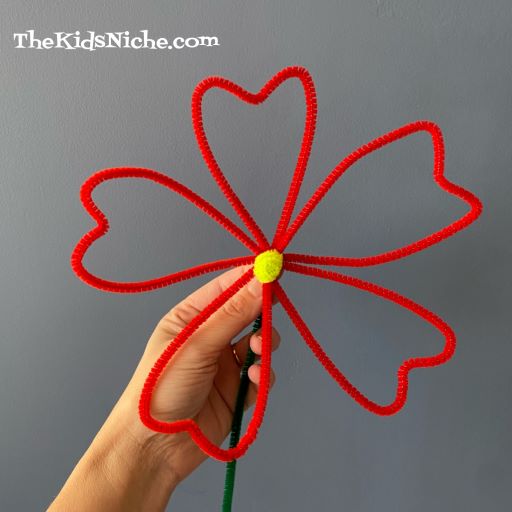
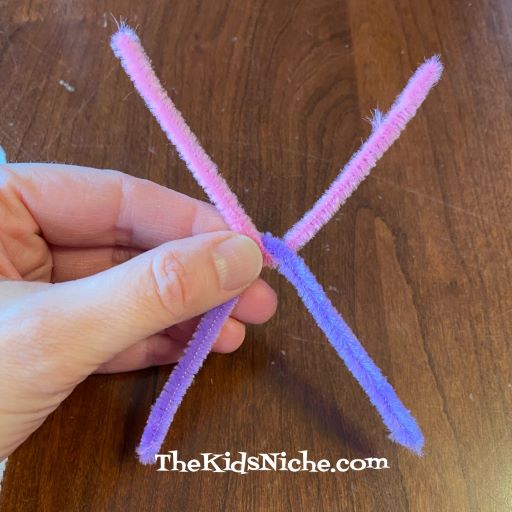
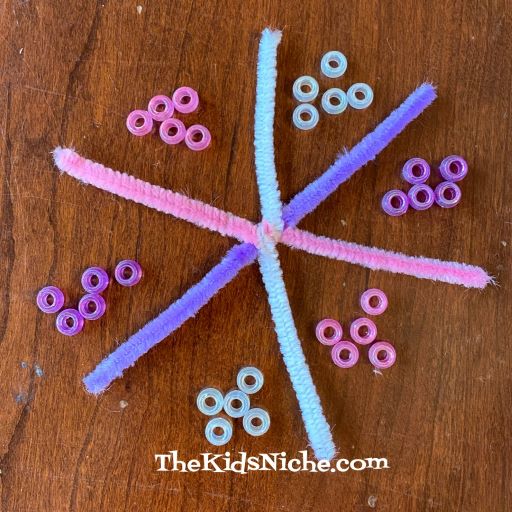
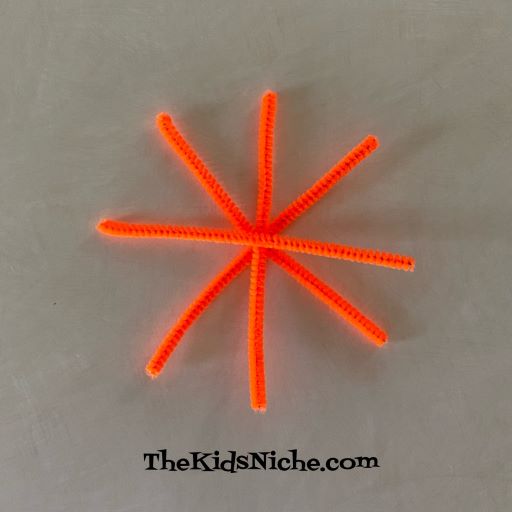
Arrange the pipe cleaners into a star pattern like in the picture below.

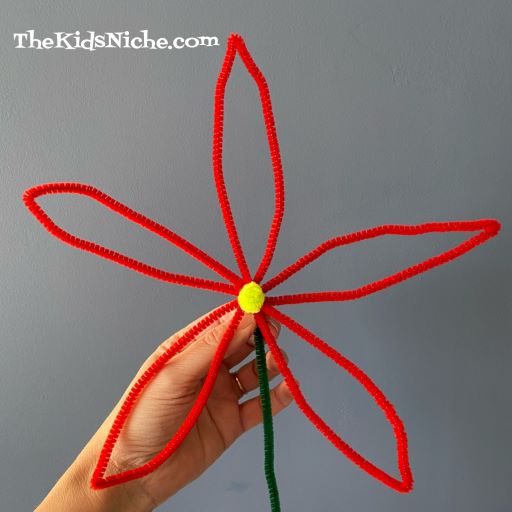
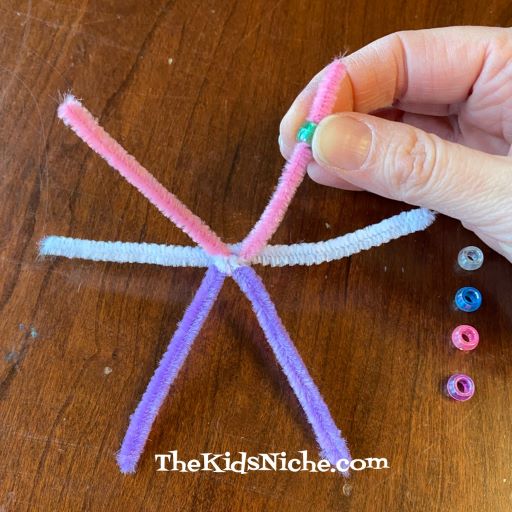
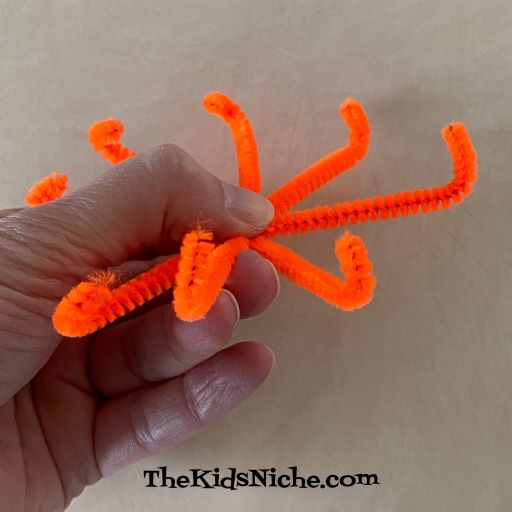
Wrap 1 of the pipe cleaners once around the group to hold them all together.

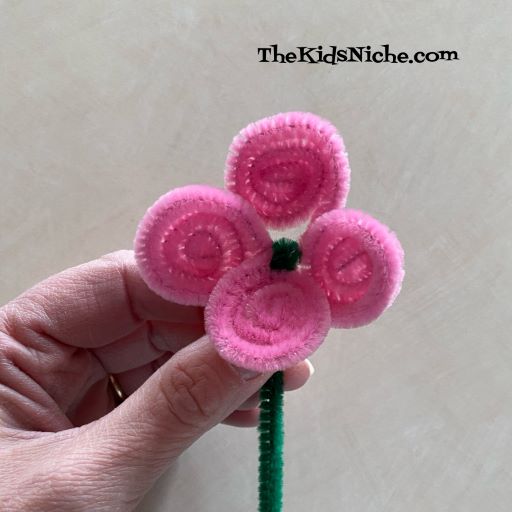
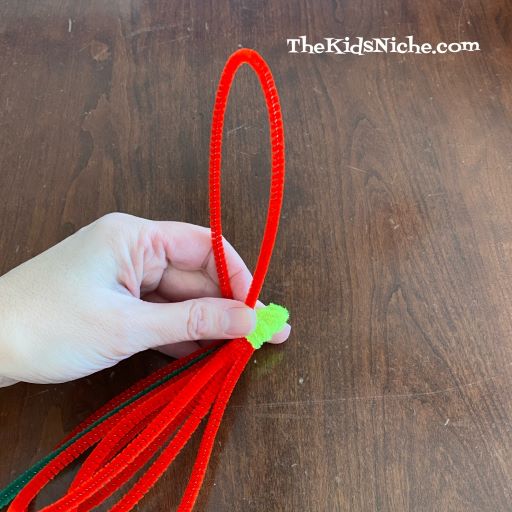
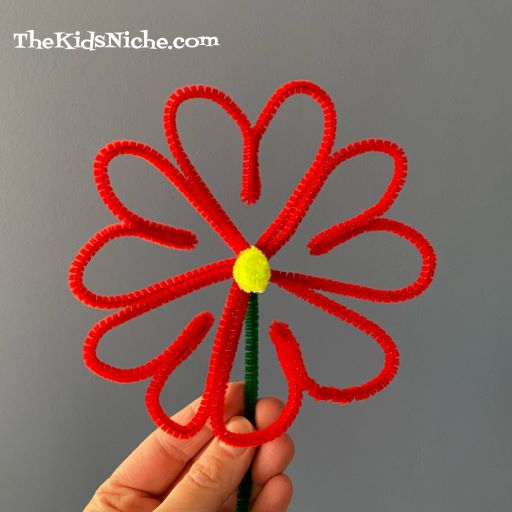
Curl each end of the pipe cleaners up a little bit for the octopus’s arms.

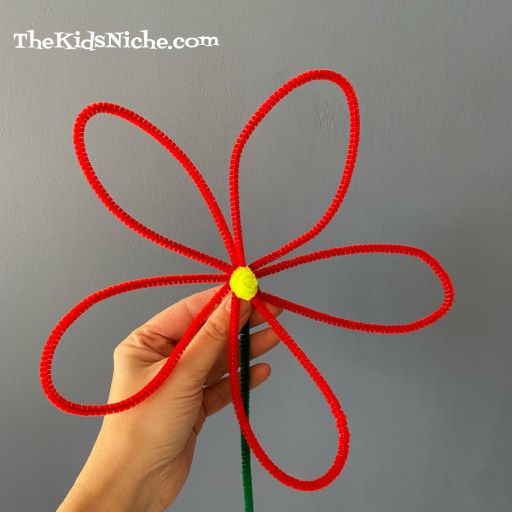
Put some glue in the center of the pipe cleaners…

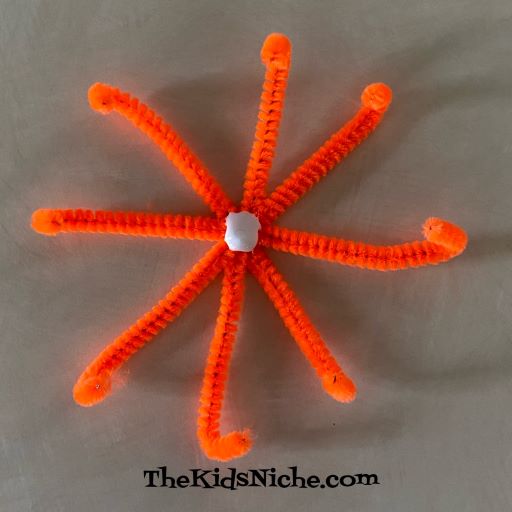
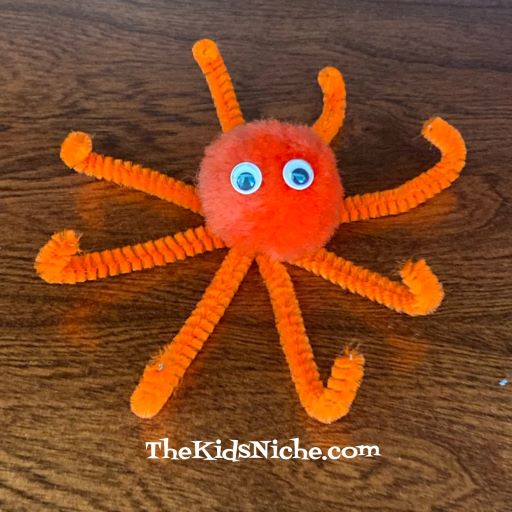
…and place the pom-pom in the center. Push it firmly down into the glue and hold it in place for a few seconds.

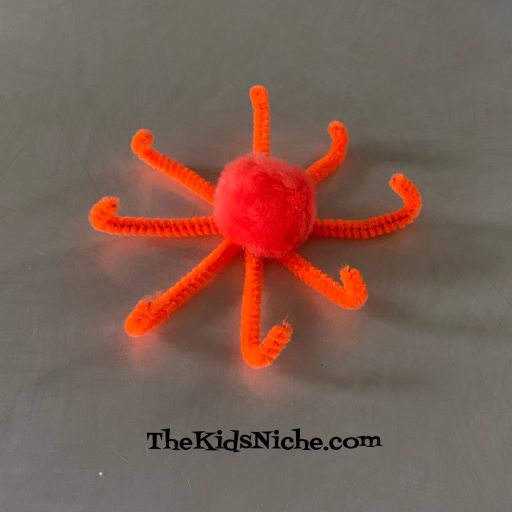
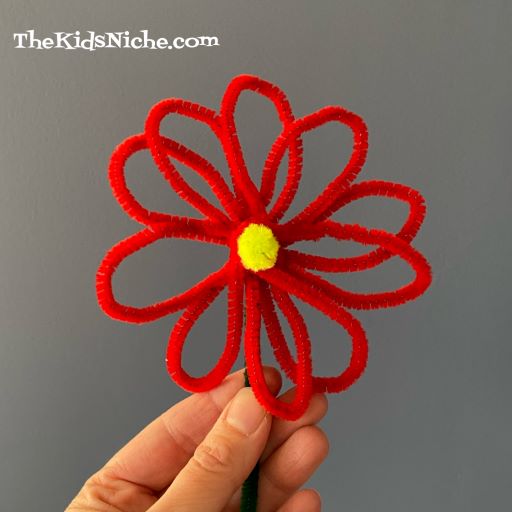
Glue the 2 wiggly eyes to the pom-pom and your octopus is complete!

Find a fun place to display your octopus. Hmm, do you suppose an octopus would be good at playing the piano since it has so many arms? Haha! Yes, we are just being silly now but it’s fun to think about an octopus playing a piano! 😉

I hope you had fun learning a few facts about octopus and that you will have fun making your own! 🙂

Another Pipe Cleaner Flower

How about an easy, super quick pipe cleaner flower to cheer us up on this gloomy day? This little project takes 2 pipe cleaners the color you would like your flower to be and half of a green pipe cleaner for the flower stem. I chose pink for my flower.

Cross the 2 pink pipe cleaners in an “X” and use one end of the green pipe cleaner to wrap tightly around the spot where the 2 pink pipe cleaners meet.

Starting at the end of one of the pink pieces, roll up the pipe cleaner to the center where they all meet. It kind of reminds me of the way a snail’s body might look.

Do the same rolling with the second pink piece…

And then again with the 3rd and 4th pink pieces.

Finally you can bend each flower “petal” that you just rolled up to make it look more like a 3 dimensional flower.

You can make several flowers like this and have a bouquet of flowers or you can wrap the stem part around your wrist for a fun flower bracelet. I used one to hold the 2 handles of a bag together.

It’s a quick, easy, fun and looks great when you are done project! 🙂 Have fun making flowers!

Making Large Flowers With Pipe Cleaners

Since we had a pipe cleaner project for a little older group of kids on Monday, I thought it would be nice to do an easier pipe cleaner project for younger kids today. They might need some help holding the pieces together until the final wrap, but after that they can create to their heart’s content!

You will need a total of 7 pipe cleaners…5 for the flower petals, one for the stem and one for the center of the flower. I chose to use red for the petals, green for the stem and yellow for the center. Feel free to use whatever colors your child picks out! 🙂

The stem piece will be in the center of the petals.

For each petal, fold the pipe cleaner in half loosely as shown, making the 2 ends meet.

Place the ends in line with one end the end of the stem.

Continue bending and adding petals, placing them around the stem.

When you have all 5 petals lined up, it should look something like this:

Now take your pipe cleaner for the center and begin wrapping it around the bunch of ends.

Wrap it around and around the group of ends and try to cover up the ends so you don’t see any other colors.

Now comes the fun part! Bend each flower petal up and then design your flower! 🙂

The petals can be shaped in many ways. Here are a few ideas to get you started:

Nicely rounded and oval shaped.

Put a little bend in the end of each petal.

Rounded petals that overlap each other. This one makes me think of a pansy!

Pointed skinny petals.

Petals bent in the middle to look like hearts.

For this flower, I bent the petals in half and looped the end over the yellow center of the flower. Then twisted the 2 pieces so they looked like smaller petals.

I’m sure you can come up with even more ideas! This is a simple but fun project for people of all ages. For older kids or adults, you could cut the pipe cleaners in half and make smaller flowers. I hope you’ll give this project a try! Maybe if we concentrate on making pipe cleaner flowers we can forgot how cold it is outside! 😉 Stay warm!

Let’s Make Beaded Snowflakes

January is here and so are cold temperatures and snow for some of us! Let’s make some snowflakes today that won’t make us any colder! These are easy to make and so pretty! (And they are great for practicing some fine motor skills.)

You’ll need 3 pipe cleaners (or chenille stems), a pair of scissors or wire cutters and some colored pony beads.

Cut the 3 pipe cleaners in half.

3 half pieces will make 1 snowflake so you now have enough pipe cleaner pieces for 2 snowflakes. Here are 2 different ways to wrap the pipe cleaners into the snowflake shape: #1.) Fold 2 pieces into a “v” shape.

Put the 2 pieces together at the bends.

Wrap the 3rd pipe cleaner around the center of the other 2.

OR way #2.) Hold the 3 pieces of pipe cleaner together…

And give them a twist or two in the center.

Now it’s time to use the pony beads. You will need 5 beads for each “spoke” of the snowflake for a total of 30 beads. The colored beads can be in whatever order you decide to use. You can make a pattern of colors for your child to duplicate like the following pattern: green, white, blue, pink and purple.

When they have enough beads laid out in the right order, it might look something like this:

Slide the beads onto the piper cleaner spokes in the same order.

After the 5 beads are on the pipe cleaner, bend the rest of the pipe cleaner spoke into a circle and push the end back into the last bead.

Continue sliding the beads onto each pipe cleaner spoke and bending the end in until all 6 spokes have been done. Isn’t it pretty?!

You could also have your child find 5 beads of the same color for each spoke. These beads match the color of the pipe cleaner spoke they will be placed on.

This way is also quite pretty!

Or you can let your child put the beads on in any order that they like. If you would like to hang your snowflakes up, simply add a piece of thread or string through one of the circles. I hope you will have fun making these beaded snowflakes! 🙂