Fun Crayola Felt Flowers Kit

Welcome back to The Kids Niche! So glad you’re here! 🙂

Today I want to share a super fun felt flowers craft kit that I found at the Dollar Tree store. I thought it was a nicely done kit, especially for $1.25!

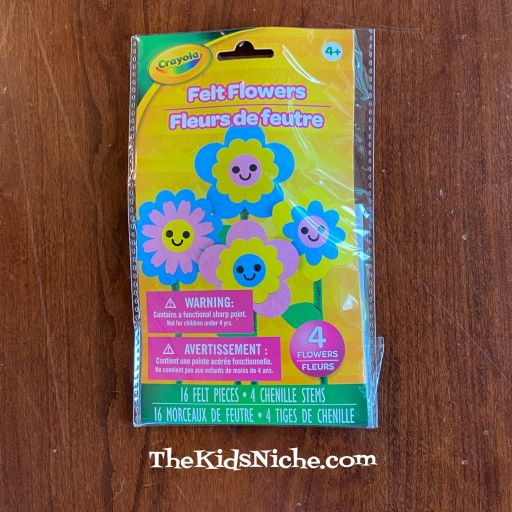
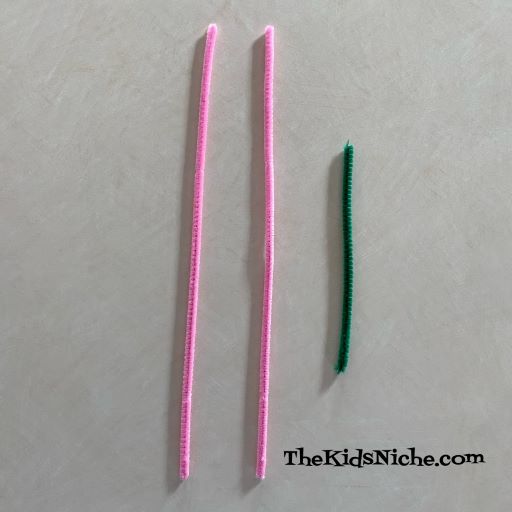
You can make 4 felt flowers from each kit. Here is what is included in the kit:

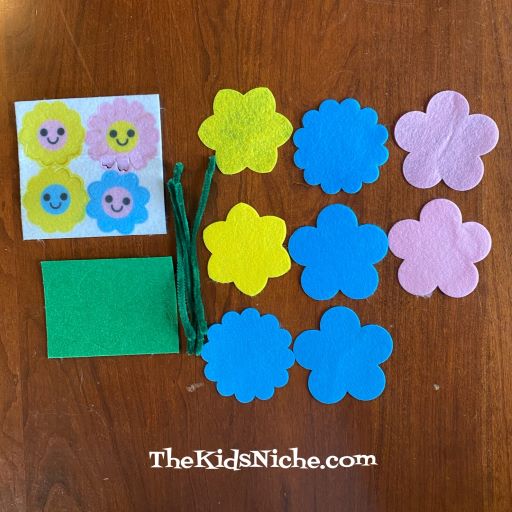
To get started, a few of the parts need to be punched out. They came apart easily for me.

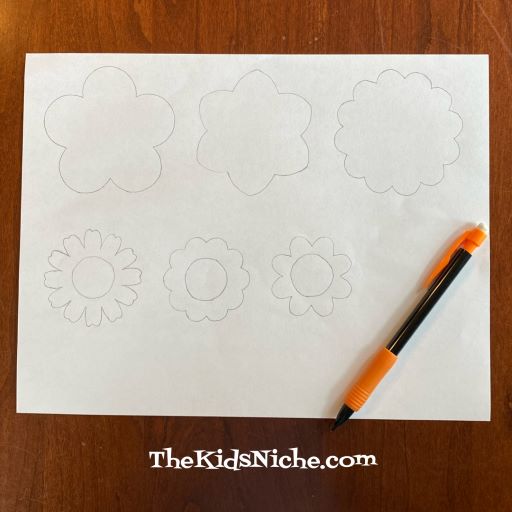
I would like to suggest that before you go any farther that you take a couple of minutes to trace around all the flower parts on a piece of paper so you will have patterns to make your own flowers later.

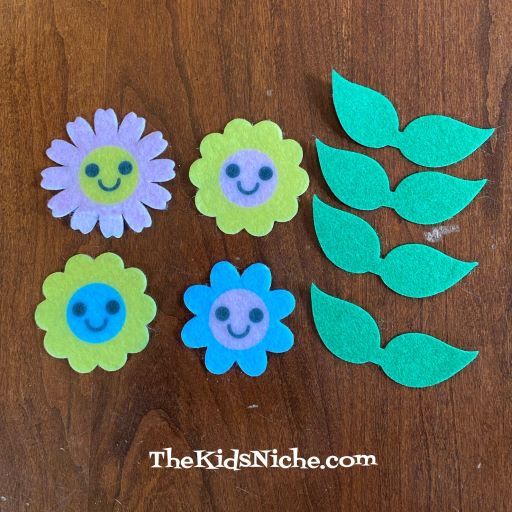
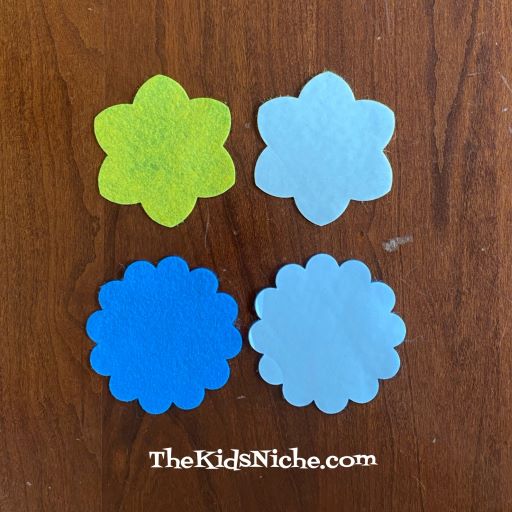
Now for the fun part! 🙂 Each flower needs a set of matching flower pieces. 1 plain solid color piece and 1 plain solid color piece that has adhesive on the back side with a piece of white paper covering it.

Sort the pieces into 4 groups so you know which pieces you want to put together into 1 flower.

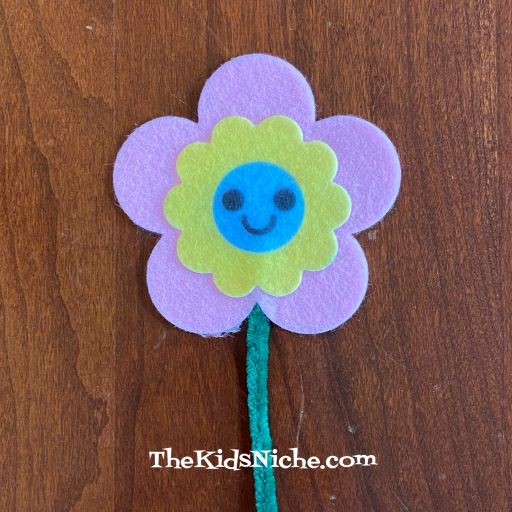
I started by putting the smaller flower piece with the face on it onto the front of a larger flower piece that has the white paper backing on it. Remove the paper backing from the face piece and press the piece onto the bigger flower piece.

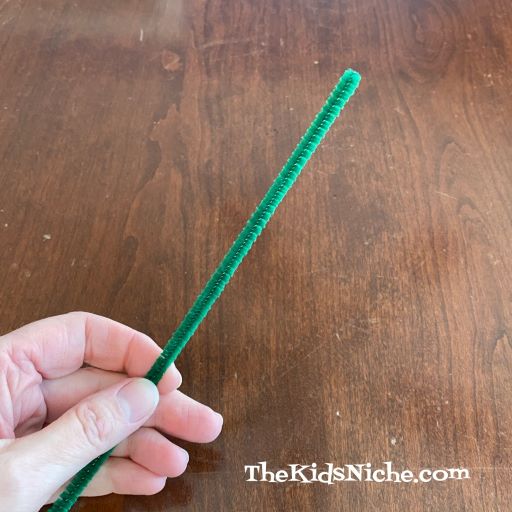
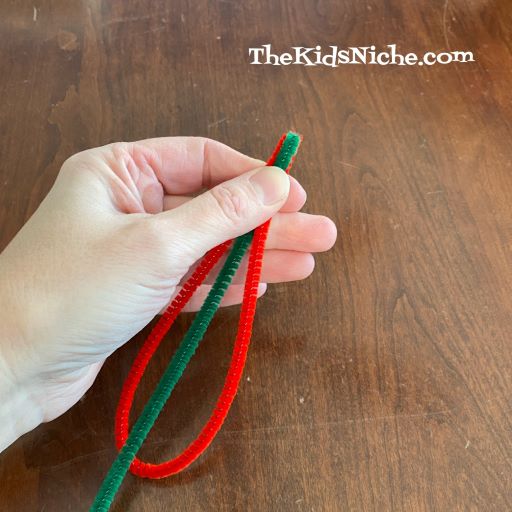
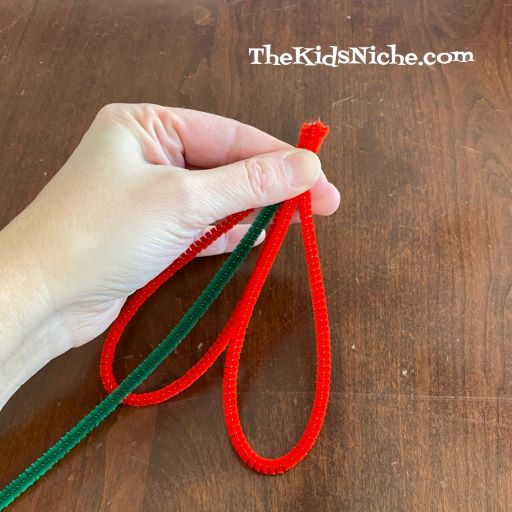
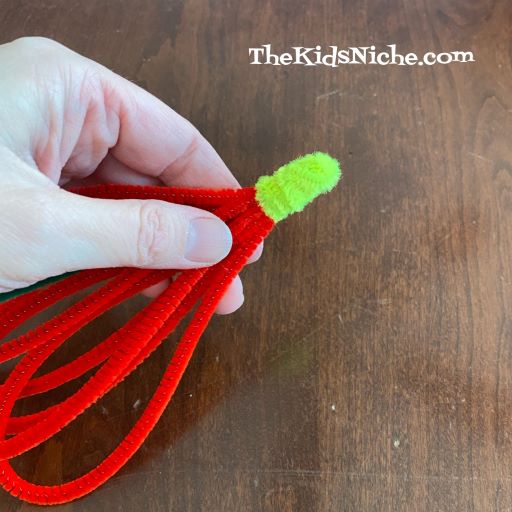
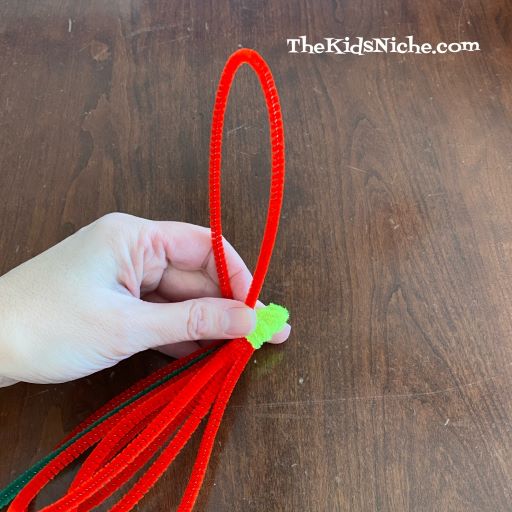
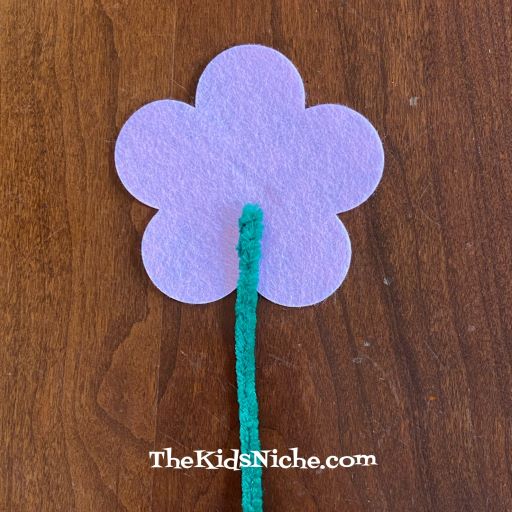
Take the other matching big flower piece (the one without the paper backing) and lay it down on the table. Take 1 pipe cleaner and lay it on top of the flower piece for the stem of the flower.

Carefully remove the paper backing from the large flower piece that has the face on it, line the 2 big flower pieces up and press together. Once the adhesive touches something else, it doesn’t come back off very easily.

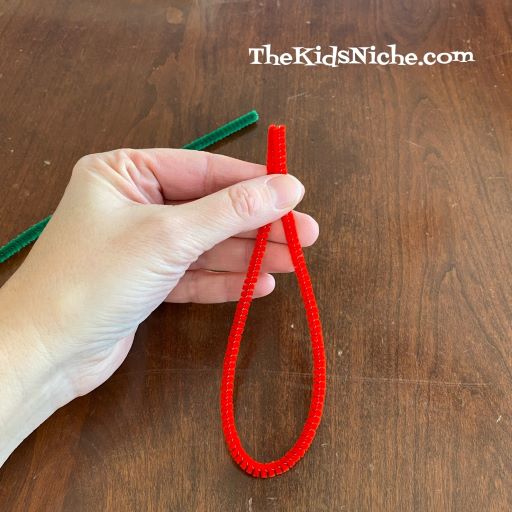
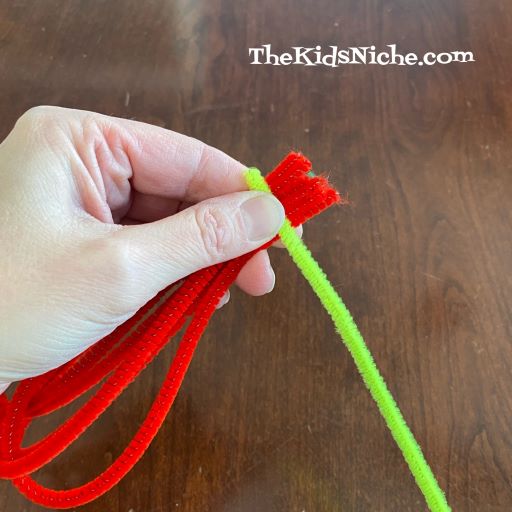
Last step is to remove the paper backing from one leaf and fold it in half around the stem to form a leaf.

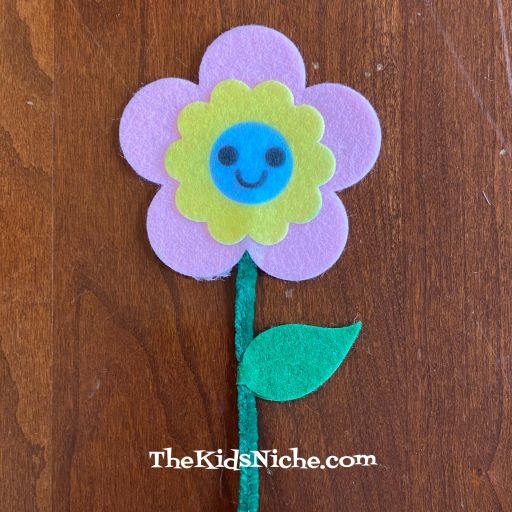
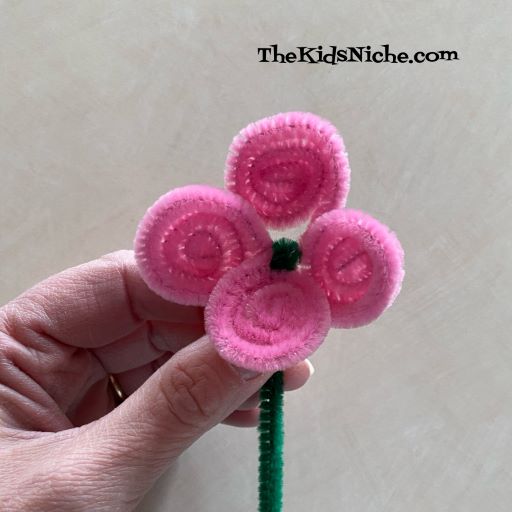
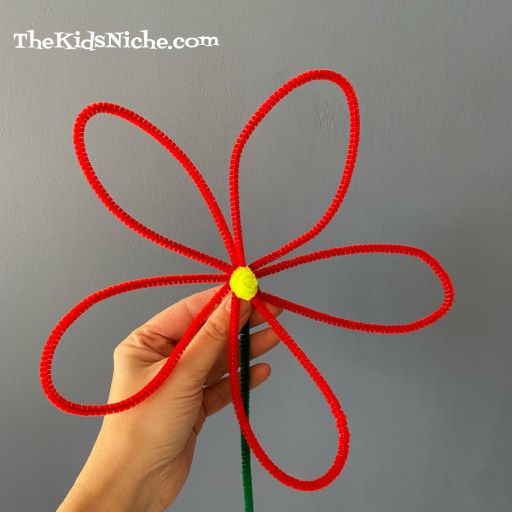
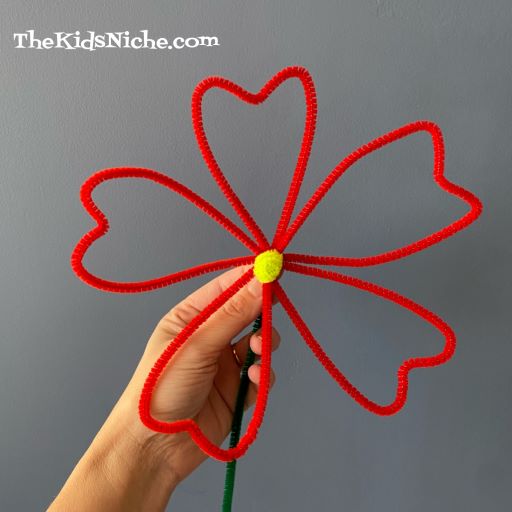
That’s all that goes into making 1 flower. 🙂 Repeat the process for the other 3 flowers and you’ve finished the kit!

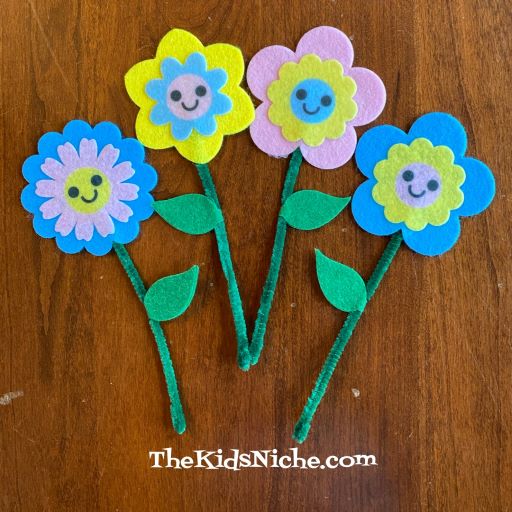
Aren’t they so cute?! I just love them! Find a small vase or glass to display them in around your house. 🙂 These would be cute flowers to help the kids make for mom or grandma, etc.

I hope these kits are available at your local Dollar Tree store! Happy flower making! 🙂

Another Pipe Cleaner Flower

How about an easy, super quick pipe cleaner flower to cheer us up on this gloomy day? This little project takes 2 pipe cleaners the color you would like your flower to be and half of a green pipe cleaner for the flower stem. I chose pink for my flower.

Cross the 2 pink pipe cleaners in an “X” and use one end of the green pipe cleaner to wrap tightly around the spot where the 2 pink pipe cleaners meet.

Starting at the end of one of the pink pieces, roll up the pipe cleaner to the center where they all meet. It kind of reminds me of the way a snail’s body might look.

Do the same rolling with the second pink piece…

And then again with the 3rd and 4th pink pieces.

Finally you can bend each flower “petal” that you just rolled up to make it look more like a 3 dimensional flower.

You can make several flowers like this and have a bouquet of flowers or you can wrap the stem part around your wrist for a fun flower bracelet. I used one to hold the 2 handles of a bag together.

It’s a quick, easy, fun and looks great when you are done project! 🙂 Have fun making flowers!

Making Large Flowers With Pipe Cleaners

Since we had a pipe cleaner project for a little older group of kids on Monday, I thought it would be nice to do an easier pipe cleaner project for younger kids today. They might need some help holding the pieces together until the final wrap, but after that they can create to their heart’s content!

You will need a total of 7 pipe cleaners…5 for the flower petals, one for the stem and one for the center of the flower. I chose to use red for the petals, green for the stem and yellow for the center. Feel free to use whatever colors your child picks out! 🙂

The stem piece will be in the center of the petals.

For each petal, fold the pipe cleaner in half loosely as shown, making the 2 ends meet.

Place the ends in line with one end the end of the stem.

Continue bending and adding petals, placing them around the stem.

When you have all 5 petals lined up, it should look something like this:

Now take your pipe cleaner for the center and begin wrapping it around the bunch of ends.

Wrap it around and around the group of ends and try to cover up the ends so you don’t see any other colors.

Now comes the fun part! Bend each flower petal up and then design your flower! 🙂

The petals can be shaped in many ways. Here are a few ideas to get you started:

Nicely rounded and oval shaped.

Put a little bend in the end of each petal.

Rounded petals that overlap each other. This one makes me think of a pansy!

Pointed skinny petals.

Petals bent in the middle to look like hearts.

For this flower, I bent the petals in half and looped the end over the yellow center of the flower. Then twisted the 2 pieces so they looked like smaller petals.

I’m sure you can come up with even more ideas! This is a simple but fun project for people of all ages. For older kids or adults, you could cut the pipe cleaners in half and make smaller flowers. I hope you’ll give this project a try! Maybe if we concentrate on making pipe cleaner flowers we can forgot how cold it is outside! 😉 Stay warm!