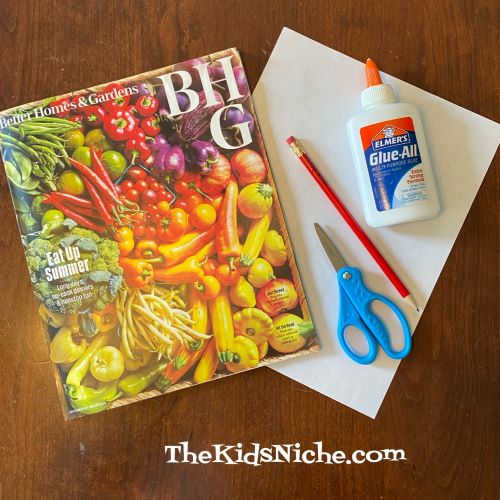
Do you wonder what to do with your magazines once you’ve read them? If you have children or grandchildren, save them for some learning fun! Or donate them to someone who has young children and share these great ideas with them. All you need for these learning projects is a used magazine that can be cut up, some paper, a few markers or crayons, some glue and scissors.
#1.)There are a few ways you can do these projects, but let’s start with “Animals”. On a blank piece of paper, write the word “Animals” at the top. Then let the kids go through the magazine and cut out any pictures of animals that they find. This is good for recognition of a particular item and great practice for those motor skills!
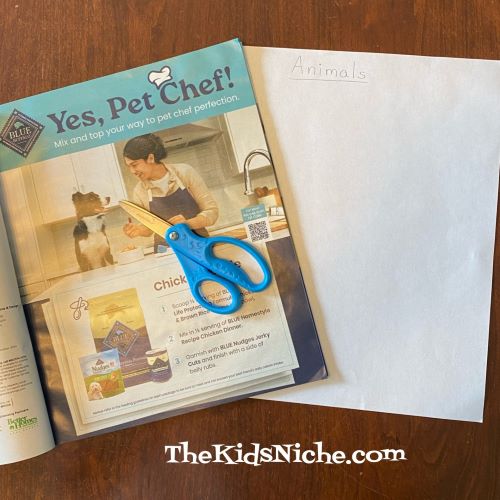
The cutting part will go better if you tear the entire page out before the kids start cutting. Here are the animals I found in my magazine…
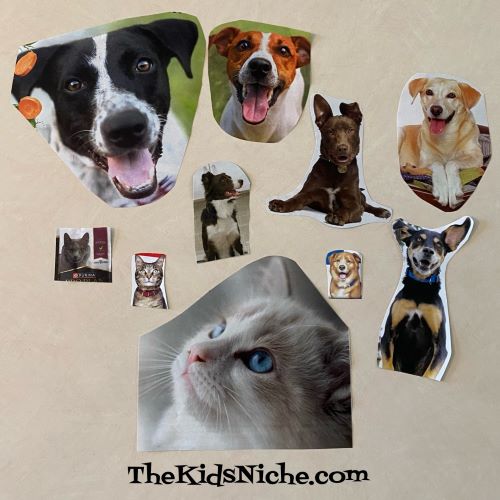
Have the child glue the pictures onto their “Animals” paper. Now is a great time to chat about what animals they found, how many of each animal there is, what color they are, which one is their favorite and even some discussion about the differences between the animals. For instance, the 3 cats in this example all have different colored eyes. Fun fact! 😉

#2.) Following the same idea, you could have the kids do a page about 1 particular color. I chose the color red. Letting them choose what color to look for makes it more fun for them.

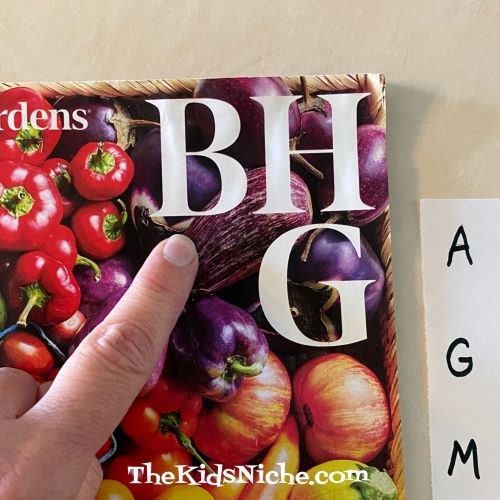
#3.) The next idea is to pick one letter and look for things that begin with that letter. And to keep an eye out and cut out the letter itself. I went with the letter “F”…flag, forks, flowers, fruit, food and fence. 🙂

#4.) You can also follow this same idea but use numbers. Have the child find 1 of something, and 2 of something else, and 3 of another thing…you get the idea…1 flag, 2 cats, 3 dogs, etc.

#5.) Now let’s work on letter recognition. Write each letter of the alphabet on a piece of paper and have some markers or crayons handy.

Have your child go through the magazine and find each letter of the alphabet. When they find a letter, let them cross that letter off their piece of paper.

If they would like to color in the letter in the magazine, let them do that. Or circle it…whatever they want to do to mark it.


Now you have 5 fun suggestions of ways to help your child learn while reusing old magazines! And you never know what fun fact or yummy sounding recipe you might come across for yourself. 😉