More Re-purposing With Kids

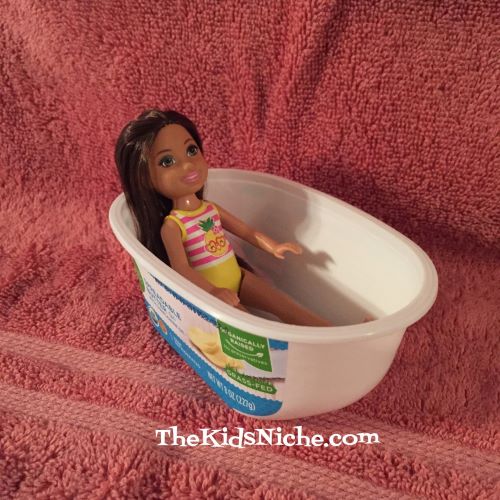
Hello! Hope things are going well for you! Today let me show you a couple more fun ways to re-purpose things you might have around your house into some entertainment for the kids. This first one I have to show you is using and empty…and washed…plastic container that had spinach and artichoke dip in it. (Oooo, that’s making me hungry!)

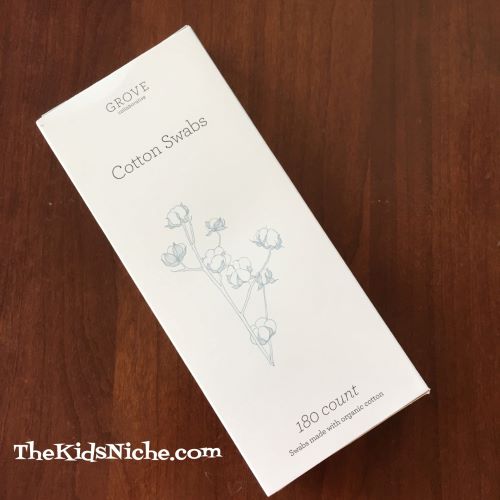
The outer plastic wrap came off very easily for me.

The sticker on the lid however, didn’t come off so I simply cut a circle out from a white piece of paper and glued it on top.

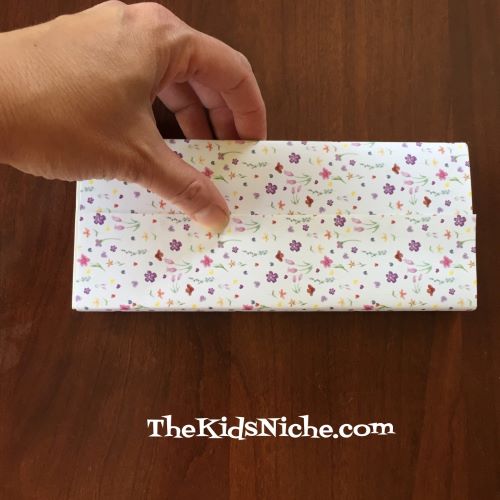
Then I cut a slightly smaller circle out of a piece of scrapbook paper and glue it on top of the white paper circle.

Your project can be finished here or you can add a piece of ribbon or duck tape around the side of the container. You’ll want to glue it in place.

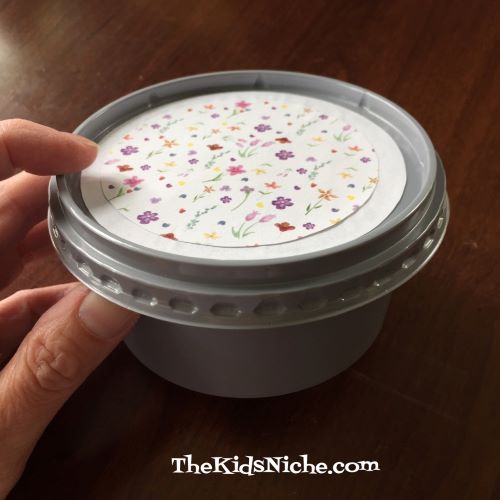
And there you are! Another great little container for storing special treasures inside!

Item #2 on today’s blog post is super simple! Do your kids like to play outside in the warm weather and use squirt guns on each other? (Or on an unsuspecting parent or grandparent! Ha!) But you really don’t want to pay the price for squirt guns? Save up a few dish soap bottles or spray bottles…make sure they are washed out and rinsed well. Fill them up with water and let the kids have a grand time spraying each other to cool off! (That actually sounds really good for today – it’s currently 92 degrees with the “real-feel” temperature of 95. Whew!)

Hope these suggestions spur you to do something similar for a fun project today! 🙂

Repurposing With Kids

Are you into repurposing or recycling things? It’s a great way to save some money and make something fun at the same time. The definition of repurposing is “to give a new purpose or use to”. Today let’s do just that with 2 items you might find around your house. The first item is a plastic spreadable butter container.

After we finished using the spreadable butter that came in this container, I looked at the bottom section of it and thought, “That looks like a great bathtub for a doll!”. First wipe it out with a paper towel, then wash in warm soapy water and dry. This doll fits in very nicely!

If you want to make it look a little better, you could add some duck tape around the sides to cover the label. Alas, we’re fresh out of duck tape so I couldn’t do that this time. Add a little soap and water, stir it up until you have some bubbles and presto! A nice bubble bath for your little ones favorite doll. 🙂

Look at her smile! Doesn’t she look like she is enjoying her bubble bath? 😉

Now for the second repurposing project for today…a Q-tip box. (You may call them Cotton Swabs.) This is the type of box where the inside tray slides out either direction.

You’ll need a piece of paper to cover the outside of the box. Printed or plain will do. Measure the length of the box. Write down the number so it’s easy to remember. Then measure each side around the box and add the numbers up. Add another inch so you can overlap the paper in the back and glue or tape it together. Mark out the size of paper you need of the BACK side of the paper so your lines won’t show on your box. Cut on the lines.

Grab your glue or double-sided tape. Wrap the paper around the box, bending and creasing the paper at each edge so the paper fits smoothly all around the box.

Tape or glue the overlapping edges together on the backside of the box.

And you’re done! Find some special treasures to keep inside. I’m using this one to store some Barbie doll shoes and accessories.

Shoes in one end and other fun items in the other end.

These could have a gazillion uses! Have fun! Check back soon for more repurposing fun! Thanks for visiting! 🙂