Mini Picket Fence Craft

The calendar says it’s officially Spring (even though it doesn’t feel like it outside where we live) so it’s time to do some Spring crafts for kids! Today we made a mini picket fence that is really so cute! This could be a great Mother’s Day gift for a child to make with some assistance from an adult.

You will need 7 craft sticks, some craft glue, some miniature flowers and a butterfly or bug puffy sticker or button.

You can use the craft sticks as they are or they would look really cute painted white. Start with 2 sticks and place 2 dots of glue on each stick at the same place on the 2 sticks.
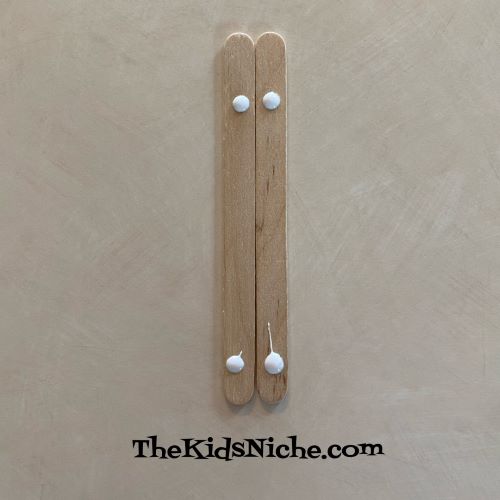
Slide the 2 sticks apart and place another craft stick horizontally across the top and one across the bottom onto the glue dots. Try to keep the sticks straight so they form an even rectangle.

Allow the glue time to dry before moving to the next step. Once the glue is dry and your fence can be moved without the sticks moving, turn it over. Place 3 dots of glue in even spots across the top and 3 dots across the bottom stick.

Lay 3 craft sticks vertically on the dots of glue, as shown in the following picture.
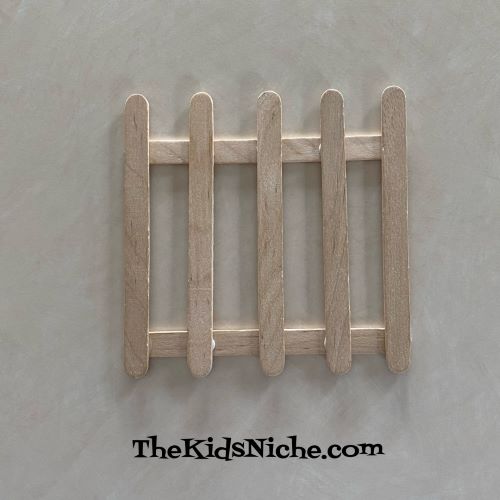
Allow the glue to dry again until all the sticks will stay in place. (For a quicker project, you could use a glue gun, but craft glue is safer for younger children.) Once the fence is dry, turn in back over so the front side is up and decorate it by gluing on miniature flowers and a butterfly.
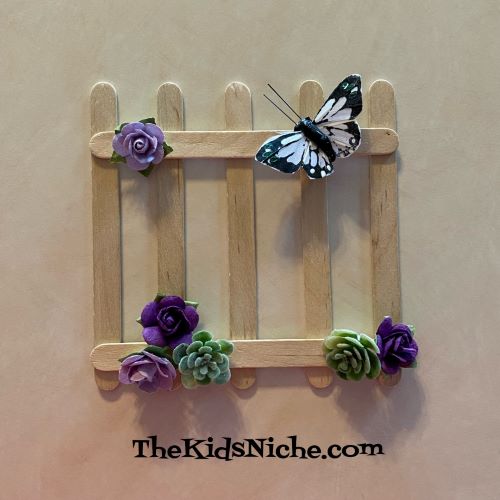
You can add a magnet to the back for hanging. Or add a piece of twine by gluing each end of the twine to the top sides of the back of the fence.
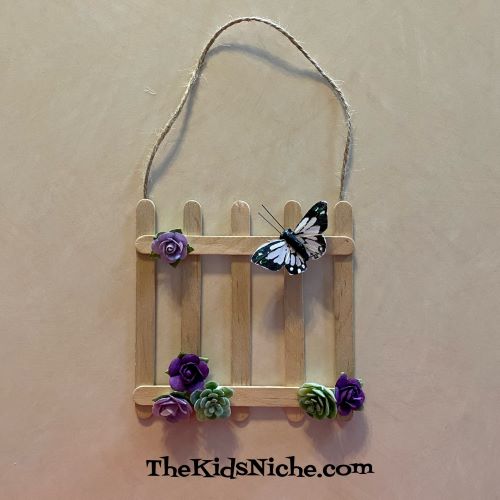
Or glue both ends of the twine to the backside of the middle vertical stick.

That’s it! Now you have a cute mini picket fence to display around your house and make you think of warm Spring days! πŸ™‚

Painting Little Spring Pots

I hope you had a wonderful Easter weekend! If you look out the window here today, you would think it was April 1st instead of April 18th because it looks like we got an April Fool’s joke played on us outside! We have snow! Ok, yes, snow is pretty and all that, but we are ready for Spring now! πŸ˜‰ So let’s do a cute Spring project painting little clay pots and pretend we don’t see the snow.

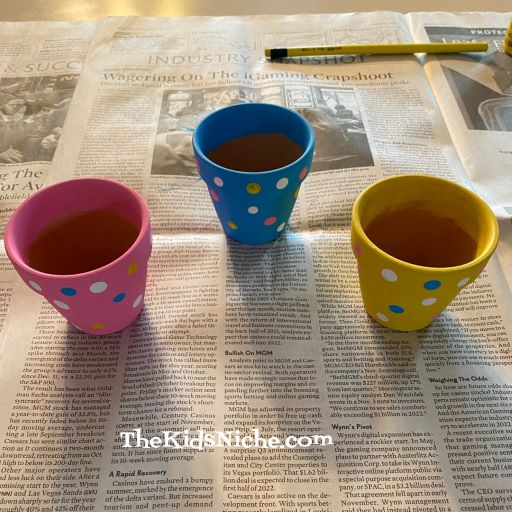
I found a pack of 3 small clay pots at the Dollar Tree store and decided they would be cute painted for Spring with some succulents planted in them. So go grab some little pots, some paint, sponge brushes and some newspaper to protect your surfaces.

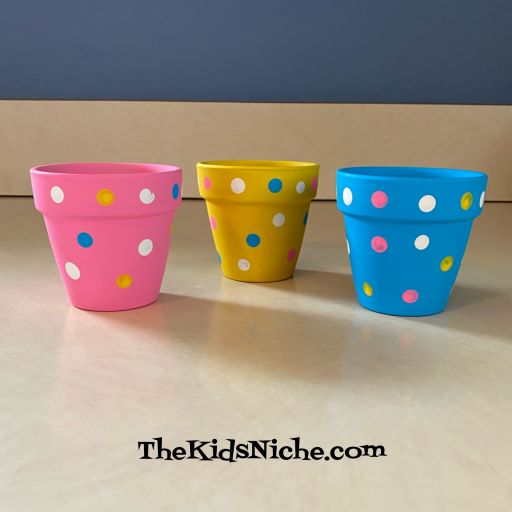
I chose yellow, pink and blue for the main colors for my pots.

I painted the outside of the pots plus I painted part of the way down inside the pot.

Using the eraser end of a pencil, I painted dots on the outside of each pot in contrasting colors.

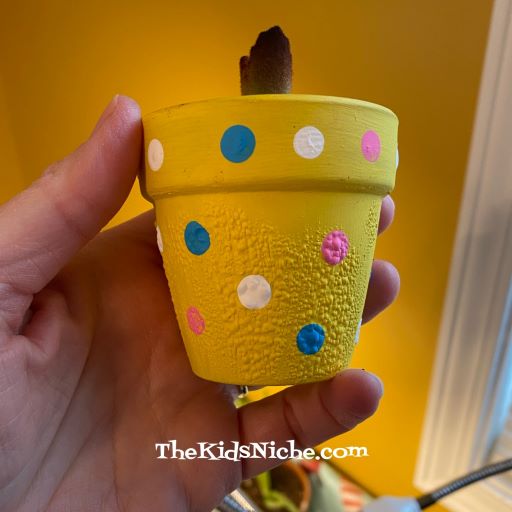
I painted 1 coat on 2 of my pots but I painted a second coat on the yellow pot. I think I didn’t need to do that.

A word of caution – allow your pots plenty of drying time before adding plants! I didn’t let my yellow pot (that had 2 coats of paint) dry long enough before I added my succulent and the paint bubbled up because of the moisture in the dirt.

Check your local Lowe’s or Home Depot stores or a greenhouse for some little plants to add to your beautiful little pots.

And there you have it! Bright and colorful painted pots to cheer you or someone else up! Spring is just around the corner! πŸ™‚

Quick Spring Decor Kids Can Make

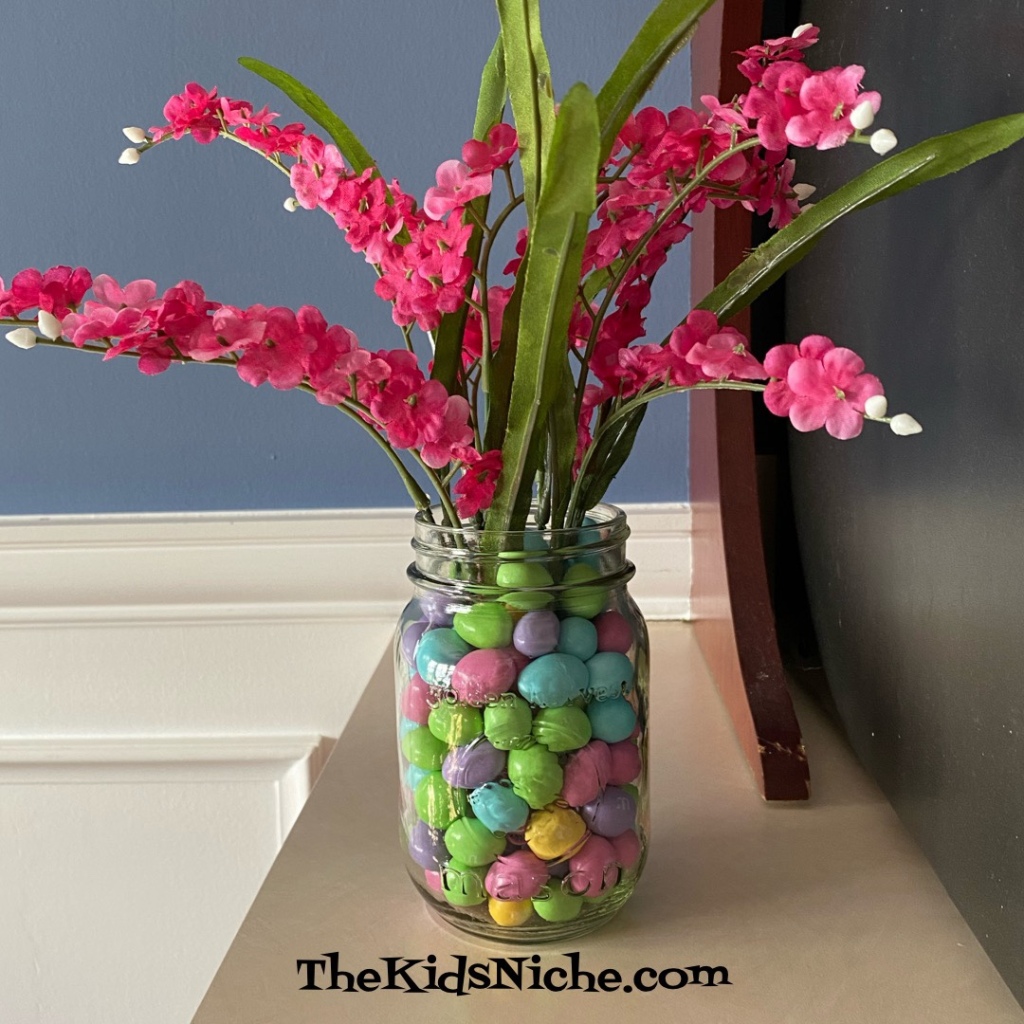
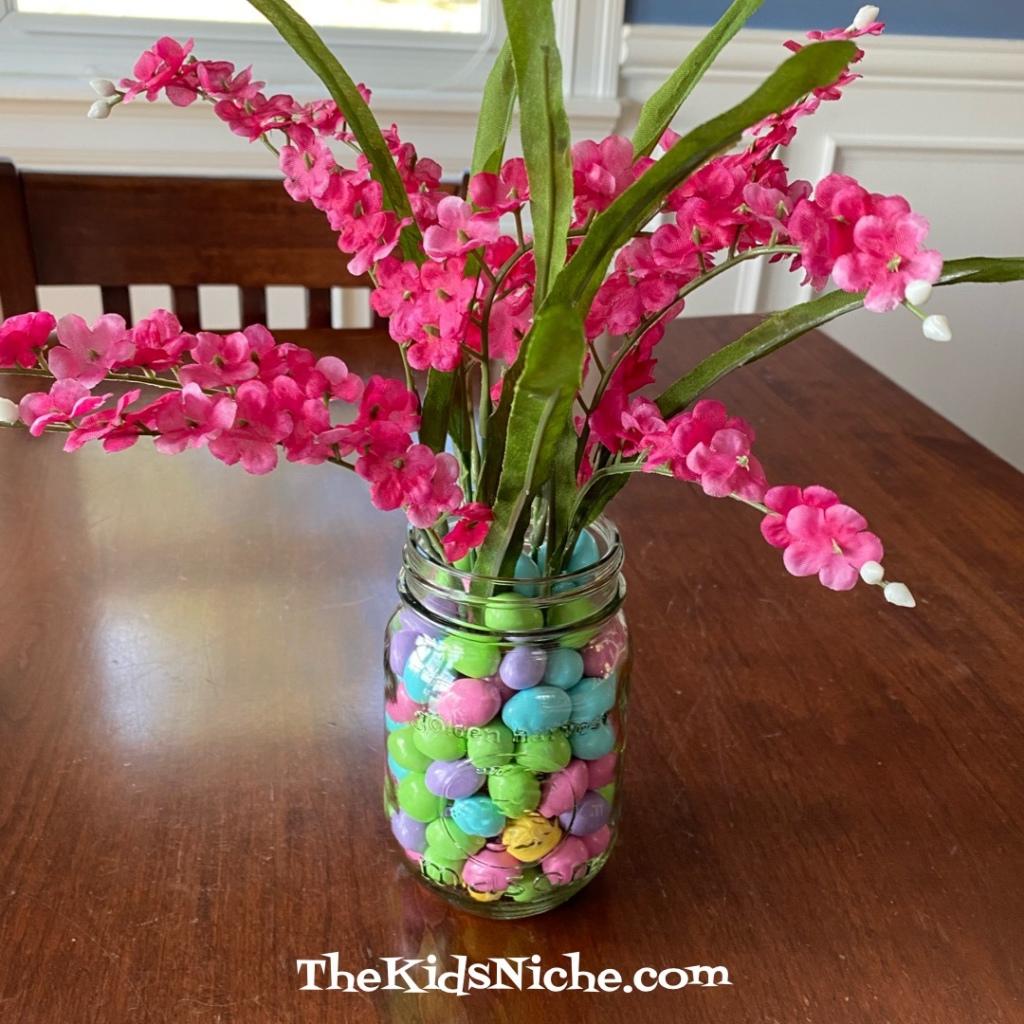
Here is a cute and so simple way to make some great looking spring decor! You will need a pint canning jar (or other clear jar), some M&M’s candy and some artificial flowers.

Fill the jar with the M&M’s and cut the flowers to the size appropriate for your jar. Stick the artificial flowers into the jar with the M&M’s. And that’s all there is to it! πŸ˜ƒ

How’s that for an easy and quick spring decoration?! So cute! πŸ˜‰

2 Cute Craft Kits on Sale at Hobby Lobby

I found these 2 craft kits for kids at a Hobby Lobby store the other day and wanted to share them with you. While I haven’t made these kits yet, they look like a ton of fun for a really great price! These are normally priced at $2.99 (which seemed like a good price already) but were on sale for 40% off which brought their price down to only $1.79 each! πŸ™‚

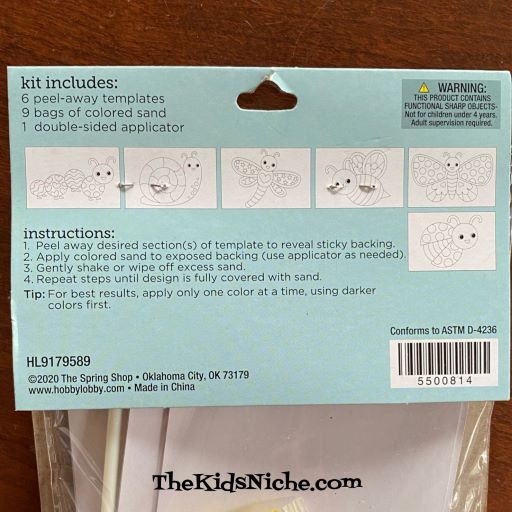
The first kit I want to share is a sand art kit. This kit comes with 6 pictures and you use sand to color them. You pull off a bit of the paper and it’s sticky underneath. You pour a little sand over the sticky part and then shake off the excess. Then you’ll move on to the next section.

On the back of the package, you can see the 6 cute designs that are included. (I’m ready to start!) πŸ˜‰

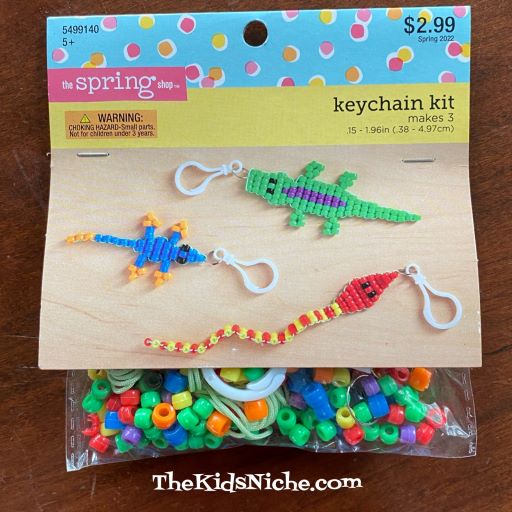
The second kit is for making key chains with beads.

Each keychain kit makes 3 keychains….1 alligator, 1 snake and 1 lizard. This looks like a fun activity to me! πŸ˜‰

Hobby Lobby has lots of items on sale this week that are great for Spring! Hurry on in and see what goodies you can find! πŸ™‚

Easter Egg Craft for Kids

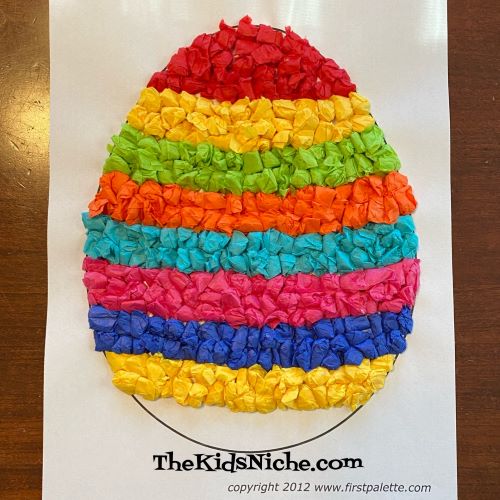
Hoppy Monday! (It’s almost Easter so I just had to use Hoppy for Happy.) πŸ˜‰ It’s that time of year again when Easter crafts are all the rage! So here’s a fun one that turns out looking really cool! (In my humble opinion, of course.) Don’t you think it looks pretty neat?

You’ll need a few colors of tissue paper, a piece of white paper, a pencil and glue. A computer and a printer will make it easier but isn’t necessary. To begin…draw the shape of an egg on the piece of white paper. Or do like I did and go to: https://www.firstpalette.com/printable/easter-eggs.html

You can print out an egg for free. How nice is that?! (Thank you, http://www.firstpalette.com !)

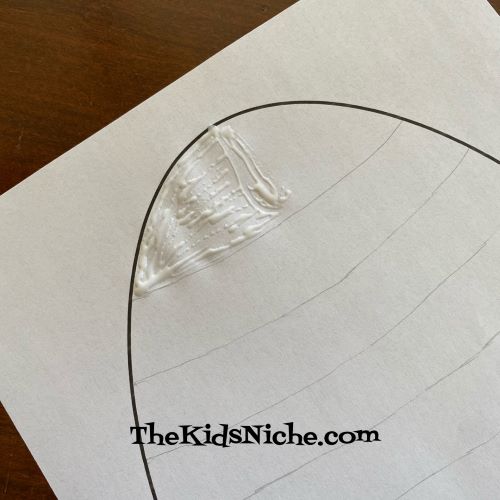
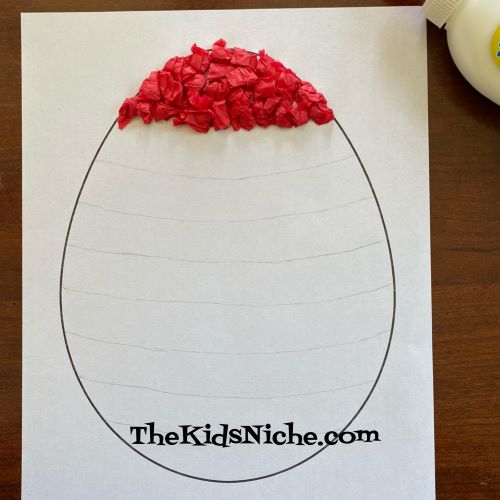
Using your pencil, lightly draw a few lines on your egg to divide it into a few sections. It might be a little hard to see the lines in my picture.

Pick your first color of tissue paper and tear a few strips. They don’t need to be perfect or exactly the same size.

Next tear the strips into smallish pieces. Again, no need for perfection here!

Apply some glue to a small area of the first section of your egg.

Take one of the ripped pieces of tissue paper and wad it up into a little ball. Yep, squish it up! Then press it down into the glue. This picture is 3 balls.

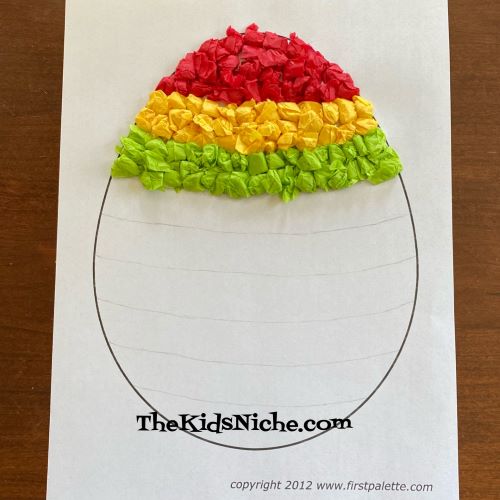
Continue making paper balls and gluing them onto the egg shape. Press them close together so there isn’t much of the white paper showing through. I changed colors for each section but you can make your design however you like. Here is the first section done in red.

Next I did yellow.

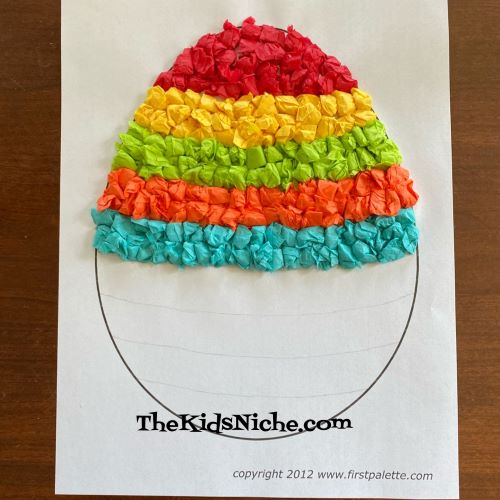
Then light green…

Orange…

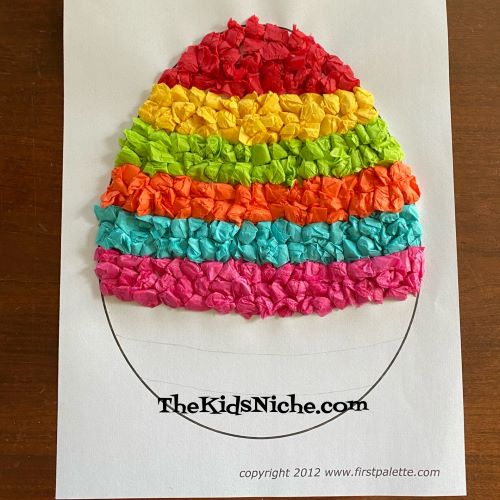
Light blue…

Bright pink…

Dark blue and yellow… (I forgot to take a picture after the blue section! Haha!)

And finally red!

Doesn’t it look great? You can make lots of different colors and designs for as many eggs as you want to make. Have fun!