
Today we’re looking at a way to make your own stencils AND make a really cool looking picture with them! I tried this 4 different ways, so I will first show you the way that I think worked the best. But if you don’t have those supplies on hand, there are some other fun things you can try that still come out looking pretty great. 🙂 Here’s a sneak peek!

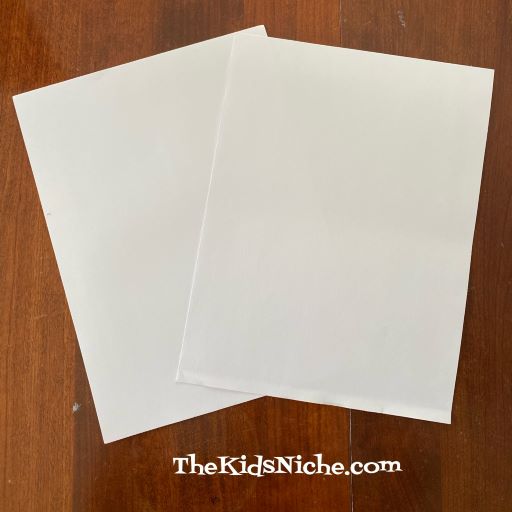
You will need 2 sheets of white paper. I used a sturdy type of construction paper. (I am showing you how to do this project 4 ways, but if you’d rather you can use just one piece of paper and still make 2 pictures.) 🙂
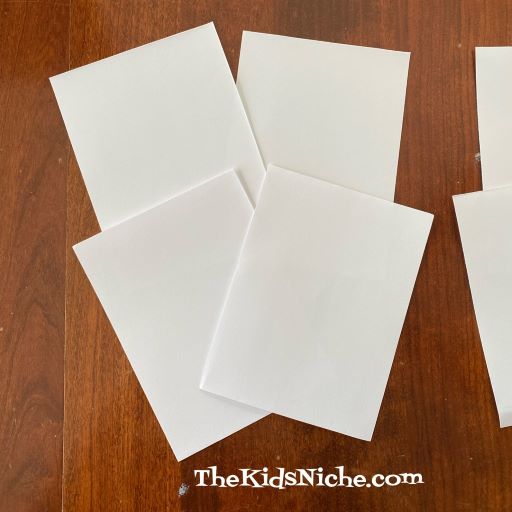
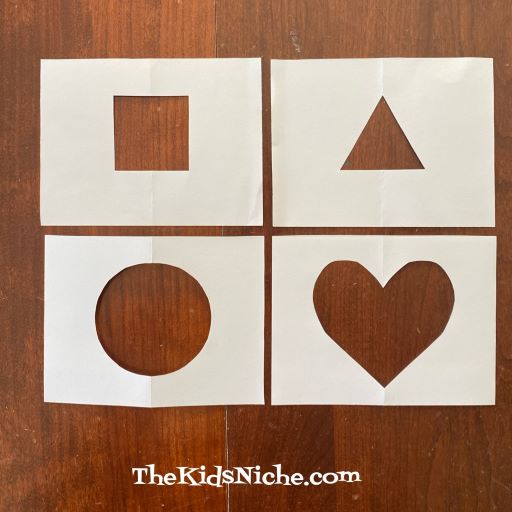
Cut or fold and tear each sheet into 4 equal pieces.
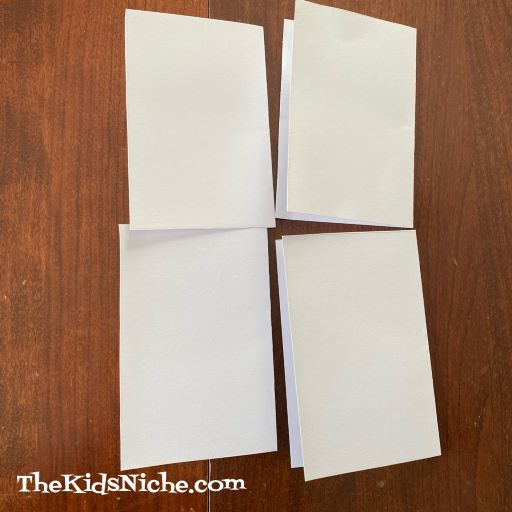
Take 4 of the smaller pieces and fold each one of them in half. Leave 4 smaller pieces of paper flat.
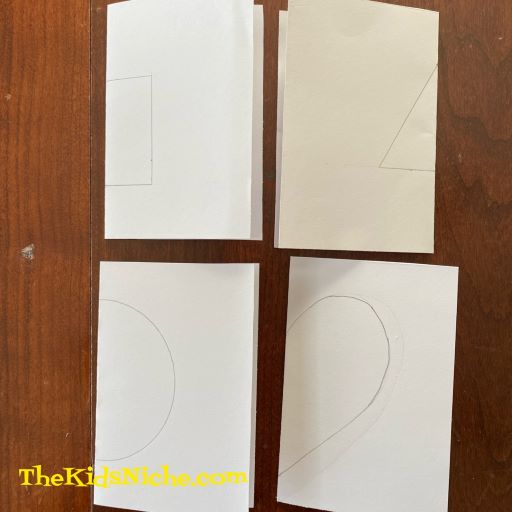
On the folded edge, draw half of a shape. For example, draw half of a heart, triangle, circle, square, etc. Leave some space on both the top and bottom edges.
While keeping the paper folded, cut out the shape. Cut through both pieces of the folded paper at the same time.

Now open up the folded paper and you should have the complete shape cut out of the middle of the paper.
You might want to lay down some old newspaper or paper towels to put your project on. Pick one stencil and lay it on the newspaper.

For the first example, I used water color crayons. They gave the best color to the finished picture.

Pick out 3-5 colors that you want to use. Begin by coloring dots on the edge of your stencil. I like using colors in the same order all around the edge of the stencil. It’s great practice for the kids to help learn about making a pattern.

Make colored dots all around the edge of your shape.

Next lay your stencil on top of one of the flat pieces of paper. Make sure that the 2 pieces of paper stay together all the time for the next step. Use one end of a Q-tip to brush from the colored dot onto the paper laying underneath the stencil. Use the same Q-tip to do all of one color.

Then switch to a new Q-tip end for each color.
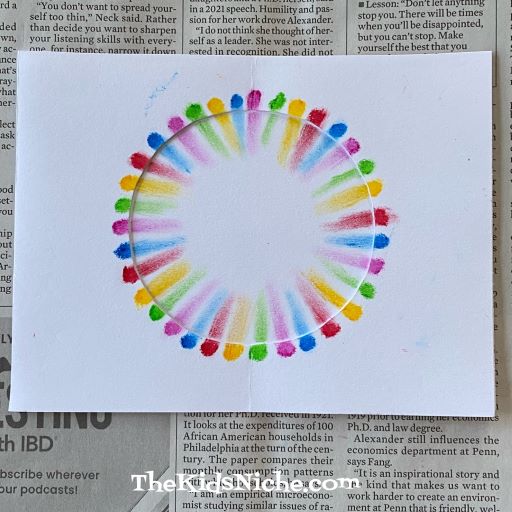
Doesn’t it look amazing?! 🙂 Remove the stencil and look at the beautiful design you’ve made underneath.

For my second design I tried using sidewalk chalk. It worked too, but the colors came out very light and rather hard to see, especially in a picture.

I used colored pencils for another try, but this time I didn’t use the Q-tips. I simply colored little patches both on the stencil and the paper underneath. I think the circle and heart shape worked better than the triangle shape did.

And then with the stencil removed. Still made a neat picture!

For my last attempt, I used regular crayons and colored circles or ovals on the stencil and the paper underneath. I think it would look better if I had colored bigger circles, but it still is pretty.

Without the stencil…looks rather like a picture frame. 😉

You can, of course, simply use a pencil to trace inside the stencils and then color the shapes without having the stencil there.
It was a fun experiment! I definitely liked using the water color crayons the best as they gave the best results. I hope you’ll give this project a try! 🙂

