
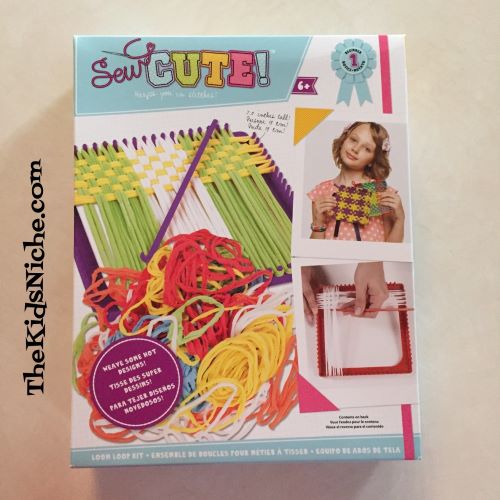
Today’s craft idea will probably bring lots of “Oh, I did that when I was a kid!” type of comments from you moms and dads. Remember making potholders with the stretchy loops, the square loom and a hook? Yea, me too! 🙂 I loved making these! My mom was always very gracious about using my creations, though I’m sure she had more than she needed! Here’s one that my grandson made for me a few years ago. Yep, I still have it! 🙂

The kit I purchased for this blog post came from Joann.com but they are available elsewhere too and are inexpensive. Today’s looms and hooks are made of plastic whereas the ones I used as a kid were made of metal.
Here’s what came in this kit: plastic loom, plastic hook, a bag of loops and instructions.
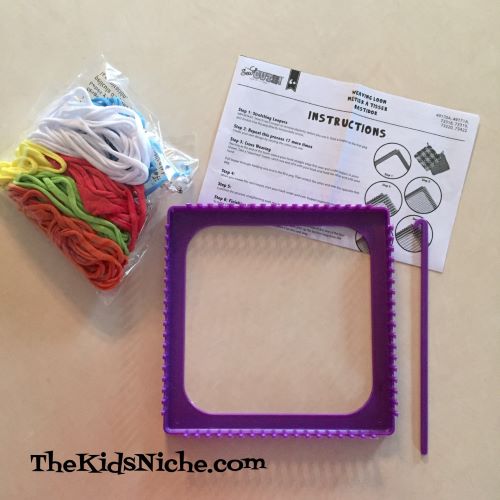
One small word of caution…the hook was actually attached to the loom still and after I twisted it loose, the hook had a sharp edge on the curved end that wanted to catch on the loops as I tried to weave between them. So I grabbed a nail file and rubbed it until it was smooth and it was great after that.
To begin, sort out the loops into piles of the same color. This kit has 6 colors. I lined the loops up so I could keep track of the order I wanted to use them in.
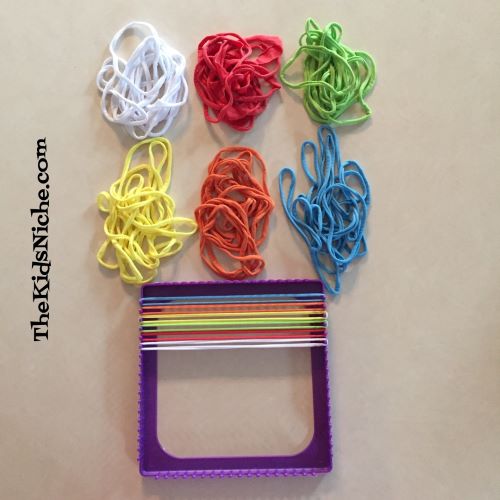
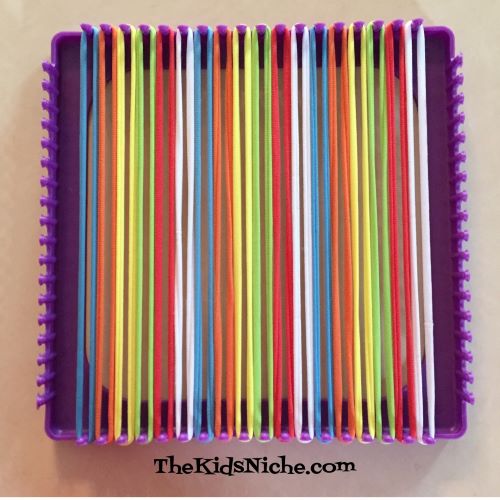
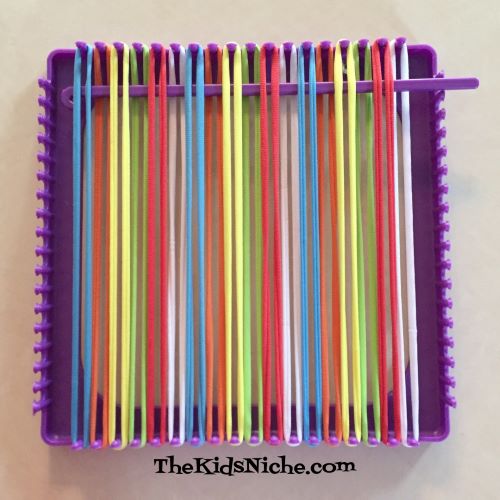
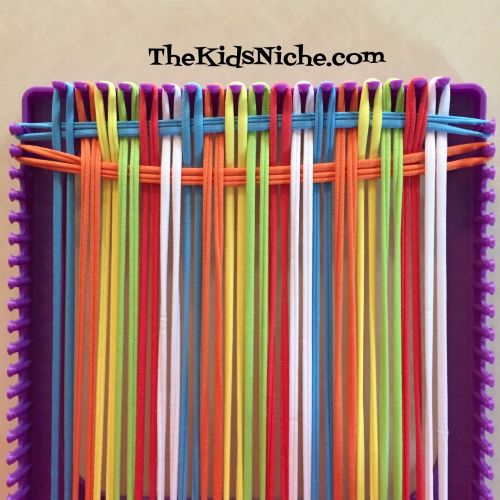
Take a loop, hook it on the first peg and stretch it across the loom to the peg directly across from it. Keep going until all 18 pegs have been filled.
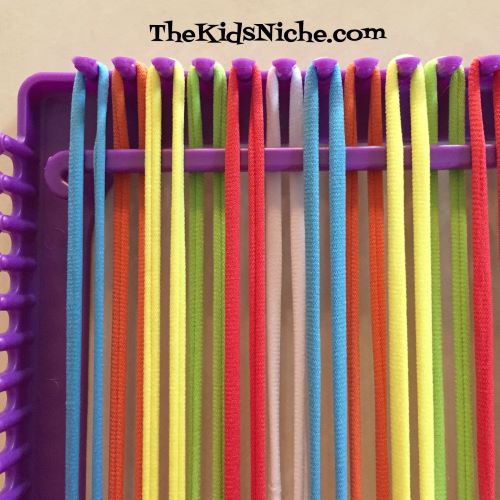
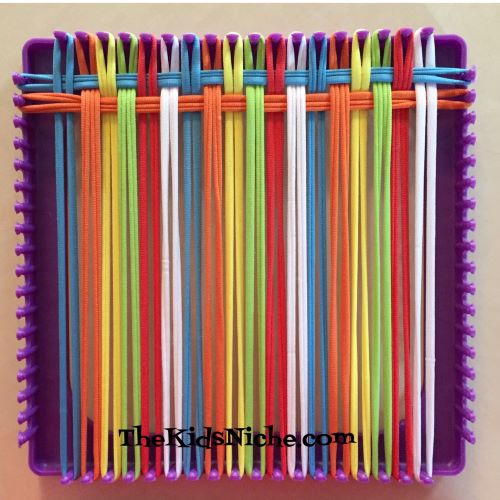
Now you’ll start weaving. Starting at one end of the loom, weave your hook over and under each loom going across the loom. Over then under, over then under all the way through.
Here is a closer up picture.
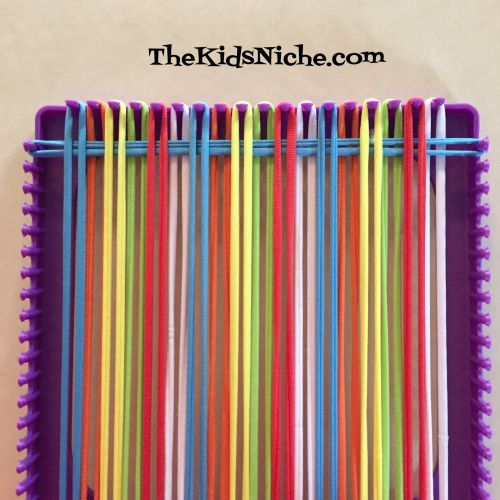
Now take another loop and catch one end on the curved end of the hook and the other end of the loop onto the first peg. Pull the hook back through the loops on the loom and hook that end on the first peg on the opposite side.

Then your first loop is done!
For the second loop, weave your hook through the loops again but this time start with the opposite way from what you did the first one. So if you started out going OVER the first loop, this time start out going UNDER. Weave under and over all the way across. Put another loop on the hook and 2nd peg and pull the loop back through.
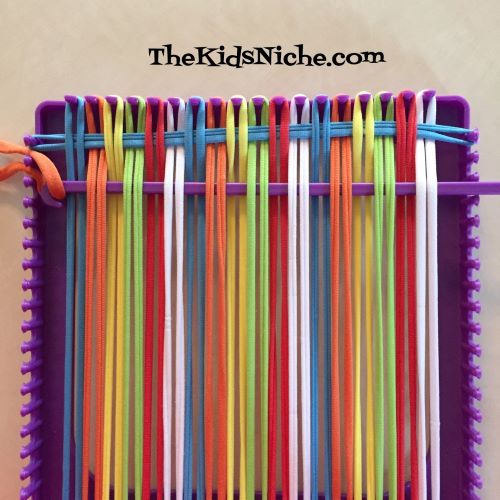
Don’t worry if your loop looks like its hanging down too far after pulling it through because it can easily be adjusted with your fingers. Try to keep each loop in a straight line between the two pegs it is hooked on. Like this:
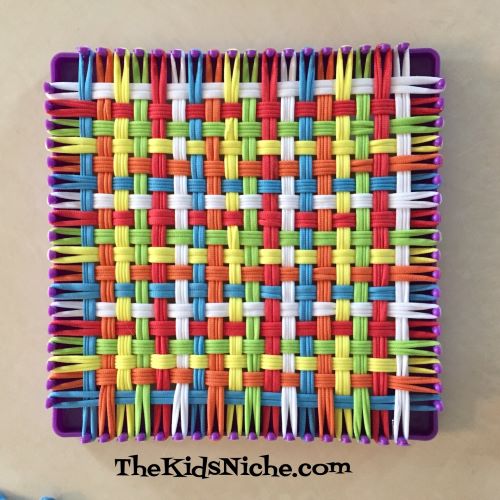
Each time you add another loop, make sure it is woven the opposite way of the one done before it. Continue weaving and adding loops until the loom is filled.
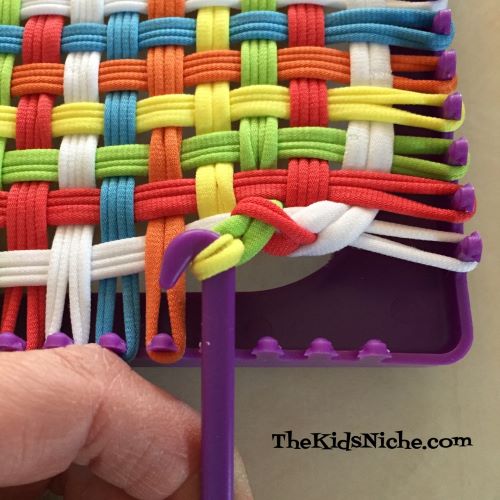
Now it’s time to make the edge of the potholder. Pick a corner to start from, then take the first loop off of its peg and slip it over the second peg. Pick up the bottom loop on the second peg and pull it through the top loop, letting the first loop come free of the peg…then put the second loop you are holding over onto the third peg. This picture is after I did a couple of loops. See how the green is over the yellow?

Now pull the yellow loop up through the green one and let the green one go.
Then place the yellow one on the hook on top of the orange one on the next peg. Hope that makes sense! Continue this process all around the loom. Here’s what it looks like after one side is finished:
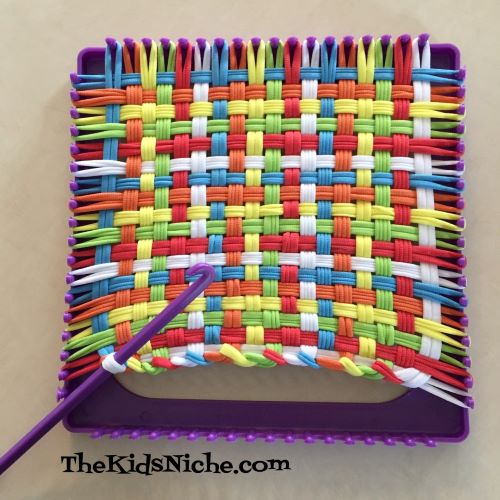
This process can get a little tricky and a bit hard to hang onto so children making a potholder will likely need some help on this part. I actually found it easiest to just use my fingers for the last side.
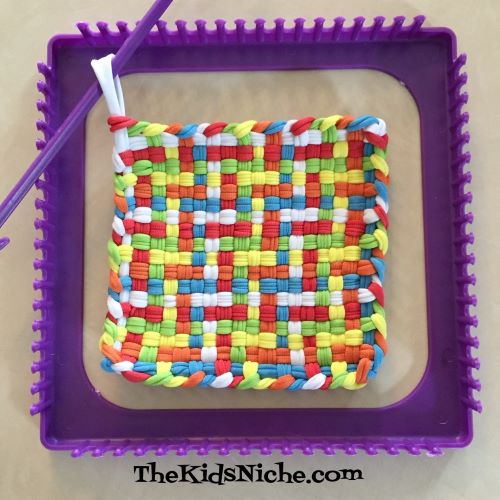
When you get to the last loop…here its the white one…I recommend wrapping the white loop around and through the red loop another time and then making a knot in the white loop to secure everything. The loop sticking out makes it nice for hanging.
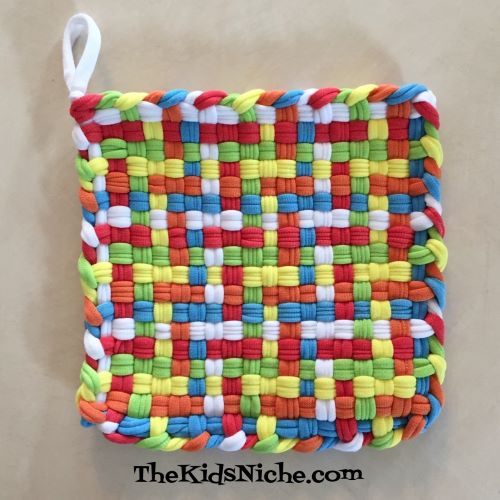
And there you have it! Mission accomplished! These potholders are not recommended for taking things in and out of the oven. What a feeling of accomplishment for kids! It makes a nice gift for mom, grandmas, aunts or anyone that cooks! 🙂
