There is a fun way to cook an egg and a piece of toast at the same time in the same skillet. But there are MANY names for it. 🙂 This is what it looks like…
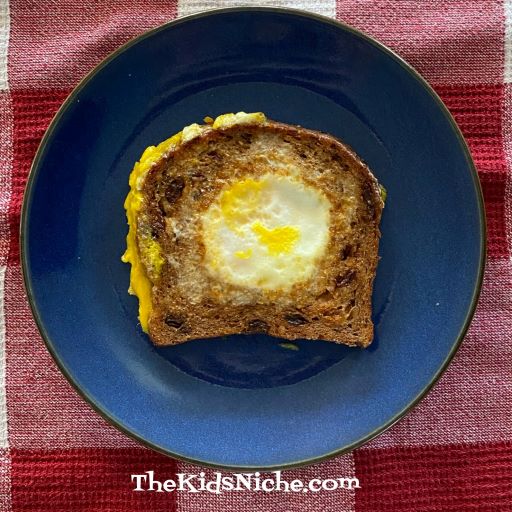
I found all these names that seem to refer to the same food. ..Egg in a Basket, Egg in a Hole, Egg in a Nest, Toad in a Hole, Bullseye Toast, One-Eyed Gypsy Bandit and Spit in the Eye. Wow! I am very curious to know what you call it at your house! But let’s talk about how to make it, in case you’ve never seen this idea before. 🙂
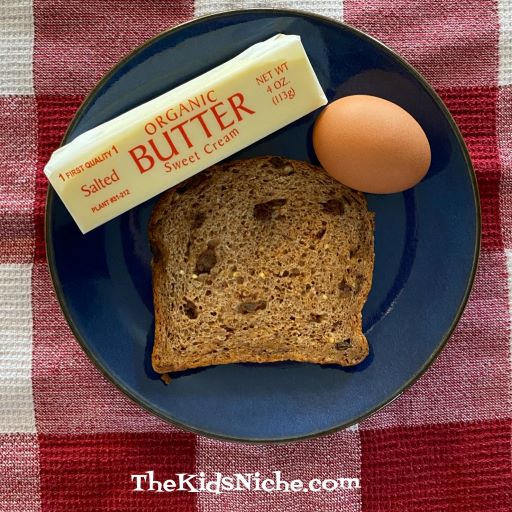
All you need is a slice of bread, some butter and an egg plus a skillet to cook it in.
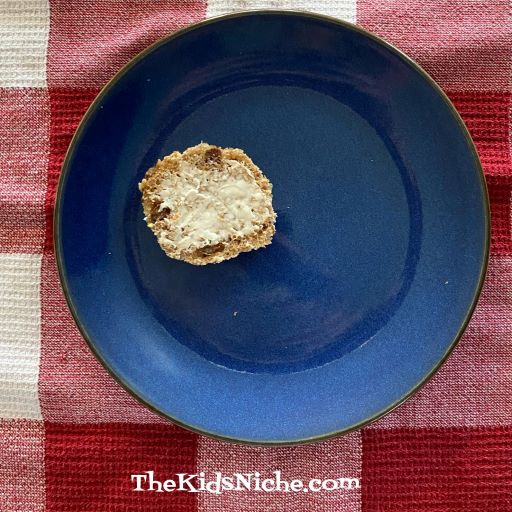
Cut a hole out of the center of the slice of bread. I used raisin bread but you can use your favorite bread.

Save the circle of bread and fix it in your favorite way. Maybe add a bit of butter or jelly or toast it and add some cinnamon and sugar.
Melt some butter in the skillet. When the skillet has warmed up, lay the bread in the skillet.

Crack open the egg and pour it into the hole in the bread.
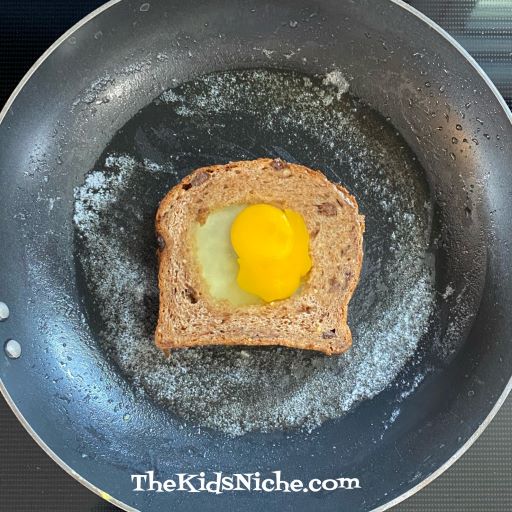
Cook over a medium heat until the egg reaches the stage of doneness that you like. I flipped my Egg in a Basket over and cooked it some on both sides.

Once your egg is cooked, serve it up with a smile! 🙂 Don’t forget to add the circle of bread to your plate! I’m thinking this would be very tasty with a little maple syrup drizzled on top.

This dish is yummy and easy any time of the day! 🙂 Enjoy! And let me know what your family calls it! 😉