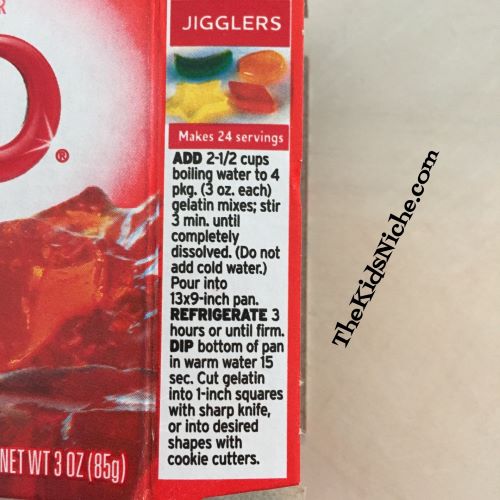
Remember Jello Jigglers? We hadn’t made any here in ages but they would make a cute treat for Valentine’s Day. The directions are right on the boxes of Jello and they only need Jello and water to make them.
I suggest using red Jello for Valentine’s Day. I made half of a recipe and used an 8″ x 8″ pan.
Heart shapes are great for Valentine’s Day, of course. 😉
Remember to dip the pan in hot water for a few seconds to help with removing the shapes. The smaller sized hearts came out easier than the large ones. And there they are!
To make them fancier, add a bit of whipped cream on top or some pink yogurt.
Be careful that the kids you share these with are old enough to chew them up well. They take some extra chewing! Hope your Valentine’s Day will be a fun one! 🙂
Valentine’s Day is getting closer and if you still need a card for someone young (or young at heart), this card might be just the thing. It’s quick and easy to make and adds a little something fun to your card.
Here’s what you’ll need: a piece of cardstock, a small piece of red cardstock or construction paper, scissors, glue, pencil, heart template or cookie cutter (or cut your own), markers/crayons/colored pens or pencils and a glow stick. I found a pack of 6 glow sticks at the Dollar Tree for $1. Oh, and a couple pieces of scotch tape.
We’ll begin by folding the piece of cardstock in half to make a large sized card.
Decorate the front of the card for Valentine’s Day.
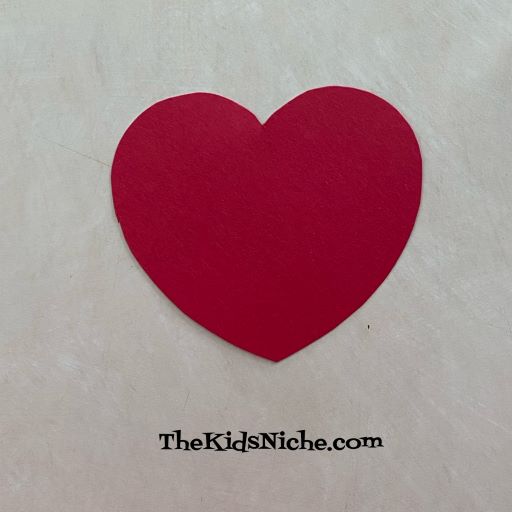
Next trace around the heart template or cookie cutter or draw your own heart on the red paper.
Cut out the heart shape with your scissors.
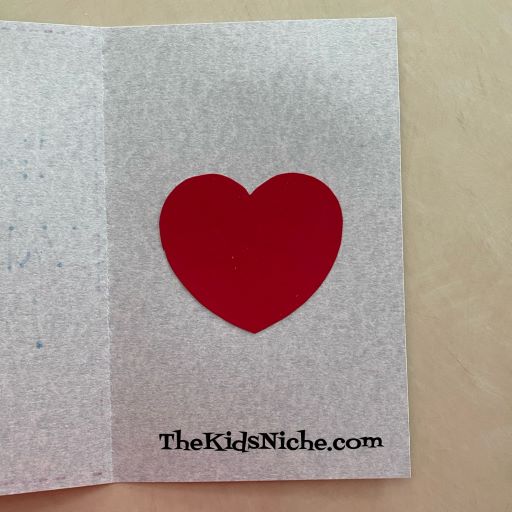
Open the card and glue the heart approximately in the middle of the right side section.
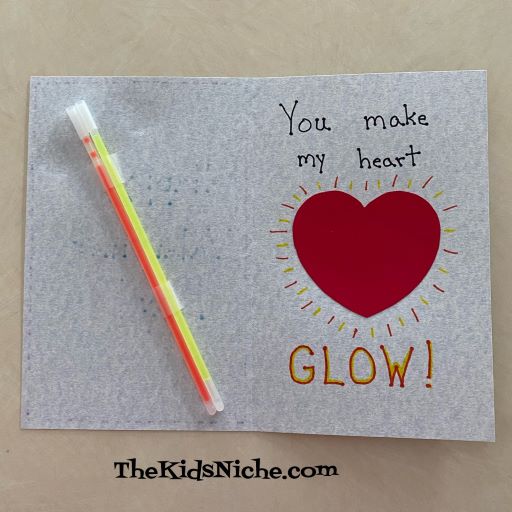
Next write the words, “You make my heart GLOW!” I used an orange marker for the word GLOW and added some yellow on the letters too. I also added some short lines all around the heart with the orange and yellow markers to make the heart look like it’s glowing.
Now for the fun part, tape at least 1 glow stick (not broken yet!) on the left inside section of the card.
And there you have it! The recipient can now bend the glow stick and make it glow! 🙂
Glow sticks make the card more interesting since there is something to DO after reading the card. It could also be fun if you bend the glow stick so it starts glowing, RIGHT before you give the person the card! Then the card itself will be glowing and they can still play with the glow stick. 😉 So make some of these Valentine’s Day cards for the special people in your life that make your heart glow! 😉
This is a fun card to open because there is a little heart inside that will twirl around when the card is opened. Sound fun? Let’s get started! You will need a piece of construction paper approximately 5 inches by 9 inches. (The size can vary.) Some scissors, glue, 2 small hearts cut from another color of construction paper, markers and some thread.
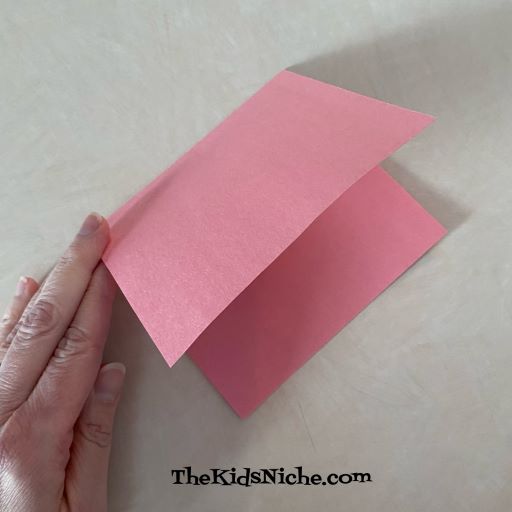
Begin by folding the piece of paper in half.
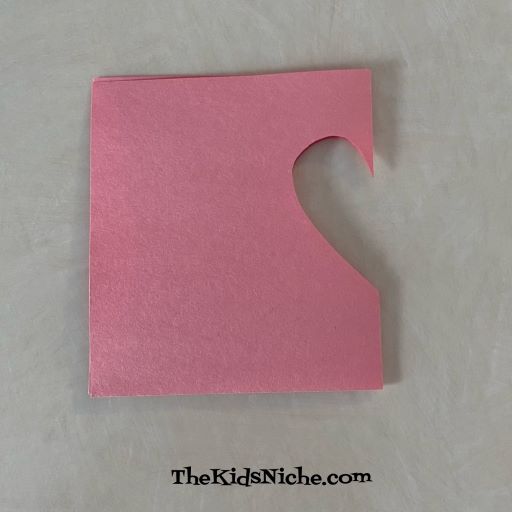
Using your scissors, cut a half of a heart shape on the fold.
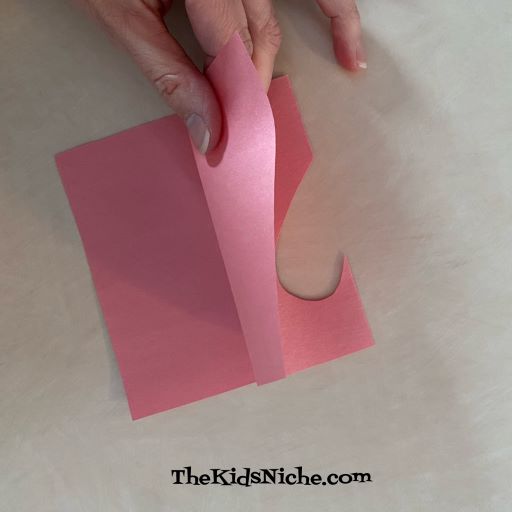
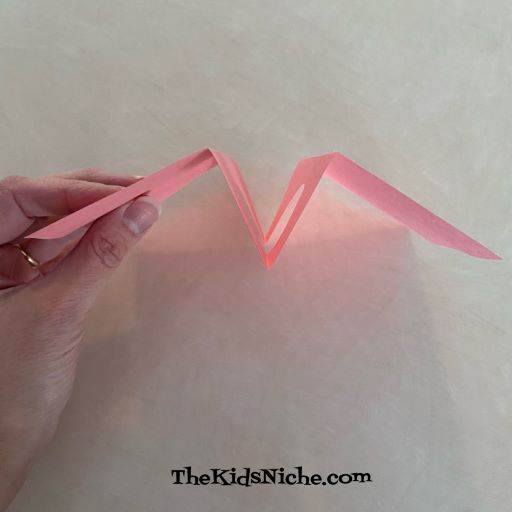
Fold one side of the paper end up past the heart shaped cut.
Do the same with the second side.
When you open the card up, it should look like this from the end view.
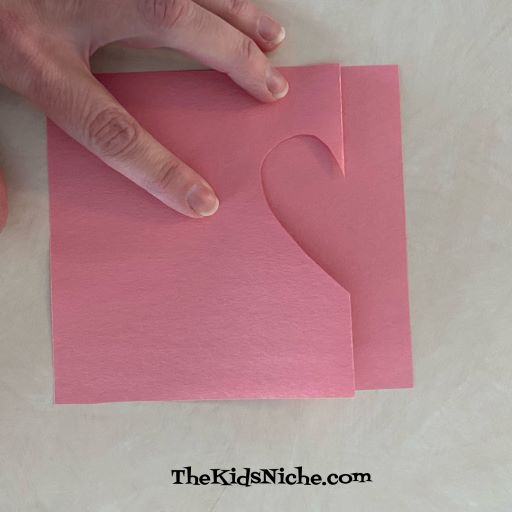
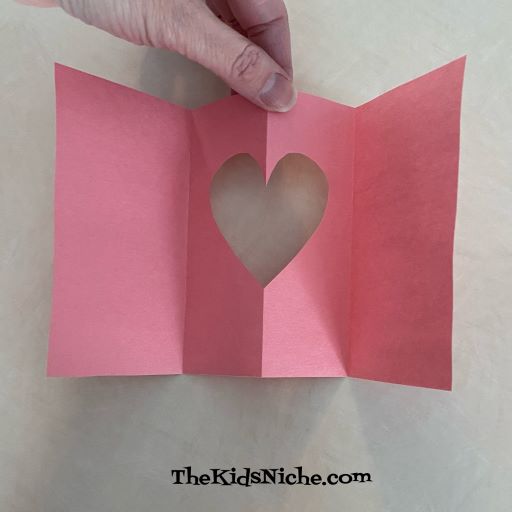
And it should look like this from the front.
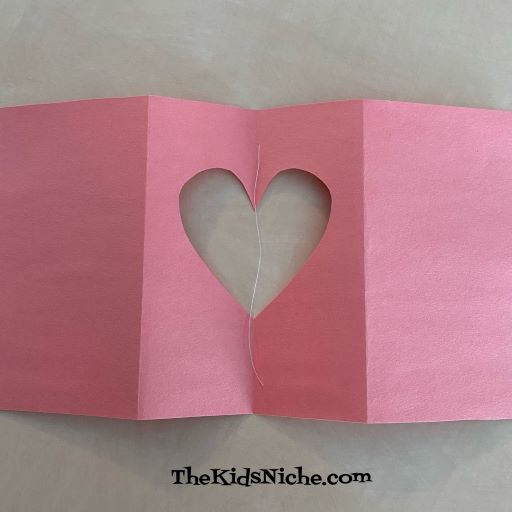
Now turn the card over so the back side is facing up. The fold in the middle of the heart cut out should be going “down” with the folds on each side going “up”. Cut a piece of thread that is just long enough to cross the heart cut-out and have a little room on each side of the top and bottom of the heart.
Make sure your little hearts are small enough to fit in the heart cut-out with room all around it so it will be able to spin.
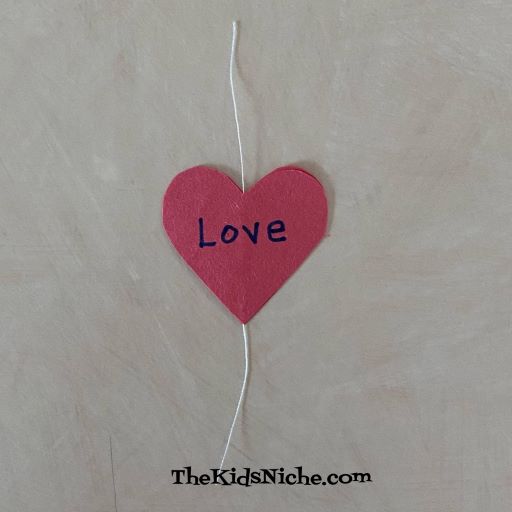
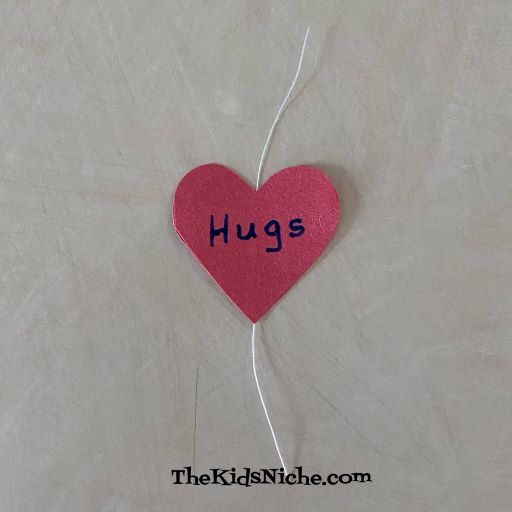
It’s time to make the twirling heart part. Put some glue on 1 small heart, making sure there is glue down the center of the heart.
Lay your piece of thread on the heart with the glue and make sure it is in the center of the heart.
Lay the second heart on top and press the 2 hearts together so they stick together completely.
Decorate the small heart in any way you like. I wrote a word on each side.
Double check that the fold in the center of your card is down or the back side of the card is facing up.
Run a line of glue right in the center of the fold crease.
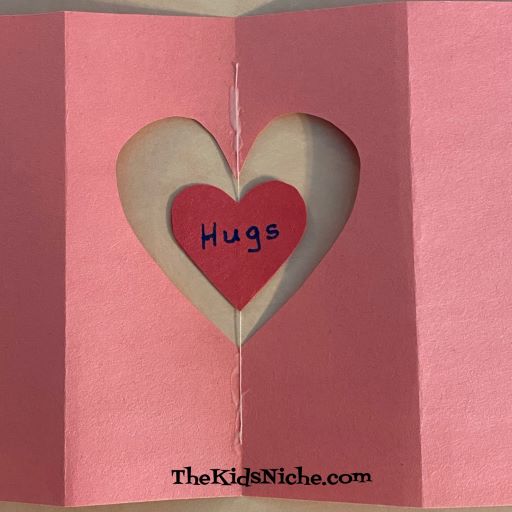
Place your small heart in the center of the heart cut-out with the strings laying on the lines of glue on each side.
Give the glue time to dry before moving on. The next step is to decorate your card by writing or drawing whatever you like on your card. The right side panel will be the front of your card when it is folded up.
This is what my card looks like when its folded.
Before closing your card, gently turn the small heart several times like you are winding it up. Carefully close the card, checking to make sure the small heart is laying flat.
When the card is opened, the small heart inside will spin! 🙂 You might want to hold the card closed with a paper clip or place it inside an envelope.
I hope you will enjoy making this Twirling Heart card! 🙂
I came across a Facebook ad today that I think is worth telling you parents/grandparents about. It’s called Guide-Dots. I am NOT affiliated with them in anyway, but they offer a free trial of their product and I found it quite fun to do. Yes, they are trying to sell you something (which looks pretty cool) but you can just do the freebie if that is all you are interested in. If you give them your name and email address, you can participate in the free trial. I think most kids will find it quite fun and entertaining. Here’s a link to the free trial:
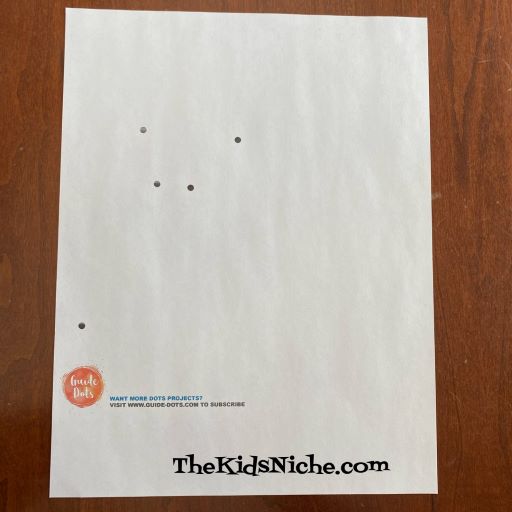
You’ll start out with a pdf to download and print the page out.
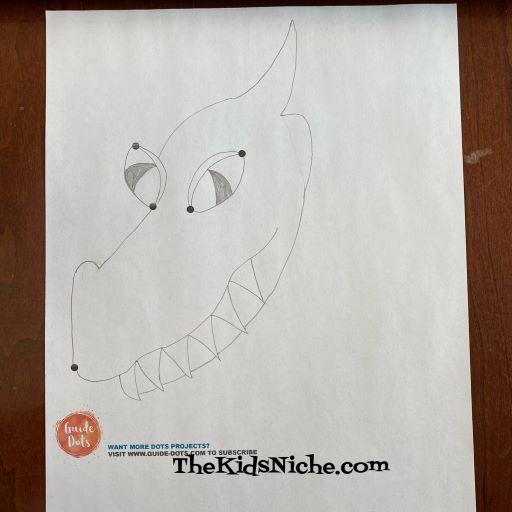
Yes, there are 5 dots printed on the page. These are used as starting points for the dragon drawing. There are instructional videos that you follow to learn how to draw and color the dragon. Ms. Cindra leads you through each step and then you have time to do your drawing or coloring step before moving on to the next step. Here we have 2 dragon eyes! 😉
Part of his head…and look at those teeth!
And now we’ve made the dragon, though just a pencil drawing so far.
Using some markers to begin coloring the dragon.
And finally finished up with some crayons.
It’s a fun project that will keep the kids busy for a little while. And if you are so inclined, you can sign up to purchase more projects from the company. Enjoy! 🙂
Hello and welcome to our next Valentine’s Day craft! Yes, we are going to sew on paper and make some super cute hearts that can hold some candy! 🙂
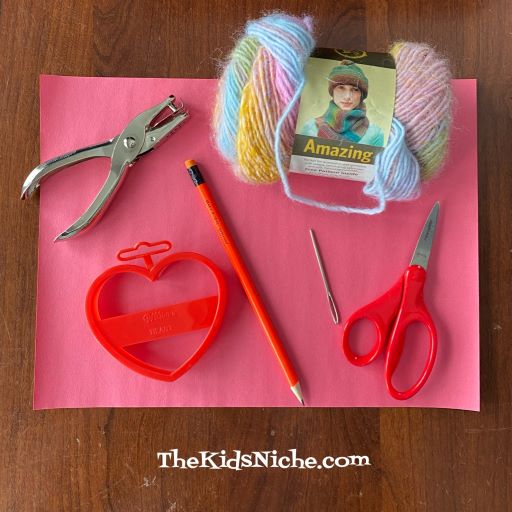
Here’s what you’ll need to get started: red or pink construction paper, scissors, a heart cookie cutter or template, pencil, some yarn, a yarn needle, a single paper punch, pen or marker and some stickers.
Begin by folding an end of the construction paper over so that you can fit your heart template or cookie cutter on it. This way you can cut 2 identical hearts with one time of cutting. Trace around the template or cookie cutter.
Cut out the 2 heart shapes while holding the folded paper together. Make sure you have 2 hearts held together for the next step.
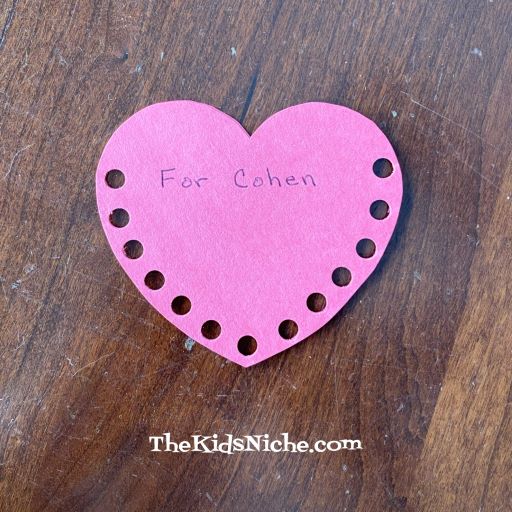
Using the paper punch, punch holes along the outside edge of the hearts, but don’t make any holes along the top of the heart. We want this area to be open so we can put candy or other small items inside the heart. Before we begin sewing, write the name of the person you will give the heart to on the front or just decorate your heart. This is a good time to add the sticker too. (Though I forgot to add the sticker until after sewing, I was able to make it work then too.) 😉
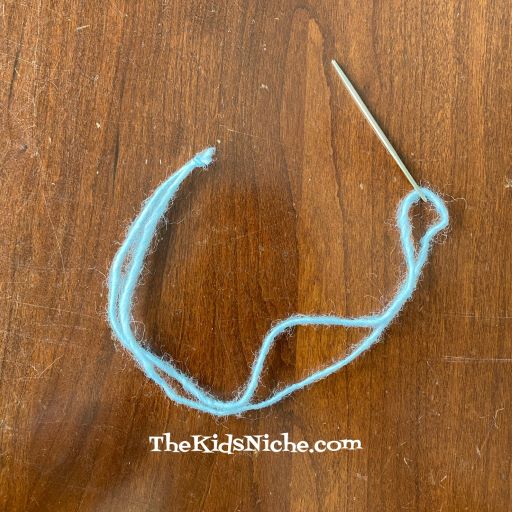
Cut a piece of yarn and fold it in half. You will want to have enough yarn to sew all the way around the edge of the heart. Thread the yarn needle with your piece of yarn. Tie a knot at the end of the yarn.
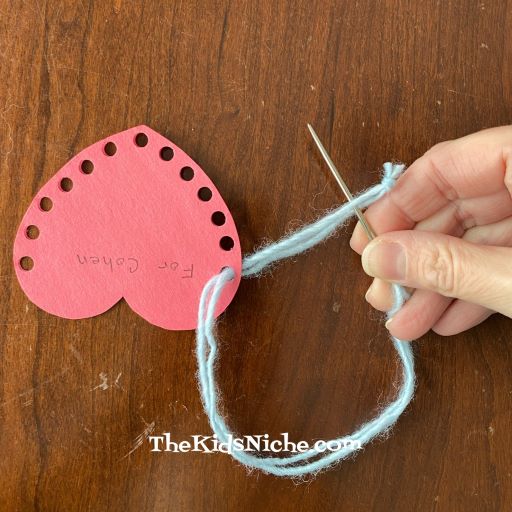
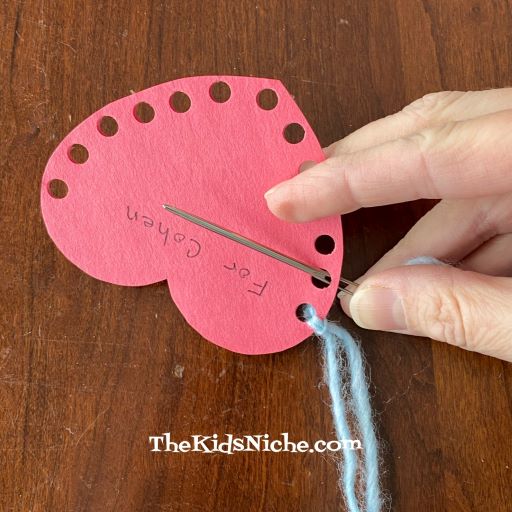
Beginning at one of the holes at the top of the heart, we will sew around the bottom edge through each hole. But first let’s secure the yarn in the first hole. Starting from the back of the heart, put the needle through the hole and pull the yarn through until you are ALMOST to the knot coming to the hole. Then take your needle between the 2 pieces of yarn and pull it up snug. This will keep your yarn secure.
Try to keep the knot on the back side of the heart. Turn the heart over so the front side is on top again. Place the needle in the second hole and draw the yarn through. This will make a loop on the outside edge of your heart. Remember, start the needle through the hole from the back side of the heart.
Continue sewing on around the heart, bringing the needle and yarn through each hole. (Sorry I should have taken more pictures of this part.) When you have sewn through the last hole, turn the heart over again so the back side is facing up. Draw your needle under the back side of the last 2 loops of yarn.
Now draw the needle through just the second loop one more time to help secure the yarn.
Cut the yarn up close to the needle.
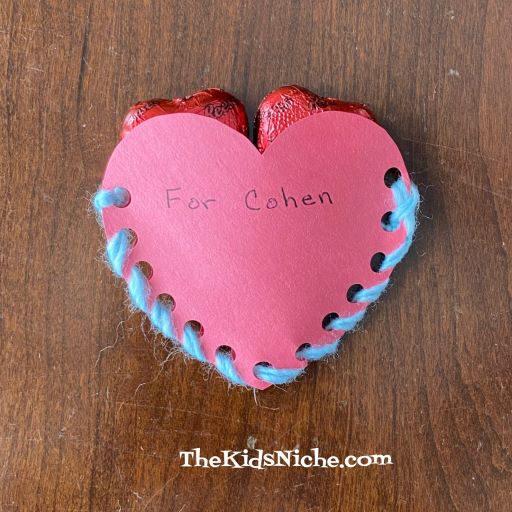
Tie a knot with the 2 strands of yarn and clip off the extra yarn with your scissors. And you are done sewing your heart!
Now your heart is ready for some candy or small items to stuff it. 🙂
Have fun sewing paper hearts and giving them to the special people in your life on Valentine’s Day! 🙂
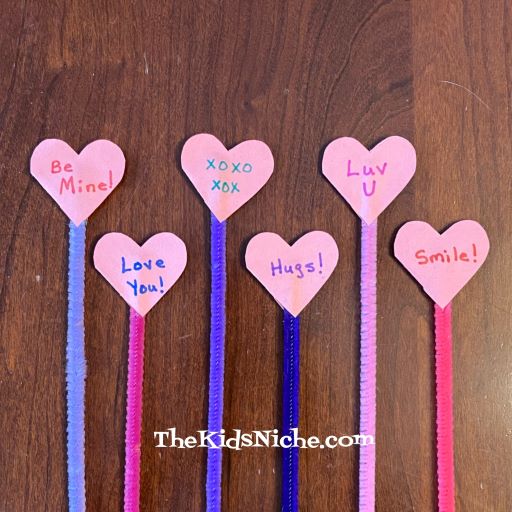
Yep, it’s February and that means Valentine’s Day will be here before we know it! Today’s post is about something fun to make that doesn’t involve sugar! 😉 Valentine pencils! You can make these to give to the kiddos or let the kiddos make them for someone else. It would be a fun way for the kids to make Valentines for their classmates for a Valentine’s Day party at school.
You will need a piece of red or pink construction paper, scissors, glue, markers, some new pencils and the same number of pipe cleaners (chenille stems) as there are pencils. You can either draw some hearts or use a small heart shaped cookie cutter to trace around.
Begin by making a fold in your construction paper, so you can cut 2 layers of a full-sized heart at the same time. Notice that the cookie cutter edge is lined up with the fold. Trace around the cookie cutter. Or if you are drawing it free hand, that’s fine.
Holding the 2 layers of paper together, cut on the line you drew. You should end up with 2 hearts connected by 1 side.
Make a cut on the crease about 1/3 of the way up from the point of the hearts.
Close the heart and decorate both sides. I drew a face on one side and wrote some words on the other side. Your designs can be as simple or as fancy as you like.
Apply glue to the inside of the heart in the following manner: a line of glue up the middle of both sides and then all over just one side of the heart.
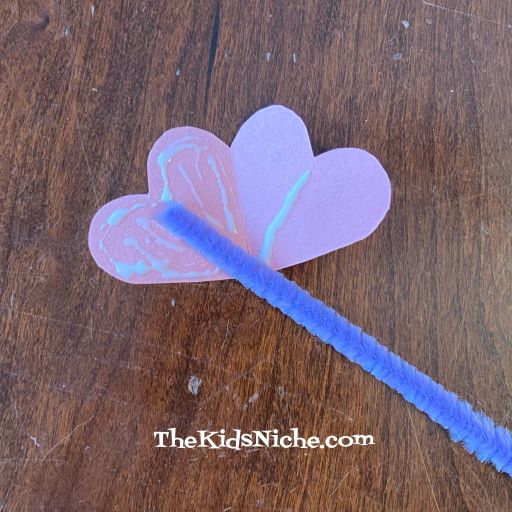
Place one end of a pipe cleaner on one side of the heart in the center.
Close the heart over the pipe cleaner and hold it closed until the glue holds it together.
That’s the front side and this is the back side.
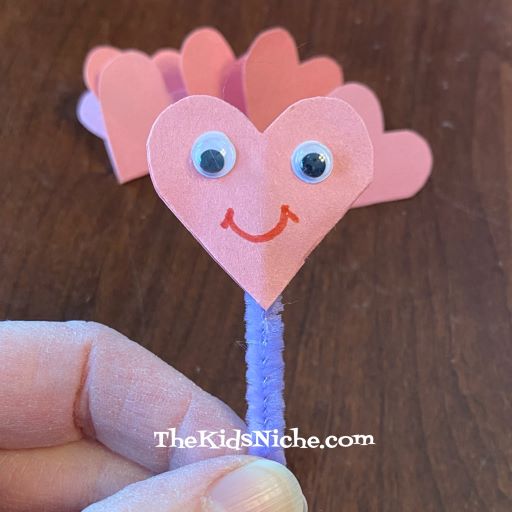
If you have wiggly eyes, I think they make these even cuter. 🙂 Just glue them in place.
Allow the glue to dry a little before continuing with the next step. Here is the front side of some Valentine pencils I made.
And the back side.
Now for the finishing touch that turns plain ordinary pencils into Valentine pencils! Line one of the pipe cleaners up with a pencil, allowing the heart to stick up above the pencil eraser a little bit.
While holding on to the top part, wrap the rest of the pipe cleaner around and around the pencil until it’s completely wrapped and you run out of pipe cleaner.
Aren’t they fun? 🙂 The more, the merrier!
These are fun to make and you can put a sweet message on them too.
Hope this finds you all doing well and staying safe! We are in the middle of the Winter Storm Landon, but we are doing ok so far! They are warning us that we might lose our electricity, so if that happens I won’t be able to post tomorrow. Stay warm! 🙂
Today is February 2, 2022 and that makes for a very cool looking date! 2-2-22! This calls for a day of 2’s!
See how many things you can do today that involve 2 of something. 🙂 Here are a few ideas to get you started!
Eat 2 pieces of toast.
Or maybe eat 2 pieces of eggs.
Read 2 books!
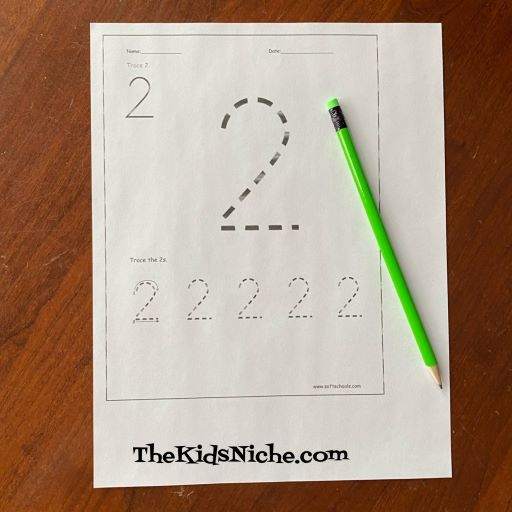
Practice writing the number 2.
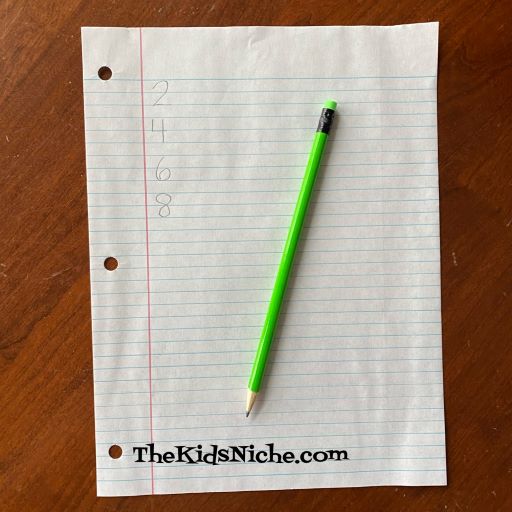
Or for kids that are a little older, practice counting or writing numbers by 2’s.
Play 2 games.
Play with 2 toys.
Rusty thought playing with 2 toys looked like fun! 😉
Make 2 crafts.
Eat 2 pieces of candy! Yum! 😉
Hug 2 stuffed animals.
Build 2 Lego sets.
I’m sure you can think of more things to do in 2’s! Like wearing 2 socks and 2 shoes! 🙂 And if you go outside today, it might be a good idea to wear 2 gloves or 2 mittens. You can exercise by doing 2 jumping jacks and 2 sit ups. I hope you have a wonderful 2-day! 🙂
Picture this scene…it’s February and a big winter storm is blowing in, dumping lots of snow and cold where you live. You find a good book, grab a blanket and a cup of hot chocolate and snuggle down to wait out the storm. Mmm! Nothing like a cup of hot chocolate to warm you up! 🙂 But do you like to add anything to your hot chocolate? Today we’re going to mention a few ideas you might like to try. But first, what is an easy way to make hot chocolate?
One way to make great hot chocolate is by using Rich Chocolate Ovaltine.
Add 1 cup of milk to your cup.
And 2 Tablespoons of Rich Chocolate Ovaltine.
Pop your microwave safe mug into the microwave and heat for 1 to 1 1/2 minutes, depending on how hot you like your drink. Now for the things that you can add to hot chocolate to make it even better!
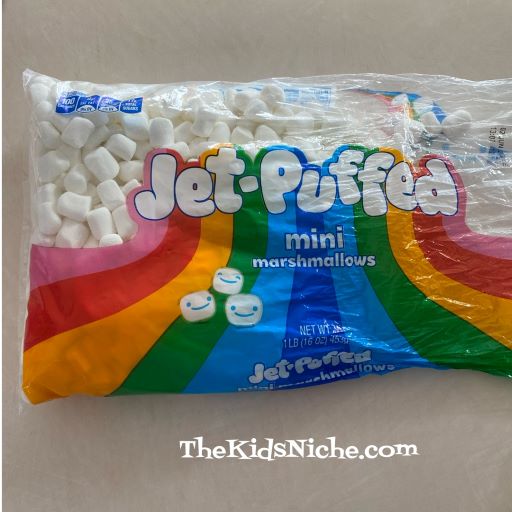
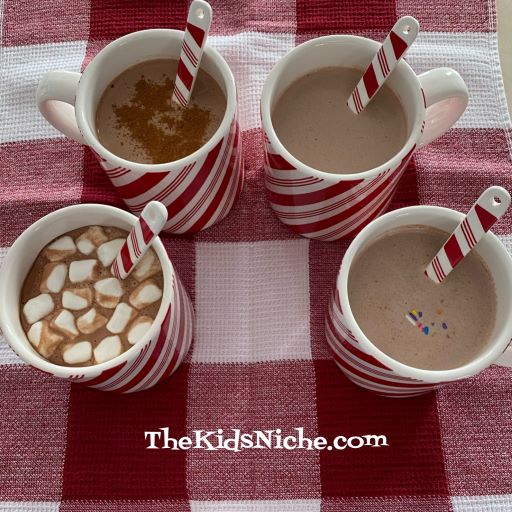
#1.) Mini Marshmallows. This is one of my favorite things to add. 🙂
#2.) Cinnamon. If you have cinnamon sticks, you can use them to stir your hot chocolate. Or if you are like me and you don’t have cinnamon sticks, sprinkle some cinnamon on top.
#3.) Caramel Sauce. Mmm! What goes better with chocolate than caramel? (Ok, maybe peanut butter, but I don’t think that would work too well in hot chocolate.) You can add a little sea salt too for a salted caramel taste.
#4.) Sprinkles! But, of course! Sprinkles go well on everything, don’t they? 😉 Some of the sprinkles will sink to the bottom but some stayed nicely on top.
One of my favorite ways to have hot chocolate is to use a peppermint candy cane to stir it. Or to add in crushed peppermint candy cane. But alas, we are out of candy canes now. 😦 Some other ideas to try might be adding mini chocolate chips, chocolate syrup, vanilla flavoring, toffee bits or some coffee.
I hope you will enjoy trying a hot chocolate taste testing party at your house and you will feel nice and cozy and warm while doing it! 🙂
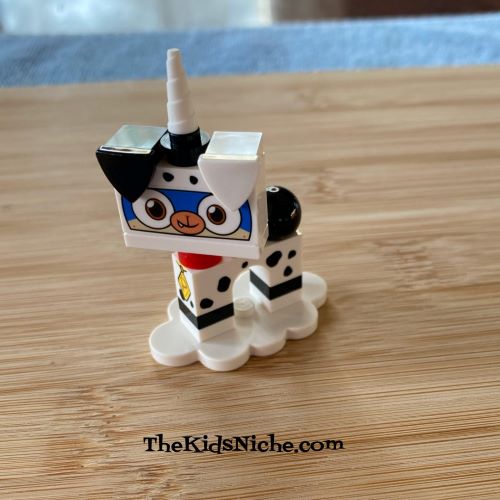
WHEEHAW! National Lego is a day to celebrate! Dust off those Lego sets and start building! 🙂
Lego sets are fun whether they are a big set or a very small set.
While Lego sets may seem to be on the expensive side, when you consider all the time that will be spent playing with them and all the different things that can be made from one set, it turns out not to be as expensive as it might seem at first.
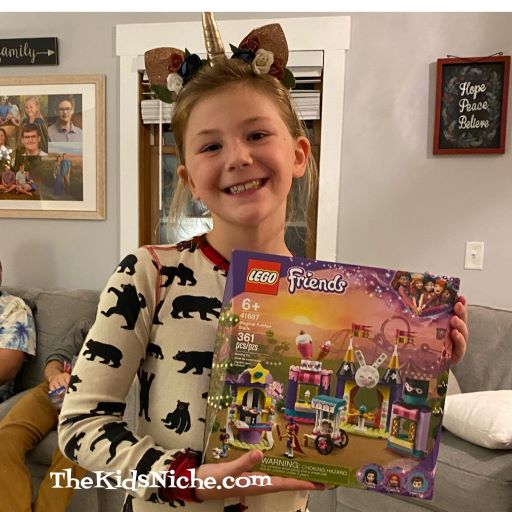
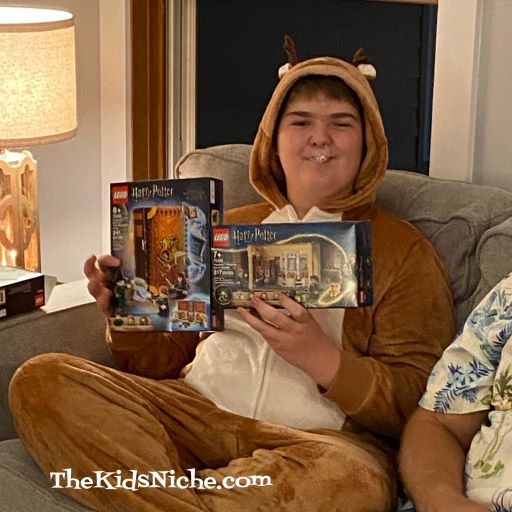
Lego sets make great gifts! Here are some happy smiles from Christmas. 🙂
(Yes, that is a candy cane in his mouth.) Lol 😉
Building Lego is good for relaxation and also for mental stimulation. Did you know Lego even sponsors corporate retreats for adults? Sign me up! 🙂 There are Legoland theme parks (on my bucket list!), a Legoland Discovery Center in Tempe, AZ and lots of Lego retail stores you can visit. There are such things as Lego clothing, backpacks, bags, video games and Lego movies.
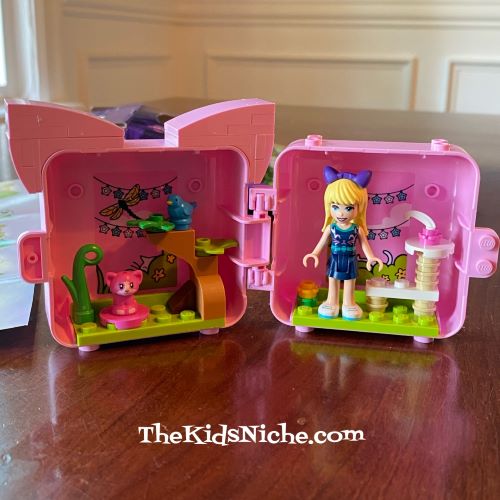
It can be fun to collect themed sets of Lego.
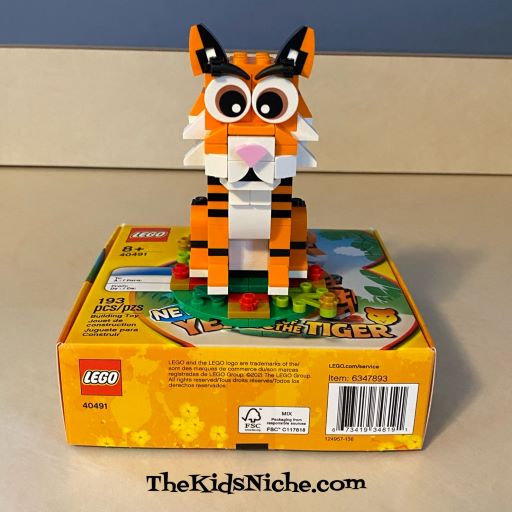
And it’s so fun to look forward to new Lego sets each year!
Be sure to check out all the fun at Lego.com! Have a great National Lego Day! 🙂
Since we had a pipe cleaner project for a little older group of kids on Monday, I thought it would be nice to do an easier pipe cleaner project for younger kids today. They might need some help holding the pieces together until the final wrap, but after that they can create to their heart’s content!
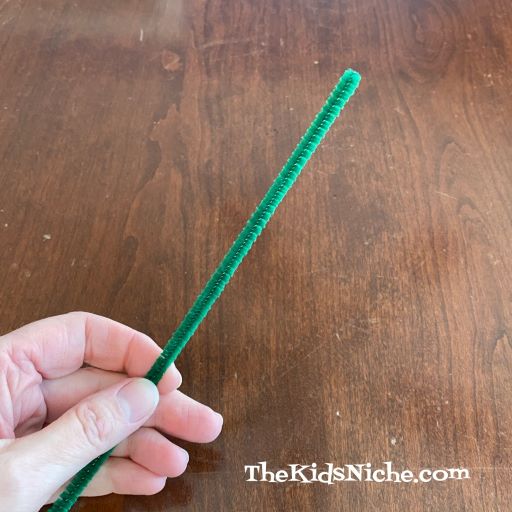
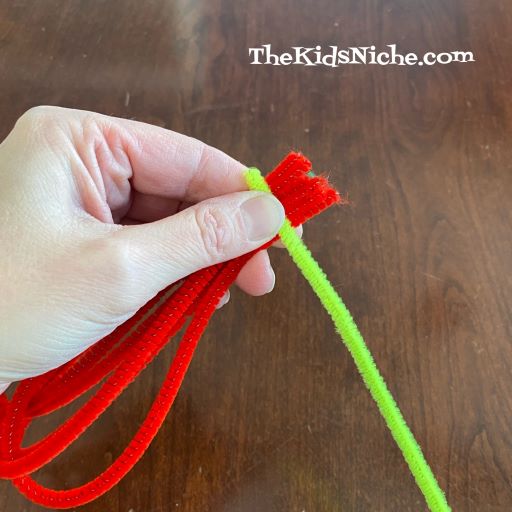
You will need a total of 7 pipe cleaners…5 for the flower petals, one for the stem and one for the center of the flower. I chose to use red for the petals, green for the stem and yellow for the center. Feel free to use whatever colors your child picks out! 🙂
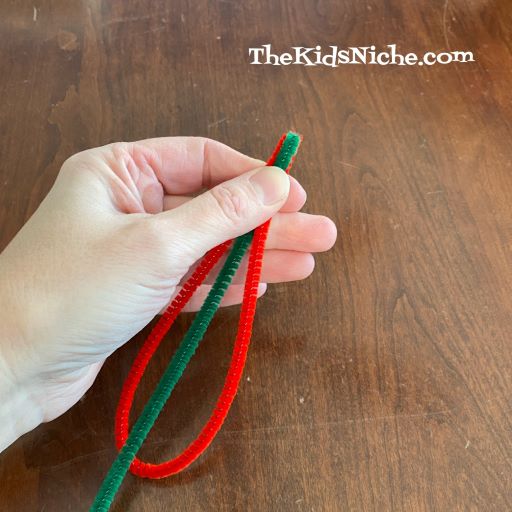
The stem piece will be in the center of the petals.
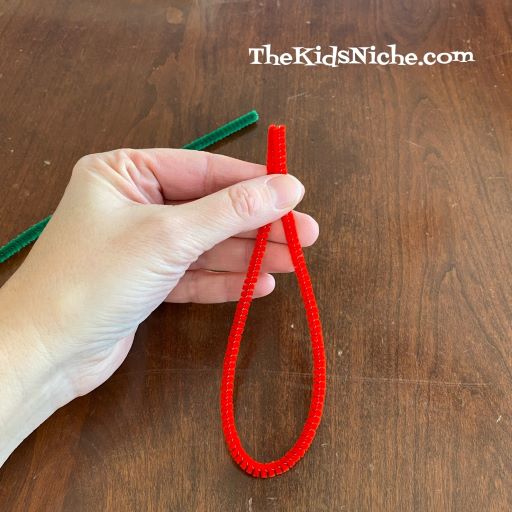
For each petal, fold the pipe cleaner in half loosely as shown, making the 2 ends meet.
Place the ends in line with one end the end of the stem.
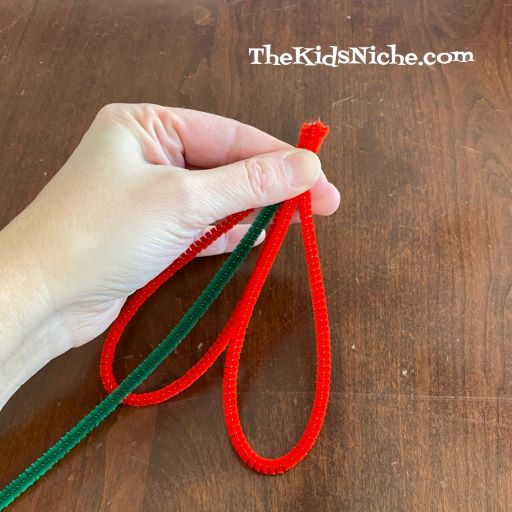
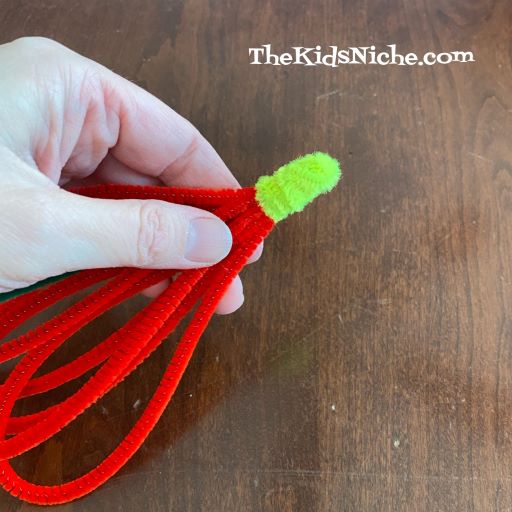
Continue bending and adding petals, placing them around the stem.
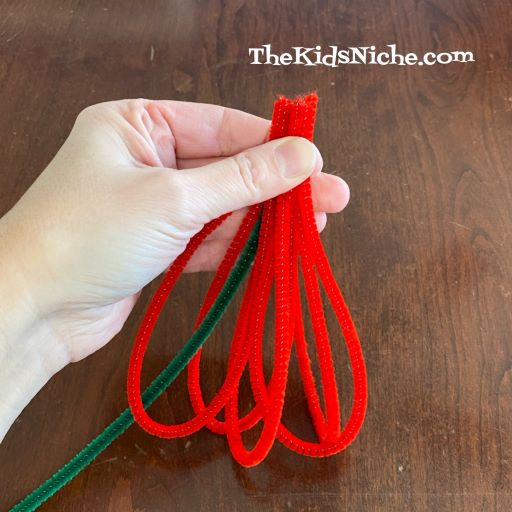
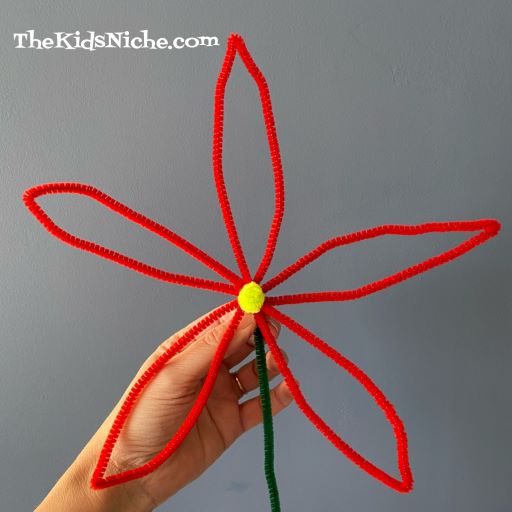
When you have all 5 petals lined up, it should look something like this:
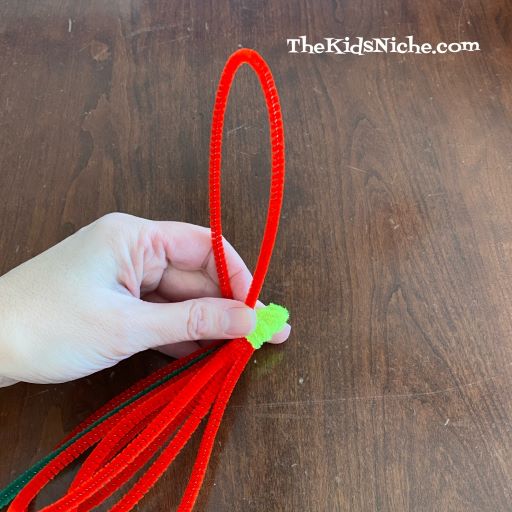
Now take your pipe cleaner for the center and begin wrapping it around the bunch of ends.
Wrap it around and around the group of ends and try to cover up the ends so you don’t see any other colors.
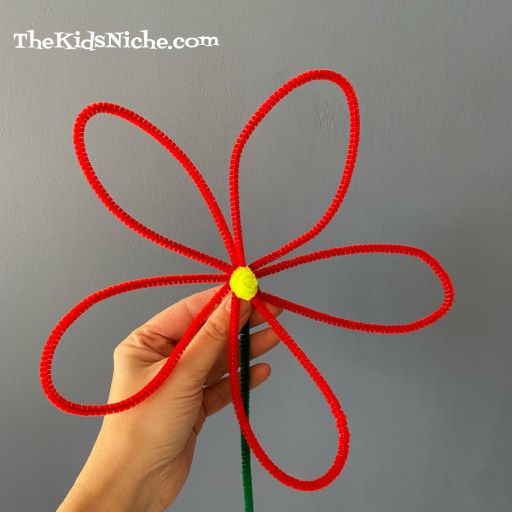
Now comes the fun part! Bend each flower petal up and then design your flower! 🙂
The petals can be shaped in many ways. Here are a few ideas to get you started:
Nicely rounded and oval shaped.
Put a little bend in the end of each petal.
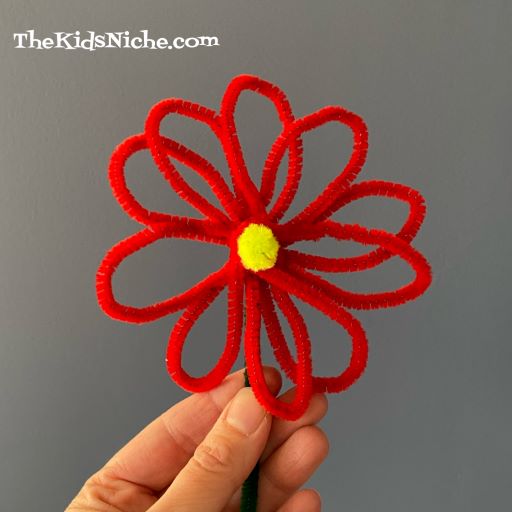
Rounded petals that overlap each other. This one makes me think of a pansy!
Pointed skinny petals.
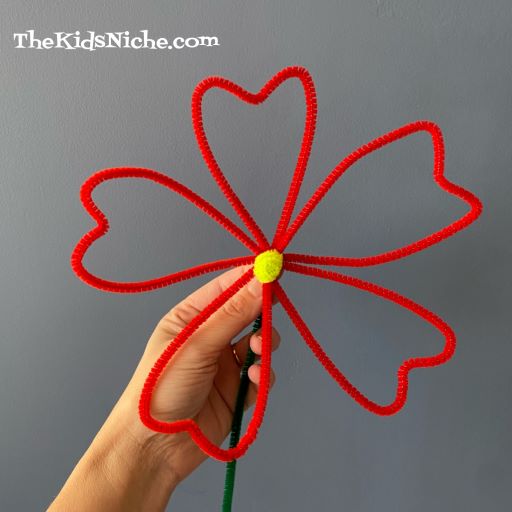
Petals bent in the middle to look like hearts.
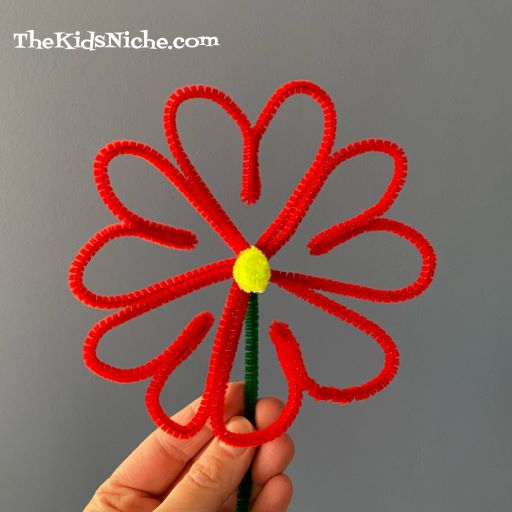
For this flower, I bent the petals in half and looped the end over the yellow center of the flower. Then twisted the 2 pieces so they looked like smaller petals.
I’m sure you can come up with even more ideas! This is a simple but fun project for people of all ages. For older kids or adults, you could cut the pipe cleaners in half and make smaller flowers. I hope you’ll give this project a try! Maybe if we concentrate on making pipe cleaner flowers we can forgot how cold it is outside! 😉 Stay warm!