Sorry to be posting this so late, but it’s been one of those days! My calendar says today is Banana Split Day. Sounds like a good holiday, right? 😉
When I was a kid, I always asked for a banana split any time we went to the ice cream shop. So what’s in a banana split? That’s really up to you, but here is how I make them. Some things you will need…
Bananas. (I bet you figured that out already!) 😉
The most important ingredient…ice cream! I use vanilla put you could use whatever kind you like.
Your favorite toppings…like chocolate syrup
Caramel topping…
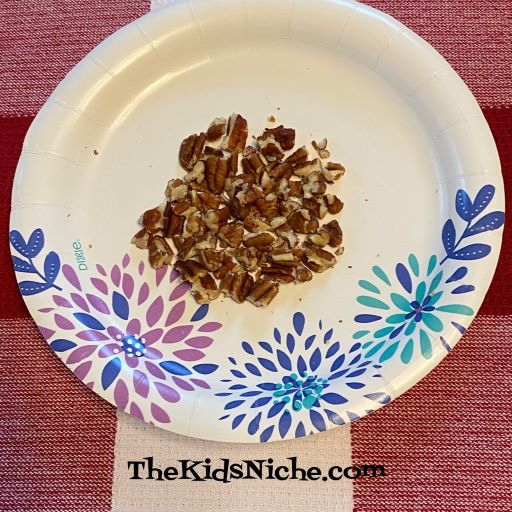
A fruit topping like strawberries or strawberry jam or maybe pineapple. Some chopped nuts like pecans or peanuts.
Start by slicing a banana into a bowl.
Add some scoops of ice cream.
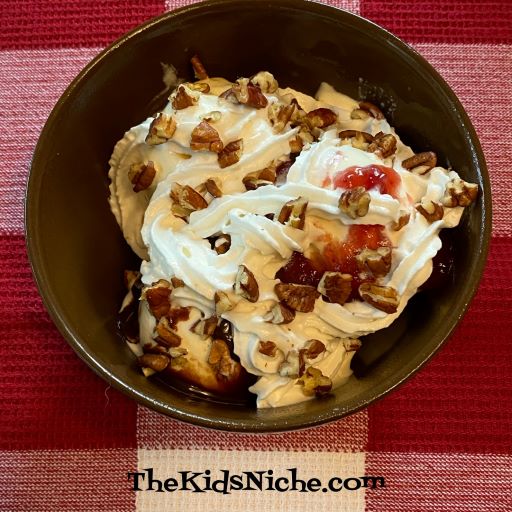
Add your toppings. I like to use 3 toppings. Here I used strawberry jam, caramel topping and chocolate syrup.
Top with some whip cream and nuts.
And EAT it! Lol The sky’s the limit here on what kind of ice cream and toppings you use. Marshmallow cream is another good topping! Mmmm! Have fun making your own banana splits or take a trip to your nearest ice cream shop and let them make it for you! 🙂 Again, Happy Banana Split Day!
Welcome to another round of Taste Testing Tuesday! Its that time of year again when the tomatoes are getting ripe and there is usually an abundance of them. And tomatoes are so good for you! So for today’s taste test, let’s look at some ideas for eating tomatoes raw.
#1.) Try them plain with nothing on them. If it’s a ripe tomato, you might just like it as it is.
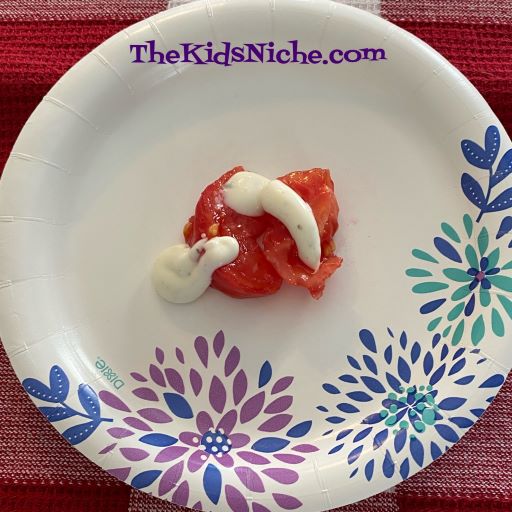
#2.) With salt and pepper. This is how I used to love them when I was a kid. (Yes, the little eggs are my salt and pepper shakers.) 😉
Doesn’t that look yummy?
#3.) With some sugar sprinkled on top. My grandmother used to fix sliced tomatoes this way.
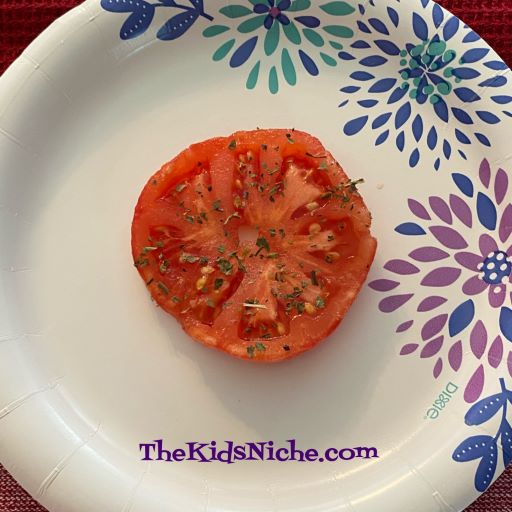
#4.) Sprinkled with basil or even a little oregano.
I’m drooling looking at this picture!
#5.) With some taco seasoning added. This smells delicious!
#6.) Top the tomato with your favorite salad dressing. I used Ranch dressing.
#7.) Sprinkle some grated mozzarella cheese on top. Mmmm! 🙂
Of course, raw tomato is great sliced and added to a sandwich or chopped up and tossed in with a salad. I hope these suggestions will give you some ideas to try and you’ll find some new ways to enjoy raw tomatoes! 🙂
Hi everyone! Sorry to disappear on you last week, but we were away for a few days. Back home and back in the saddle! 😉 I found some fun kid’s items on clearance at our local Joann’s store. (Or maybe you call it Joann Fabrics store.) Just wanted to share them with you in case you’d like to get in on the fun too! NOTE: The prices I’m sharing with you were IN STORE. If you look online, they are not as cheap.
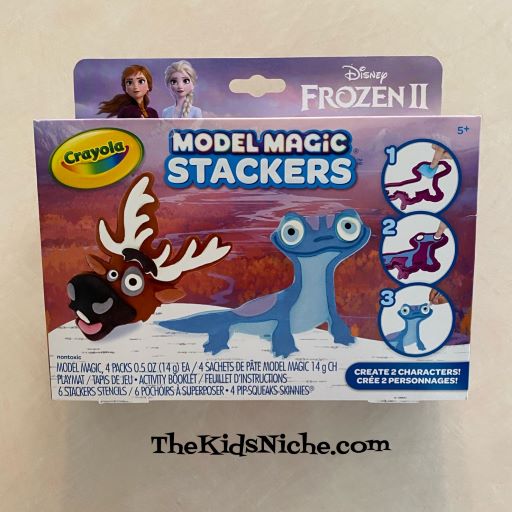
Crayola Model Magic Stackers Disney Frozen II.
It looks like the original price was $14.99 but it was on sale in the store for $2.47!
School Zone BIG Hidden Pictures & More Book. This has a lot of fun activities inside! (I’m ready for the grandkids to come so I can “help” them do some of these!) 😉
I didn’t find the exact original price on this, but similar books are $14.99. It was on clearance for $7.47. There are 299 pages of activities plus several more pages of answers. Great book!
Fab Lab Sequins. These are small packages of assorted kinds of sequins that kids will love! I bought 1 pack of flowers and 1 pack of mermaids and seashells.
Regular price looks to be $1.99 and I got them for $.97 each.
Felt Hoop Kits. There were a couple types of these kits still available in my store. I bought the zebra and the lion kits. It has some felt pieces and some embroidery floss plus the hoop and they look like they will be adorable when finished.
They were in the clearance sale for $2.47 with their regular price being $5.99.
Just one more for this time…Pop! bumper craft pack. This has a little bit of everything in it! (Ok, not everything, but a nice assortment of crafty things!) Included are chenille stems, pom poms, wiggle eyes, white glue, sequins, feathers and foam shapes. Let your imagination go and see what you can make! 🙂
My best guess on the original price is $6.99 to $9.99. It was on sale for $2.97.
And there you have it! There were many more items in the clearance sale, but these are a few that caught my eye. I’m sure availability will vary by store. Remember, the price when shopping online is higher than in the store. Now you have an excuse to shop at your favorite Joann’s store! It’s always better to buy things when they are on clearance, right? 🙂
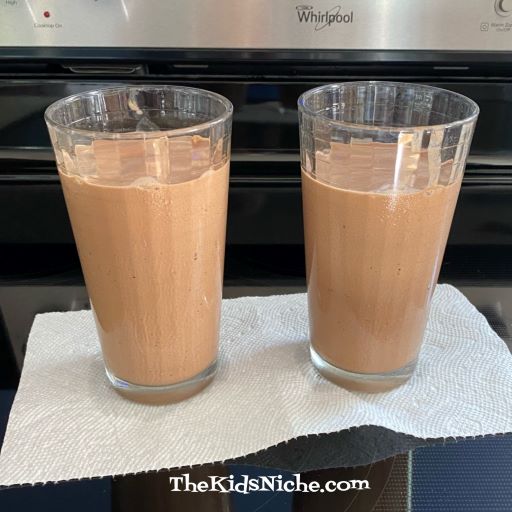
Welcome to another round of taste testing! Today we’re tasting just one item, but I just wanted to share a healthy version of a milkshake. It’s been SO hot this summer! Whew! I don’t know about you but I could eat ice cream every day! Of course, that wouldn’t be healthy for me, so we tested out a new version of a milkshake. It is so good you won’t believe that its healthy! Haha!
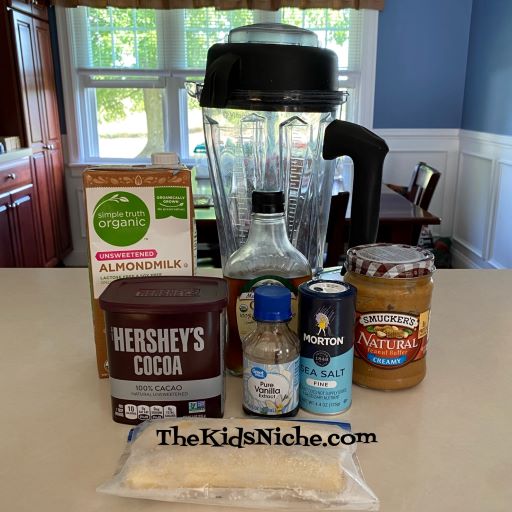
Here’s all you need: 2 frozen bananas, 3/4 C. almond milk, 1 Tablespoon pure maple syrup (optional), 2 Tablespoons cocoa powder, 1/4 C natural peanut butter, pinch of sea salt, 1 teaspoon vanilla extract, and 7 ice cubes.
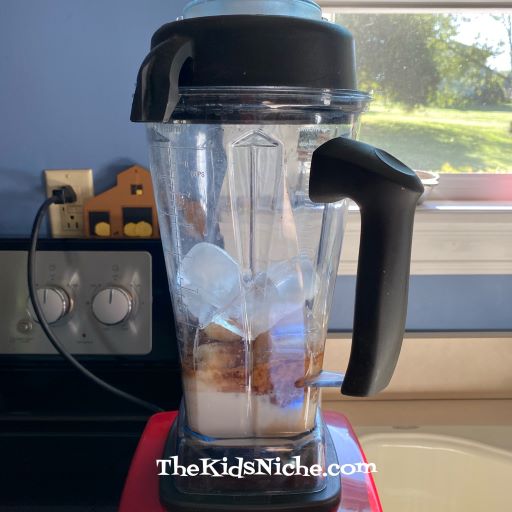
Put all the ingredients into a high-powered blender…
…and blend until smooth and creamy.
Pour into glasses and enjoy!
It really does taste like you are cheating! 😉 Here’s the directions:
Or you can find it here. Thanks to Detoxinista for sharing!!
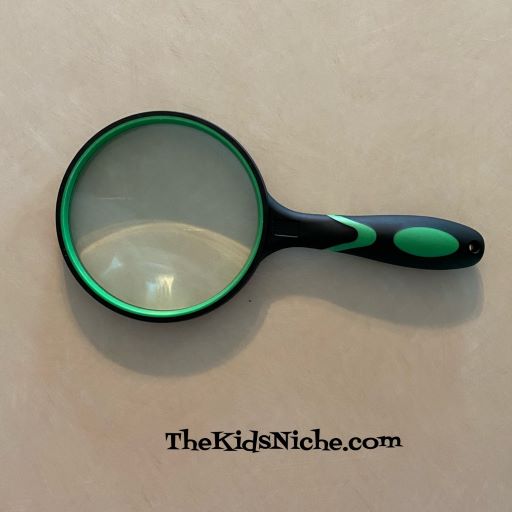
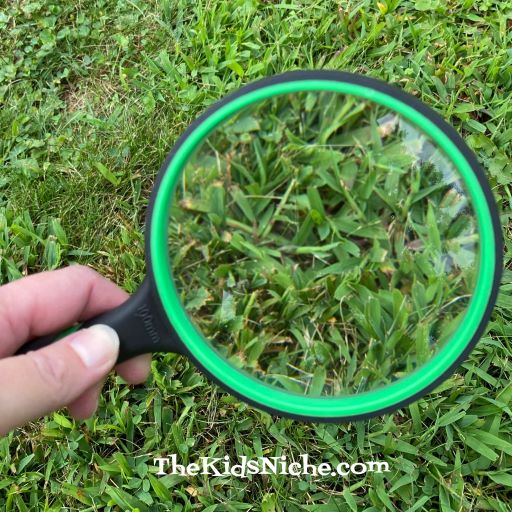
Here’s another simple and inexpensive way for kids to have fun and learn something in the process! Yep, the title gave it away…I’m talking about a magnifying glass. I found one on Amazon for $6.99. And its pretty big.
I know…all it does is make things look bigger. But have you noticed how very COOL things look when they are huge?! Like….books.
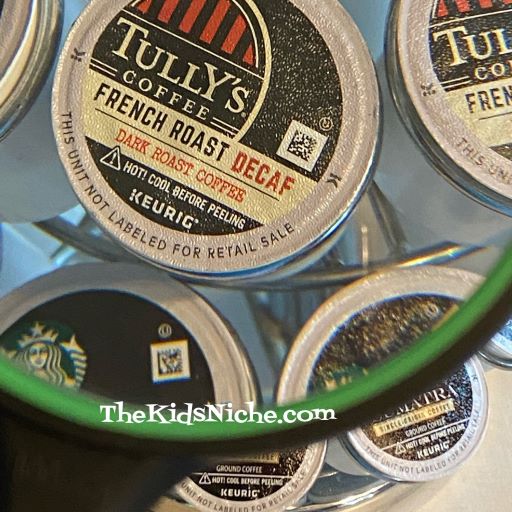
Look at mom and dad’s coffee K-cups.
Or your dog’s nose…
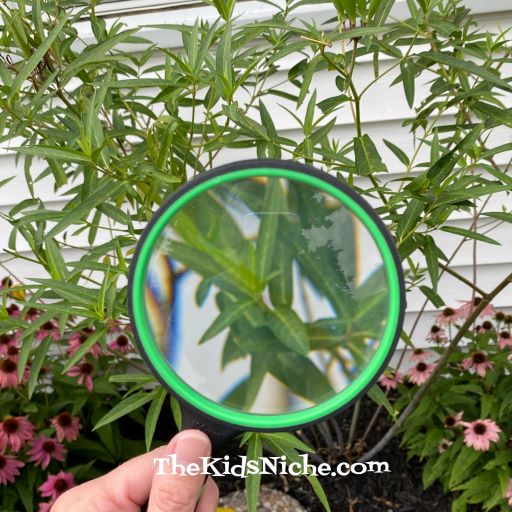
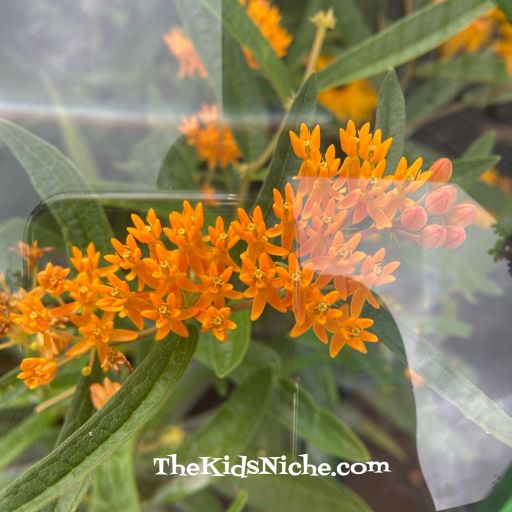
Try looking at plants!
Flowers are cooler when you magnify them.
And grass! Check out what you’ve been walking on!
You might even find something cool that lives in the grass!
And dirt! Dirt looks pretty cool up close too!
The list goes on and on! Check out the carpet, your sister’s tongue, a comic book, look at your food…you could do this for HOURS!! Inexpensive, simple, safe and fun! What more could you want? 😉
Hi everyone! We’re back and so glad to have our electricity and internet back today after some strong thunderstorms moved through yesterday. Did you miss us? 😉
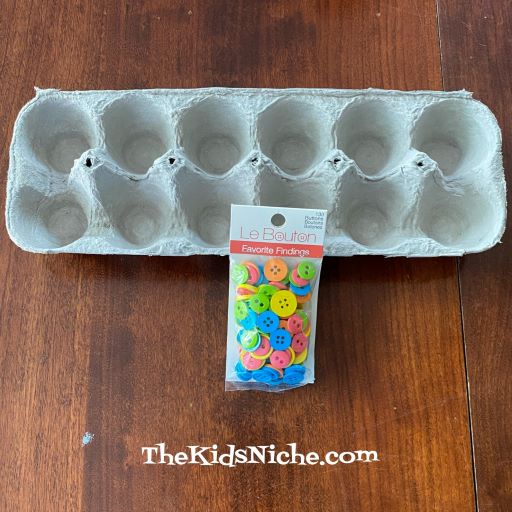
There are so many fun (and educational) things you can do with a simple bag of buttons! Let’s talk about some today! An egg carton will come in handy while playing with the buttons.
You’ll need some buttons that are the same kind and the same color. I can’t remember where I found these buttons but I think it was either Joann Fabrics or Walmart. If you’d like to use little containers to store your buttons in after the playing is done, I found these at the Dollar Tree store.
And yep, they come with lids.
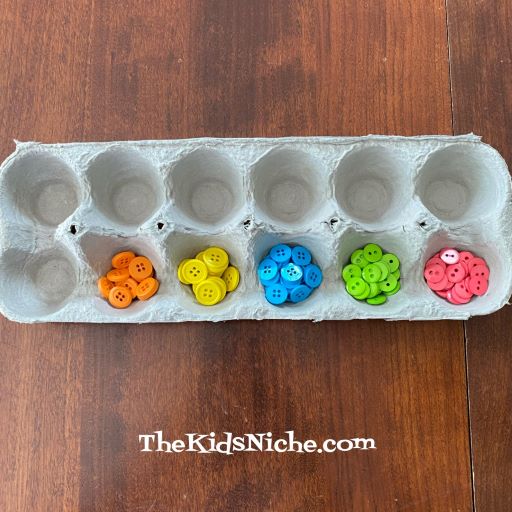
My first suggestion is to dump the bag of buttons out on the table…
…and let your kids sort them into the little sections in an egg carton. The action of picking up each button is good for practicing fine motor skills and matching colors.
You can count how many buttons there are of each color. Or practice making numbers…
…or letters.
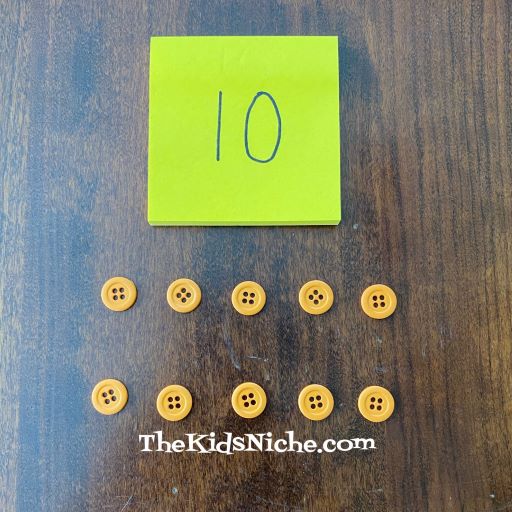
You can ask your child to count out a certain number of buttons of a certain color. For instance, count out 10 yellow buttons.
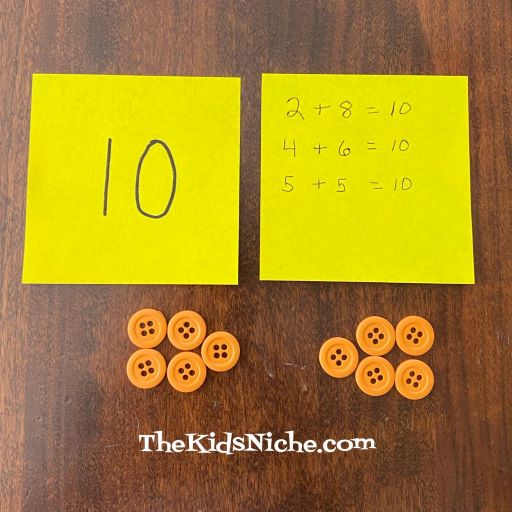
Depending on the age of your child, you can practice some addition problems by showing all the ways 2 numbers can add up to 10.
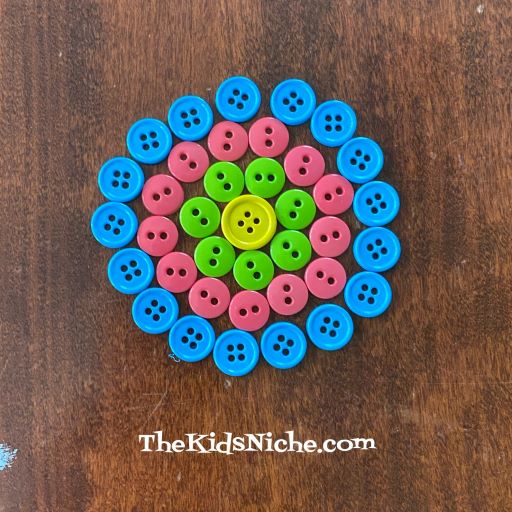
As a reward for counting and doing letters and numbers, give your child a bit of free time to make his/her own designs out of the colored buttons. Remember, all designs are GREAT and should be appreciated by others and not criticized. 😉
You can ask your kiddo to make something in particular. For instance, make a square using blue buttons.
Or make a square using blue buttons and put 1 yellow button inside the square.
You can make a pattern and have your child continue making the pattern. Orange, yellow, blue, green and pink…
Or make a line of the pattern and have your child add a few more matching lines.
I hope you will also be a good sport and let your child ask YOU to have a turn by doing the activity they suggest for you! 😉 I’m sure you will even think of more fun things to do with buttons than the ones I’ve shared here. Have fun and sneak a little learning in there too! 😉
Sorry for the lateness of this post! It’s been one of those days…
Do your kids love dinosaurs? Then I bet they would be excited to see what’s inside of a dinosaur egg! And wouldn’t it be nice if while looking for little dinosaurs that have hatched out of eggs, they also ate some oatmeal? Someone at the Quaker Oats company thought so!
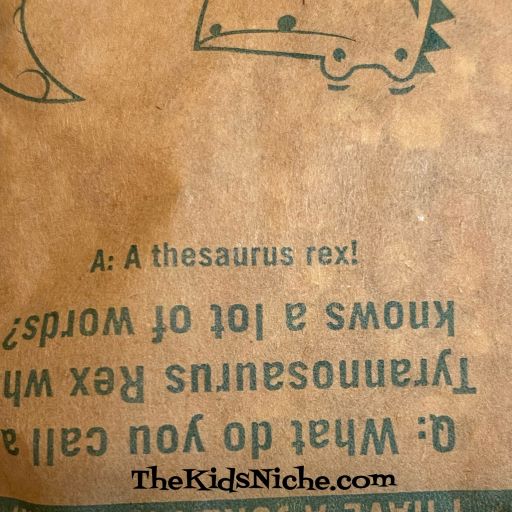
This is a fun way to get your kids excited for breakfast! It’s a really cute idea. Inside the box are individual packets of instant oatmeal that have dinosaur eggs mixed in. But first, be sure to look at the fun facts and riddle on the outside of the packets.
Just in case you have trouble seeing the answer to the riddle…
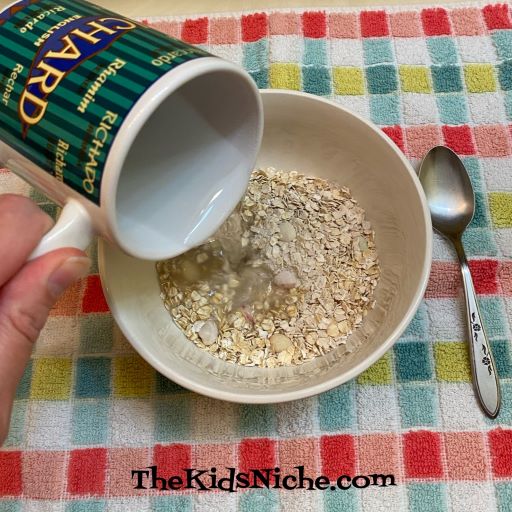
Empty a packet into a bowl and let the kids see the cool dinosaur eggs.
Add 1/2 Cup of boiling water…
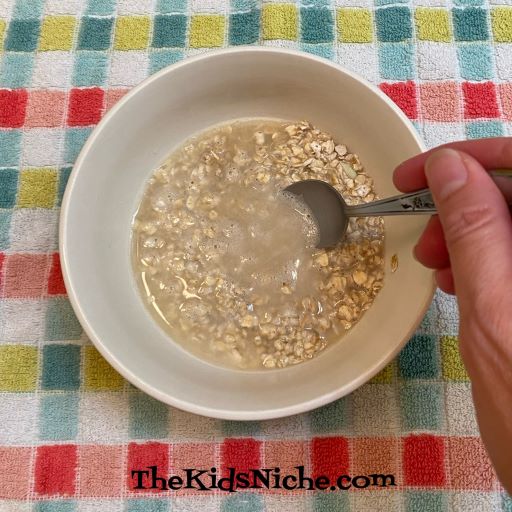
Stir…
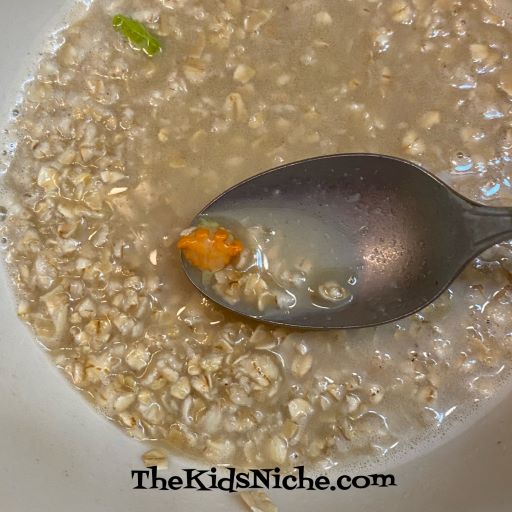
And start looking for dinosaurs! They magically hatch when you stir in the boiling water. Very cool! Here’s a green one…
And we found an orange one…
There’s also a dark red one.
Hopefully the kiddos will be taking bites of oatmeal while they hunt for dinosaurs! Don’t you wonder what a dinosaur tastes like? Do the different colors taste the same or do they have different flavors?
See how many dinosaurs you can find! Breakfast might turn into the favorite meal of the day if you can hunt for dinosaurs! 😉 Have fun and fill up those little bellies with dinosaurs!
Sometimes we get caught up in thinking we need to buy TOYS for the kids when really they can be quite entertained with some simple things found in your own kitchen. (Yesterday I saw a 19-month-old boy happily playing with a tag cut off of something new. He was folding and unfolding it and sharing it with me and then taking it back when I offered him his “book” back.) 😉
Today I’d like to talk about one of those things…a simple funnel.
Just the fact that you can pour something into the top of the funnel and watch it run out the bottom part can make for hours of fun for kids! Here are a few ideas of things to play while using a funnel:
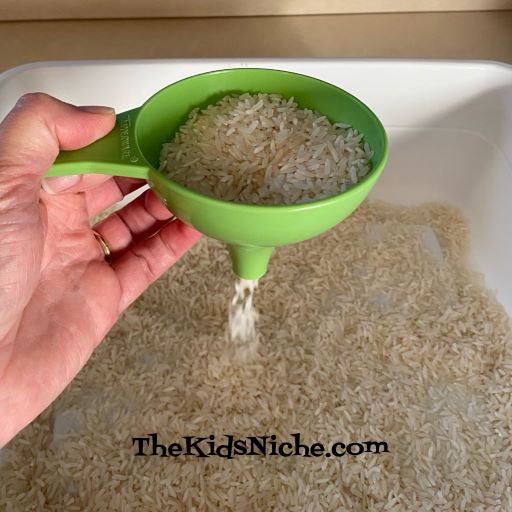
#1.) Rice. White rice is very inexpensive but put some in a tub or bowl and hand your child a funnel and maybe a cup and the fun begins!
#2.) Small dried beans. Small dried beans are a similar idea to the rice. The beans I have are a little bit large for using with my funnel, but they still work, only they move through the funnel more slowly and sometimes you have to shake the funnel a bit to get them to go through.
#3.) Water. Yes, just plain ole water! If it’s a hot day, give the kids a funnel and a tub of water outside. Using some cups, they can pour the water into the funnel using one cup and letting the water fill another cup. Even better, give the kids some cups and a funnel while they’re in the bathtub. They’ll want to stay in the tub until their skin is wrinkled up like a prune! 😉
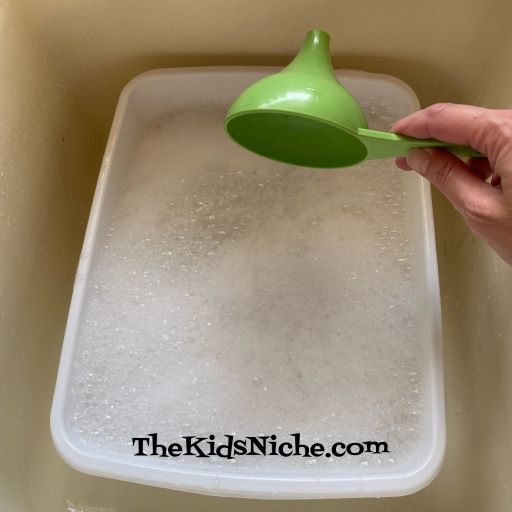
#4.) Speaking of water, add some dish soap and lather up some bubbles! Or if you want to play with this in the bathtub, add some bubble bath soap to the water.
Here’s a fun thing that a funnel is great for with bubbles…scoop up some bubbles with the funnel like this…
Then push the funnel upside down, down into the water and the bubbles will squirt out the top of the funnel! It’s really quite cool! 😉 It’s a little like having your own personal volcano! LOL
#5.) Sand. Yep, you can take a funnel to the beach or bring the beach to your house. Outside is good…lol! You can use a dishpan inside and it works rather well.
Matchbox cars and trucks are fun to bury in the sand. 😉 What truck?
And fun to dig them back out again, of course!
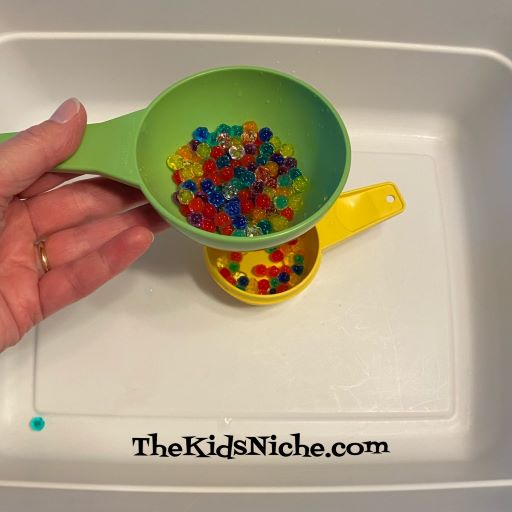
#6.) Water beads. Have your kids played with water beads? They start off very tiny, but as they sit in water they get bigger and bigger. Don’t let them get too big or they won’t fit through the opening in the funnel. This activity is also good for outside play or in the bathtub. 😉
There ya go! 6 ideas of things your kids can play with using a simple funnel found in your kitchen. Hope you all enjoy these ideas! 🙂
Sorry to be a day late on this special “holiday” but things were a bit crazy yesterday and I didn’t get my post up. I apologize for the delay. But root beer floats are yummy on any day, right?! 😉
Root beer floats are a very popular item at restaurants and ice cream shops, but you can also make them easily at home! All you need is a glass or cup, vanilla ice cream, root beer and a straw.
Scoop a bunch of ice cream into your glass or cup. The more you put in the better, in my opinion, but do leave a little room for some root beer!
SLOWLY pour the root beer into the glass. I say SLOWLY because the pop will foam up quickly when it meets the ice cream and it will run over the top of your glass if you aren’t careful.
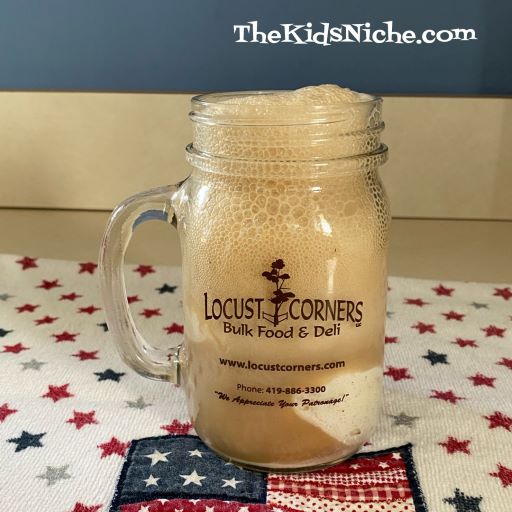
Here’s a picture of the foam. Even if you pour the root beer slowly, you will get some foam. You can use a spoon and skim the foam off the top or wait for the foam to settle. (But who can wait that long when you need to be drinking your yummy treat??!!)
After some of the foam is gone, add more root beer. Pop a straw into your glass and enjoy!!
This is a great snack/drink for those hot summer days! Happy Belated Root Beer Float Day! 🙂
As you may have seen from my earlier posts, each summer I enjoy raising monarch butterflies. Their numbers have been drastically declining so I try to do my part in keeping them alive and well. Sometimes they make me laugh. Take the other day for instance…I was cleaning out their little “hotels” and so the lid was off. Some of the caterpillars I have at the moment had recently hatched so they are super tiny. Like this little guy…
He looks like he’s making a break for freedom! In less than a minute, he was all the way up here!
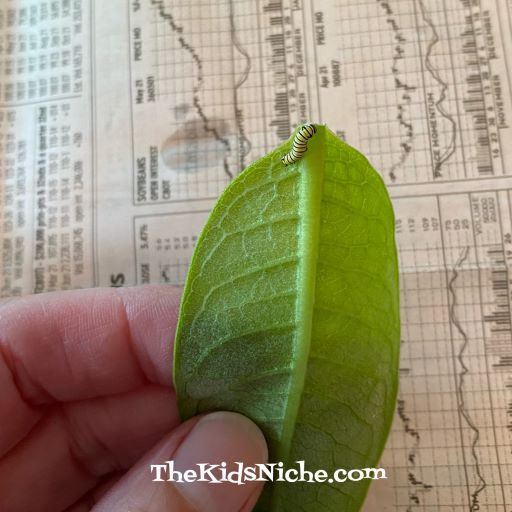
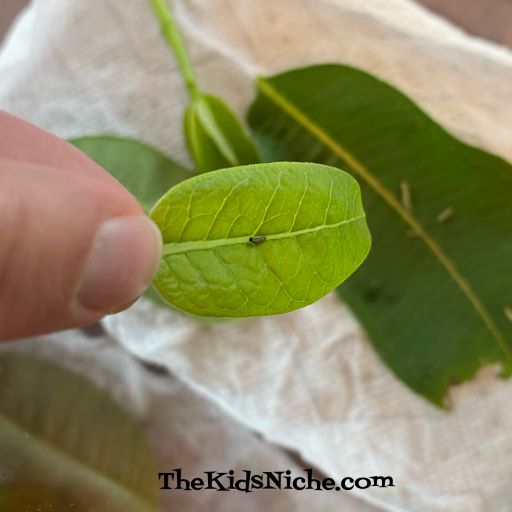
I could just imagine him saying, “YES! I’ve made it to the top and here I come big world!” 🙂 But the big human was watching. I grabbed a milkweed leaf and held it in front of him. He wasn’t too sure he wanted to get on the leaf but he finally did. Gotcha, little dude!
I looked away for a few seconds and when I looked back this is what I saw…
You sneaky little caterpillar! Where did you go?? Get back here! Guess where I found him? Look at the next picture and see…
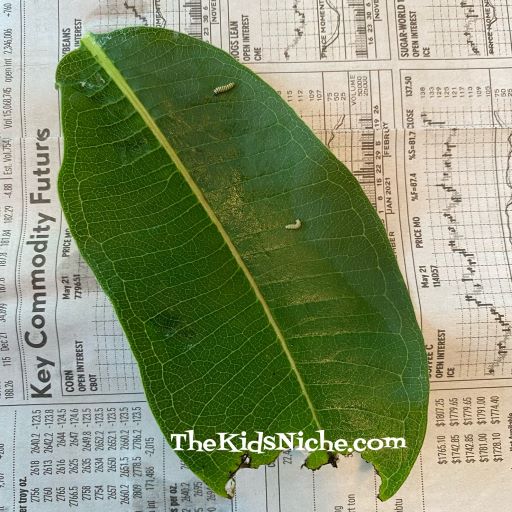
Yep, he was hiding on the backside of the leaf! 😉 There were 10 little guys in that “hotel”, so I had to go on a hunt to find them all. Let’s see…we’ve now got #2 and #3…
There’s #2 through #7…
Added in #8 and #9…
Where in the world is #10 hiding?? OH, there he is! 🙂 Hiding on the bottom side of a milkweed leaf again!
Found them all! It can be hard but still fun when trying to spot all the little caterpillars. I guess I need to invest in a magnifying glass! 😉