I just HAVE to share my awesome Starbucks coffee buy story with you so you can hopefully save money too! Do you shop at Target? There isn’t a Target store all that close to me but I think it just might be worth the drive to shop there! I was in the area on Monday (1-6-20) and went into the Target store to look for a certain brand of dog food. I discovered the Target app for smartphones and if you haven’t used it, you really need to check it out! This week they have Starbucks Bagged Coffee & K-Cups for 25% off in the Target app, so I went to see how much I could save if I bought some coffee. Target ALSO has the Starbucks coffee on SALE this week in the store – BINGO!! (Kroger sells a 12 oz bag of Starbucks coffee for $8.99.) Target’s regular price for a 12 oz. bag of Starbucks coffee is $7.99. (So already cheaper than Kroger.) Right now it’s on sale and if you buy 3 bags, you pay only $5.99 a piece! Add on the 25% off coupon in the Target app on your phone, have the cashier scan your phone and you get an additional $1.50 off each bag! Which brings your grand total to $4.49 for a 12 oz bag of Starbucks coffee! WOW! So guess who is the proud owner of 3 more bags of Starbucks coffee?! Haha!
The Target app says only 3 more days, so if you are a Starbucks fan, RUN to Target and save yourself some money! 🙂 I hope this price is available in a Target store near you!
Are you looking for a way to make after-school snacks a little more fun? Maybe you need to cheer someone up after a not-so-great day at school? Today’s idea is super simple but lots of fun! Grab a cup for each kiddo and let’s make a Hide and Seek Snack! All you need is a cup for each child and some small snack items. I used a 9 oz plastic cup for my example. Gather up whatever snackies you have on hand that your child likes to munch on.
I found some fruit gummies, Cheez-its crackers, chocolate chips, cereal, raisins, cashews and Honey Nut Thins crackers. You can tailor the items to fit your child’s age. Tiny marshmallows or cheese cubes on a toothpick were some of our kids favorite items for this game. Put all your snack food into the cup.
If you have more than one child, you might find it helpful to write each person’s name on a cup. It can help solve the squabbles over whose cup of goodies it is! 😉
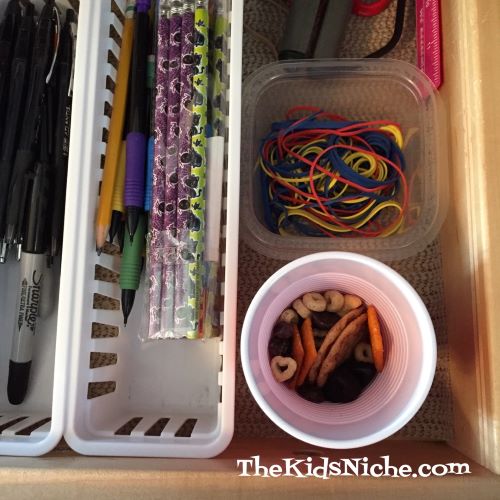
Now for the “Hide” part of the fun! Find a place to hide each cup of snacks. Again, depending on your child’s age how hard you make the hiding place. Here are a few suggestions to get you started. In a drawer…
In some pots and pans…
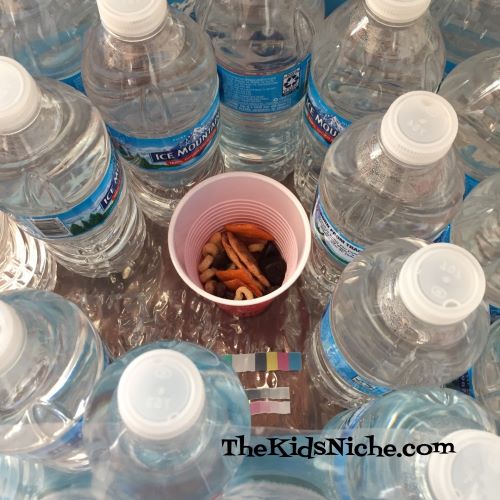
Hidden among some water bottles…
Or maybe hiding between some favorite books.
When the children arrive home from school, tell them you’ve made them a special snack but they need to search for it. You can give them clues to help them find their snack or play the game of “You are cold, you are hot”…the closer they get to where the snack is hidden the “hotter” they are. For instance, if they are in the wrong part of the house you say, “You are cold.” When they get to the right room, you can tell them “You are warm now!” As they get closer to the hiding place, you can say “You are getting warmer!” or “You are hot!” And if they are standing right beside it, “You are burning up!!” Happy cheering and lots of clapping when their snack cup is found goes a long ways towards making this Hide and Seek Snack a lot of fun! 🙂
Happy New Year! We are off and running already with 2020! I have lots of fun things in store for our new year so I hope you will stick around to enjoy them! I often think of January as a cold month, so let’s do a fun project that will also help keep you warm! Let’s make a scarf! Don’t know how to knit or crochet? No problem! Have you seen the soft fluffy yarn made with loops? There are several brands that produce it but here is an example of one:
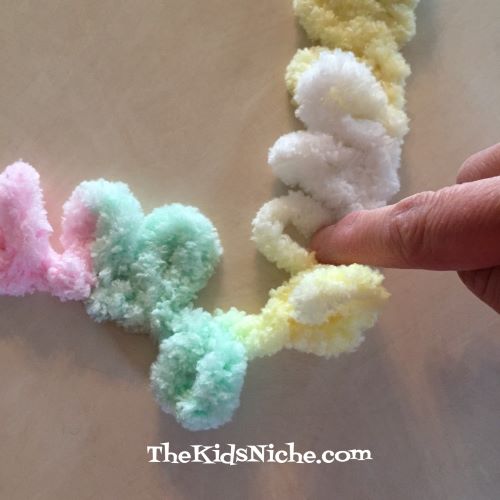
The first time I saw it, I wondered how in the world you could knit it with knitting needles or crochet it with a crochet hook, but then I found out you don’t need either of them! All you need besides the yarn is your FINGERS! There are several ways to ‘knit’ this yarn, but I’ll just show you one way today. Let’s get going!! Here’s what the yarn looks like close up…
It’s just a row of loops. The first thing you need to do is count over the number of loops you need for the width you want your scarf to be. We’ll go with 8 loops.
To start knitting, take the 9th loop and pull it through the 8th loop from the back to the front.
Take the next loop (in this case it’s the 10th one) and pull it through the 7th loop.
Great! Now you have 2 loops done in your first row.
Continue going back down your original 8 loops by pulling the next loop on the yarn strand through until you have done that for each of your 8 loops. This is what it will look like.
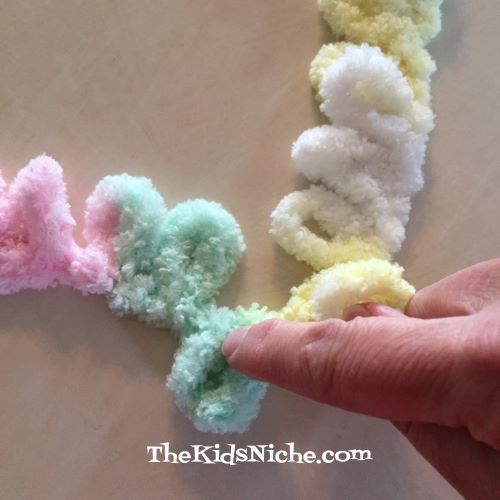
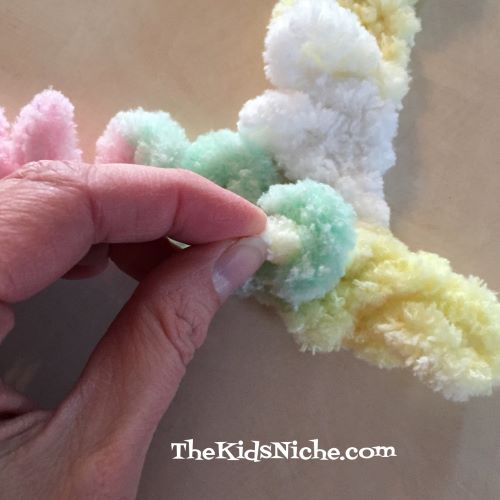
Always be careful to match up the next loop on your scarf with the next loop on the yarn strand. Now you are ready to go back across your scarf from left to right, continuing to pull loops through. Take the next loop (green where my finger is) through the first loop on the second row of your scarf (also green in this example).
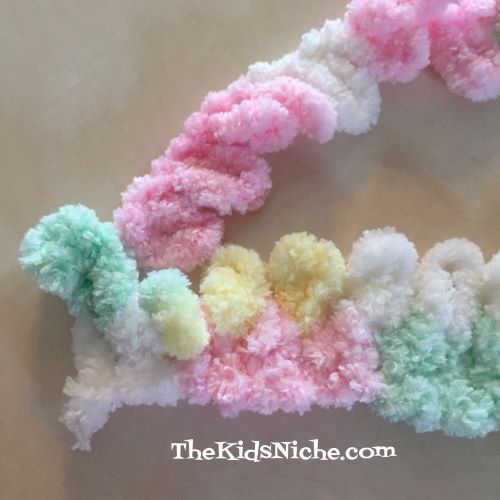
That’s all there is to the knitting part. Just keep working your way back and forth across your scarf, continuing with pulling loops from the yarn strand through the loops on your scarf.
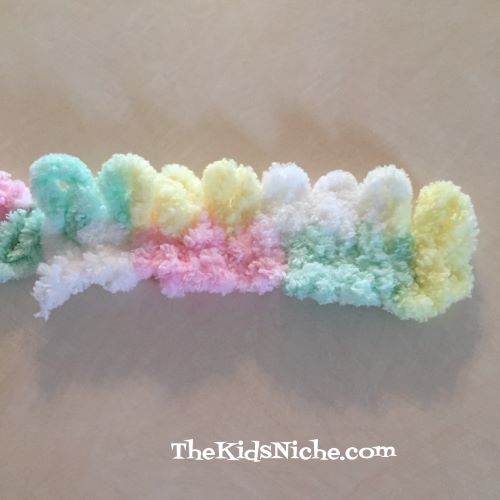
After a few rows it will begin to take shape and you will see your scarf developing!
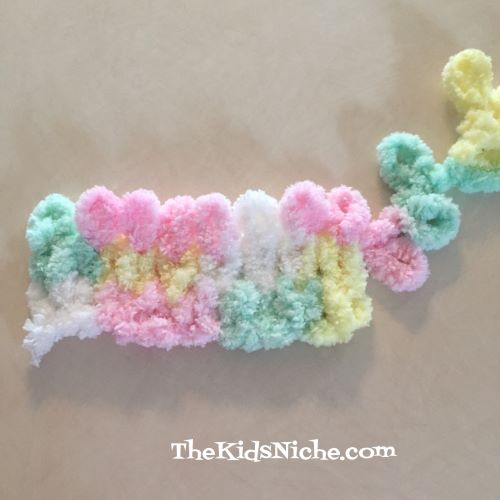
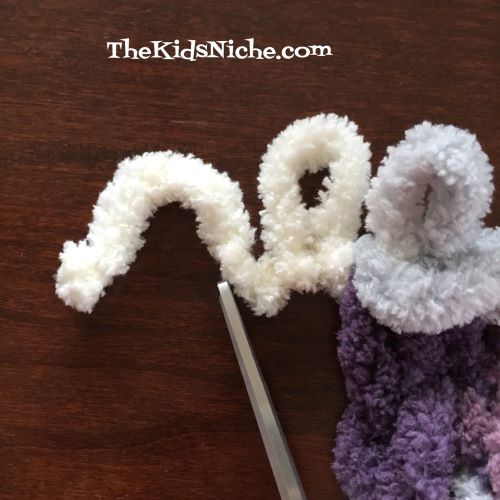
Continue knitting until your scarf is as long as you would like it to be. Once your scarf is the desired length, you can bind off to put an end on your scarf. Here is a scarf in a different set of colors to show you how to bind off at the end. Stop knitting so that your yarn strand is coming out the left side of your scarf.
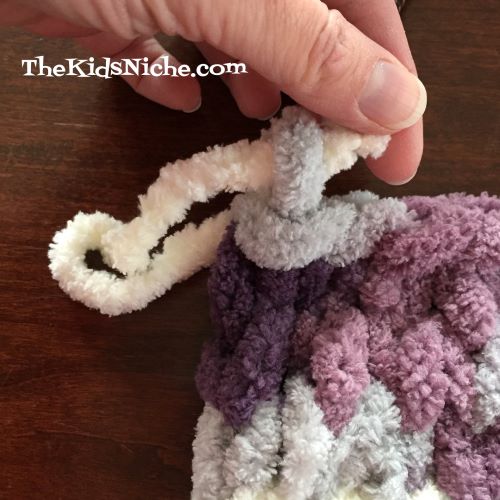
Now go back to the top loops on the right side of your scarf. Take loop number 7 and pull it through loop number 8.
Then take loop number 6 and pull it through loop number 7.
Continue working your way across your scarf in the same manner. See how it is making less loops and putting a finished edge on your scarf?
Continue knitting until you have just one loop left. Now it’s time to cut the yarn strand off from your scarf. Cut on the bottom leaving 2 extra loops on the strand for finishing your scarf.
Take your scissors and carefully cut right at the bottom of each of the 2 extra loops.
This will open up the 2 extra loops and make 1 long strand of yarn.
Take the long single strand and pull it through the last loop left on your scarf.
Pull it down snuggly but not so tightly that you make your scarf look misshapen. Weave the end back through your scarf a few times to secure it. You can use a large needle to do this or just use your fingers.
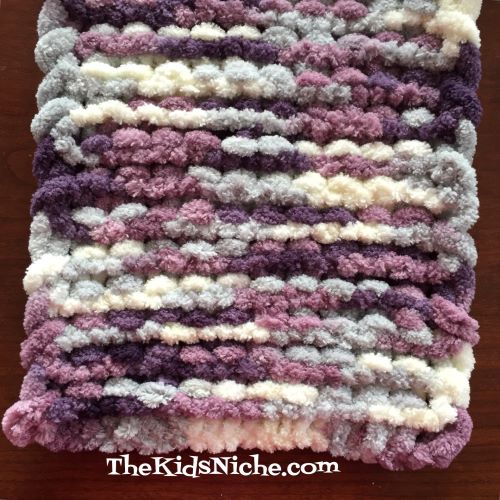
Trim off the extra yarn strand. And tah dah! Your scarf is ready to wear and keep you toasty warm! This is my finished purple, gray and white scarf. It is soooo soft!
The front and back of your scarf will look a bit differently but that’s the way this kind of knitting works, and it’s all good! Here is the front side…
And this is the back side…
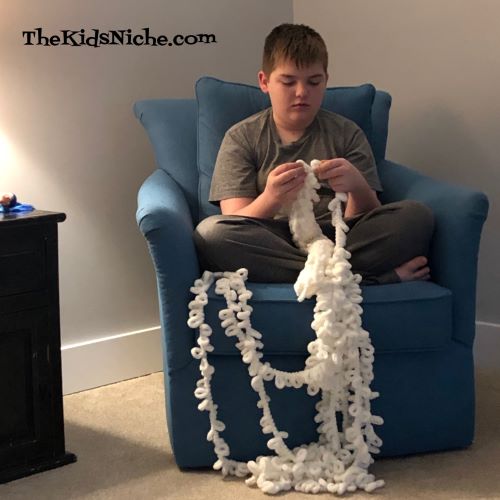
I taught my grandson how to make this type of scarf on New Year’s Day and he really enjoyed working on it. In fact, his whole family then went to the store to buy yarn so they could all make one! Haha! Be careful because this type of knitting is addictive! 😉
Are you searching for some healthier alternatives for the kids’ stockings this year? Trying to get away from giving them a ton of sugary candy? Me too! I want to share a fun idea that will have your kiddos grinning while also cutting down on the sugar! While kids would also enjoy making these treats, I used a low temp glue gun to make them, so you’ll want to be careful about using that around the littles. What are we making? Reindeer and snowmen, of course! 🙂 For this project you’ll need individual applesauce cups (or a fruit cup should work fine too.), 2 sizes of colored pom poms, pipe cleaners (chenille stems), wiggly eyes and a low temp glue gun.
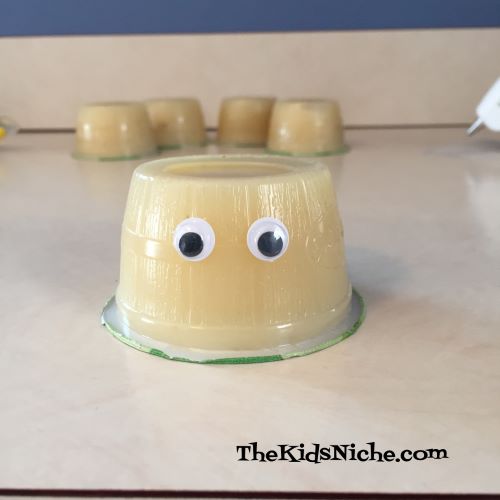
Let’s start with the reindeer. Turn the applesauce cup upside down. Find a clear spot on the side that doesn’t have the expiration date stamped on it. Glue 2 eyes onto the side a little more than half way up.
Next add a dark brown pom pom for the nose.
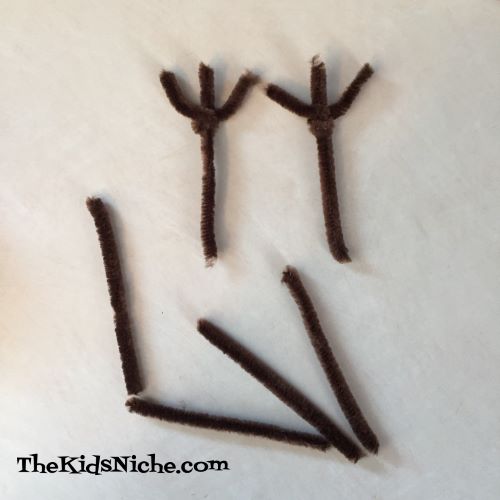
Now take a dark brown pipe cleaner and cut it into fourths. Hold one piece while wrapping a second piece around it a couple of times…then bend them to look like the picture below. Yep, you guessed it – antlers! 🙂 Make 2 for each reindeer.
Glue each antler on the opposite side of where you put the eyes and nose. After the glue has set up a bit, bend the antlers out toward the side just a little. And there he is – your first reindeer!
Can you guess who this is?
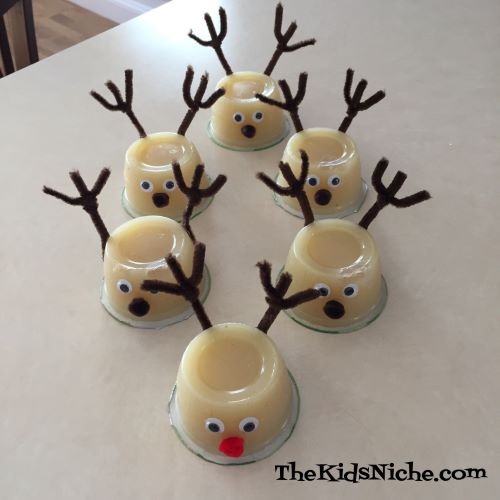
Rudolph, of course! “We can’t forget Rudolph, he’s our leader, you know!” While I didn’t have enough applesauce cups to make ALL the reindeer, here are 6 of them!
Onto the snowman! Start again like we did for the reindeer by gluing on 2 eyes, but this time use an orange pom pom for his carrot nose. I used a little piece of a pipe cleaner and glued it on for a smile. I used slightly bigger eyes for the snowman than what I used on the reindeer but the same size is fine.
Our snowmen are going to wear ear muffs so we’ll do those next. I cut a pipe cleaner into thirds for the part that goes across the top of the snowman’s head. Lay it across the top and bend the ends of the pipe cleaner down to fit the cup.
Take the piece off and trim each bent end just a little bit if needed so it doesn’t go too far down on the sides of the cup.
Put glue on only the little bent ends and stick it back on the snowman. Add 2 pom poms on the sides at the ends of the pipe cleaner to finish the ear muffs. These pom poms should be a little bigger than the one we used for his nose.
And now your snowman is finished! I used different colors of pom poms and pipe cleaners for my other snowmen and I made their mouths a bit different.
There you go! A quick, easy and healthy stocking stuffer that your kids will enjoy receiving and eating! 🙂
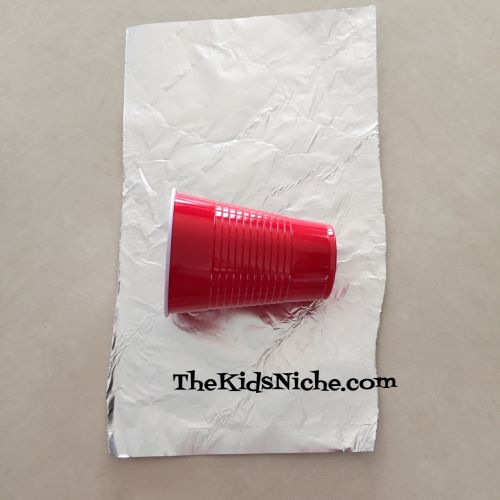
Long ago when I was little, we did a Christmas craft that was my favorite Christmas decoration to make…Christmas bells! I was always so proud of the bells I made and my mom would let me hang them around our house. Its another quick and easy craft, so let’s gather up the few supplies we need and get started! Grab some foil, some disposable cups and some ribbon. When I was a child, we made these using the 5 oz. Dixie paper cups but since I didn’t have that size on hand, I used the 9 oz. plastic cups.
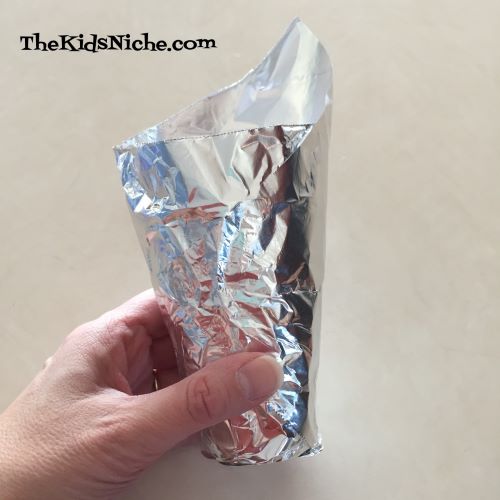
Tear off a piece of foil a little bit bigger than your cup.
Starting at one end, wrap the foil around the cup. I started at one end and rolled the cup slowly while forming the foil to the cup.
Next press the foil flat up against the bottom of the cup and also tuck it down inside the cup.
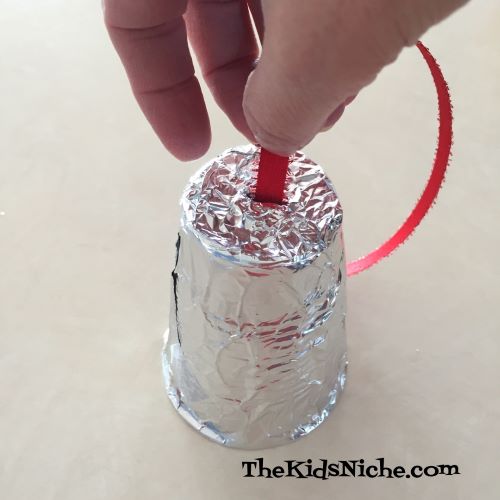
An adult should do the next step…cut a slit in the bottom of the cup for the ribbon to go through.
Cut about a 12 inch piece of ribbon. Thread one end in through the slit.
Pull the piece of ribbon on the inside until you can reach it enough to tie a knot in the end. This will keep the ribbon from pulling out the top of the bell.
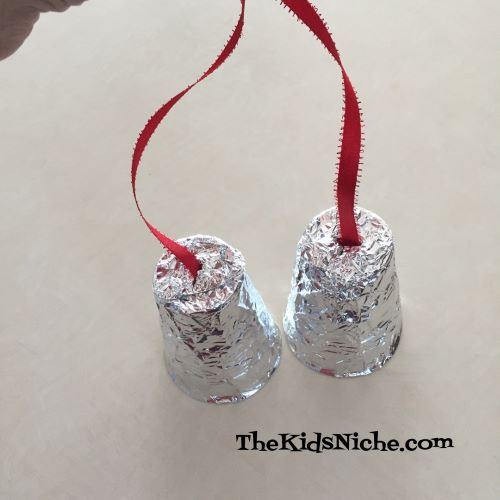
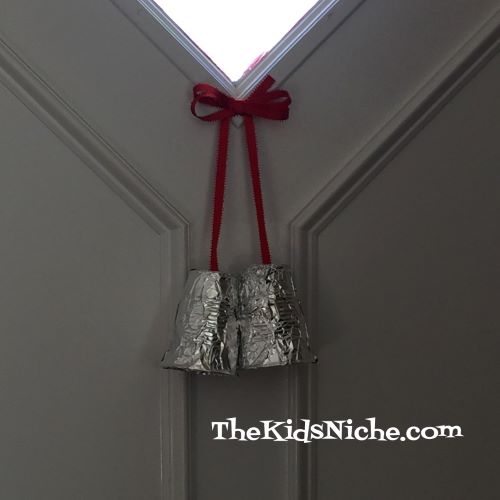
I made 2 bells and then tied them together at the top end of the two ribbons.
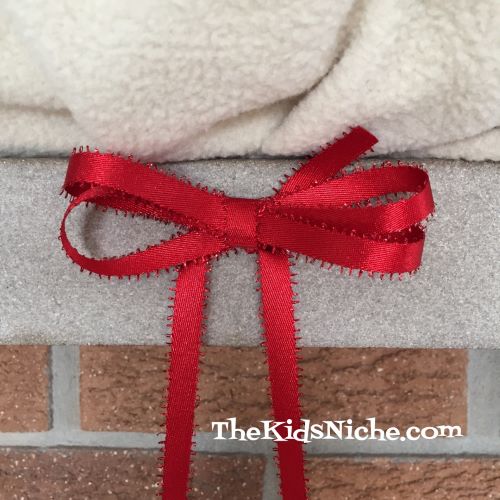
You can hang them as they are or make a bow to add on where the two ribbons are tied together.
You’re done! Now find a great place to hang your Christmas bells. They look great hanging on your front door.
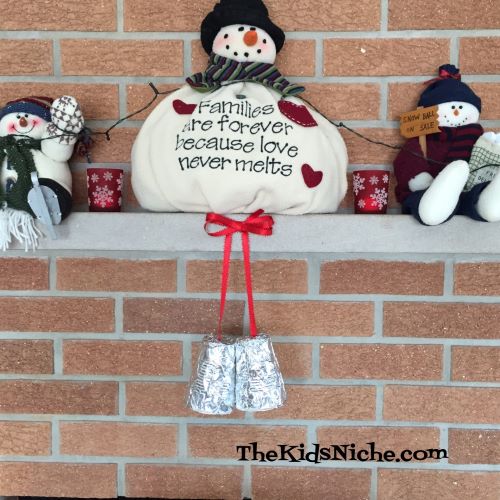
Or maybe you’ll find a nice place for them on your fireplace mantel.
Wherever you choose to hang them, I hope they make your house look merry and bright! 🙂
Making a snowman is always fun but here is a new little twist that I think you will like! On December 12, 2019, I showed you how to make paper snowflakes. If you missed that post, you can find it here: https://thekidsniche.com/2019/12/12/do-you-want-to-make-snowflakes/
Here are some of the snowflakes I made that day.
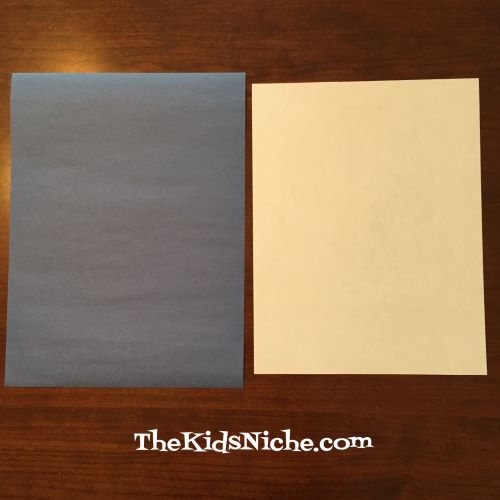
Paper snowflakes are the foundation for our snowman craft for today. You’ll need a piece of colored paper for the background and some white paper for the snowman. I chose blue construction paper for my background.
You’ll need 3 squares cut from the white paper. I made mine slightly different sizes since a snowman’s body is usually bigger than his head. I used a 4″ square for the bottom part of the snowman, a 3 1/2″ square for his middle and a 3″ square for his head. Using only the 2 larger squares, make them into snowflakes. ( https://thekidsniche.com/2019/12/12/do-you-want-to-make-snowflakes/) Cut the smallest square into a circle for the snowman’s head.
Glue the bigger of the 2 snowflakes to the bottom center of your background paper.
Next, glue the second snowflake on for the snowman’s belly.
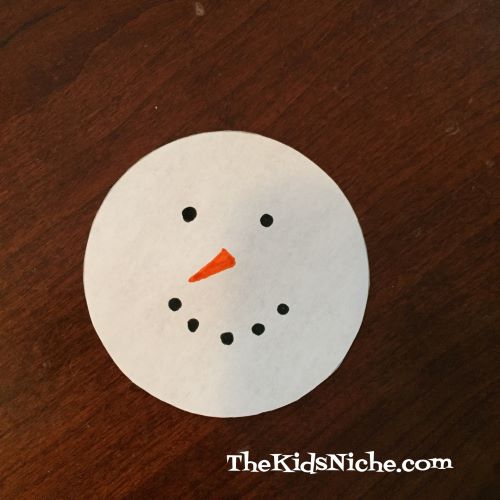
Now draw your snowman a face on the white circle.
Glue the snowman’s head above the 2 snowflakes on the background paper.
Decorate your snowman in the way you want him to look. I cut a little square and a skinny little rectangle from black construction paper to make my snowman a black hat.
I drew 2 arms with a marker and made them look like sticks for my snowman’s arms.
To finish off my snowman, I used 2 pieces of red ribbon to make a scarf.
All done! Isn’t he a handsome fellow? I hope you had fun making a snowman with paper snowflakes! 🙂
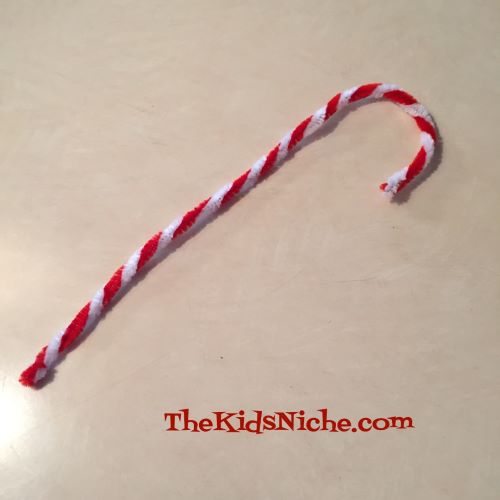
Candy canes are one of people’s most favorite things to decorate with for Christmas. So here is the quickest and easiest candy canes you’ve ever made! All you need is some red and white pipe cleaners (or chenille stems as some people call them). It’s also fun to mix in some green ones and even to use the sparkly red, silver and green kind. We’ll start off with one each of the fuzzy red and white pipe cleaners.
Twist the two pipe cleaners together so they look like the stripes on candy canes. I also like to twist the ends together a little tighter and bend the end over so folks don’t get poked by the sharp ends.
Bend the twisted pipe cleaners into the shape of a candy cane. That’s all there is to it! 🙂
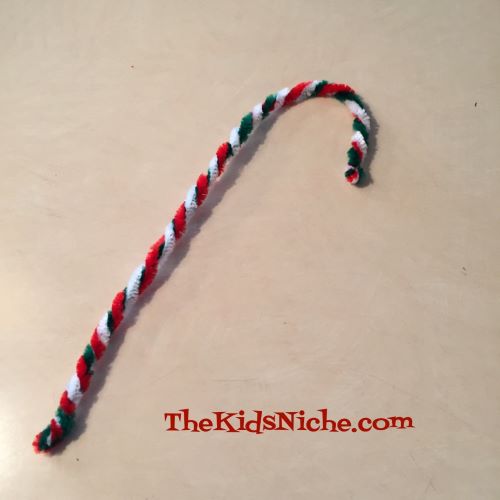
Here are a few variations you can make…fuzzy red, white and green…
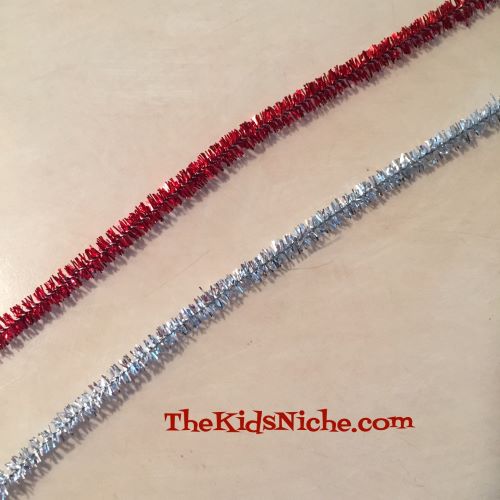
Or try the sparkly pipe cleaners…
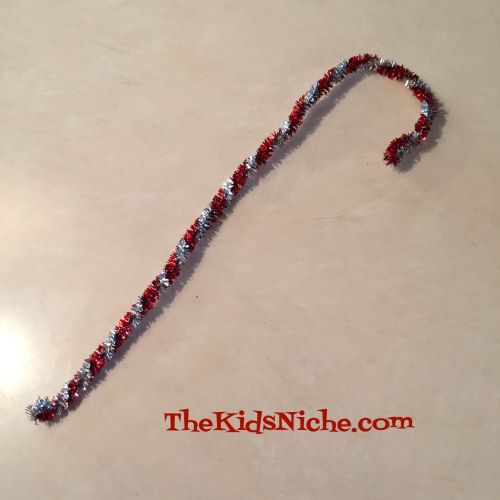
Or make a tri-color sparkly one.
Whatever kind of pipe cleaners you go with, you’re sure to have fun making these simple candy canes!
You can hang them up just by hooking them over something or add a bit of thread or string to hang them. These are so fun and simple to make that you’ll want to make a dozen! 😉
I don’t know if Elsa and Anna would be impressed, but we can have fun making our own snowflakes too! 😉 And we can stay warm while doing it! All you need is a piece of paper and a pair of scissors. I used a piece of white printer paper to make mine. Here we go! First, you’ll need to make a square from your paper. All you have to do is fold one corner over across to the opposite straight side and make a triangle…look at the picture for help to understand what I mean.
Cut off the extra paper with your scissors so you just have the triangle left. (If you open the triangle, you’ll see that you now have a square piece of paper.)
Now fold the triangle in half from left to right…or right to left. 😉
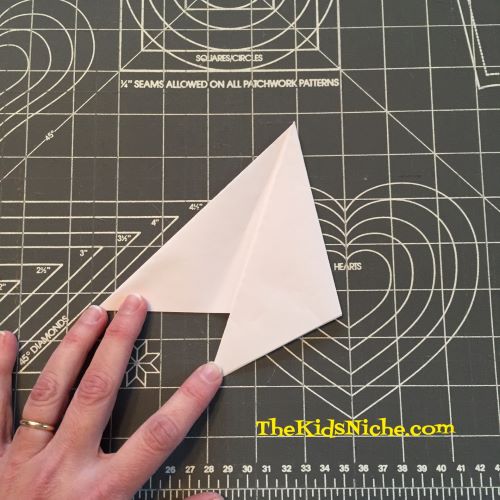
Turn the triangle around so the longest edge is at the bottom. Then fold the right side over about 1/3 of the way…
Then the left side over to meet the right side edge. If the sides don’t quite meet evenly, go back and move the first fold a little and try again.
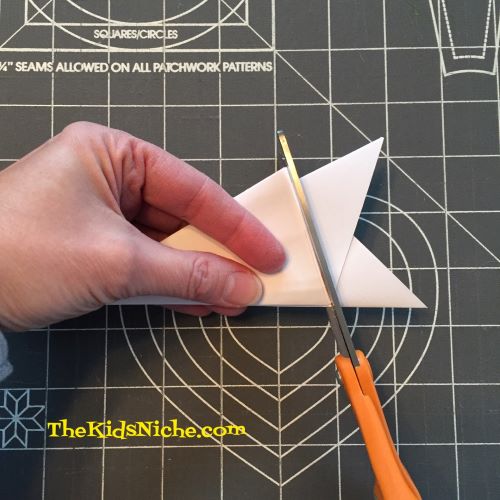
Now trim off the extra to make a triangle.
Cut designs all around the edges but don’t cut all the way across. Leave some of the fold on both sides. Take a look at the type of cuts I made on mine. Small children may need some assistance with this step as the thickness of all the paper can be a bit hard to cut through.
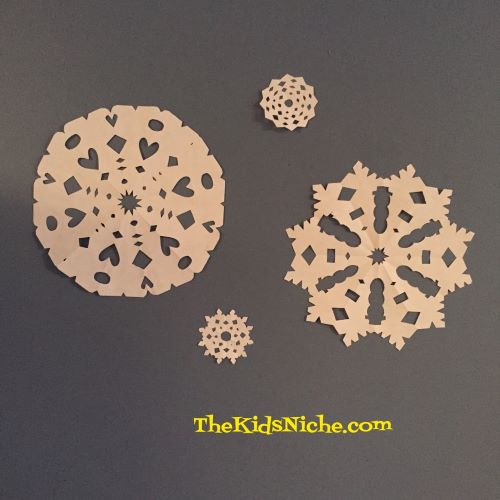
Carefully open your paper up and you’ll see the beautiful snowflake you made!
Isn’t that awesome?! They say there are no 2 snowflakes alike so every one you make will look a bit different and that’s just the way it should be. Let’s look at another one I made…first you can see the type of cuts I made…
And now look at the pretty snowflake!
You can make different sizes of snowflakes just by starting with a different size square piece of paper. Look at this little one I did!
And here’s what it looks like opened up.
I hope you found this to be another fun winter project! Make as many as you can and decorate your house with snow that won’t melt any time soon! 🙂