Let’s Make Super Soft Cloud Dough

Sorry to be away for a few days. I was feeling under the weather and we also lost a close friend to leukemia. So not the best days recently, but today let’s do something fun and make some amazing cloud dough! This was my first time to make cloud dough and I will say that I like it better than regular homemade play dough. Cloud dough is so soft! Best part is, there is no cooking!! 🙂

And it is so super easy to make and you only need 2-3 ingredients. You’ll need some lotion and some cornstarch and if you want to add some color to it, you will also need food coloring.

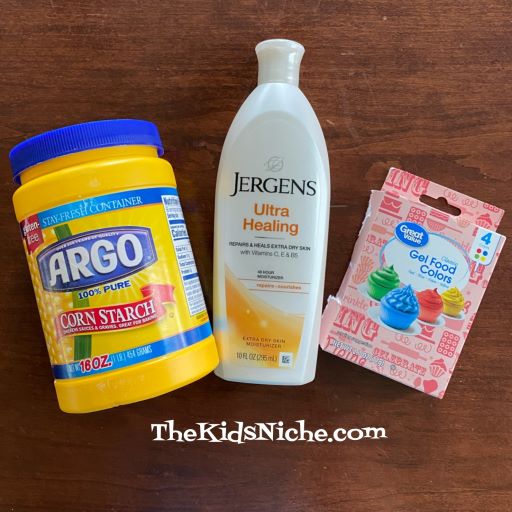
Grab a bowl, a spatula, some measuring cups and some wax paper or parchment paper and let’s get started!

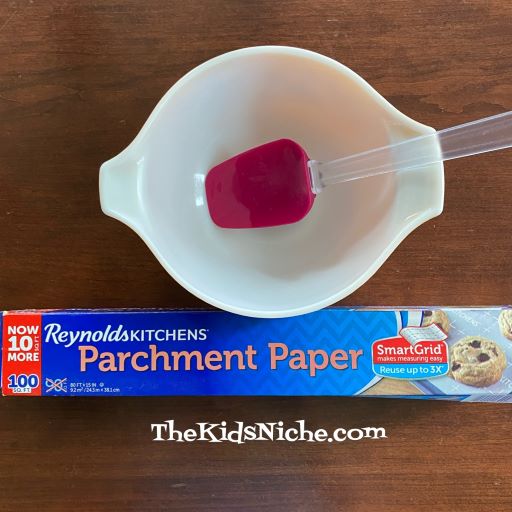
All the recipes that I looked at called for using twice the amount of cornstarch as you use for lotion. For example, 1/3 cup of lotion to 2/3 cup of cornstarch or 1/2 cup of lotion to 1 cup of cornstarch. Pour the lotion into the measuring cup (I used the 1/2 cup size) and then put it into your mixing bowl. Use your spatula to get all the lotion out of the cup and into the bowl.

Next add a few drops of food coloring, in the color of your choice. I went with blue.

Using your spatula, mix the 2 ingredients together.

Add the measured cornstarch to the bowl next and stir slowly so the cornstarch doesn’t “poof” all over everything. 😉

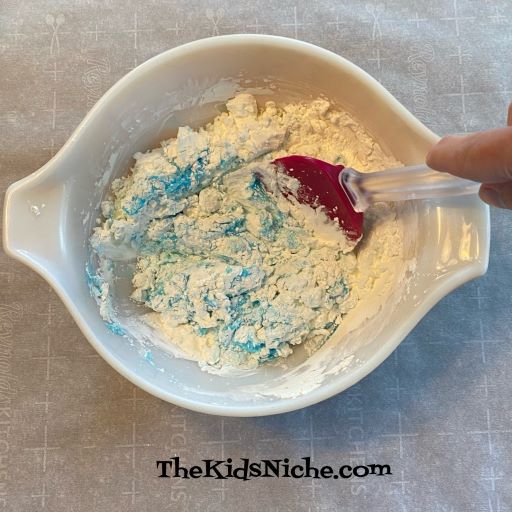
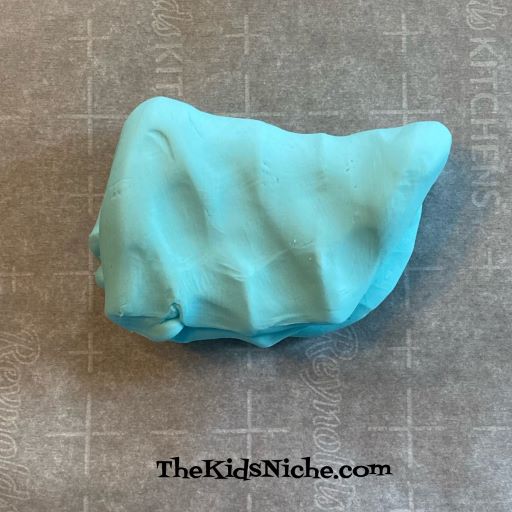
When your cloud dough is mostly mixed together, dump it out onto a piece of parchment paper or wax paper and knead it together.

If it seems a little too sticky, you can add a little more cornstarch. Keep kneading until it is smooth and soft.

That’s all there is too it! Now the fun really begins!

You can break it into smaller pieces and roll them into balls. (No, I don’t think you should throw these balls in the house!)

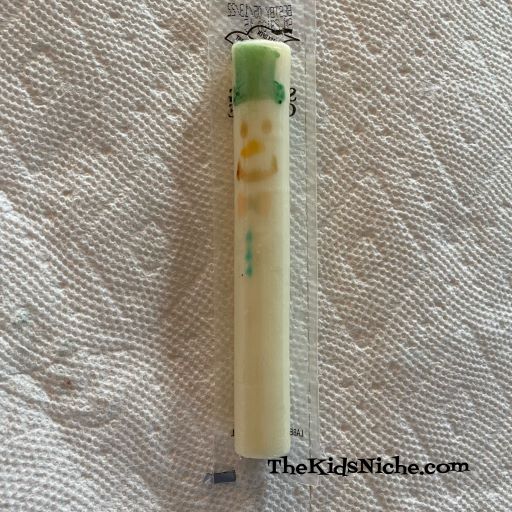
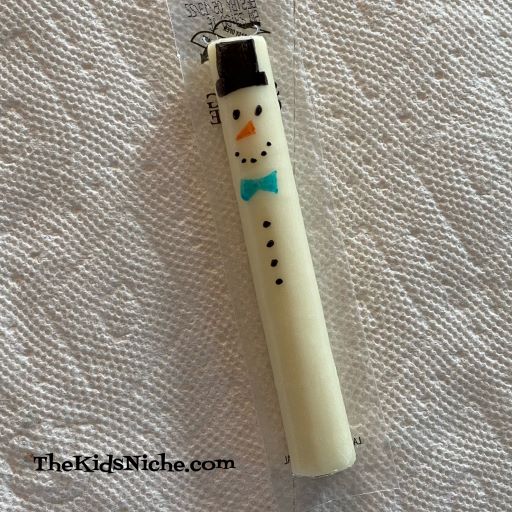
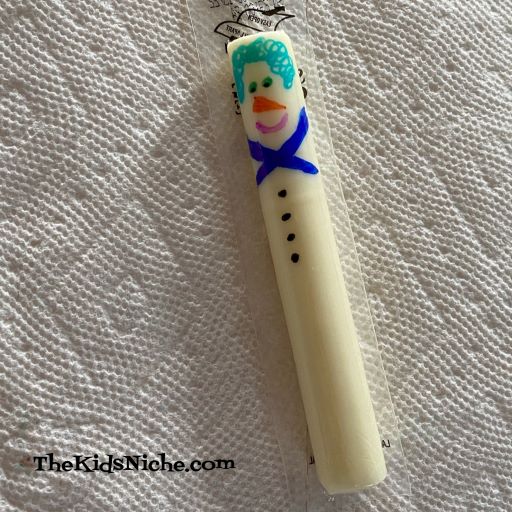
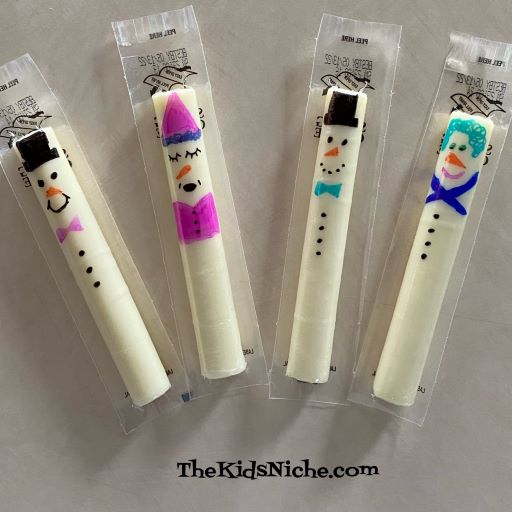
Pinch off a piece and roll it between your hands to make a long thin piece. One thing you can do with long skinny pieces is to make a smiley face.

Use an old rolling pin to roll your cloud dough flat and then use cookie cutters to cut out fun shapes.

I think you’ll be glad you tried this easy recipe for cloud dough! If you made enough dough, I bet your kids will let you play too! 😉

Store in an airtight container. Since this is my first time making cloud dough, I’m not sure how long it will keep. One person said, if it starts to feel dry, add a little more lotion and work it into the cloud dough and it will be good as new.

Hope you have a ton of fun! 🙂

Making Snowmen From String Cheese Sticks

Making snowmen from mozzarella string cheese sticks is a fun activity to do with your kids. Or you can make them yourself and sneak one into your kid’s school lunchbox for some giggles at lunchtime. Aren’t’ they adorable?! 🙂

All you need are some string cheese sticks and some permanent markers.

I tried using regular Crayola Supertips markers, but the color didn’t show up very well and the snowman rubbed off even after allowing time for the marker to dry.

Using some permanent markers, all you do is draw a snowman on the side of the string cheese that has less words printed on it. If your kids are working on this project, I suggest putting some newspaper or paper towels under their work. You can design your snowman in any way you like. Add a hat, eyes, nose, mouth, bow tie or scarf and some buttons on his tummy.

You can make different kinds of eyes, noses or mouths to change the look of your snowmen.

Or give him curly blue hair. Or make a snow lady. 🙂

Maybe your snow person is feeling rather sleepy. 😉

These snowmen would also be a fun snack to share at school if you are providing a snack for your child’s class.

I hope you’ll try making these adorable string cheese snowmen! 🙂

I’m back! Let’s Make Santa’s Hat!

I hope you all had an amazing Thanksgiving holiday and weekend! I’m sorry I didn’t get to post last week but things were pretty crazy here! I’m here now and I have an adorable craft for you today. I’ll show you how to make Santa’s hat using buttons and a pom pom. 🙂

You’ll need an off white or darker colored piece of cardstock, approximately 15 red buttons and 7 white buttons and 1 white pom pom. And glue to hold it all in place. The number of buttons will vary according to the size of buttons you use and how large you want to make your Santa’s hat.

Start by placing 1 red button toward the top of your piece of paper. In the second row, place 2 red buttons. You can glue the buttons down as you go or go back and glue them down after you have them all in place.

Row 3 will have 3 red buttons, row 4 will have 4 red buttons and row 5 will have 5 red buttons. Your Santa’s hat should look like this so far.

Now it’s time for the white buttons. They will go in row 6 along the bottom to be the white edging on Santa’s hat.

Add your white pom pom to the top and you’ve finished making your Santa’s hat! Great job!

I wanted to use the darker brown craft paper for my background, but I didn’t have any on hand. I would suggest using a darker color of cardstock than I did for mine because the white of the hat will show up better. Here it is on green:

And one more time using a blue background.

Which way is your favorite? I think I like the blue background best. 🙂 You can make Santa’s hat as a decoration to hang up or make it on the front of a card for a special Christmas card. Whatever you decide to do, I hope you will have fun making a Santa’s hat from buttons! 🙂

Handmade Valentine Card for Kids to Make

We’re coming at you today with another fun card that kids can make for Valentine’s Day. All you need is a piece of paper, colored pencils or crayons and a black marker.

My paper is construction paper so I cut it in half.

Take 1 of the pieces and fold it in half to make a nice size for a card.

Now draw a bunch of grapes on the front of the card. Draw circles and partial circles to make the grapes. I used a purple colored pencil but grapes can be other colors too.

Keep drawing and coloring in the grapes until you like how big your bunch is.

Add a brown stem at the top of the grapes.

Use green to draw in a couple of leaves.

Now add a simple face. I used a black marker to draw 2 dots for eyes and a curved line for a mouth.

Add the words “I love you a “bunch”! ” at the bottom of the card.

Open the card and on the right hand side, draw another bunch of grapes like you did on the front of the card. Write the words at the bottom…”Have a “grape” Valentine’s Day!”

Remember to sign your name. Give it to someone special on Valentine’s Day! I hope you enjoyed today’s craft! Have a “grape” weekend! 😉

Valentine Tissue Paper Heart

Are you ready for another fun Valentine’s Day project? Let’s make a really pretty 3-D heart!

You will need some construction paper, red tissue paper (or the color of your choice), scissors, glue, a piece of string and a pencil with an eraser.

You will need to cut approximately 75 little squares of the red tissue paper. I cut mine about 1 1/2″ square. They don’t need to be perfect because the paper will be “scrunched up”. Any smaller than that could be difficult to work with. If you have a cutting mat and a rotary cutter, this part will go much quicker, but scissors work fine. 🙂

Take HALF of a sheet of construction paper and fold it in half.

Drawing on the folded edge, draw half of a heart shape.

Sorry, that’s rather hard to see. Cut out the half -heart shape and you will have a whole heart when you unfold it.

Set aside but save the piece that looks like a heart stencil for a project we will do another day. 🙂

Your finished heart can be added to a card, have a magnet attached to the back or be made to hang up like an ornament. If you would like your heart to hang as an ornament, now is the time to add a hole at the top. Go ahead and put your string through the hole because it will be harder to do later. (I found that out the hard way!)

You are now ready to start using the tissue paper squares. Take 1 square and your pencil with an eraser.

Place the pencil eraser in the middle of the square of tissue paper.

Wrap the tissue paper down around the pencil end.

Apply a very small amount of glue to the tissue paper at the end of the pencil eraser.

While holding the tissue paper onto the pencil end, place the tissue paper onto the heart you cut out. Start out close to the outside edge of the heart.

Hold in place for a few seconds, then carefully pull the pencil out leaving the tissue paper on the heart. Continue adding more pieces of tissue paper in the same way.

Keep adding…you’ve got the hang of it now!

The closer together you put the tissue paper pieces, the fuller your heart will look. Try to get the pieces right up against each other where they attach to the heart. If you like, you can just make an outline of the heart with the tissue paper.

I like it better when the entire heart is filled up. It will take a little more time but it will be worth the effort.

You did it! Isn’t that a pretty ornament to decorate your house for Valentine’s Day? I think it would be really pretty to use more than one color of tissue paper. If you used red, white and pink, wouldn’t that look nice? I hope you’ve enjoyed this Valentine activity! I’d love to see your hearts, if you care to share them!

Monday Funday!

Let’s start this week’s posts off with a day of riddles! Everyone likes riddles, right? Even if sometimes they are what my mom used to call “groaners” because they are so silly they make you groan. 😉

#1.) What belongs to you but your friends use it more than you do?

Answer: Your name!

#2.) What has a tail and a head, but no body?

Answer: A coin!

#3.) What has keys, but no locks; space but no rooms; you can enter but you can’t go inside.

Answer: A keyboard!

#4.) What kind of room has no doors or windows?

Answer: A mushroom!

#5.) What is orange, wears a green hat and sounds like a parrot?

Answer: A carrot!

Hope these riddles tickled your funny bone and made you grin! 🙂