
I hope you all had an amazing Thanksgiving holiday and weekend! I’m sorry I didn’t get to post last week but things were pretty crazy here! I’m here now and I have an adorable craft for you today. I’ll show you how to make Santa’s hat using buttons and a pom pom. 🙂
You’ll need an off white or darker colored piece of cardstock, approximately 15 red buttons and 7 white buttons and 1 white pom pom. And glue to hold it all in place. The number of buttons will vary according to the size of buttons you use and how large you want to make your Santa’s hat.

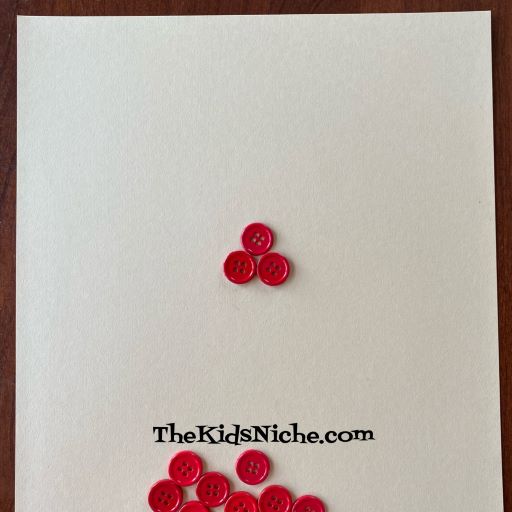
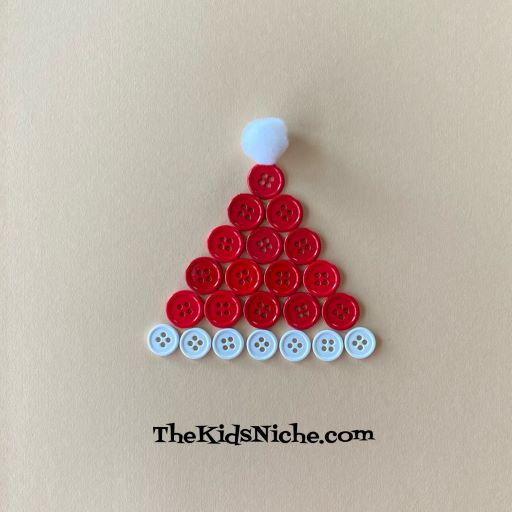
Start by placing 1 red button toward the top of your piece of paper. In the second row, place 2 red buttons. You can glue the buttons down as you go or go back and glue them down after you have them all in place.
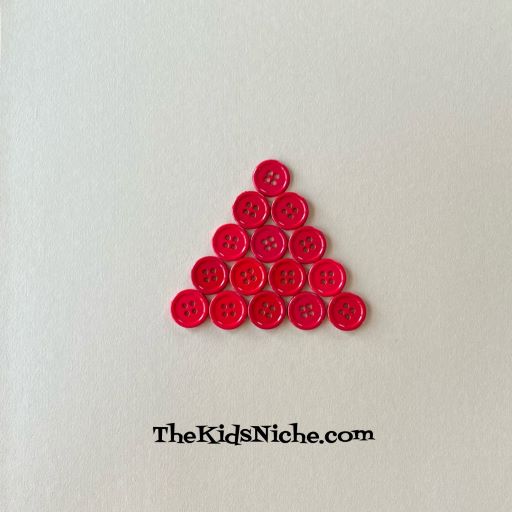
Row 3 will have 3 red buttons, row 4 will have 4 red buttons and row 5 will have 5 red buttons. Your Santa’s hat should look like this so far.
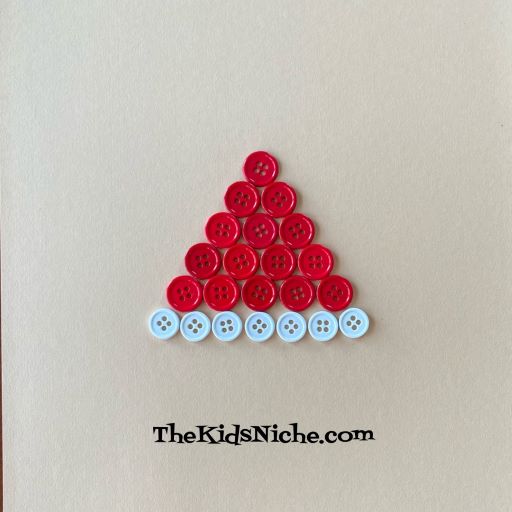
Now it’s time for the white buttons. They will go in row 6 along the bottom to be the white edging on Santa’s hat.
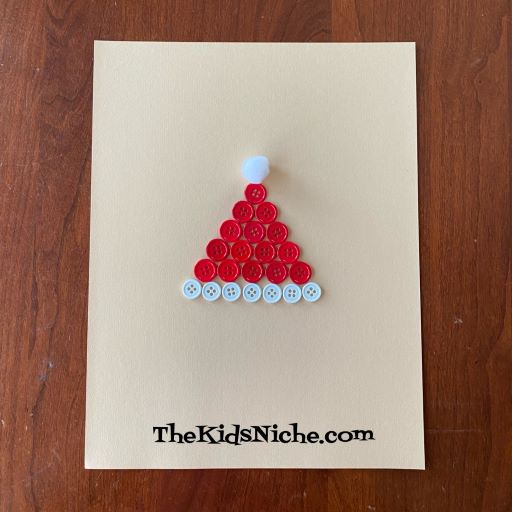
Add your white pom pom to the top and you’ve finished making your Santa’s hat! Great job!
I wanted to use the darker brown craft paper for my background, but I didn’t have any on hand. I would suggest using a darker color of cardstock than I did for mine because the white of the hat will show up better. Here it is on green:

And one more time using a blue background.
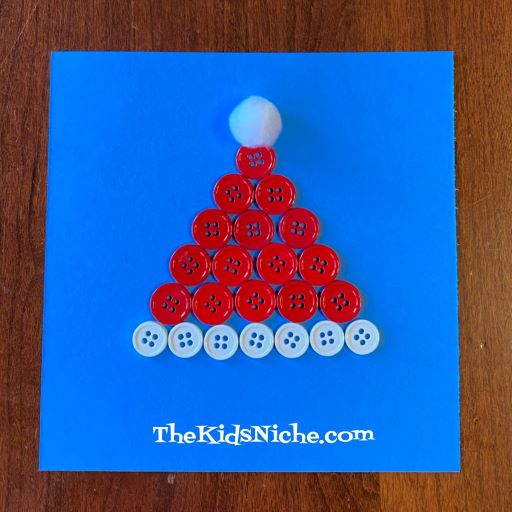
Which way is your favorite? I think I like the blue background best. 🙂 You can make Santa’s hat as a decoration to hang up or make it on the front of a card for a special Christmas card. Whatever you decide to do, I hope you will have fun making a Santa’s hat from buttons! 🙂
