Hi everyone! Sorry to disappear on you last week, but we were away for a few days. Back home and back in the saddle! 😉 I found some fun kid’s items on clearance at our local Joann’s store. (Or maybe you call it Joann Fabrics store.) Just wanted to share them with you in case you’d like to get in on the fun too! NOTE: The prices I’m sharing with you were IN STORE. If you look online, they are not as cheap.
Crayola Model Magic Stackers Disney Frozen II.
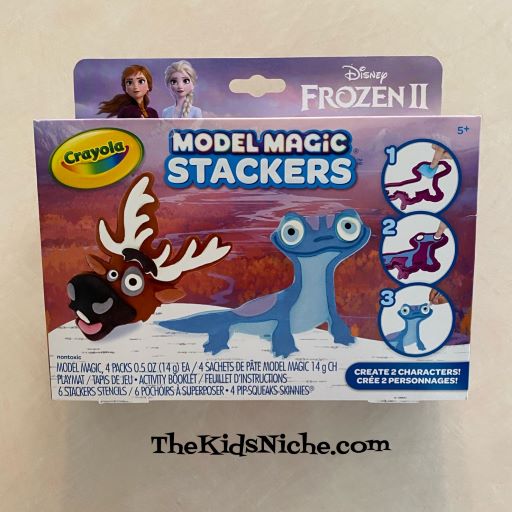
It looks like the original price was $14.99 but it was on sale in the store for $2.47!

School Zone BIG Hidden Pictures & More Book. This has a lot of fun activities inside! (I’m ready for the grandkids to come so I can “help” them do some of these!) 😉

I didn’t find the exact original price on this, but similar books are $14.99. It was on clearance for $7.47. There are 299 pages of activities plus several more pages of answers. Great book!

Fab Lab Sequins. These are small packages of assorted kinds of sequins that kids will love! I bought 1 pack of flowers and 1 pack of mermaids and seashells.

Regular price looks to be $1.99 and I got them for $.97 each.

Felt Hoop Kits. There were a couple types of these kits still available in my store. I bought the zebra and the lion kits. It has some felt pieces and some embroidery floss plus the hoop and they look like they will be adorable when finished.

They were in the clearance sale for $2.47 with their regular price being $5.99.

Just one more for this time…Pop! bumper craft pack. This has a little bit of everything in it! (Ok, not everything, but a nice assortment of crafty things!) Included are chenille stems, pom poms, wiggle eyes, white glue, sequins, feathers and foam shapes. Let your imagination go and see what you can make! 🙂

My best guess on the original price is $6.99 to $9.99. It was on sale for $2.97.

And there you have it! There were many more items in the clearance sale, but these are a few that caught my eye. I’m sure availability will vary by store. Remember, the price when shopping online is higher than in the store. Now you have an excuse to shop at your favorite Joann’s store! It’s always better to buy things when they are on clearance, right? 🙂