
How’s your day going? I hope ok! Today I want to share a super simple way to make your own matching card game. You know, the little cards you line up face down and you turn 2 over at a time and see if they match? Yep, those. 😉 Only a few supplies are needed such as a piece of cardstock or sturdy paper, a ruler, a pencil, a pair of scissors and some stickers.

I used a piece of maroon colored cardstock (8 1/2″ x 11″) and made 12 cards for the game. First you’ll draw lines on the paper to mark the cards into even squares. If you use the same size of paper, your squares can be 2 3/4″. You’ll have just a little bit of extra paper down one side to cut off and discard. (I couldn’t seem to get a good picture of the lines on the paper.)

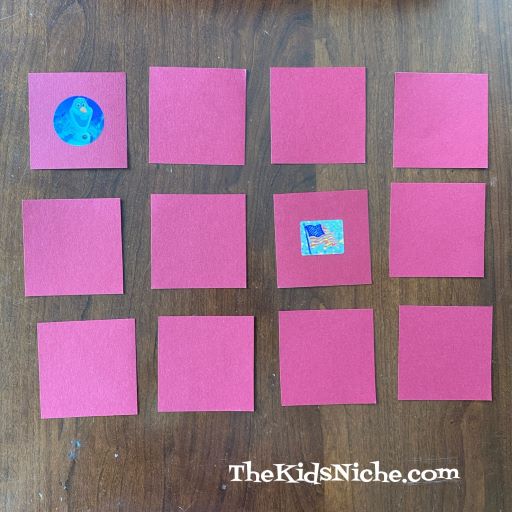
Cut the squares apart.

Separate the squares into pairs of 2 cards each. You’ll be making 6 sets of matching cards from one piece of paper. Feel free to make more!

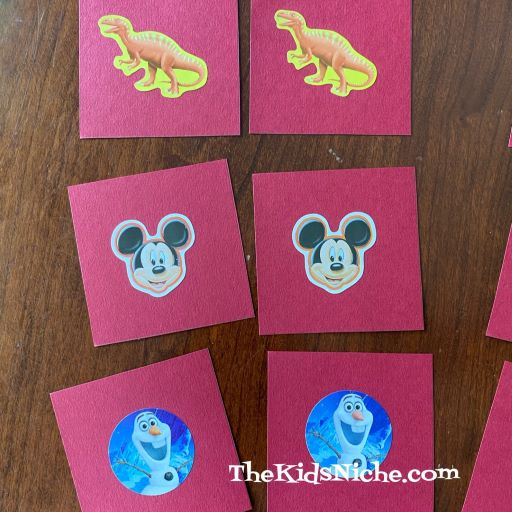
Sort through your stickers to find 6 sets of matching stickers.

Make a set of cards by placing 1 sticker on each card, making sure there are 2 identical cards.

And your cards are made! You’re ready to play! Turn all the cards face down and mix them up, then line them up in 3 rows of 4 cards each.

The first player turns over 2 cards. If they match, he/she takes the match and turns over 2 more cards. As long as the player is finding a match, their turn continues. If they don’t find a match, the cards are turned face down again and play moves onto the second player.
A match!

6 matched sets is probably enough for small children, but you might want to make more for kids that are a little older. So easy to make and so simple to play! I hope you’ll have fun making your own game AND playing it! 🙂 Thanks for stopping by!

