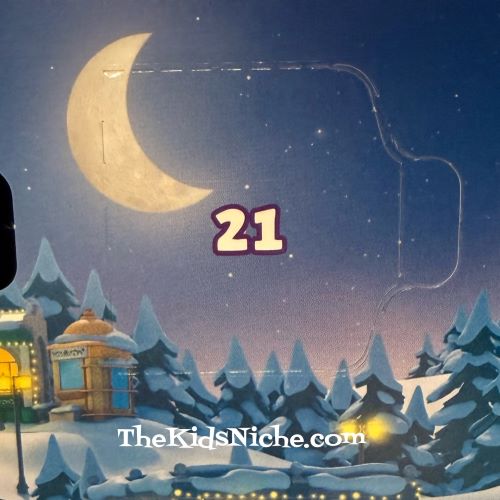
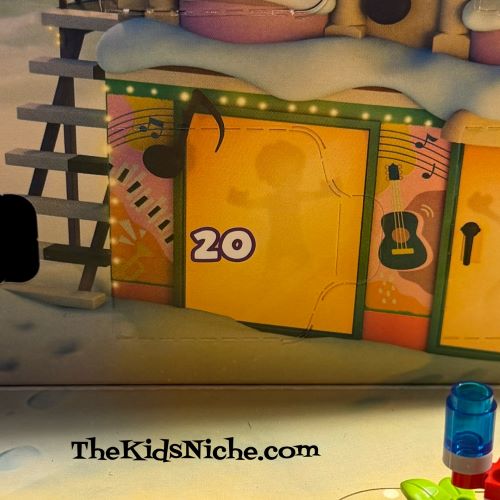
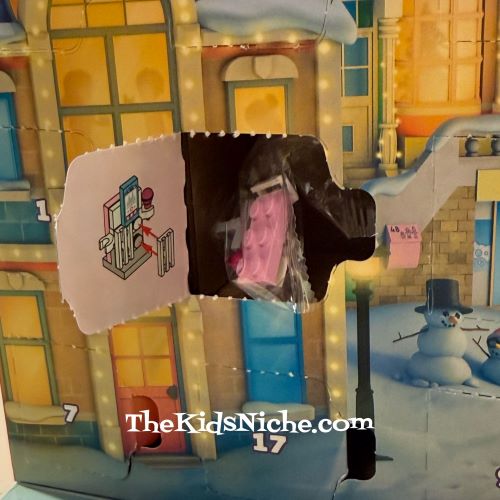
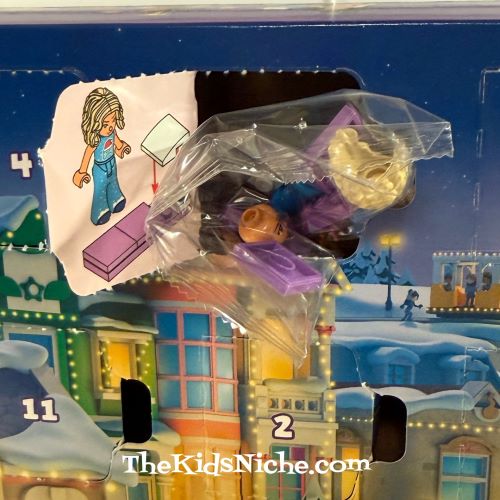
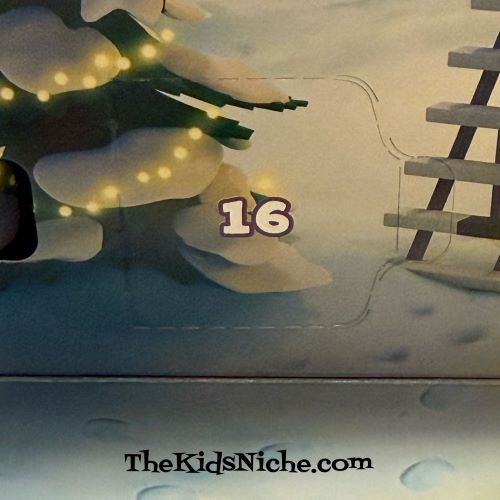
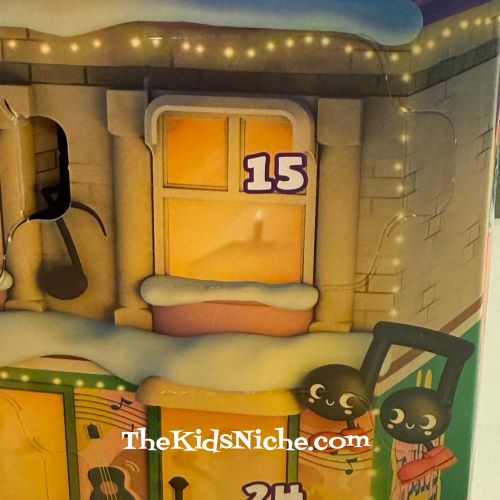
Wow, we have reached the last door on our Lego Friends Advent calendar! And that means today is Christmas Eve! 🙂 I’m sure you have lots of fun and important things to do today, so let’s open the last door quickly!

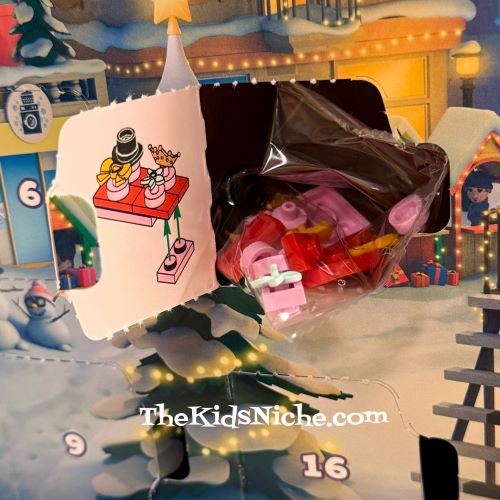
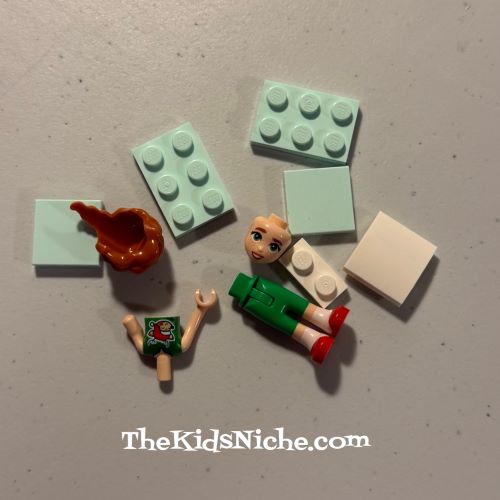
Here we go…
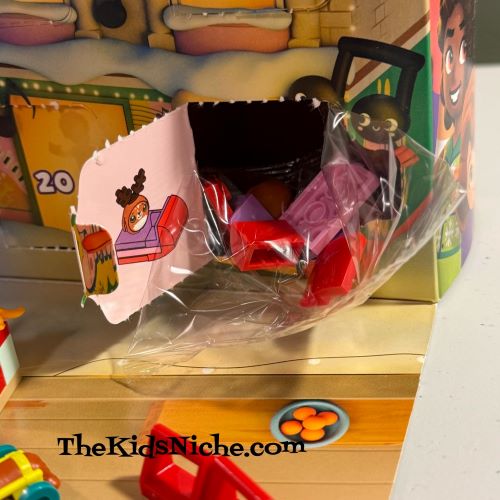
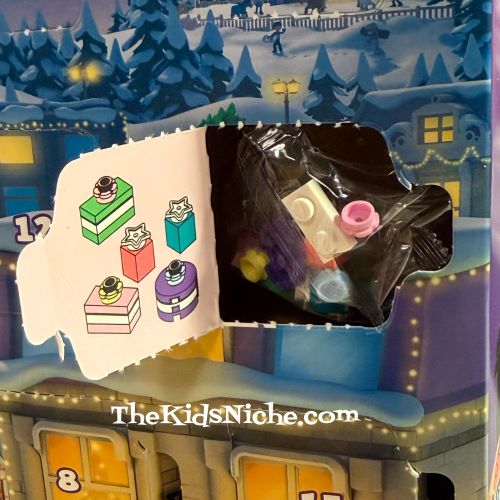
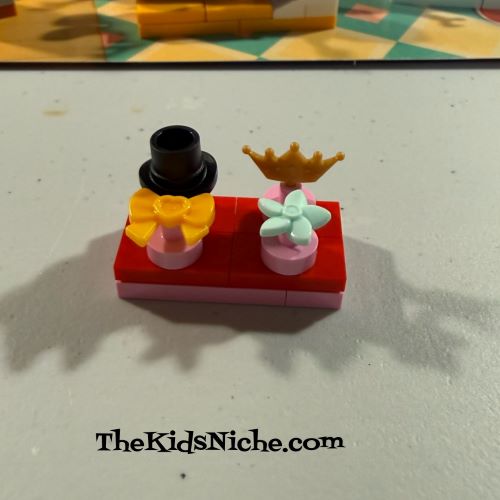
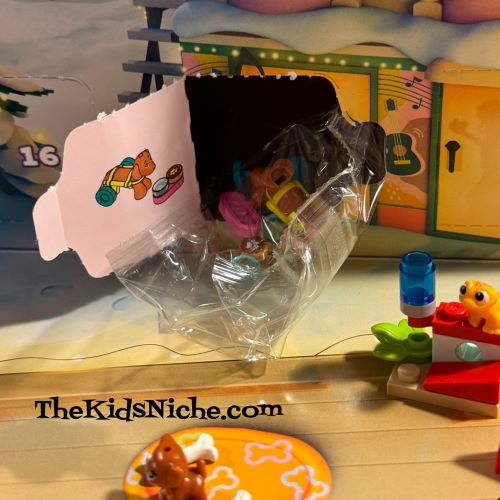
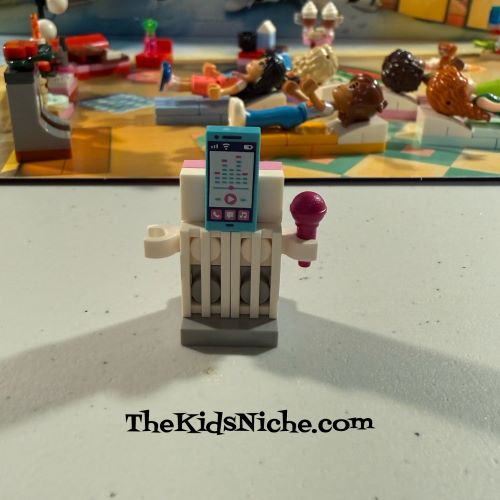
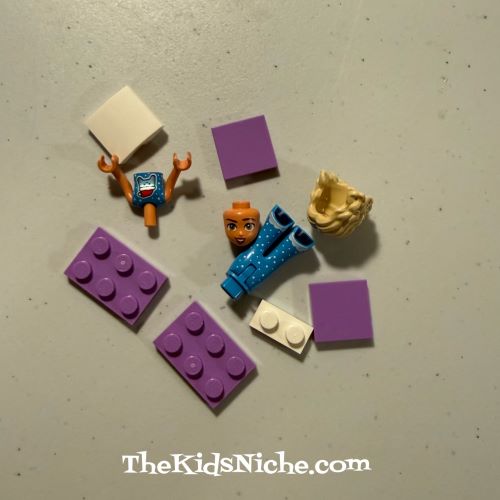
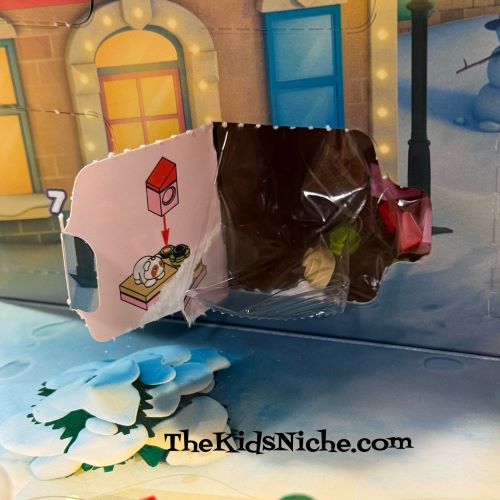
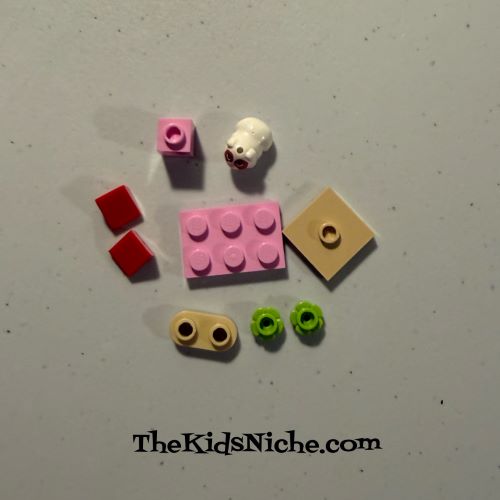
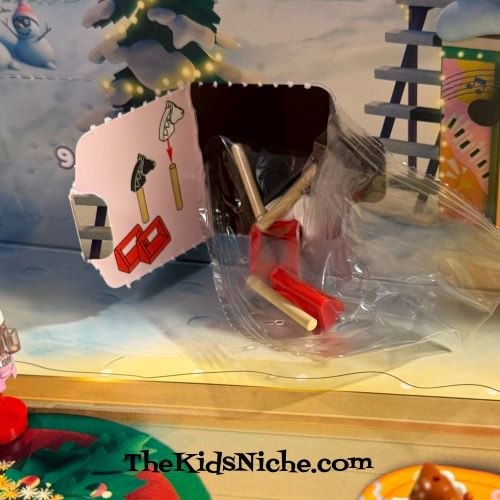
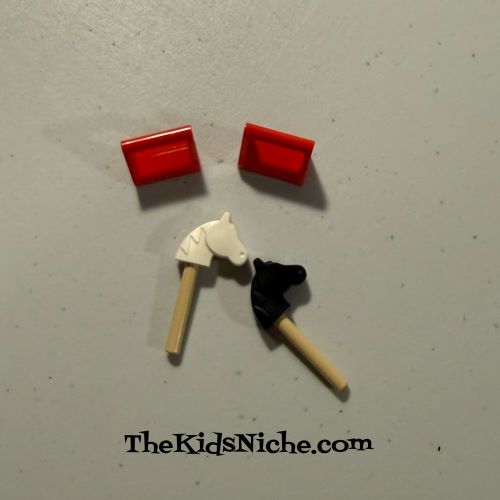
Ooohh, something very cute was hiding inside today’s box!

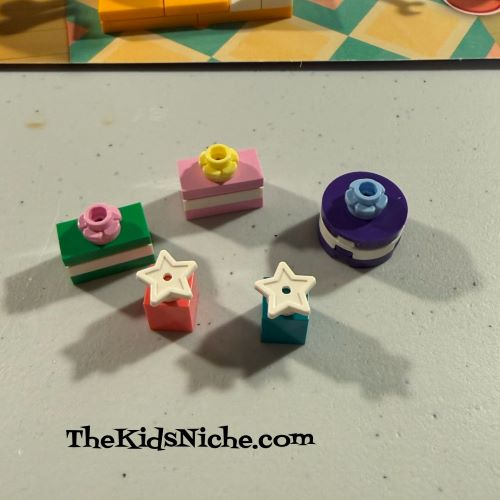
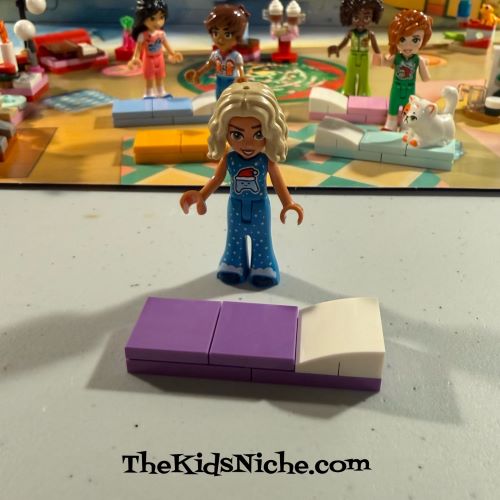
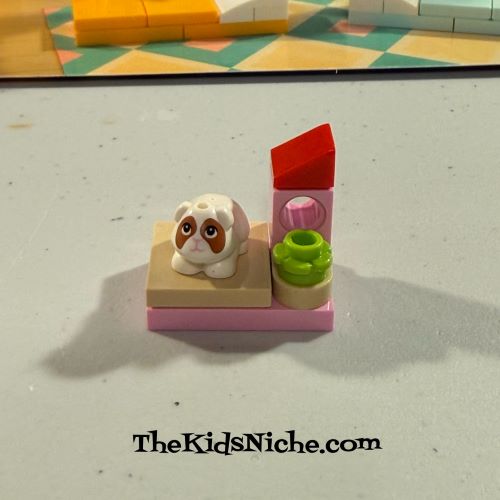
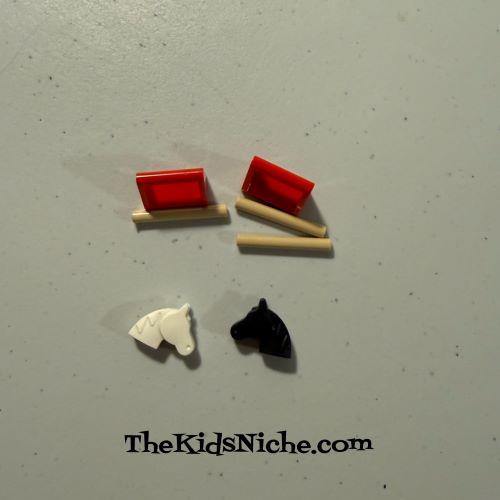
Look at this tiny little reindeer! 🙂
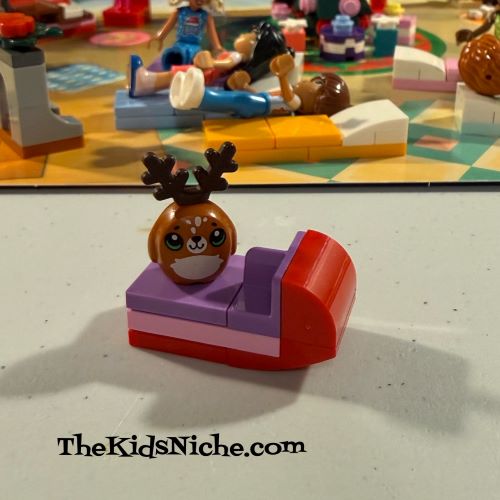
And he is ready to do some sledding!

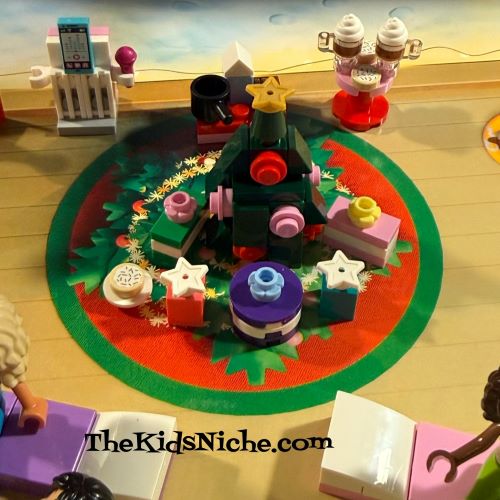
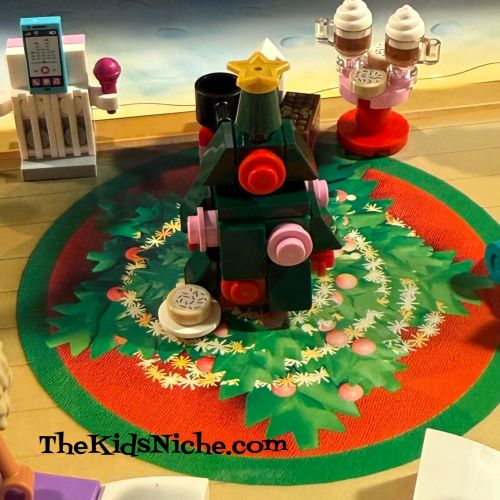
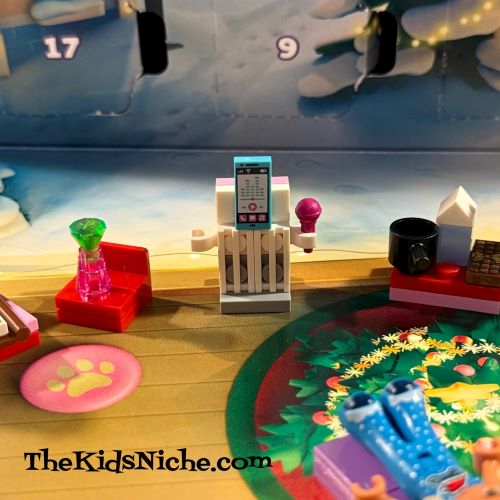
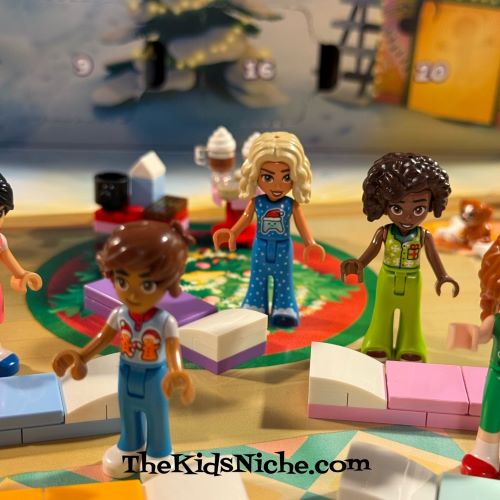
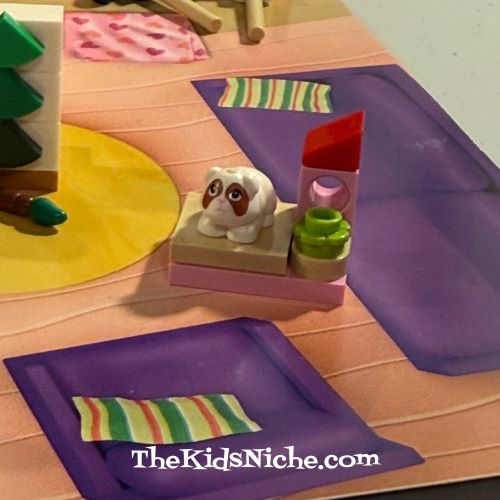
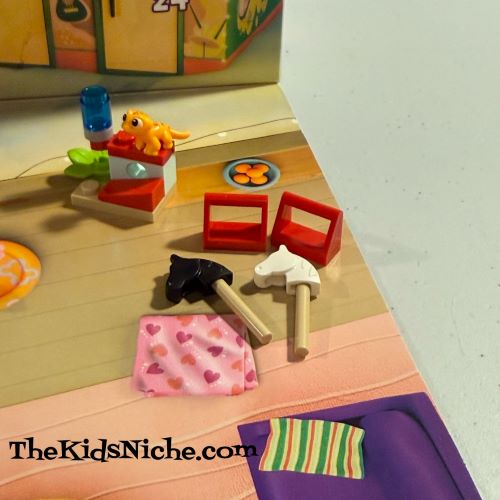
Well, that wraps up our Lego Friends Advent calendar for this year!
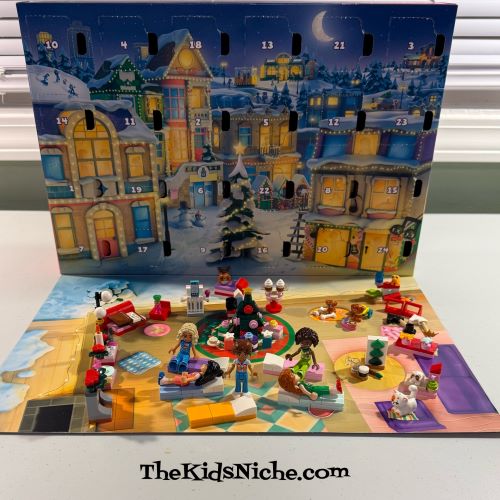
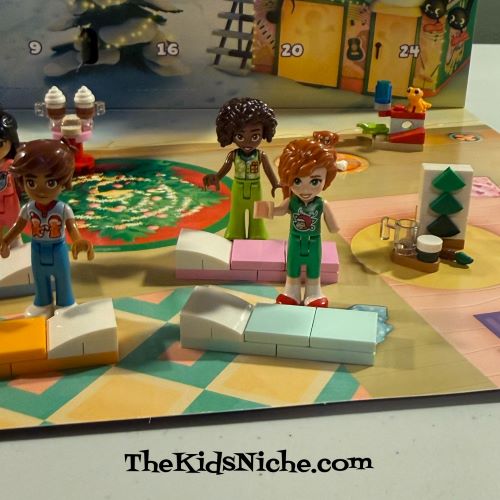
It looks like they will have an awesome sleep over! 😉 Thanks so much for following along with me! I’ve enjoyed having you here for all the fun! 🙂 We’ll see you again soon for more every day kind of fun! Merry Christmas Eve to you and yours! 🙂