Drawing Owlvin Owl for Kids

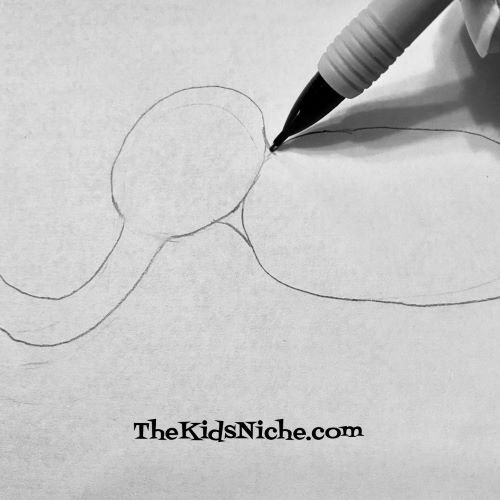
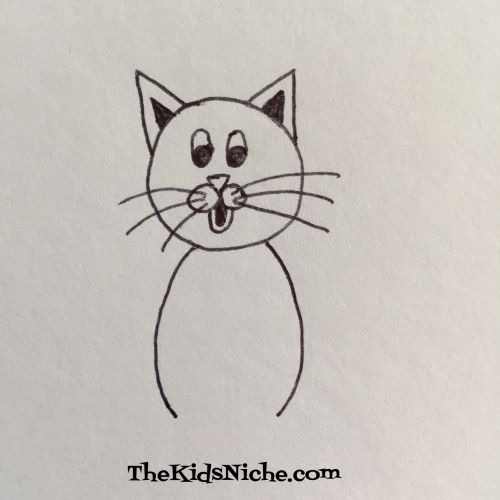
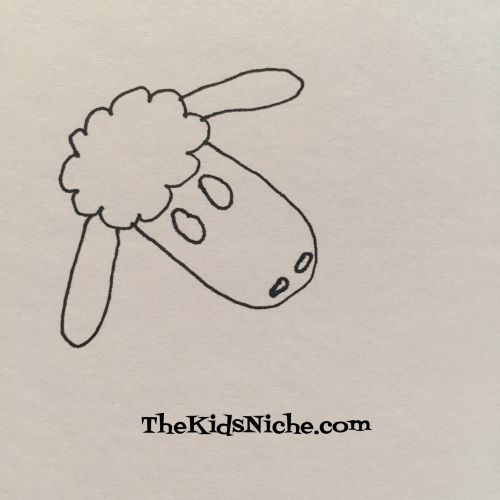
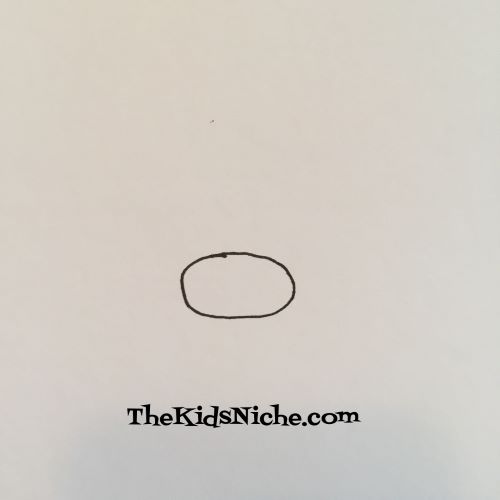
How about some drawing fun today? Owls are such awesome animals that I think it would be great fun to draw one. As the title of this blog post tells you, I named my owl Owlvin. (Of course, you can name your owl something totally different.) Grab a piece of paper and a pencil and let’s start with a nice plump oval shape which will be the owl’s body.

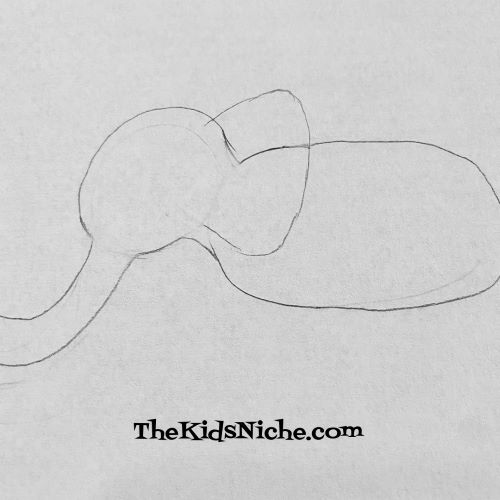
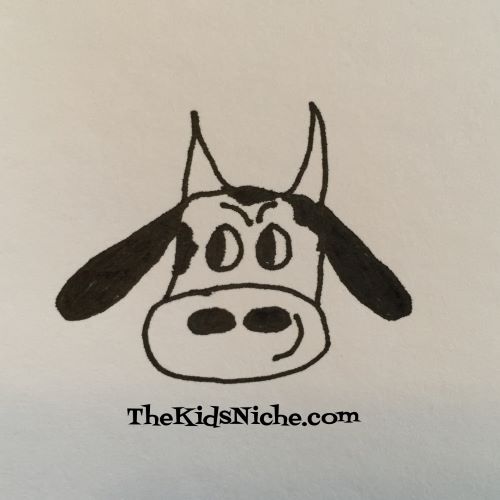
Next we’ll add a wing on each side of the body.

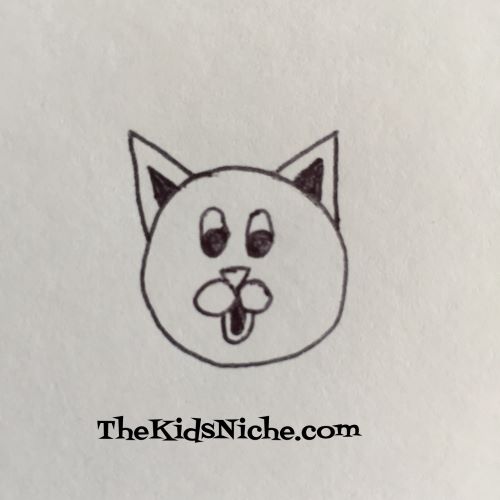
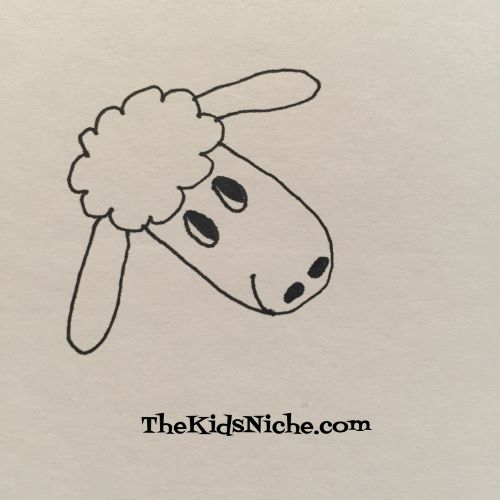
Add 2 circles towards the top of the oval for eyes. And put a little black dot inside each circle.

Draw a triangle for a nose and add a little mouth.

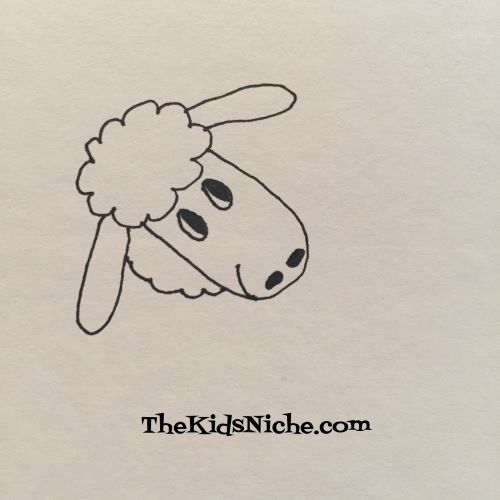
Let’s add a couple of little tufts at the top of his head.

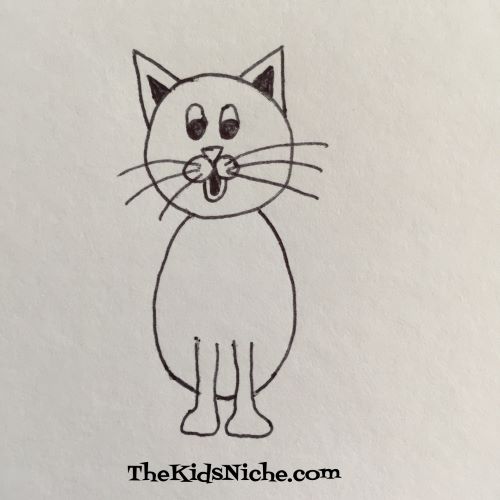
Now you can add a little tummy.

Draw 3 toes on each side for his feet.

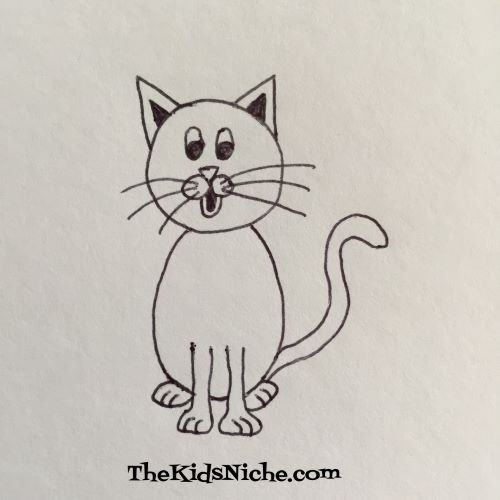
A few lines can be added to make him look more like he has feathers.

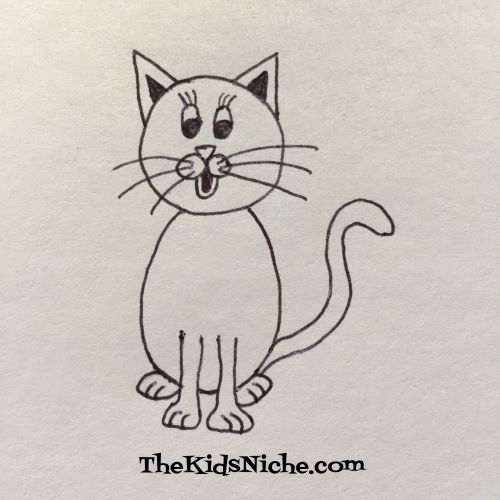
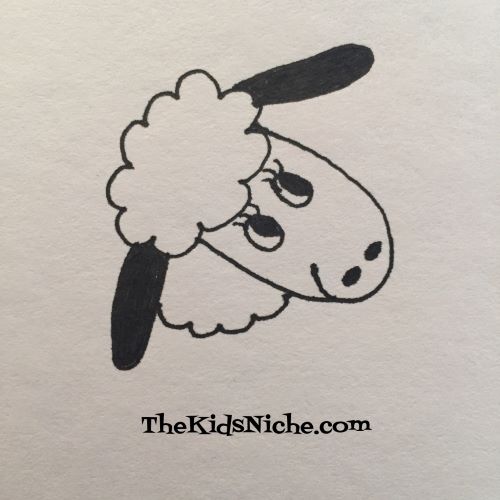
Once you have the drawing just the way you want it, you can go over all the lines with a black pen or fine line black marker.

After the ink is completely dry, you can very lightly use an eraser to remove any leftover pencil marks that you can see. Last but not least, give your owl some color.

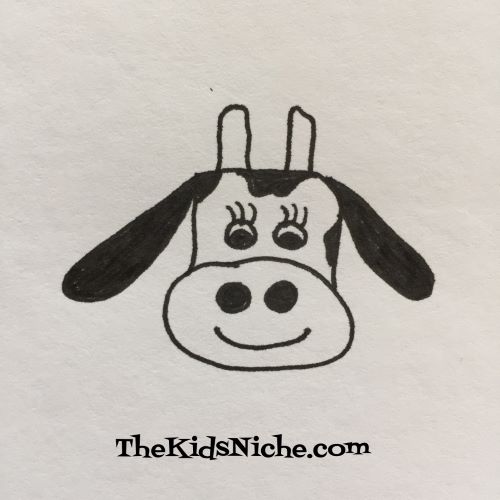
All finished! Great job! What color is your owl? And what did you decide to name him or her? I hope you’ve had fun learning to draw owls! 🙂

Drawing Eloise the Elephant

We haven’t drawn anything in a while so let’s do another drawing activity today! We’ll start with some simple shapes and we’ll end up with Eloise the Elephant! 😉

Grab a pencil and eraser, a piece of plain paper, a black pen or thin writing marker and something to color with. Here we go! Start by drawing a nice fat oval laying on it’s side.

Add another smaller oval which will be the elephant’s head.

Elephants are known for their trunks so let’s draw a trunk for Eloise next.

Add 2 small curved lines to better connect the head and body and make a neck area.

Now you can erase the lines of the 2 ovals that are between the 2 little curved lines you just drew.

Draw an ear. Then erase the lines that are inside the ear area.

Add just the top part of the second ear…it’s behind the elephant from our viewpoint so we can only see a small portion of it. Also draw in an eye, the bottom part of the mouth and 3-4 lines on the trunk.

Let’s move down and draw in 4 legs. Only 2 legs are seen completely from this viewpoint so draw in 2 legs using a rectangular shape. Then add 2 more legs that you can only see part of. Make the 2 legs that are on the other side of the elephant’s body a little shorter than the 2 on our side.

Erase the lines of the body that are on the 2 legs we can see from this side of the elephant.

It’s time for her tail!

Add some toes on her feet and some lines on her legs to show her wrinkly knees.

If you would like the outline of your elephant to be darker and more permanent, you can use a black pen or a marker that draws a fine line and trace back over what you’ve drawn.

After you are very sure that your ink is dry, you can gently erase any leftover pencil markings that are showing up. Test a very small spot first to make sure the ink won’t smear. That’s what I did, but you might not be able to tell the difference in these pictures.

Get out your coloring supplies and give Eloise some color! 🙂 And you’ve done it! Eloise is now ready for any adventure you can dream up!

I hope you’ve had fun drawing an elephant with me! Of course, you can name your elephant something different from Eloise. 😉 If you really enjoyed today’s activity, you can draw a whole herd or parade of elephants!

Let’s Draw Carly the Cat

Hello and welcome to today’s drawing fun! All you need is some paper and something to draw with. Let’s get started drawing Carly the Cat. Meow!

Start out with a circle.

To add Carly’s ears, draw 2 triangles on the top side of the circle. Then add 2 smaller triangles inside the first ones, and color the smaller triangles in with your pencil.

Now for 2 eyes. Draw 2 ovals, then a circle in the bottom part of each oval. Color in the circles.

Draw an upside down triangle for her nose.

Now draw 2 circles, one on each side of the triangle you drew for her nose. Under that draw a “U” with a smaller “U” inside of it. This is Carly’s mouth. Color in the smaller “U”.

Now let’s add some whiskers by drawing 3 lines out on each side of Carly’s face, starting inside the mouth circles.

If you want to draw only a cat’s head, then you are finished! Good job! If you would like to add a body, then keep going with me. Add 2 curved lines under the head like you see in the following picture.

Let’s add 2 front legs and 2 front feet.

Draw the lines for the body on down till they meet the legs and then draw a small line between the legs to finish Carly’s body.

Add 2 ovals for her back feet and add 2 curved lines to each foot to make her toes.

Let’s see…are we done? Have we forgotten anything? Wait…check again…what’s missing? Her tail? Of course! Draw her tail coming out the side.

If you would like your cat to look like a boy, then you are finished. If you’d like your cat to look like a girl, then you can add 3 eyelashes to the top of each eye.

Great job! Now you’re ready to draw a whole litter of kittens! Hope you had fun with our latest drawing project! 🙂

Let’s Draw Sherry the Sheep

Let’s make today a drawing day! We’ve had lots of fun drawing together in earlier posts on this blog. We drew penguins…https://thekidsniche.com/2020/02/17/lets-draw-penguins/ We drew Bessie the Cow…https://thekidsniche.com/2020/03/26/lets-draw-a-cow/ And we drew Bart the Bull…https://thekidsniche.com/2020/04/08/lets-draw-bart-the-bull/ If you missed any of those, be sure to go back and add them to your drawing collection. 🙂 Today we are going to tackle Sherry the Sheep.

All you need to get started is a pencil or other drawing utensil and a piece of paper. First thing we’ll draw looks like a cloud tipped a little at an angle. This is the top of Sherry’s wooly head.

Next let’s draw the front of her head and nose like we’re drawing most of an oval.

Add an ear on each side of her head.

Now let’s draw 2 ovals that will be her eyes and two tiny ovals that will be her nose.

Color in about half of each eye and all of each nose hole.

Looking good! Now she needs a curved line for her mouth.

Then draw more of a cloud edge between her ear and under her chin for a wooly neck.

Great job! You can stop here if you like or we can do a couple more things. Since Sherry is often used as a girl’s name, you might like to add some tiny eyelashes to each eye. If your sheep is a boy you don’t need to add eyelashes. And you might want to make his name something different…like Sammy Sheep or something else. Here’s Sherry with eyelashes added.

You can also add 2 little hair bows, one by the top of each ear to make her look more like a girl.

I drew a second sheep because they are so fun to draw and for this one I made the ears black.

You can add any details you like to your sheep. I hope you have had fun learning to draw a sheep today! I’d love to see the pictures you draw! Will you draw one or maybe a whole flock of sheep? Have fun! Thanks for visiting! 🙂

Let’s Draw Bart the Bull

It’s time to get your paper and drawing utensils out again! Today let’s create Bart the Bull. A bull is a male or boy cow. About 2 weeks ago we drew Bessie the cow. If you missed that post, you can go back to it here and have fun drawing Bessie. https://thekidsniche.com/2020/03/26/lets-draw-a-cow/

Here’s Bessie:

Ok, back to drawing Bart! We’ll start the same way we did when we drew Bessie, with an oval shape laying on its side.

Next we’ll draw part of a rounded rectangle for his head on top of the oval. Like this:

My rounded rectangle didn’t come out even, but that’s ok, it will still look fine when we are finished drawing. So if yours isn’t perfect either, don’t worry about it! It will still be great! 🙂 Now let’s add 2 small ovals for Bart’s eyes and 2 ovals for his nose. Here’s where to place them:

The next step is to color only half of the eyes in. Bart will be looking to the right or to the left or up or down depending on which half you color in. Also color in the 2 ovals inside the larger oval for his nose holes. Then draw 2 eyebrows above his eyes and a curve for his mouth smiling. I drew his mouth on the side and his eyebrows coming close together to make him look ornery. 😉

Now draw his 2 ears.

And now he needs you to give him 2 horns.

It’s up to you to decide if Bart is a black and white cow like Bessie or some other color. Here’s one way he might look if he is a black and white cow.

This is Bart if you’d like to make him a brown cow.

And there you have it! All done and a great job you did! Now you can draw as many cows as you like. I hope you had fun drawing with me today!