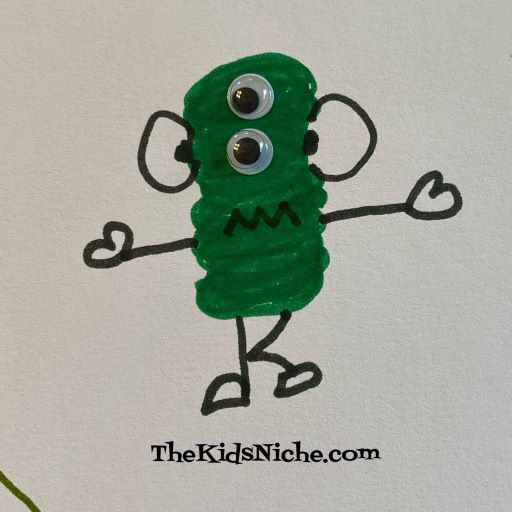
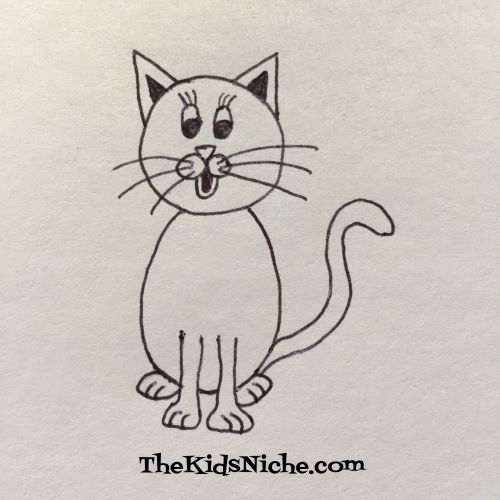
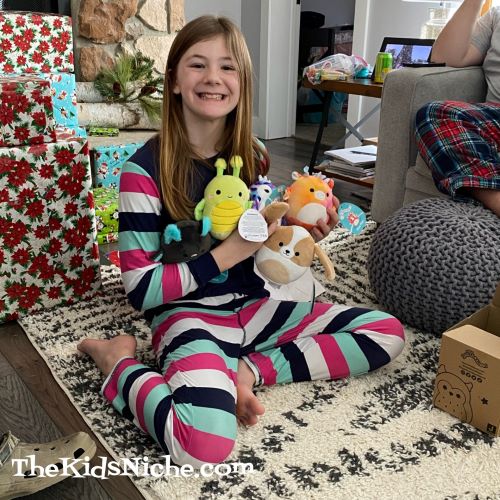
Do you own a Squishmallow? They seem to be very popular now and I’m kinda behind the times on learning about them. Our granddaughter got a BUNCH of them for Christmas and now I know why everyone likes them! They are sooo cute and sooo soft and well, squishable! 🙂 (I’m thinking I might need one…or a few!)

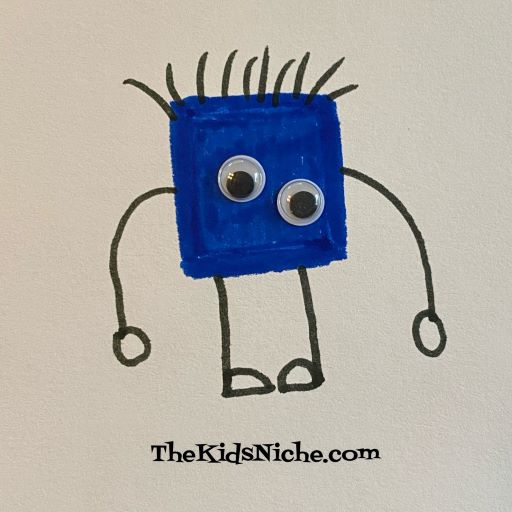
And then there were mini squishmallows too! 😉
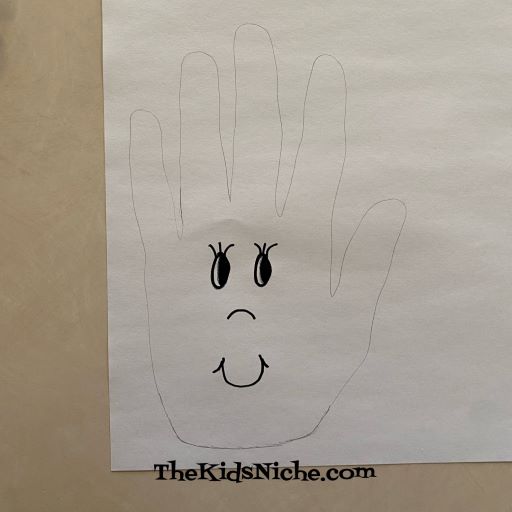
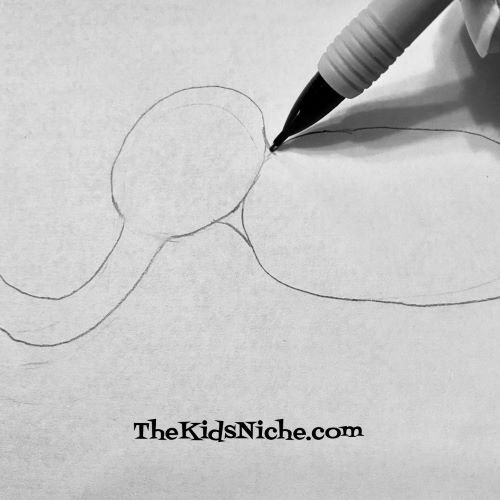
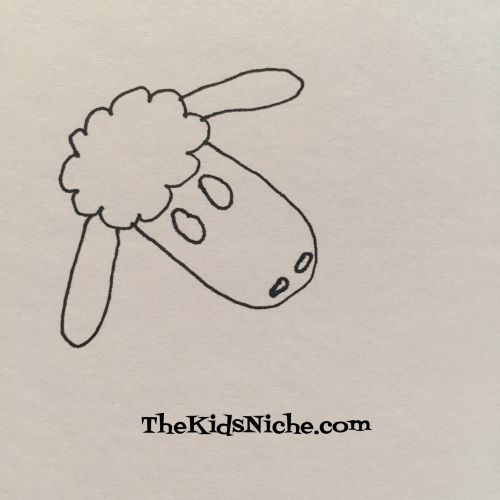
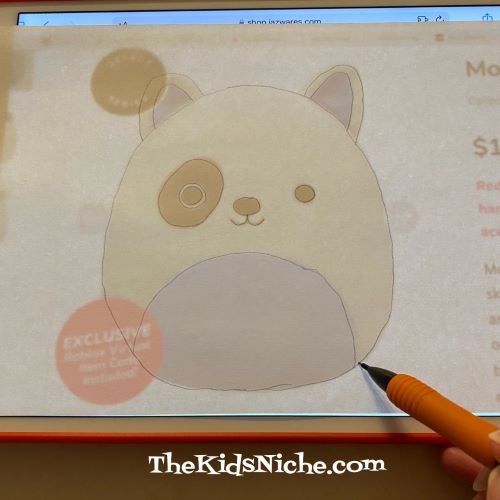
Our granddaughter has been tracing characters and coloring them and that gave me the idea that it would be fun to draw Squishmallows. There are a couple of ways you can do that. One way is to find a picture of a Squishmallow online and save the picture to your tablet.

Lay a piece of thin white paper over the picture and trace the outline of the Squishmallow.
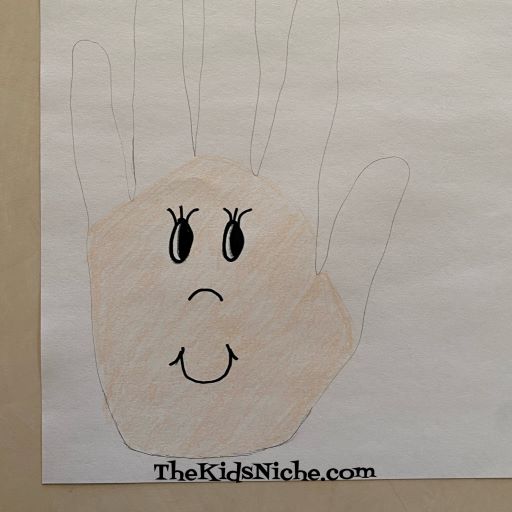
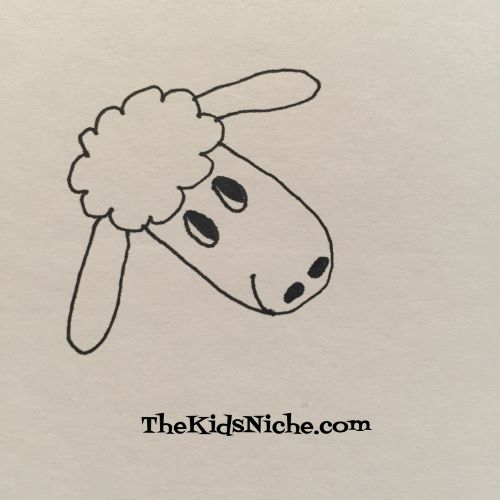
Take the paper off the tablet and color the picture with your favorite crayons, markers or colored pencils. Use the picture as a guide for what colors to use.


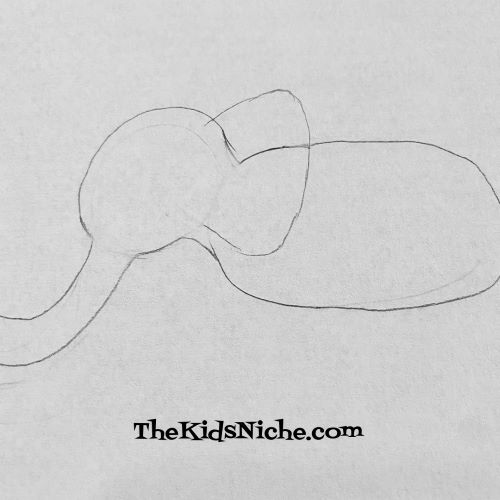
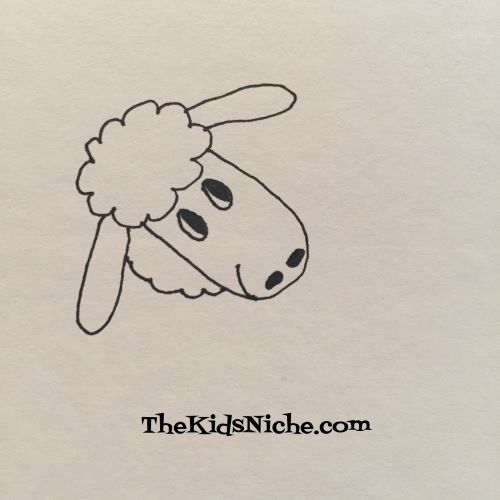
Molina is actually white but the white part didn’t show up in a picture so I colored her a light color so you could see her better. Another way you can trace/draw a Squishmallow is to print an online picture first.

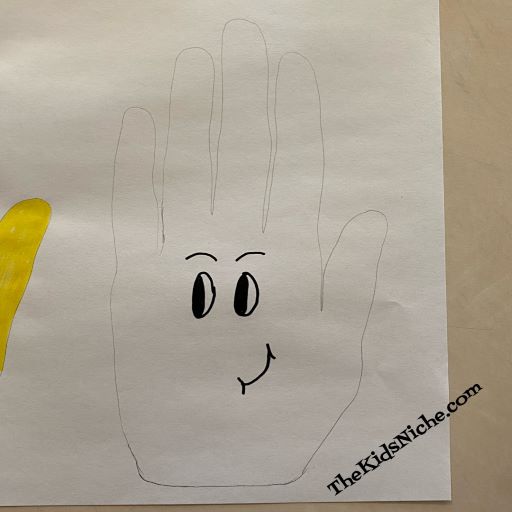
Hold the picture up to a window (or tape it on the window) and use a piece of thin white paper to trace it just like we did with the first one.

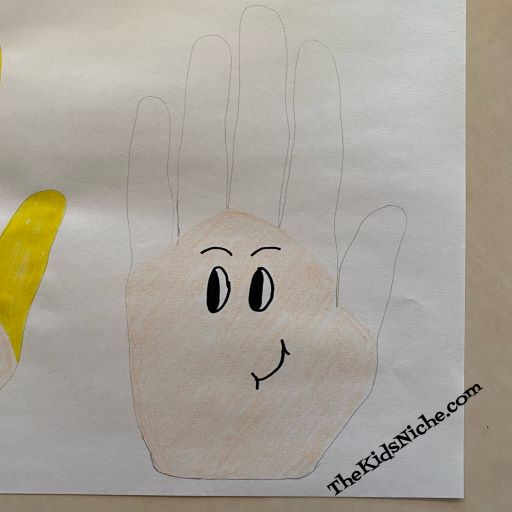
Color the picture and ta dah! You now have a drawing of Gorm too!

You can make a whole collection of Squishmallow drawings to decorate your bedroom or maybe you’d just like to do one or two. I hope you will have fun drawing your own Squishmallows! 🙂