I’ve seen the suggestion floating around the internet to color eggs using Cool Whip whipped topping and food coloring, so I had to try it out. 😉 (I may have shiny object syndrome or something) Here’s how it went for me…
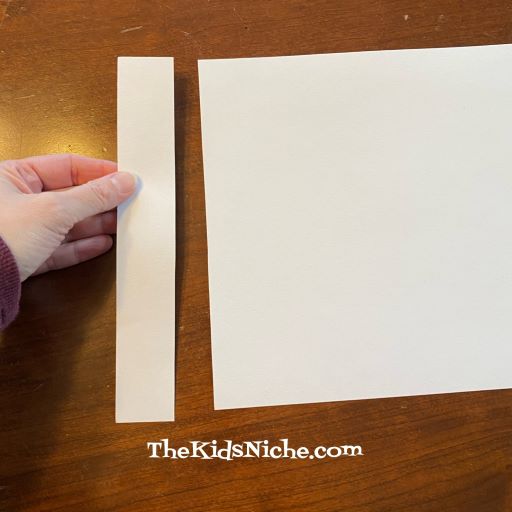
You will need a container of Cool Whip whipped topping, white hard boiled eggs and liquid food coloring. And a dish to do your coloring in…I used a cookie sheet.

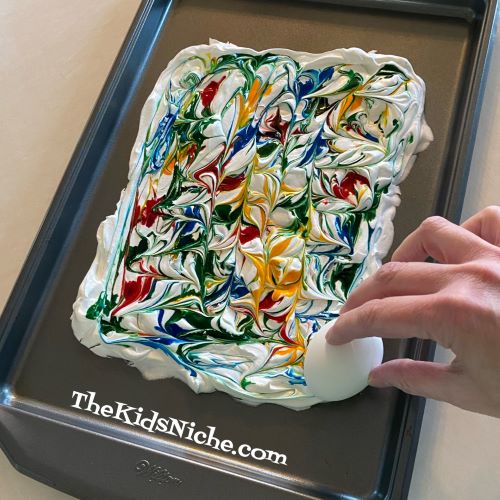
Thaw the Cool Whip in the refrigerator. Then spread a bunch on the cookie sheet or dish.

Put drops of different colored liquid food coloring all around the Cool Whip.


Using a toothpick…or other small utensil…swirl the colors throughout the Cool Whip.

Roll the white hard boiled eggs through the colored Cool Whip and let the eggs sit on the cookie sheet. A word of warning…your fingers are going to be just as colorful as the eggs! 😉
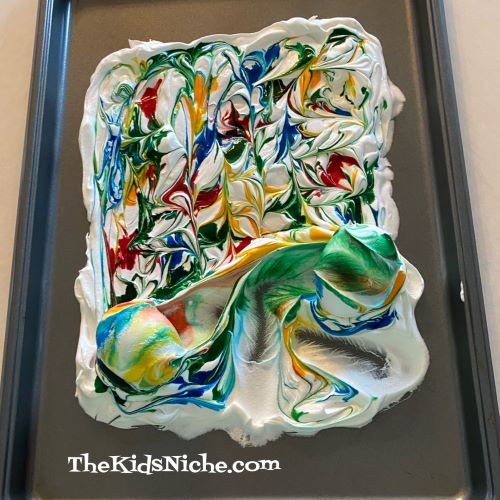


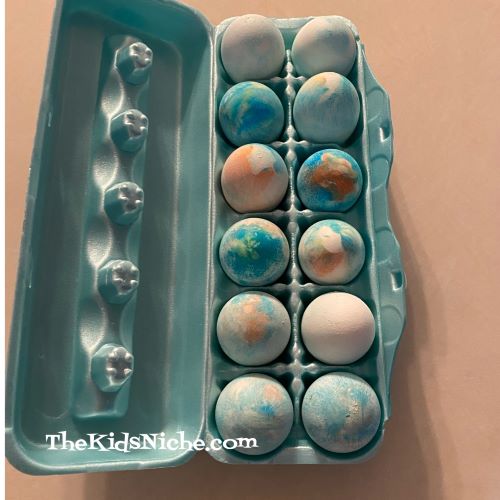
Let the eggs sit for 10 to 15 minutes. Then rinse in water. Sit the eggs on a paper towel to dry. Here’s a look at my eggs after they were dry.

The eggs looked neat but most of the color was on the light side. (Maybe I did something wrong?) I had one egg in particular that didn’t take on much color even though I did it twice. Overall this was a fun process so you might like to give it a go too. 🙂