
Easter is only a few days away now! Are you looking for another simple craft to do with the kids? Here’s a great one that I shared last year, but it’s so pretty it’s bears repeating! 🙂
You’ll need a few colors of tissue paper, a piece of white paper, a pencil and glue. A computer and a printer will make it easier but isn’t necessary. To begin…draw the shape of an egg on the piece of white paper. Or do like I did and go to:
https://www.firstpalette.com/printable/easter-eggs.html
You can print out an egg for free. How nice is that?! (Thank you, http://www.firstpalette.com !)

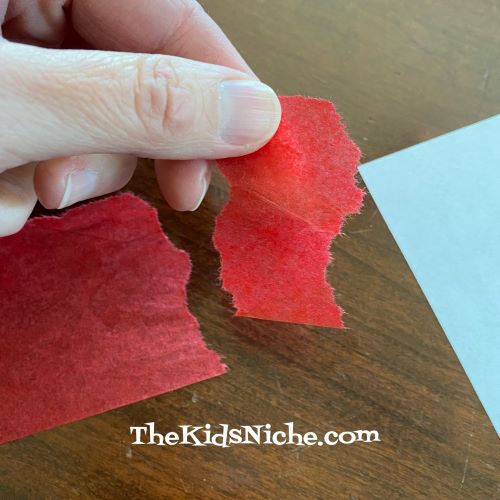
Draw some light lines on your egg to divide it into sections. Begin with your first color of tissue paper and tear it into strips. They DON’T need to be perfect or the exact same size.

Next tear the strips into smallish pieces. Again, no need for perfection here!
Apply some glue to a small area of the first section of your egg.
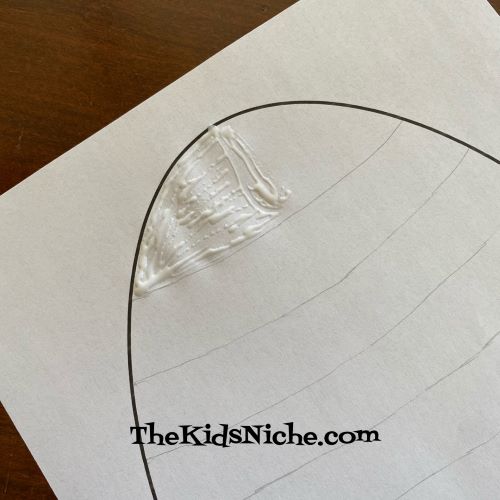
Take one of the ripped pieces of tissue paper and wad it up into a little ball. Yep, squish it up! Then press it down into the glue. This picture is 3 balls.

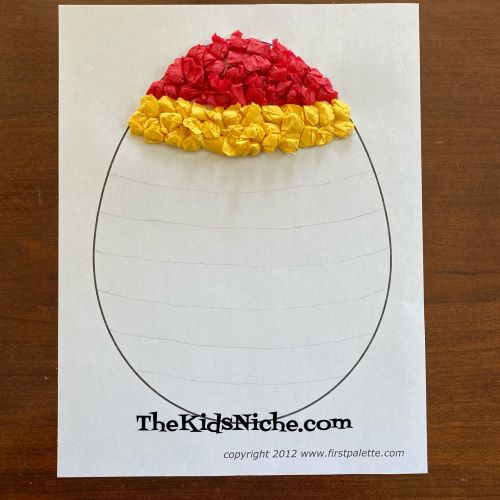
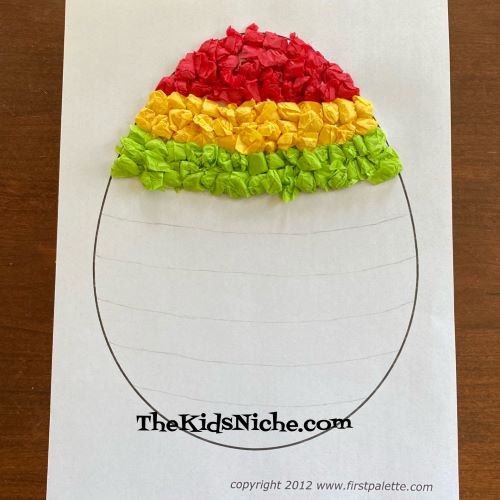
Continue making paper balls and gluing them onto the egg shape. Press them close together so there isn’t much of the white paper showing through. I changed colors for each section but you can make your design however you like. Here is the first section done in red.

Then I did a section in yellow.
Next was light green.
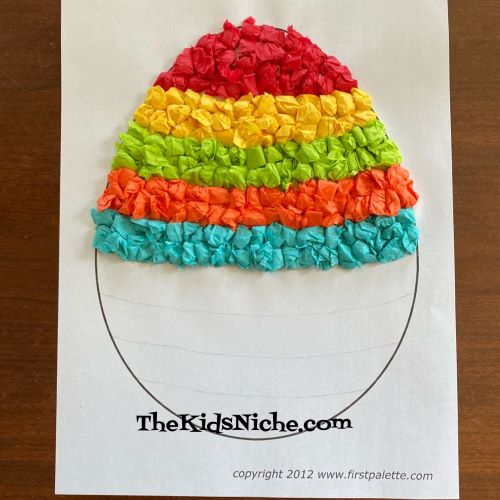
Orange…

Light blue…
Pink…

Darker blue and yellow…

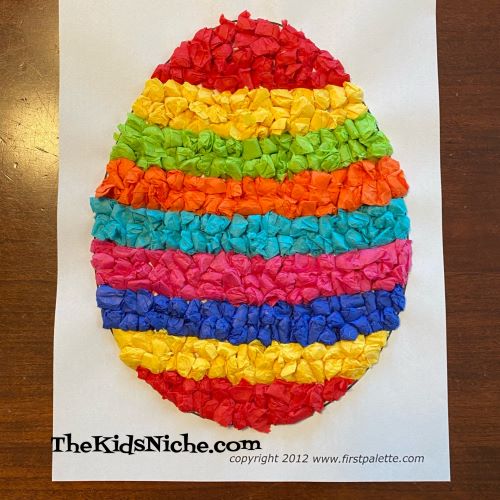
And finally red again to finish. 🙂

Doesn’t it look great? You can make lots of different colors and designs for as many eggs as you want to make. Have fun! 🙂
