You all have likely seen marshmallow “Peeps” for sale in the stores around Easter time. Not sure what I’m talking about? This is the way the original ones looked when I was a kid.

It would seem that folks either love them or dislike them very much. I fall into the latter group. I have never understood why people love them, but to each his own! Each year just before Easter, they show up in stores and I am always amazed at the flavors that are now available! For the sake of honesty, I have never tried any flavor except the yellow ones. My throat says “Umm, not happening!” every time one gets close enough for me to smell it. So maybe some flavors are better than others. I can agree that they are quite cute and colorful! The other day I found the following colors and flavors at our local store:
Pink…

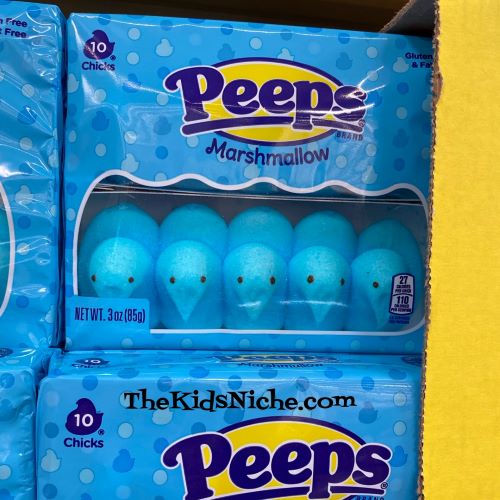
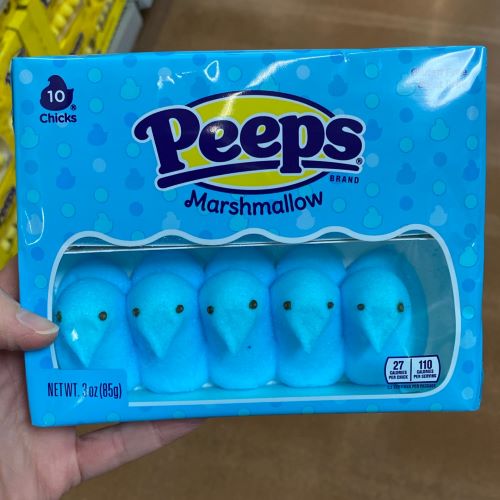
Blue…
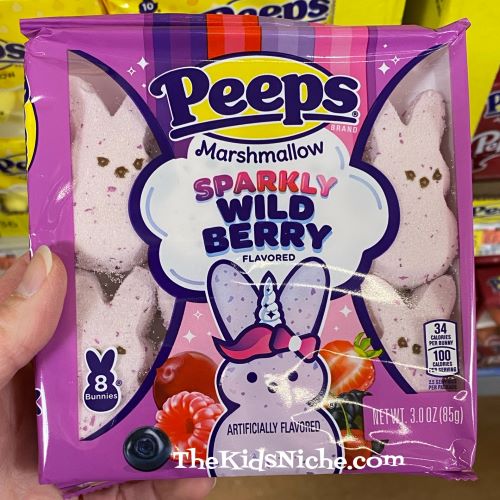
Purple…

Dr. Pepper flavor…(really?! I don’t care for Dr. Pepper either.)

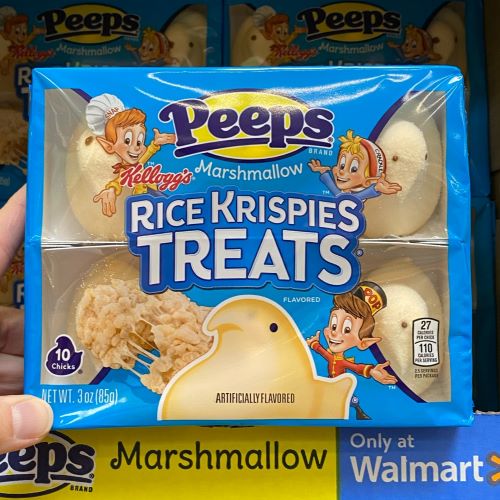
Rice Krispies Treats flavor…I do like real Rice Krispies treats.
Fruit Punch flavor…

Party Cake flavor…this one at least sounds good.

Sour Watermelon flavor…

Cotton Candy flavor…

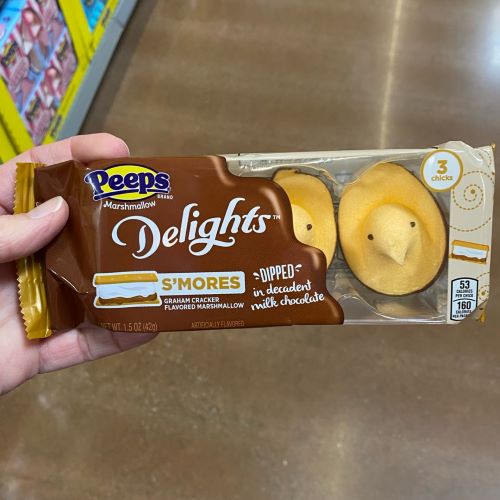
This is a new one I haven’t seen before. Peeps Delights S’Mores flavor dipped in milk chocolate. This one is almost tempting me to try it…almost. 😉
Oh and they also come in bunny shapes which really are quite adorable!

So here is the million dollar question…do you like marshmallow peeps? I am actually curious and would like to know! If your answer is yes, which flavor do you like the most? How about taking a survey of your family members? Do you get more likes or dislikes? According to Wikipedia, Peeps have been marketed in the United States and Canada since 1953. So I’m guessing there are a TON of people that really like them! LOL 😉 If you are one of those, I hope you enjoy them! If you don’t care for them, yea…I understand! 😉