I made a stop at our local Dollar Tree store and, of course, I had to check out the kids items. 😉 That’s what grandmas do, right? I want to share 3 fun things with you that I saw.
#1.) Dominoes. Double Six dominoes, 28 pieces.
These will be great for helping kids learn to match numbers and colors or just for playing the game of Dominoes.
And yes, they will stand up so you can build lines that will fall down with a push on a single domino. 🙂
#2.). Sparkle by Number Unicorn Kits
You just peel and stick on little “gems” to make the picture sparkle!
I know a little girl or two that would think this is fun to do and so pretty! (And maybe some BIG girls too!) 😉
There were 2 different unicorn pictures at our local Dollar Tree store.
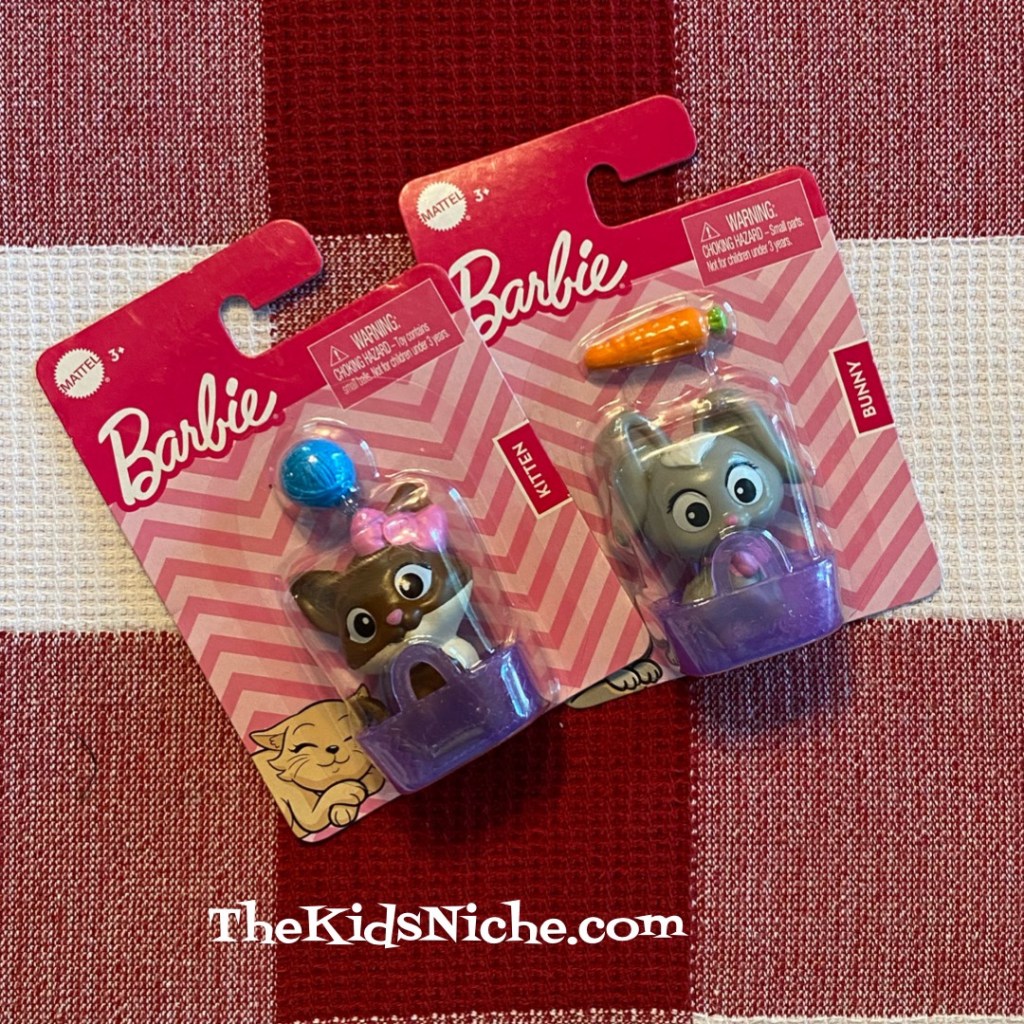
#3.). Barbie pets. They had a kitten and a bunny that would be fun to add to a Barbie doll play set.
I always have fun when I wander the aisles of our local Dollar Tree store! I hope you can find some fun goodies for yourself and for your favorite kids! 🥰
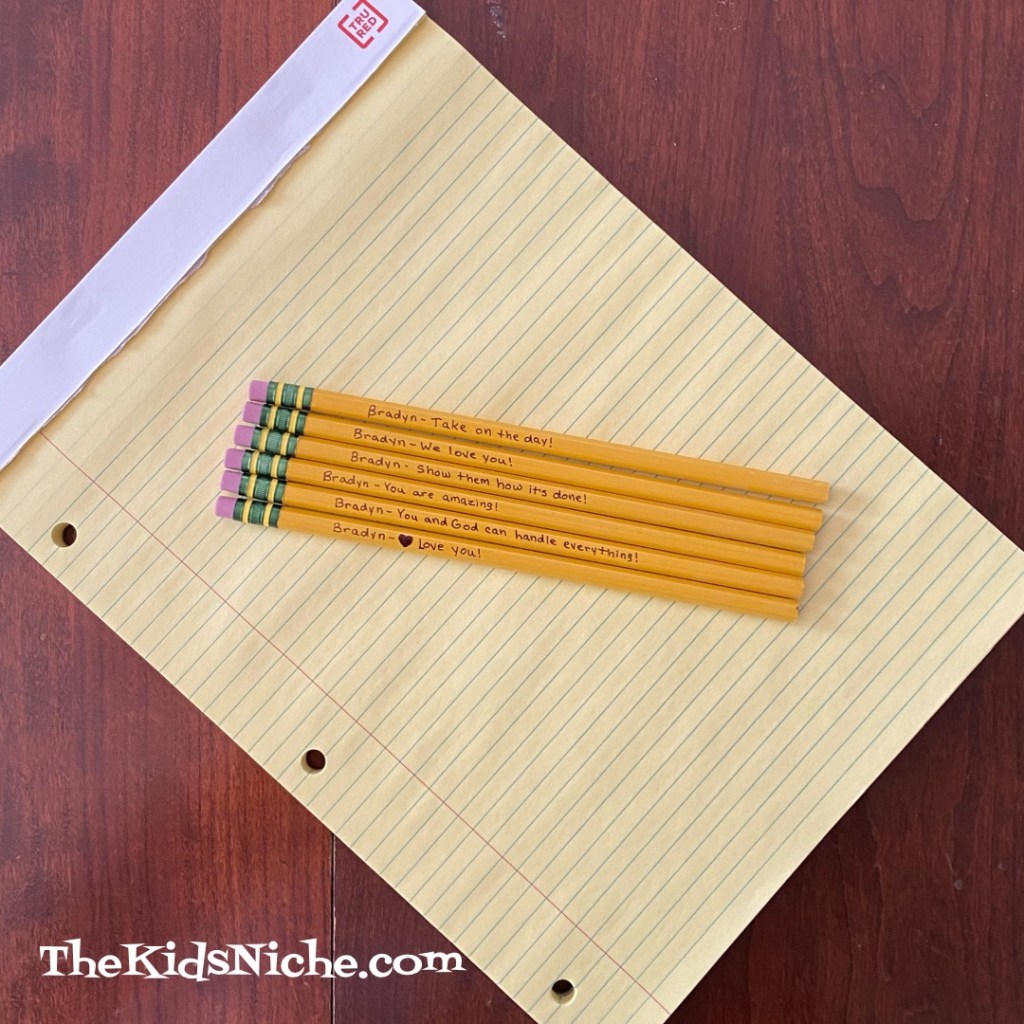
And just like that, we’ve started a new school year! Wow, where did summer go? Here’s a simple project that can keep your kids’ spirits upbeat as they hit the books once again.
All you need is a pack of regular pencils and a fine point permanent marker. Simply write an encouraging message on each pencil. If there is more than one child in the family, also include their name. When your child uses their pencil, they will see your encouragement and they will remember you made this pencil especially for them. 🥰
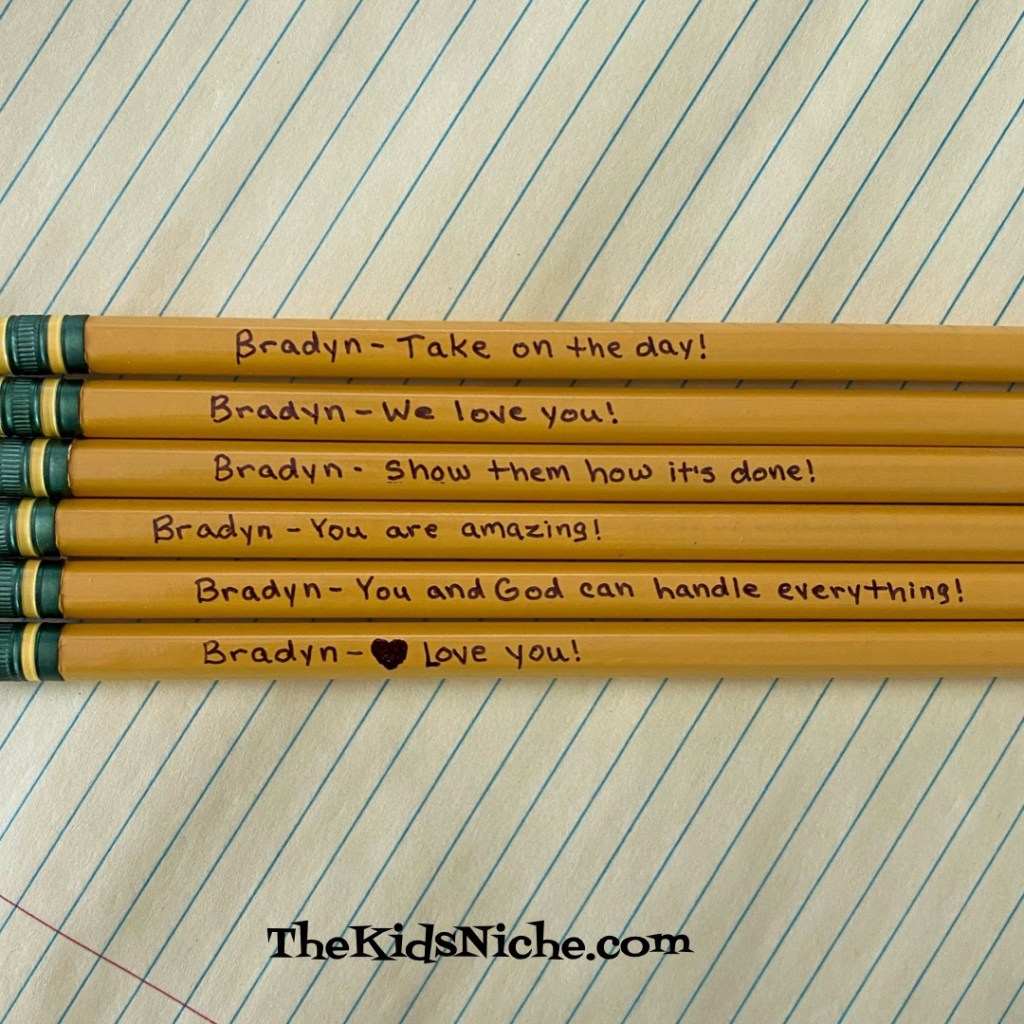
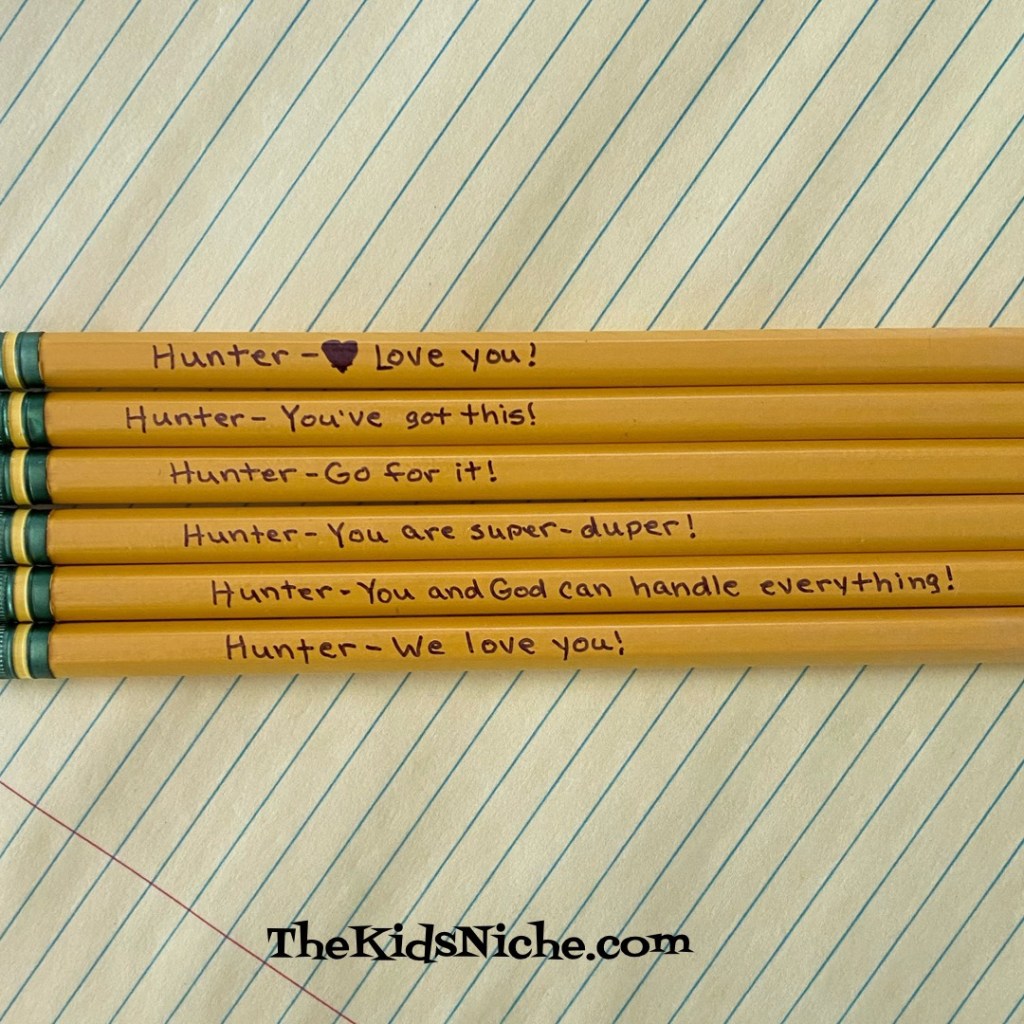
Here are some closer views so you can see what I wrote on these pencils for our grandkids.
Of course, feel free to write whatever message you like. Let’s get our kids started off on the right foot this school year! 🙂
Sorry for the lateness of this post! I’m having computer problems so I’m going to try this post from my phone. Here goes! 😉
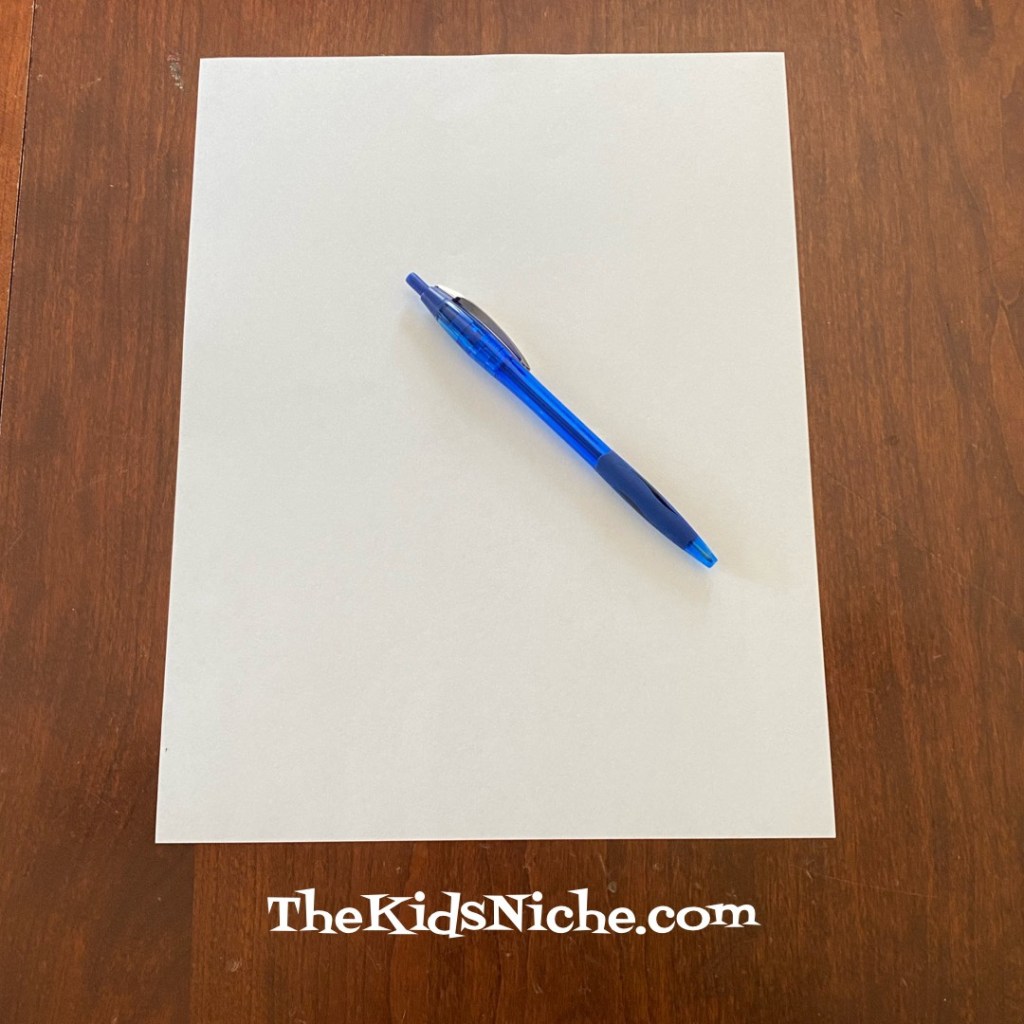
Do you find it hard to keep kids motivated when you are homeschooling or they are doing distance learning at home? Sometimes it helps to take a short break now and then. I’d like to share an idea with you today that might make even a short break more refreshing and fun! All you need is a sheet of paper and a pen.
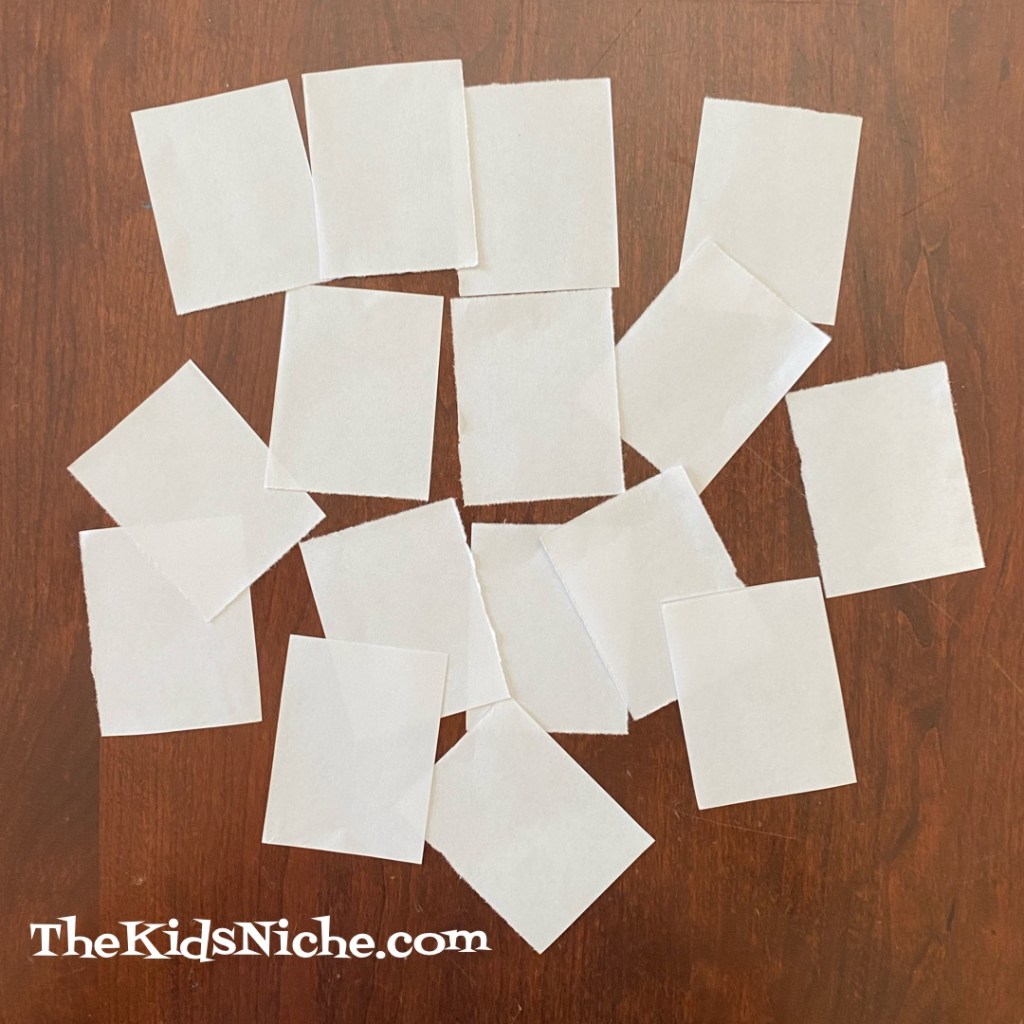
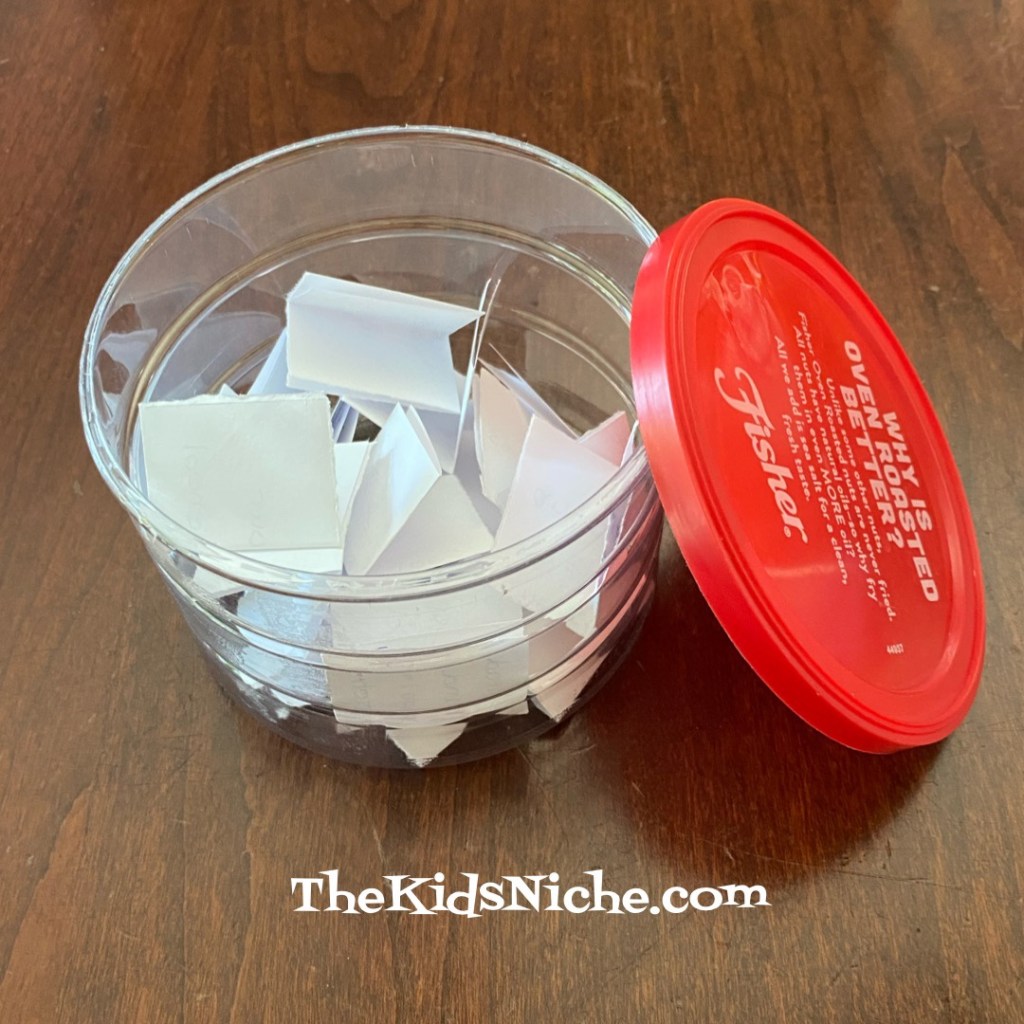
Make the piece of paper into small squares by folding and tearing or by using a pair of scissors to cut it. I made mine into 16 pieces.
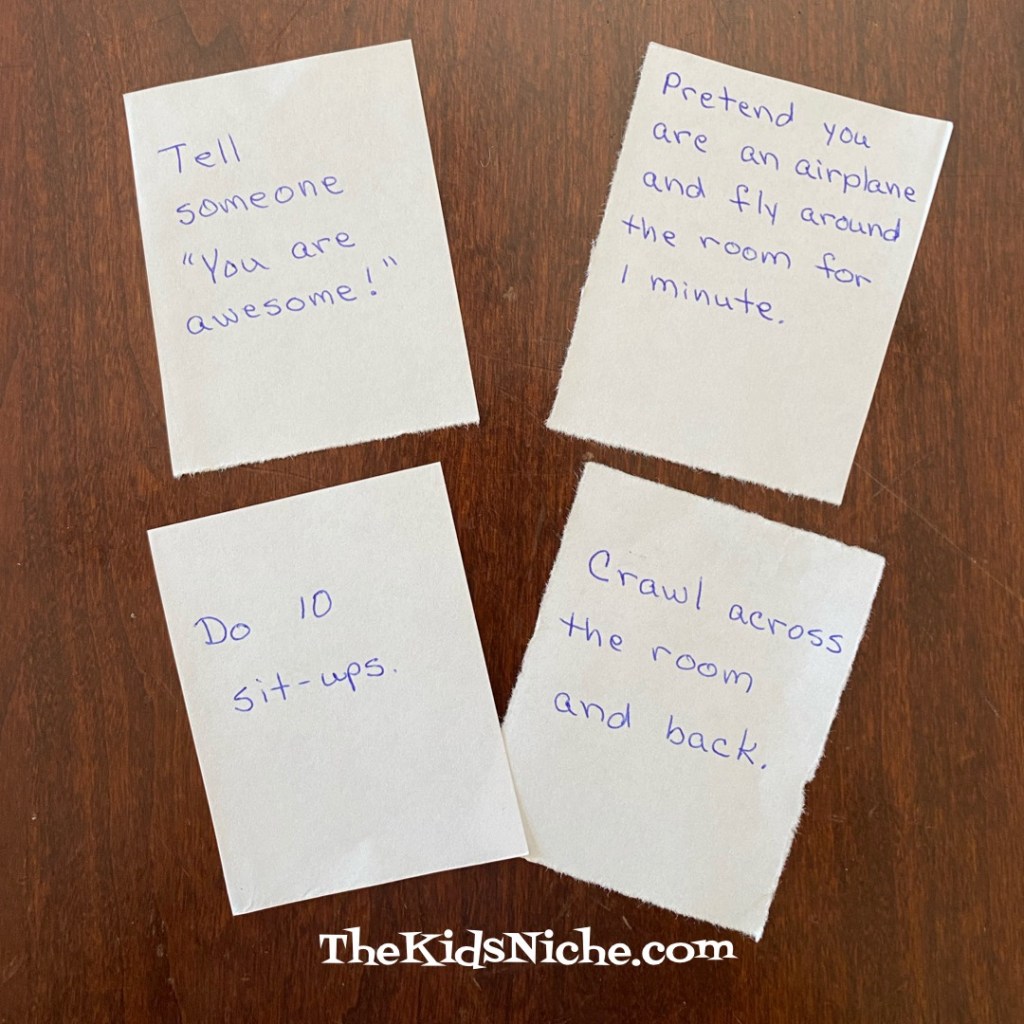
Now write funny little activities on each piece of paper. I’ll show you what I wrote in just a second…
The ages of your children will help you decide what kind of activities to write down. The goofier the better! The idea is to get them up and moving and smiling. 😃 Here are the activities I wrote on my pieces of paper:
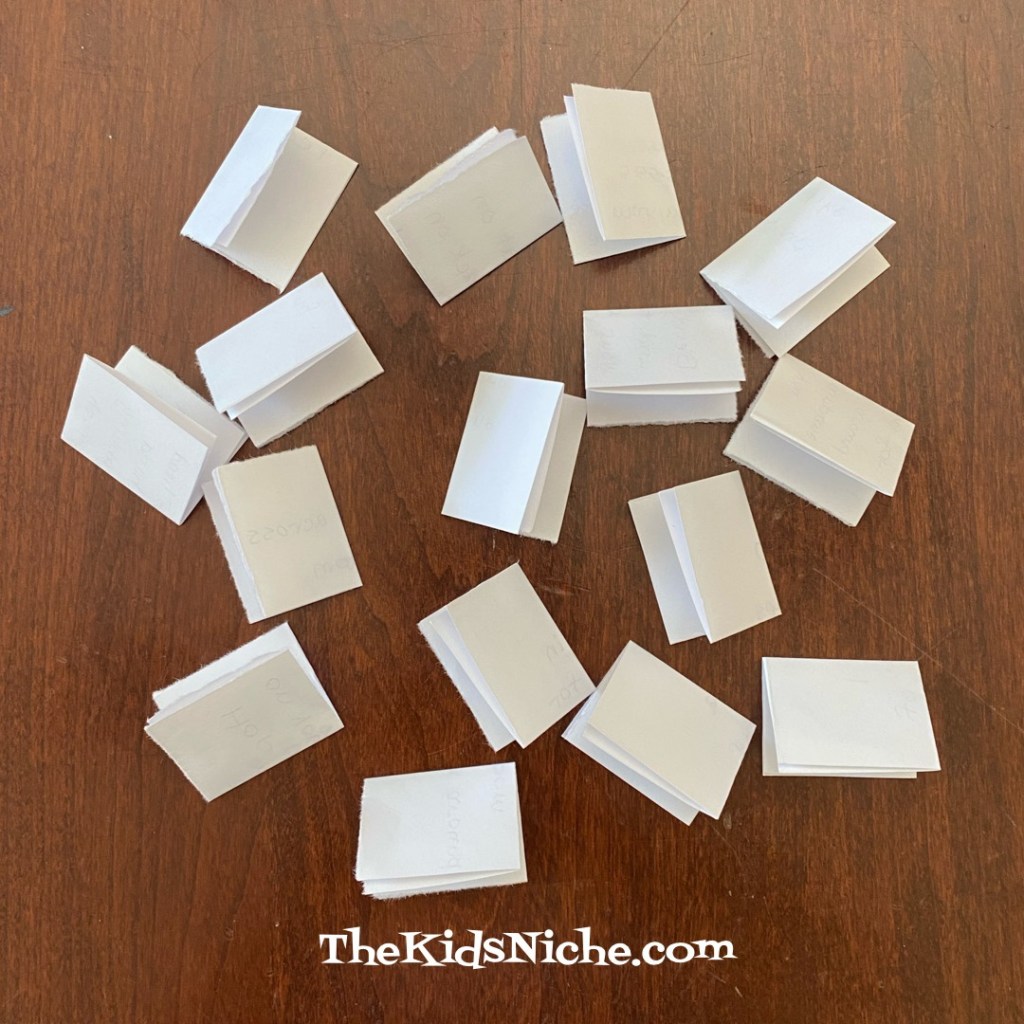
After you finish writing on all your pieces of paper, fold them in half and then in half again so nobody can read what they say.
Find a container or bowl to place them in.
You decide when it’s time for a break from studying or working. Maybe it’s after 2 pages of Math or after reading a chapter in a book. When it’s break time, allow your child to reach inside and pull out a piece of paper. Then they read it or have it read to them and they do the activity. It makes for a nice break from sitting for long periods of time. Hopefully after doing their activity, the kids are awake and ready to tackle the next subject. I hope you’ll give it a try! 😃
Hi everyone! Sorry to disappear on you last week, but we were away for a few days. Back home and back in the saddle! 😉 I found some fun kid’s items on clearance at our local Joann’s store. (Or maybe you call it Joann Fabrics store.) Just wanted to share them with you in case you’d like to get in on the fun too! NOTE: The prices I’m sharing with you were IN STORE. If you look online, they are not as cheap.
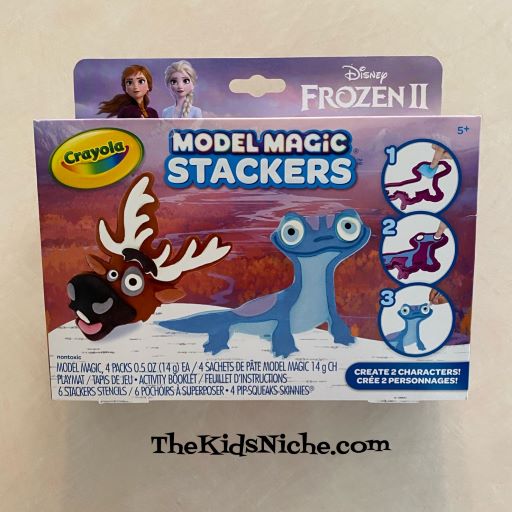
Crayola Model Magic Stackers Disney Frozen II.
It looks like the original price was $14.99 but it was on sale in the store for $2.47!
School Zone BIG Hidden Pictures & More Book. This has a lot of fun activities inside! (I’m ready for the grandkids to come so I can “help” them do some of these!) 😉
I didn’t find the exact original price on this, but similar books are $14.99. It was on clearance for $7.47. There are 299 pages of activities plus several more pages of answers. Great book!
Fab Lab Sequins. These are small packages of assorted kinds of sequins that kids will love! I bought 1 pack of flowers and 1 pack of mermaids and seashells.
Regular price looks to be $1.99 and I got them for $.97 each.
Felt Hoop Kits. There were a couple types of these kits still available in my store. I bought the zebra and the lion kits. It has some felt pieces and some embroidery floss plus the hoop and they look like they will be adorable when finished.
They were in the clearance sale for $2.47 with their regular price being $5.99.
Just one more for this time…Pop! bumper craft pack. This has a little bit of everything in it! (Ok, not everything, but a nice assortment of crafty things!) Included are chenille stems, pom poms, wiggle eyes, white glue, sequins, feathers and foam shapes. Let your imagination go and see what you can make! 🙂
My best guess on the original price is $6.99 to $9.99. It was on sale for $2.97.
And there you have it! There were many more items in the clearance sale, but these are a few that caught my eye. I’m sure availability will vary by store. Remember, the price when shopping online is higher than in the store. Now you have an excuse to shop at your favorite Joann’s store! It’s always better to buy things when they are on clearance, right? 🙂
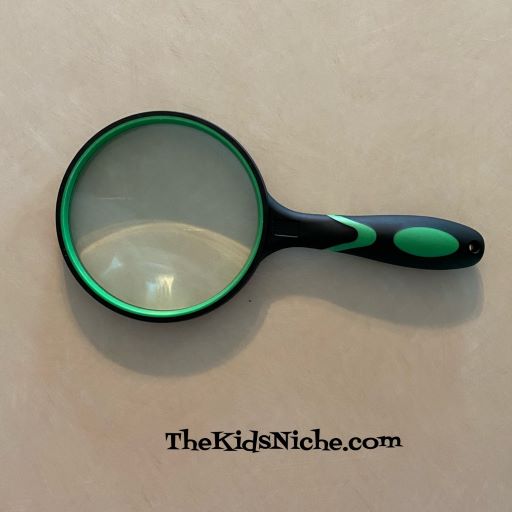
Here’s another simple and inexpensive way for kids to have fun and learn something in the process! Yep, the title gave it away…I’m talking about a magnifying glass. I found one on Amazon for $6.99. And its pretty big.
I know…all it does is make things look bigger. But have you noticed how very COOL things look when they are huge?! Like….books.
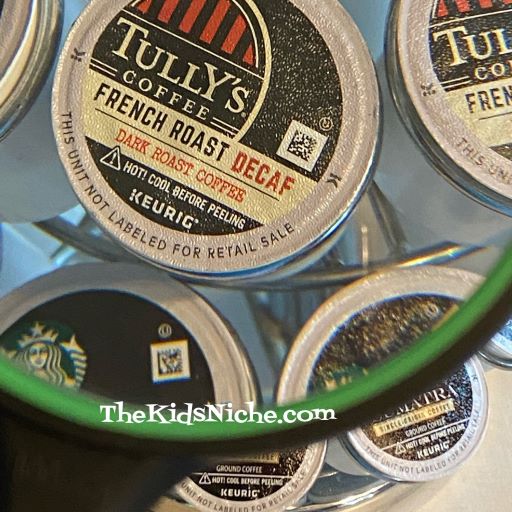
Look at mom and dad’s coffee K-cups.
Or your dog’s nose…
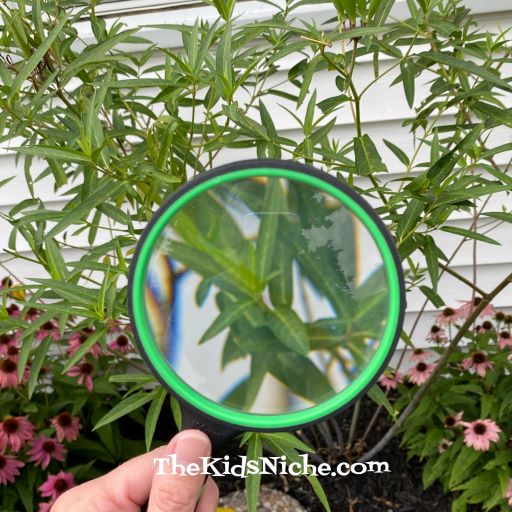
Try looking at plants!
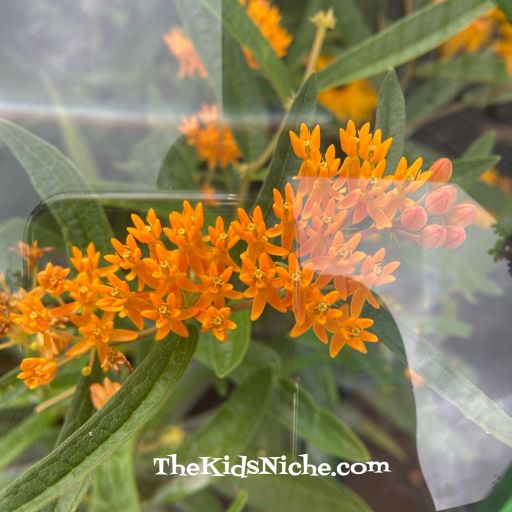
Flowers are cooler when you magnify them.
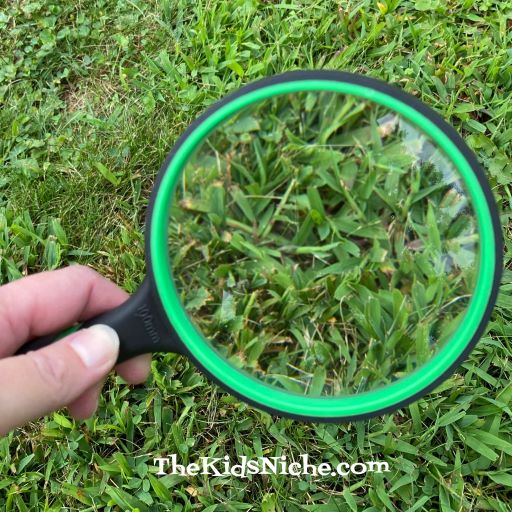
And grass! Check out what you’ve been walking on!
You might even find something cool that lives in the grass!
And dirt! Dirt looks pretty cool up close too!
The list goes on and on! Check out the carpet, your sister’s tongue, a comic book, look at your food…you could do this for HOURS!! Inexpensive, simple, safe and fun! What more could you want? 😉
We hear a lot these days about stress and how much it negatively affects us. Even kids are dealing with stress. I came across a recipe I had stashed in a drawer for Anti-Stress Lavender putty. (Sorry but it doesn’t say who posted the recipe and I don’t remember where I got it.) Kids love play dough and the lavender essential oil used in this recipe is good to use for calming little people. (And big people!)
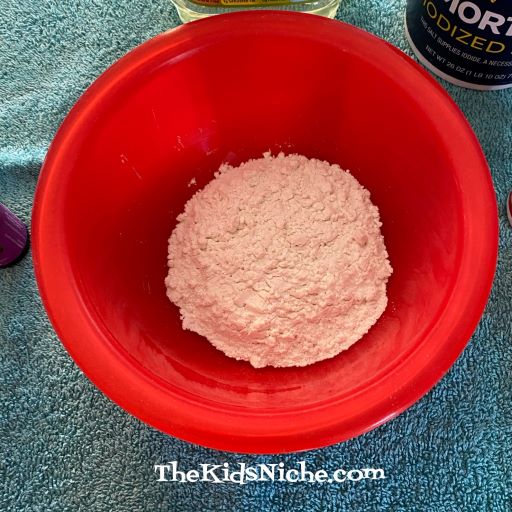
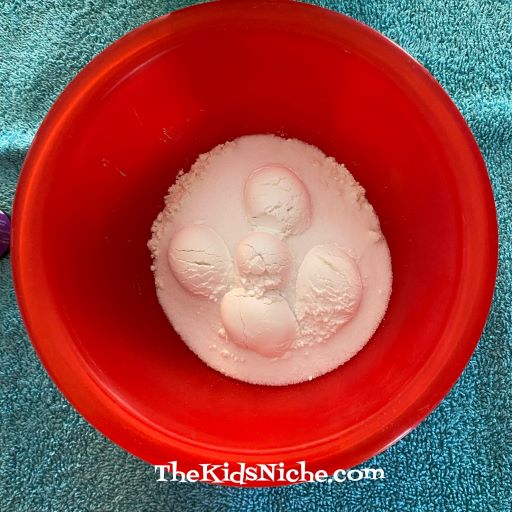
So here is my version that I made today. You’ll need 1/2 Cup of flour, 1/4 Cup salt, 4 1/2 teaspoons of cream of tartar, 1 1/2 teaspoons of oil (almond, canola or coconut), 1/4 Cup boiling water and lavender essential oil.
In a medium size bowl, put the flour…
Salt…
Cream of Tartar…
And oil, then start mixing.
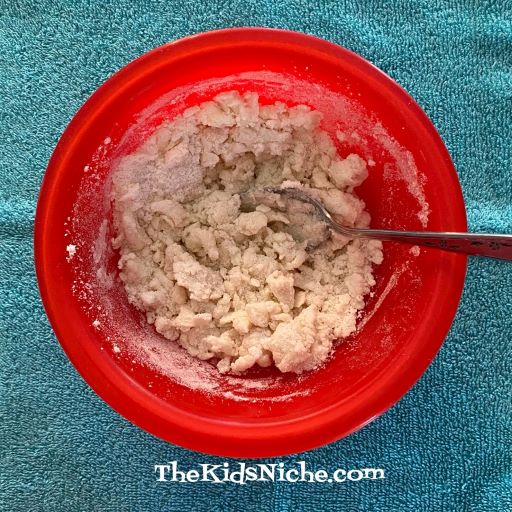
Add in about 5 drops of the lavender essential oil, then mix a little more. If you want a stronger scent, add a few more drops.
Add the boiling water and stir. To finish mixing it all together, I dumped it out on the counter top on a piece of wax paper and kind of kneaded it.
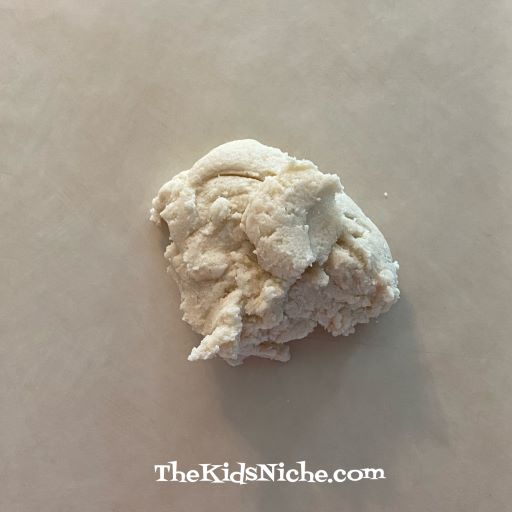
You can add a little more water or flour as needed to get the consistency you want. I needed a little more water. You can also add in glitter but that was more mess than I wanted! LOL It makes a nice soft and easy to shape fragrant playdough.
It’s ready for little people hands and playing! 😉 The idea is that the lavender will help to give the kids a calm feeling while they play. The play dough can be stored in a ziploc bag and should keep for a few months. This is my first batch so I can’t really say how long it will last.
I hope you’ll give this idea a try and that you’ll have great results with it! Think relaxing thoughts as you breathe in the lavender! 🙂
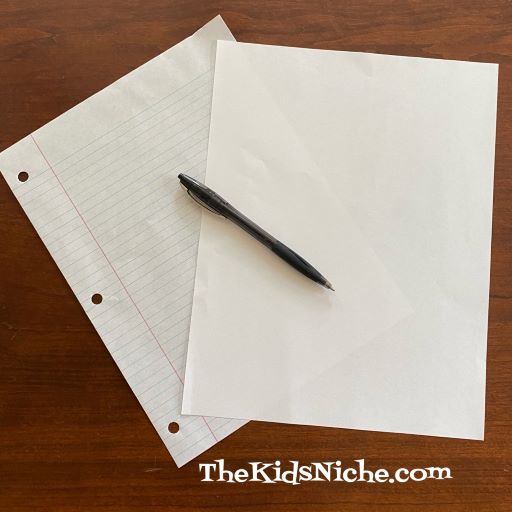
Here’s a fun game to entertain the kids even if all you have with you is a pen and a piece of paper. 🙂 We’ll call it Dots and Squares Game.
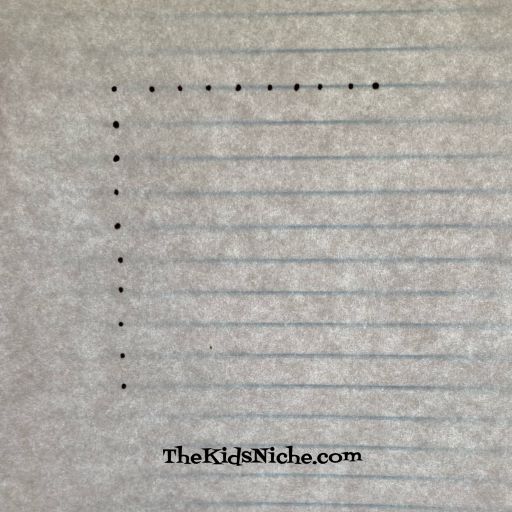
The first thing you’ll do is to make 100 dots on your piece of paper, in 10 rows of 10 dots each. If you want a little help to keep the dots in line, you can use a lined piece of paper behind a plain piece so you can see the lines showing through on the top paper.
Hanging both pieces of paper on a window also helps to see the lines more clearly.
10 dots down the side and 10 dots across…
Keep going…you’re getting there. It doesn’t take as long as it sounds like it will take when you say “100 dots”. 😉
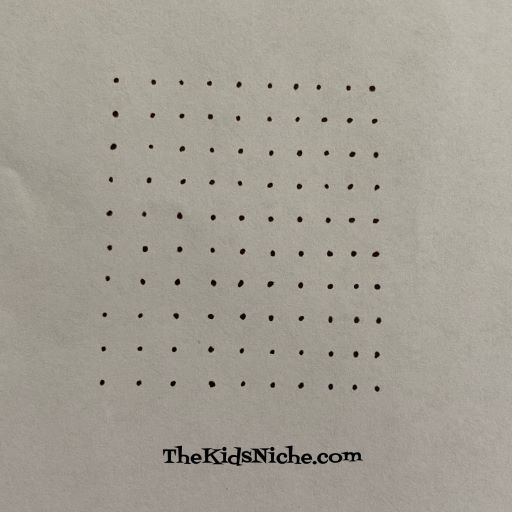
Presto! There we are!
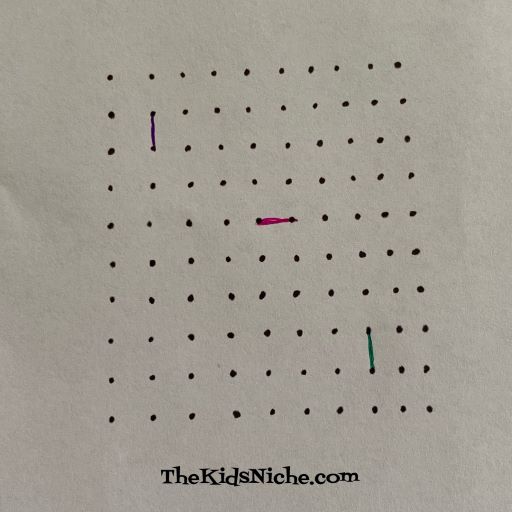
The game can be played with just one pen being passed around to each player or you can use a different colored pen for each person. (Or use a pencil.)
The idea of the game is to make the most squares. Each person takes a turn drawing ONE line, either horizontally or vertically, between 2 adjacent dots. (No diagonals.)
Play continues this way while each player tries to NOT add the third side to a square because if you do, that means the next person can make a square.
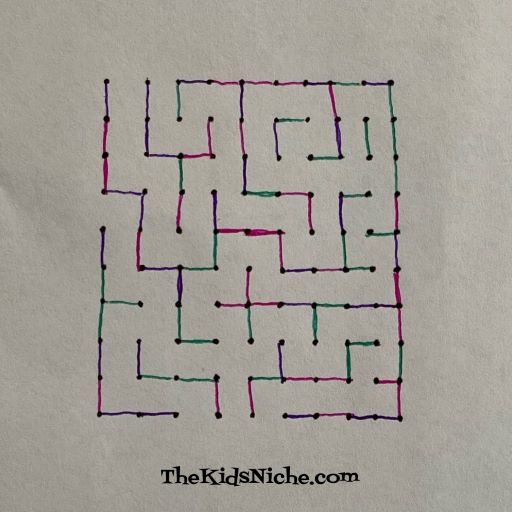
Eventually the game board gets so full that someone HAS to add the third line. Can you spot the place that is ready to be closed off into a square? Hint: look on the lower right side.
In this game, Jasper was the first one to make a square. When you complete the fourth side of a square, you get to claim that square as yours and add your initial to the square. These are the names and initials we used for our example game:
So you can see the J in the box in the bottom right corner of the game board. When you finish a square, you get to take another turn. And sometimes you can make only 1 square, but sometimes you are able to make a LOT of them! When Jasper played his bonus move, he set it up so that Rick was able to make a square on his turn.
Play continues in this manner until the entire game board has been made into squares and claimed by the player making each square.
Count up the squares for each person and see how many squares each one made.
The player with the most squares wins the game!
It’s a great game to play to keep the kids occupied while you are somewhere waiting for someone or in a restaurant waiting for your food to be served. Tuck a little tablet into your purse or pocket along with a pen and you’re ready to go! Have fun!
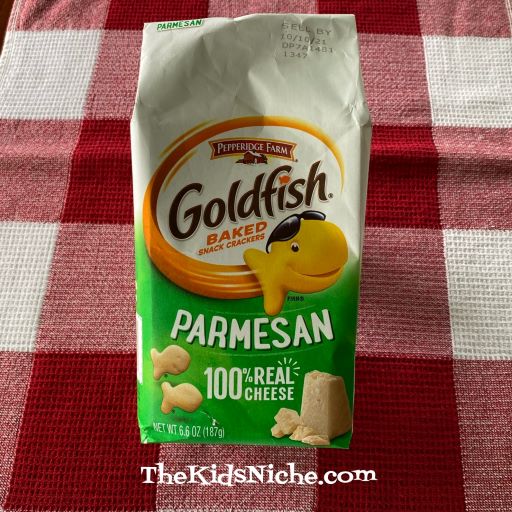
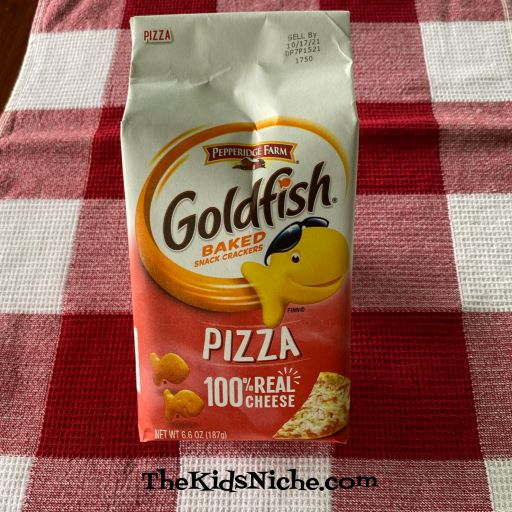
Hi everyone and welcome back for another Taste Testing Tuesday! Today we’ll be tasting Goldfish. Waaaaait a minute!! Do we eat goldfish?? Yuck! Let’s try that again! Today we’ll be tasting Goldfish CRACKERS! Oh, that sounds like a much better idea!! We are testing 4 different flavors of Goldfish crackers today but there are more flavors available. Check your local store to see what they carry.
Let’s look at the 4 flavors we chose to try today.
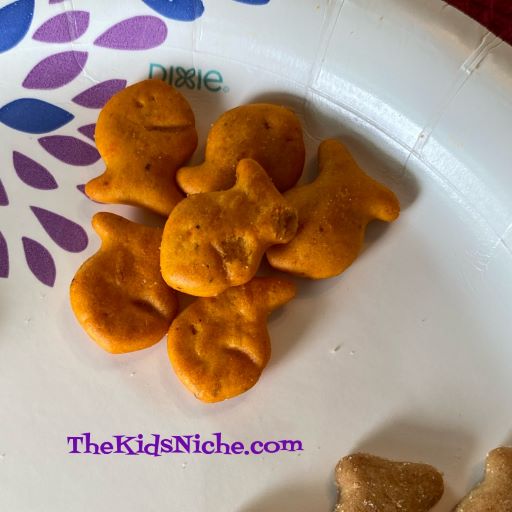
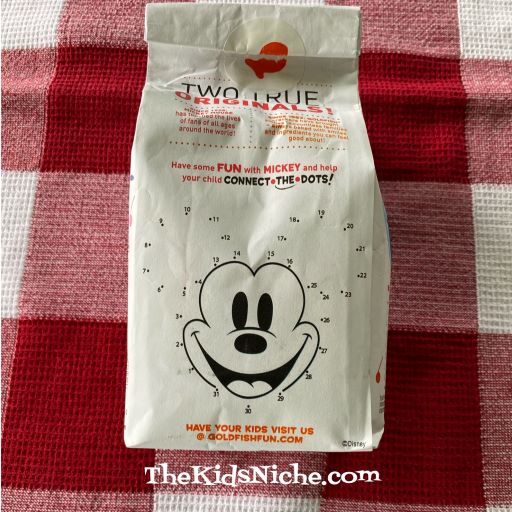
#1.) Mickey Mouse Special Edition Cheddar.
These are super cool as they have the shapes of goldfish but also the shape of Mickey Mouse’s head.
#2.) Parmesan
These little goldfish are a very light, almost white color. They ARE pretty cute, aren’t they?
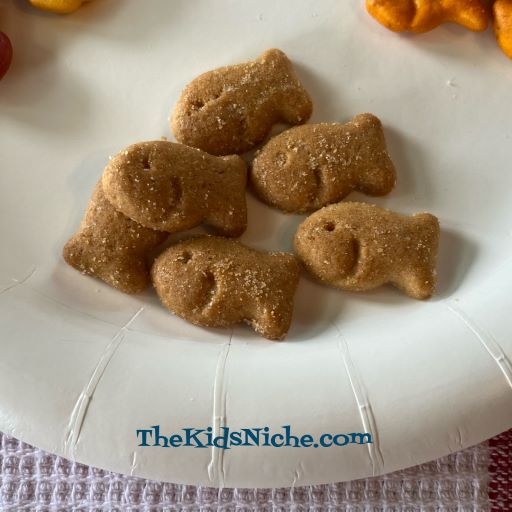
#3.) Vanilla Cupcake.
These goldfish are brown in color but oh, so yummy in flavor! Mmm!
#4.) Pizza
Who doesn’t like pizza, right?!
Here we go with our taste testing! Put at least 4 of each flavor in front of each person.
To go along with your taste test, make up a simple chart to record what everyone thinks of each flavor. Something like this works great.
Draw a face in the corresponding box that shows what you think of that flavor. A smiling face means “Yum!”, a straight face means “It’s ok.” and a frowning face means “No, thanks!” Look at the chart in the next picture and you can tell who likes the Vanilla Cupcake Goldfish crackers. 😉
There is also a place on our chart for you to write in which flavor is your favorite. 🙂 If you taste test the special edition Mickey Mouse cheddar goldfish crackers, there is a fun dot-to-dot activity on the back of the package that you can do.
And now for the bonus game! Take a few of each flavor of goldfish crackers and mix them up on a plate. One person closes their eyes and takes 1 goldfish. Be sure someone else sees which type of goldfish they picked up. Now the person eats the goldfish and guesses which flavor it was. How many can you get right?
Whatever flavors of goldfish crackers you decide to try, I hope you have fun doing this taste test! Have fun telling people that you ate goldfish and watch what their reaction is! 😉
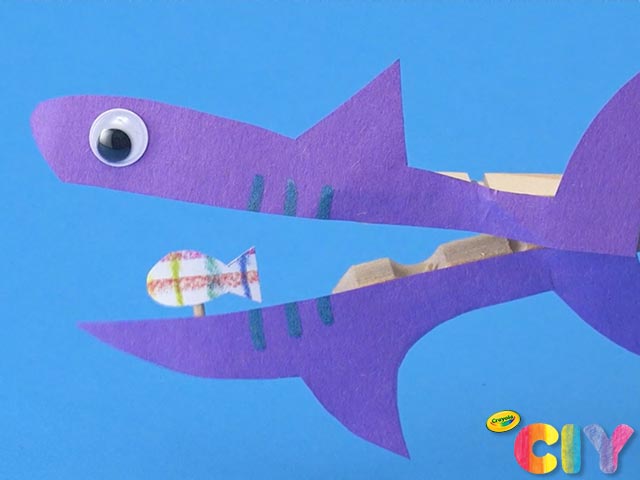
I got an email from Crayola this week about a really cute shark puppet project so I wanted to share that with you so you can have fun making one! (Or 2 or 3…)
This project uses a clothespin so when you are finished, your shark can open and close its mouth! Very cool idea! Check it out here and have fun with sharks! 🙂
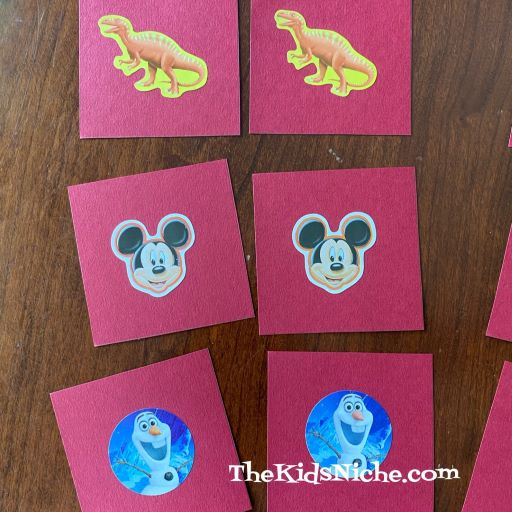
How’s your day going? I hope ok! Today I want to share a super simple way to make your own matching card game. You know, the little cards you line up face down and you turn 2 over at a time and see if they match? Yep, those. 😉 Only a few supplies are needed such as a piece of cardstock or sturdy paper, a ruler, a pencil, a pair of scissors and some stickers.
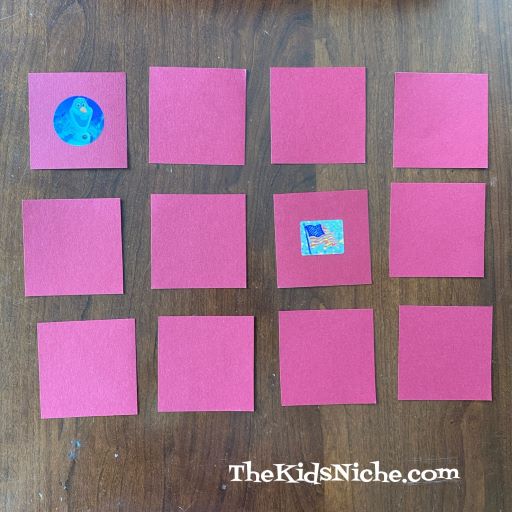
I used a piece of maroon colored cardstock (8 1/2″ x 11″) and made 12 cards for the game. First you’ll draw lines on the paper to mark the cards into even squares. If you use the same size of paper, your squares can be 2 3/4″. You’ll have just a little bit of extra paper down one side to cut off and discard. (I couldn’t seem to get a good picture of the lines on the paper.)
Cut the squares apart.
Separate the squares into pairs of 2 cards each. You’ll be making 6 sets of matching cards from one piece of paper. Feel free to make more!
Sort through your stickers to find 6 sets of matching stickers.
Make a set of cards by placing 1 sticker on each card, making sure there are 2 identical cards.
And your cards are made! You’re ready to play! Turn all the cards face down and mix them up, then line them up in 3 rows of 4 cards each.
The first player turns over 2 cards. If they match, he/she takes the match and turns over 2 more cards. As long as the player is finding a match, their turn continues. If they don’t find a match, the cards are turned face down again and play moves onto the second player.
A match!
6 matched sets is probably enough for small children, but you might want to make more for kids that are a little older. So easy to make and so simple to play! I hope you’ll have fun making your own game AND playing it! 🙂 Thanks for stopping by!