I made a stop at a Dollar Tree store a couple days ago and I found some cute finger puppet craft kits. The store I was in had 3 different sets.
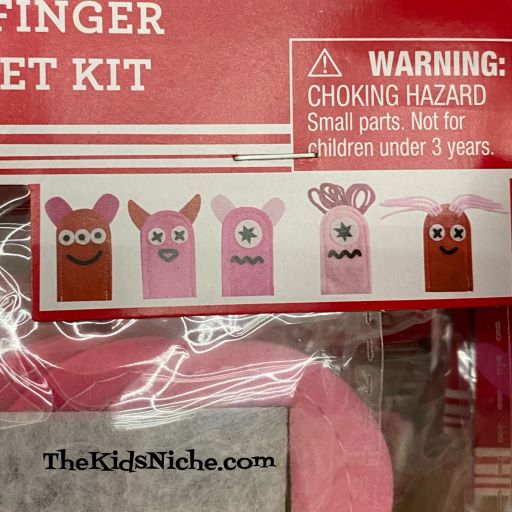
Monsters…
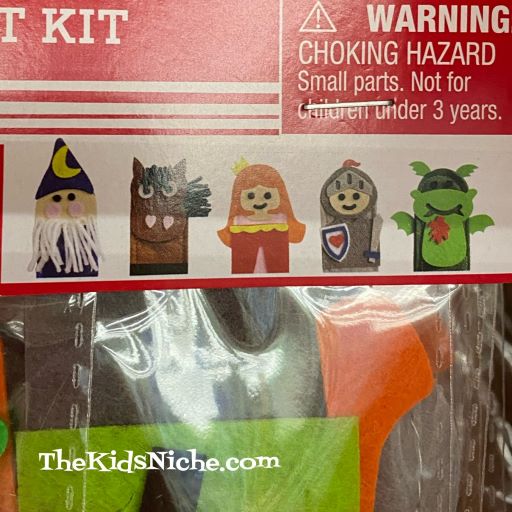
Medieval…
And animals.
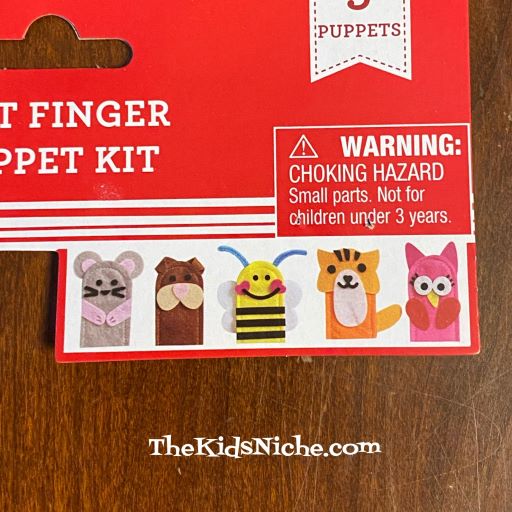
I bought the animal one and thought I would share it with you today. 🙂

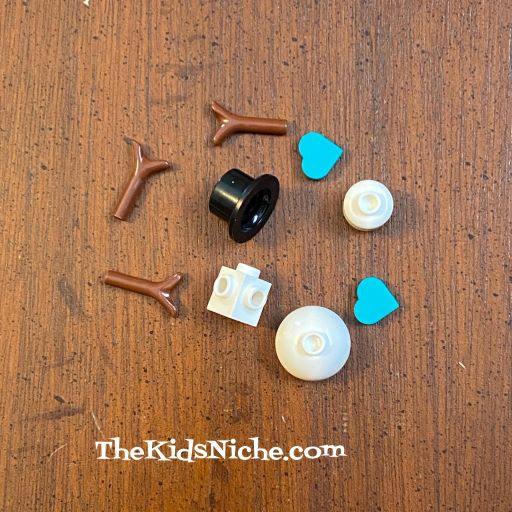
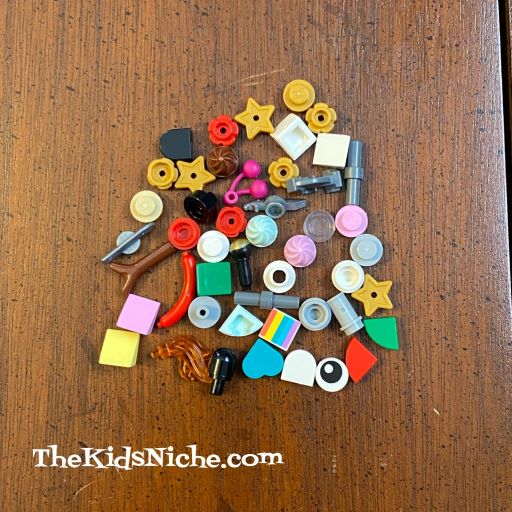
This is what you will find inside the package:
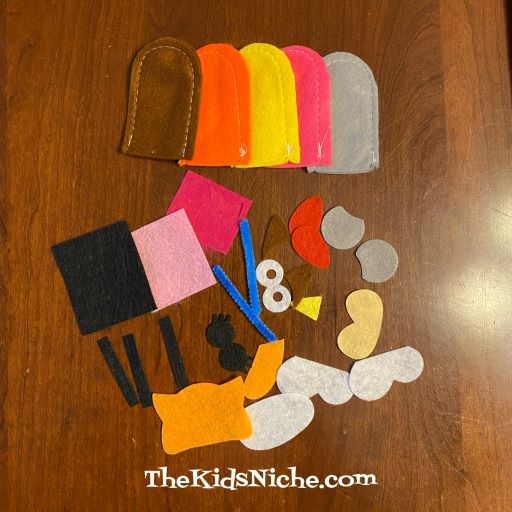
The 3 colored squares of felt actually have shapes cut into them that you will need to punch out. Have a pair of scissors handy for any pieces that might need a little help getting free.
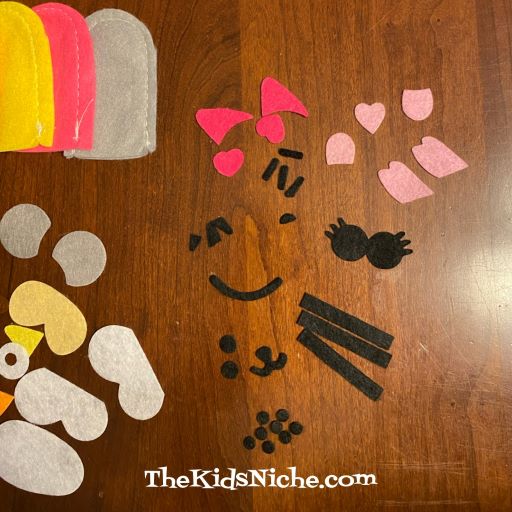
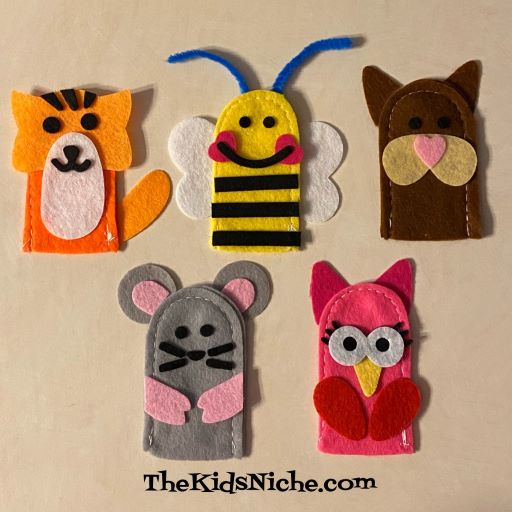
You are now ready to start making your puppets! You will need your own glue. I suggest you lay all the pieces together for each puppet before you start gluing the pieces on. These little guys are pretty cute!
Mouse

Dog. The picture on the package shows curling the dogs ears down in front but I didn’t actually glue these puppets together because I wanted to pass this set on to some kids. So my dog’s ears are straight up. 🙂
Bee. This one is so cute!

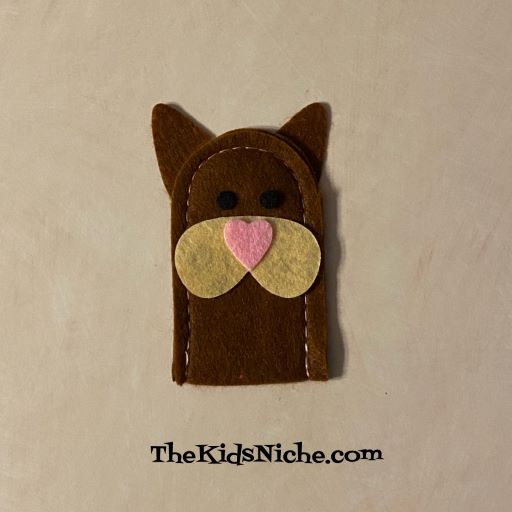
Tiger

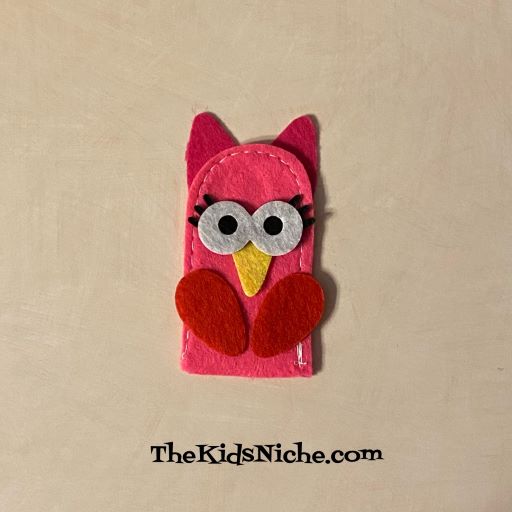
And last, but not least, an adorable owl!
Each kit costs $1.25 (plus tax) and makes 5 puppets. Not bad, eh?
I found these in the Valentine’s Day section of the store. I hope you can find some near you! The kids will be putting on a puppet show before you know it! 🙂