
I found this cute Reindeer craft kit at a Dollar Tree store close to us. While I have to admit that this wasn’t one of my favorite crafts that I’ve gotten there, by using lots of glue and not being a perfectionist, it will turn out pretty cute. 😉

Here’s a look at what’s inside the kit:

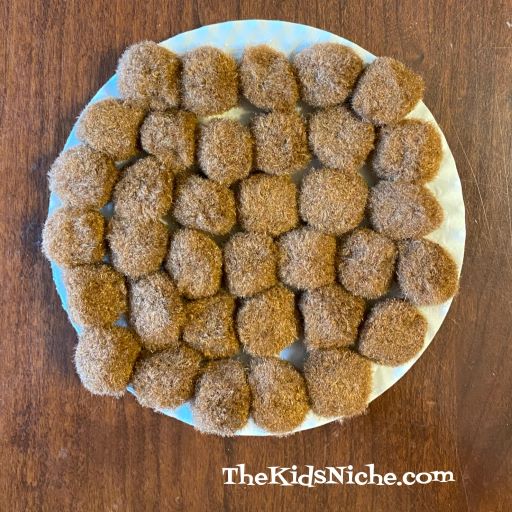
I started by spreading glue all over the paper plate. Use plenty of glue. (The plate didn’t want to lay flat so if you’d rather make your own circle out of paper, that would work great.)

Stick the brown pom poms all over the plate. I felt like there weren’t quite enough pom poms to cover the entire plate, but in the end it still looks good. I suggest leaving the empty space at the top where it will be covered up by the antlers and hat.
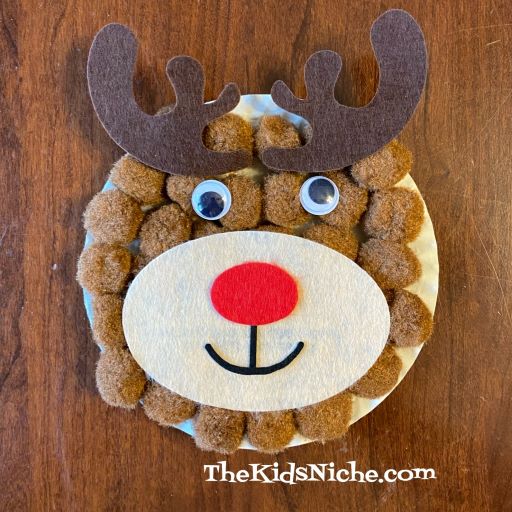
Glue the pieces together to make the face, mouth and nose.

Glue this piece…using plenty of glue…on top of the pom poms. Glue on the 2 eyes. I suggest putting the eyes right on top of a pom pom instead of in the gap between pom poms. That way the eyes will stick on better.

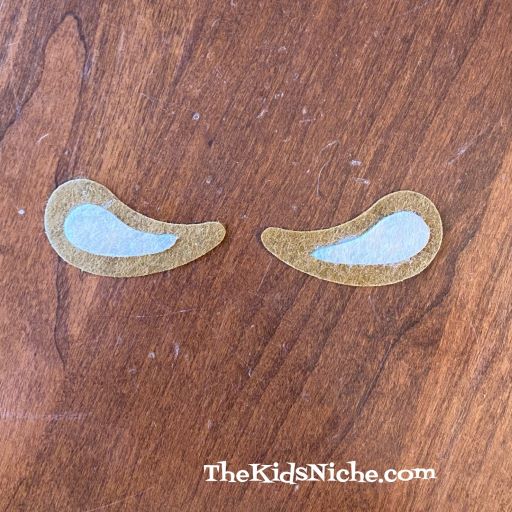
Each ear has 2 pieces, so glue them together next.
I glued the antlers on next…using lots of glue, but only on the bottom part of the antlers. The top part of the antlers won’t be touching anything.
The Santa hat is 3 pieces that you can glue together next.

Now it’s time to glue on the hat and the ears.
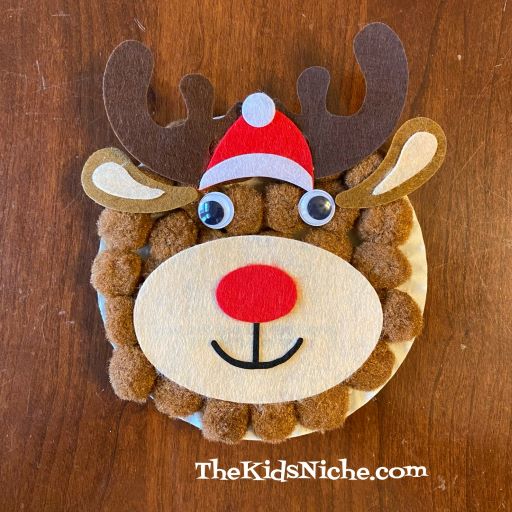
Yep, your reindeer will be cute! But I would let it sit for a while to completely dry before moving it around much or trying to hang it up. After my kit was completely dry, it stayed together fine, but it tended to fall apart while the glue was still wet.

I guess this must be Rudolph since he has a red nose! 😉
