Hello again! Hope you are “enjoying” winter (does anyone enjoy winter?!) and are staying healthy! We have been busy busy bees here! We tore up the old carpet in our living room and hallway and hope to lay down a new floor soon! As most remodeling projects go, we keep running into snags and things that have to be fixed first and the days have been flying by without me getting to chat with you. I am determined to change that today! 🙂 So how about an easy snack idea for Valentine’s Day that you probably have the ingredients for and makes up pretty quickly? It’s called Peanut Butter Energy Bites. There are many ways to make these and I have a couple of suggestions that depend on the age of your children. Here we go!
If your kids are a little older, you can make these with uncooked oatmeal. If your kids are pretty young yet, I would go with crushed graham crackers. The oatmeal makes them more chewy, but blending the oatmeal in a food processor or blender helps with that some. My favorite way is using graham crackers.
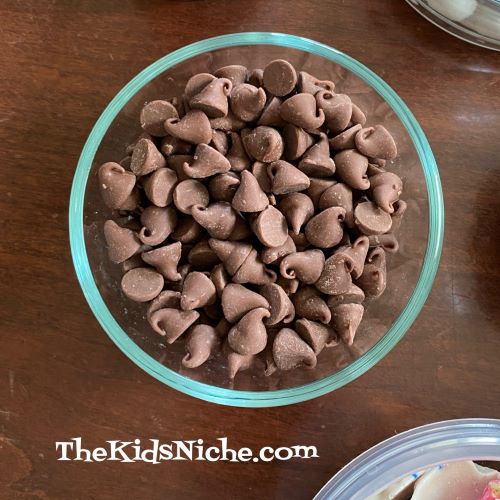
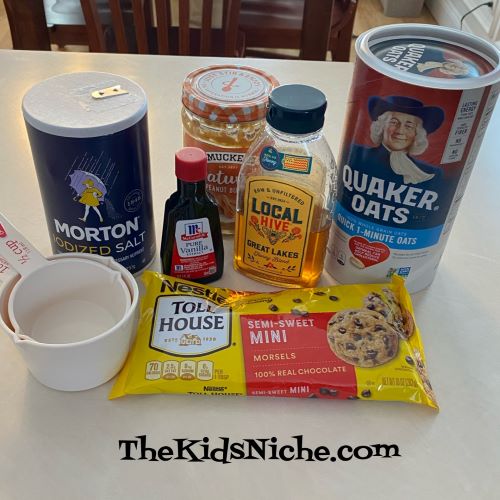
You will need 1 Cup oatmeal OR crushed graham crackers, 1/2 Cup peanut butter or your favorite nut butter, 1/3 Cup honey, 1 teaspoon vanilla, a dash of salt and 1/2 Cup mini chocolate chips. To make these a little fancier for Valentine’s Day you might also want to have some sprinkles on hand.
Put all the ingredients into a medium sized bowl.

Mix well. It will be a stiff dough. Take a couple of minutes to make sure all the dry ingredients are completely mixed in. The dough will look different depending on which ingredients you chose. Here’s with the oatmeal…

Here’s with the graham crackers…

Using rounded teaspoon sized portions of dough, make the dough into balls. Place on a cookie sheet on a piece of waxed paper or parchment paper.

To make them pretty for Valentine’s Day, roll them in some sprinkles. Pop them in the refrigerator to make them more firm and easier to handle. No baking required! I also stored mine in the refrigerator.

Whether you choose to use oatmeal…

Or crushed graham crackers…

I think you will find these little snack balls to be very addicting! (We won’t mention how many I may have eaten today!) 😉 You can switch these up by trying different ingredients. Use a nut butter in place of the peanut butter or instead of chocolate chips add raisins, cranberries, white chocolate chips, chopped peanuts, coconut flakes, cinnamon, etc…the sky’s the limit! 🙂 Enjoy!