Here’s a fairly simple food idea to help celebrate St. Patrick’s Day. Leprechauns love Lucky Charms cereal and gold coins, right? So this is a way those sneaky leprechauns can leave a special treat for your kids. 🙂
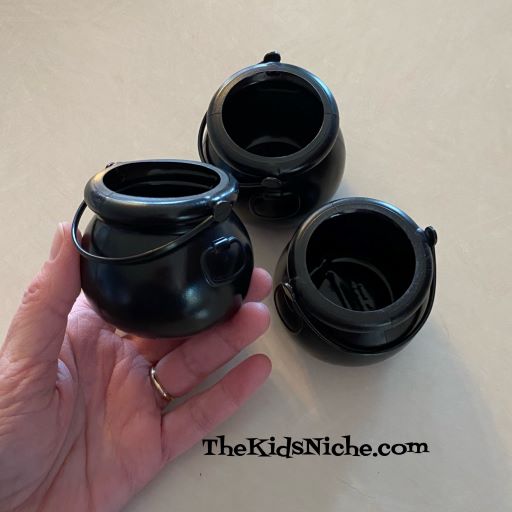
I found these black pots like the ones leprechauns hide their gold in at our local Dollar Tree store.
You will also need some Lucky Charms cereal.
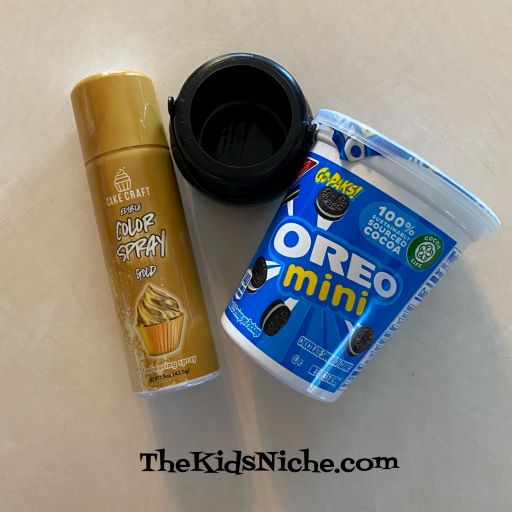
And you’ll need some mini Oreo cookies and a can of gold food spray.
Lay some mini Oreo cookies out on a disposable plate. (Lay some newspaper down under the plate to catch the overspray.) Spray one side of the cookies and allow them to dry for the time mentioned on the spray can.
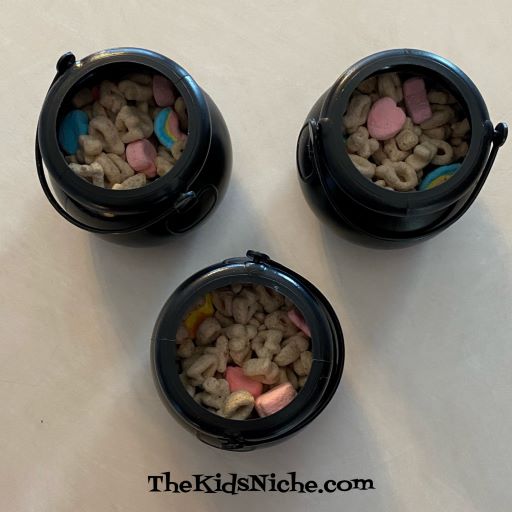
While the cookies are drying, fill the black pots not quite full with the cereal.
When the cookies are dry, turn them over and spray the second side. After the cookies are dry the second time, add a few cookies to each black pot.
And your leprechaun pots are ready to serve to your favorite leprechauns! 😉 You can add to the fun by hiding the pots and letting your little leprechauns search for them. I hope this brings some fun to your St. Patrick’s Day! 🙂
If you are looking for a yummy treat for your kids for Valentine’s Day, you might like this one – candy coated marshmallows! (My hubby ate 3 of them last night so they must be pretty good!) 😉
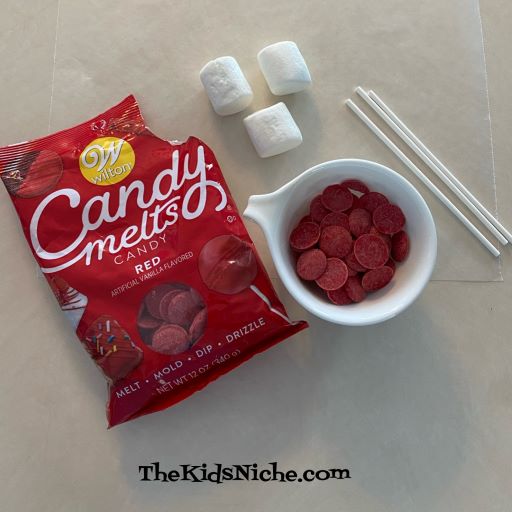
You will need marshmallows, paper sticks, candy melts and sprinkles or edible decorations.
Melt some candy melts in a small container according to the package directions. I melted mine in the microwave.
After the candy melts are melted, dip one end of a paper stick into the candy.
Push the stick into the middle of the marshmallow.
Submerge the marshmallow in the melted candy, turning it so it is completely covered with the candy.
Allow the excess candy to drip back into the dish and then lay the coated marshmallow on a piece of wax paper. Or if you have a piece of styrofoam, you can stick the marshmallow into the styrofoam to hold it.
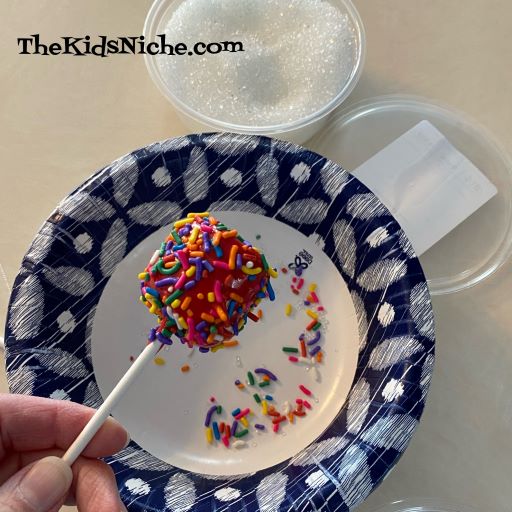
Quickly, before the candy hardens, add the sprinkles or edible decorations to the marshmallow. I used gourmet white sugar…
Sprinkles…
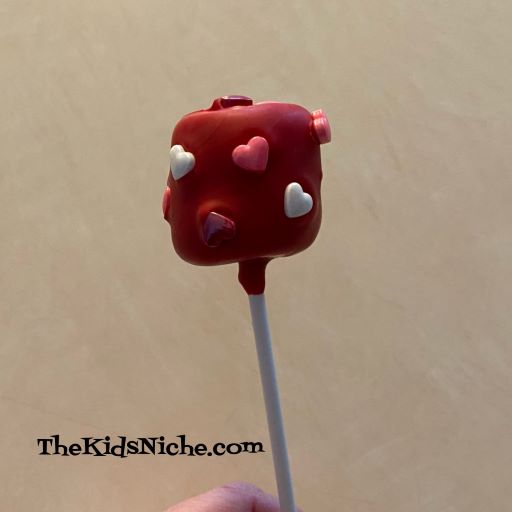
And candy hearts.
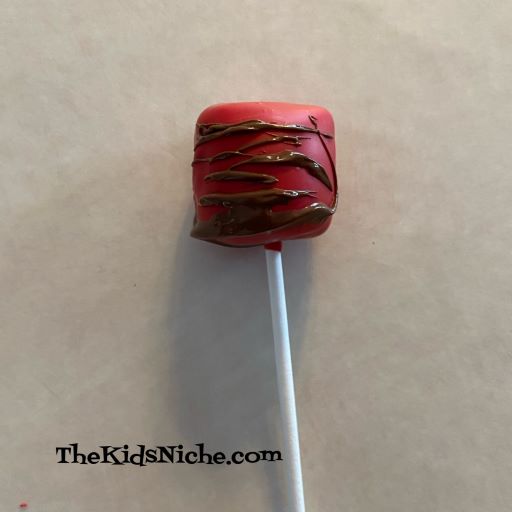
You can also use more of the melted candy wafers to decorate by letting some strings come down from a spoon.
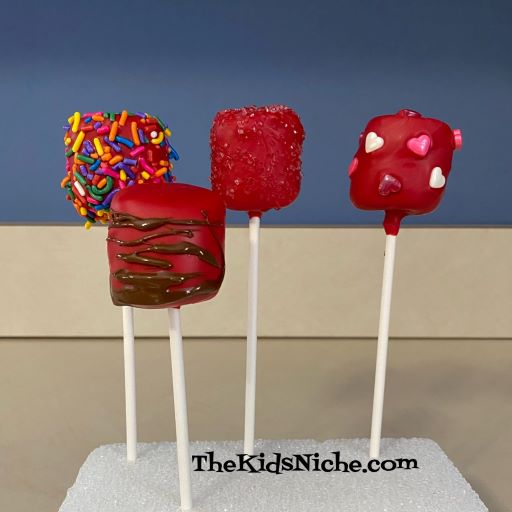
And there you have it! Pretty candy covered marshmallows for a fun Valentine’s Day treat! You can stick them in a block of styrofoam for serving too. Or put them into individual plastic treat bags and tie them closed with a ribbon bow. 🙂
Are you looking for an adorable dessert for Christmas? Do your kids need to take a Christmas treat to school? Here’s a cute snowman that doesn’t take long to make! I found this little packet of candy snowman noses and black balls for eyes and a mouth at our local Walmart store. (Yes, it says for cookie ball decorating, but they work great for snowman cupcakes too!)
Whip up your favorite cake batter, flavor of your choice. I went with homemade chocolate.
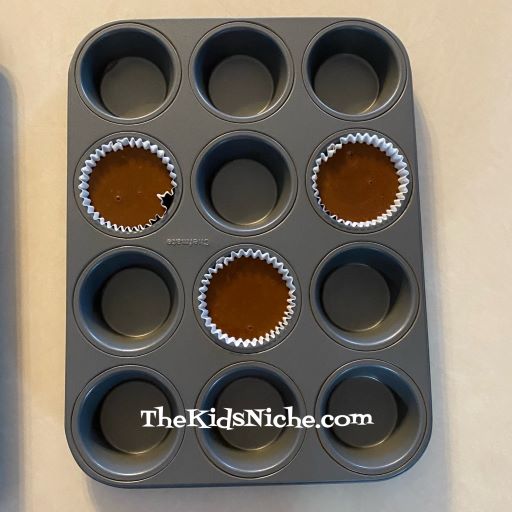
Pour the batter into a cupcake pan lined with cupcake papers.
Bake, cool and frost with your favorite white frosting. Add the special candies from the packet and presto! You have snowman cupcakes ready to go!
Aren’t they cute? Plus quick and easy!
The hardest part will be keeping your family from eating them too soon! 😉
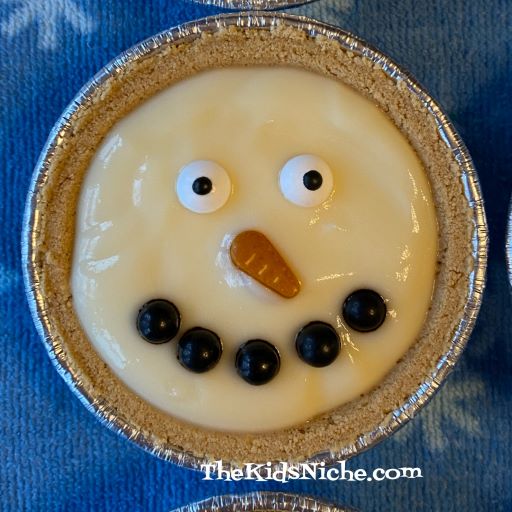
Are you looking for a simple dessert to serve at Christmas time? These are super simple and would be great for a kids’ party!
All you need are some little tart shells – graham cracker or pie crust type – some light colored instant pudding mix, milk and edible decorations.
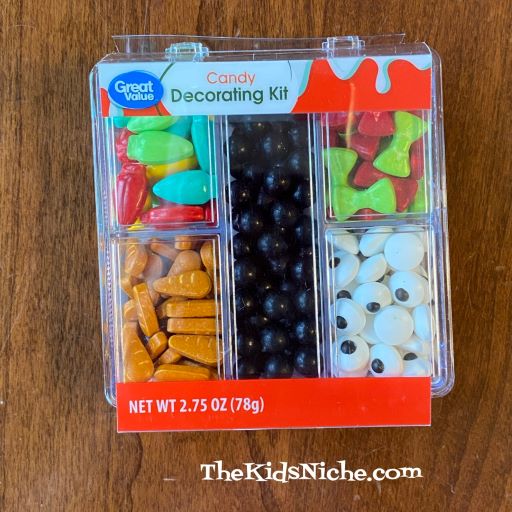
I found this decorating kit at Walmart, but you can use other things too. Like chocolate chips, mini M&M’s, sprinkles, colored sugar, etc.
Open the tarts so they are ready immediately after you make the pudding.
Following the instructions on the pudding mix box, make the pudding with milk.
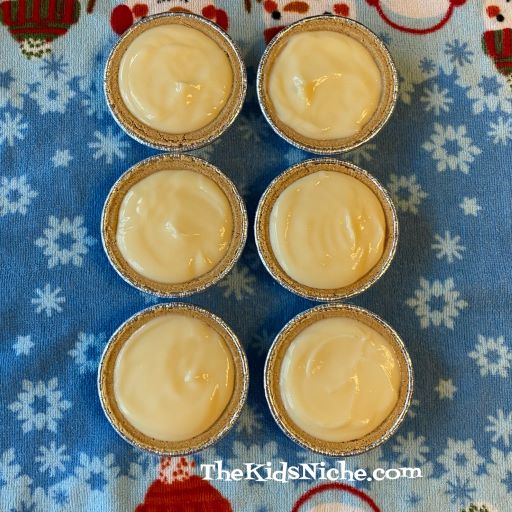
Immediately fill the tarts with the pudding. Instant pudding soft sets in about 5 minutes.
Refrigerate the tarts until the pudding is fully set.
Now comes the fun part of decorating each tart! Most of the candy decorations will begin to melt and their colors will run on the pudding, so DON’T decorate the tarts beforehand. Decorating can be done by each person as they get their dessert. 🙂
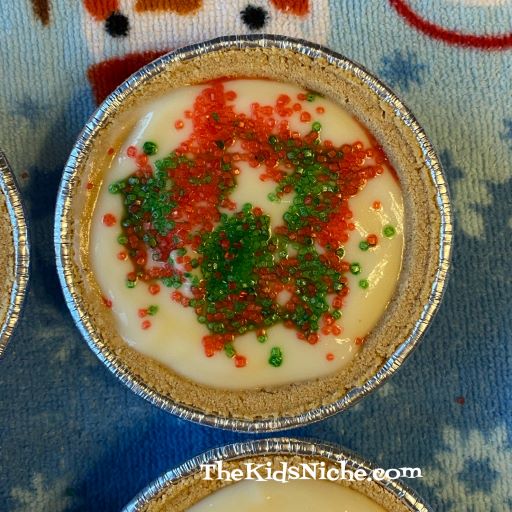
Sprinkles are pretty just “sprinkled” around.
Red and green sugar looks festive!
Snowman face made from the decorating kit I showed you.
Snowman made with mini M&M’s.
Snowman made with chocolate chips.
And Christmas lights from the decorating kit.
You might also like to use crushed candy cane bits, chocolate shavings or broken cookie pieces.
I hope these will be a hit with your family! Have fun making them AND eating them! 😉
So earlier this week we talked about a healthy dish involving cabbage, apples and bacon. Today’s post is about a super fast, but delicious (and yes, not quite so healthy) way to have toast. This is a flashback to when I was a child and mom would let us have cinnamon sugar toast for a special treat. 🙂 (Yep, there was a limit on how many pieces we could have!)
All you need is bread, a toaster, butter, white sugar and cinnamon.
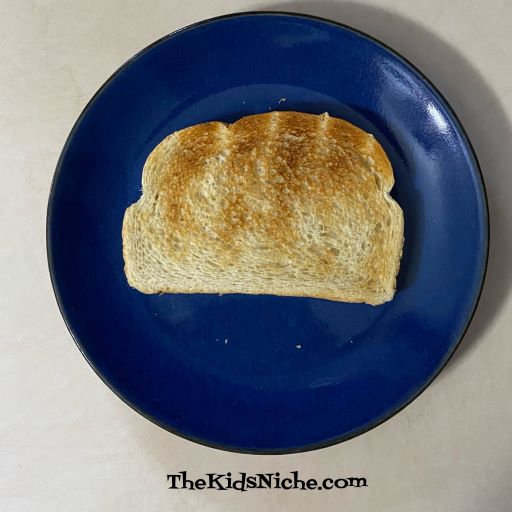
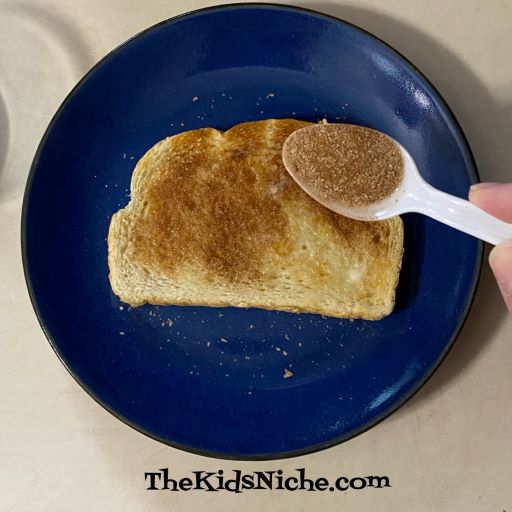
Mix up some cinnamon and sugar in a small bowl using 1 part cinnamon to 4 parts sugar. For example, use 1 teaspoon of cinnamon and 4 teaspoons of sugar. Pop a piece of bread into the toaster and toast to your desire crispness.
As soon as your toast is done, spread some butter on it so the butter will melt.
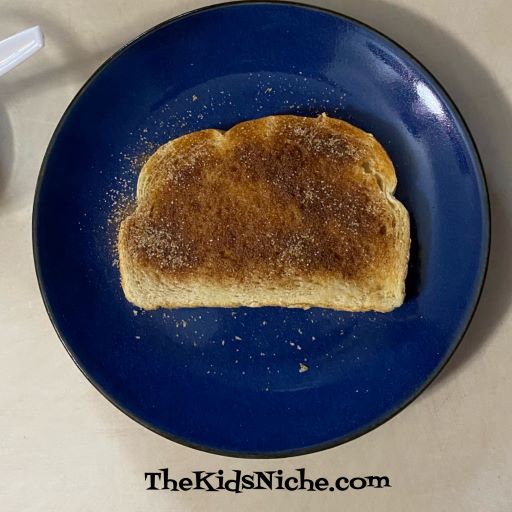
Using a spoon, sprinkle the cinnamon sugar mixture onto the toast.
That’s it! Super quick, super easy and super yummy!
You might want to keep a close eye on your cinnamon sugar toast! It will smell so delicious that someone might sneak a bite! 😉
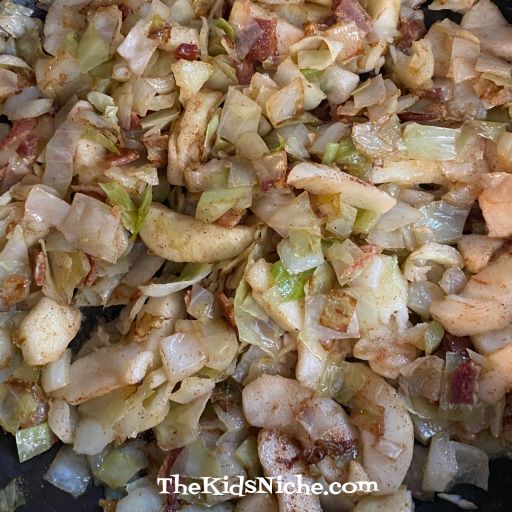
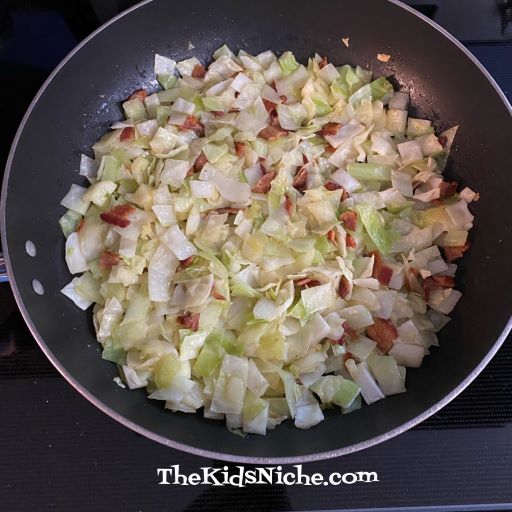
Cabbage is a super food which means it’s really good for you and your kids. But how do you get them to eat it? This is an idea you might try because the cabbage flavor is masked somewhat by the other ingredients. 🙂 This is not an exact recipe but leaves it open for you to use the ingredients you like and make the amount that fits your family.
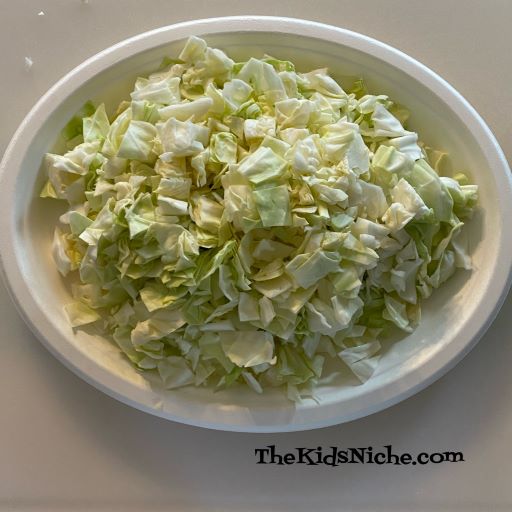
We’ll start off with some cabbage chopped in smallish pieces. Cabbage cooks down quite a bit so I suggest you chop up at least half of a head or more.
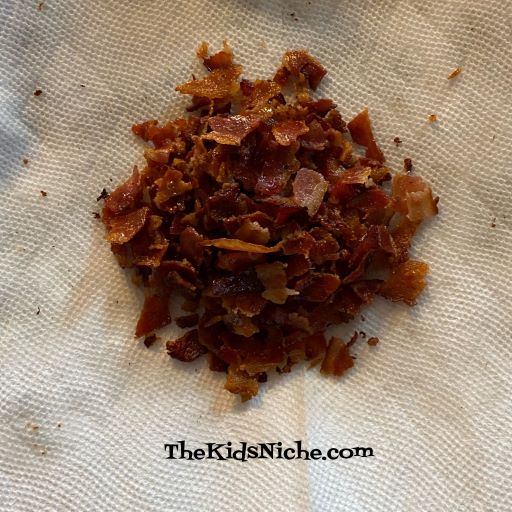
Using a large skillet, fry several slices of bacon until crispy.
Remove the bacon from the skillet and after it has cooled enough to handle safely, crumble it into small pieces. Set the bacon aside for a little later.
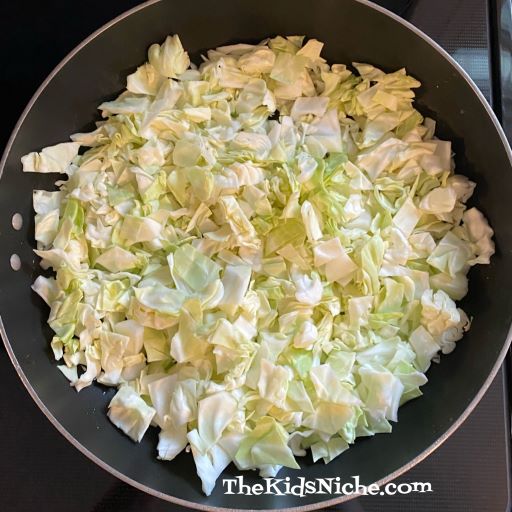
Put the cabbage into the skillet with the bacon grease on a medium heat. Add salt and pepper to suit your taste.
Add 2-3 tablespoons of butter.
Continue cooking till the cabbage softens. Add the bacon pieces into the skillet. Allowing the cabbage to brown some will add to the delicious flavor.
Lastly add in some apple slices and cook for just a couple minutes longer until the apples soften.
Sprinkle some cinnamon on top and stir to combine.
Serve hot as the meal’s vegetable and hopefully everyone will say “Yum!” 🙂
My husband likes to have onion and garlic added to this too. I’d love to hear what you think of this dish! Leave me a comment. 🙂 Thanks for visiting my blog!
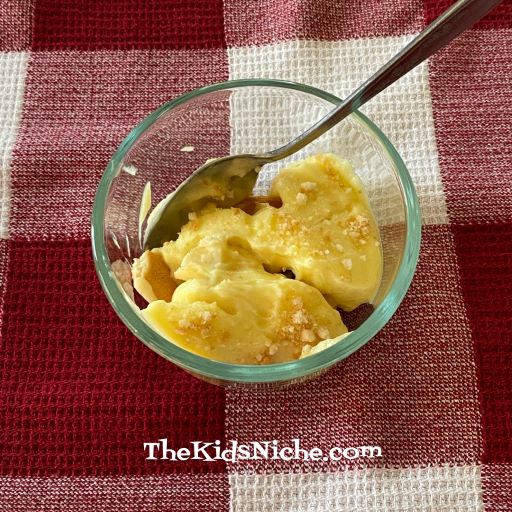
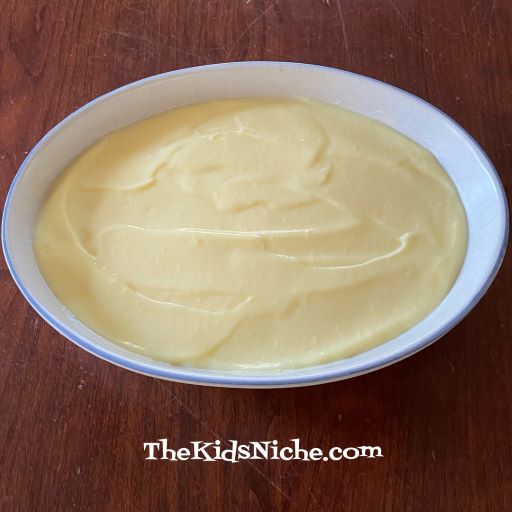
Do you look for easy dessert or snack recipes to make with your kids? Here’s a great one that’s been around for a long time and has many different versions. There are ways to make this dessert from scratch, but this way is quicker and easier because it uses instant pudding. Doesn’t it look delicious? 🙂
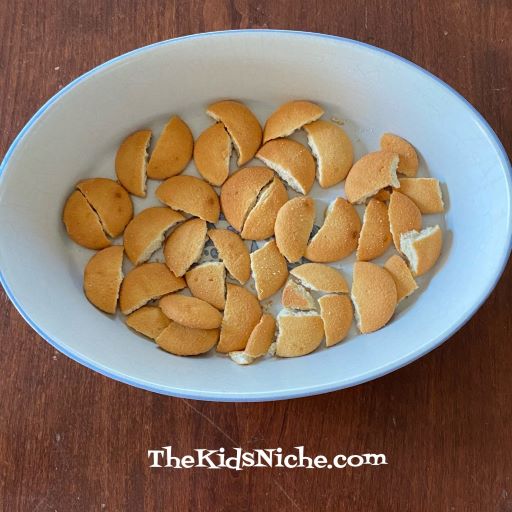
You will need a box of Nilla wafers, 1 box of instant vanilla pudding, milk and bananas.
Begin by making a layer of Nilla wafers in the bottom of your dish.
You can use the Nilla wafers whole or you can break them in half. I prefer to break them because it’s easier for little mouths to eat them in smaller pieces.
Take a handful of Nilla wafers and put them in a ziploc bag and crush them into very small pieces.
Set the crumbs aside for a later step.
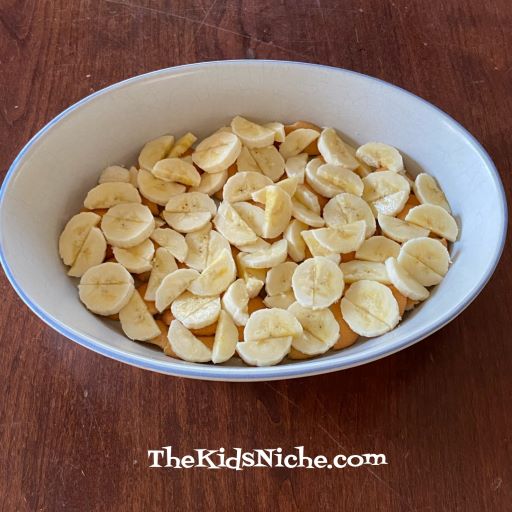
Next add a layer of sliced bananas on top of the Nilla wafer layer. I prefer to also cut the banana slices in half for little mouths.
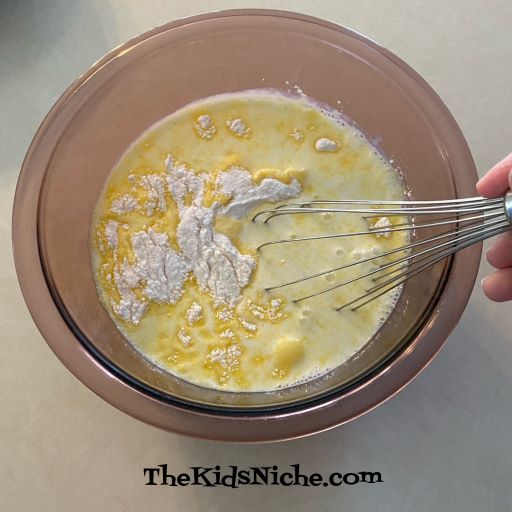
Prepare the instant pudding with milk according to the package directions.
Pour the prepared pudding on top of the banana slices immediately after mixing, before it sets up.
Sprinkle some Nilla wafer crumbs on top to make it look nice.
Pop your bowl of yumminess into the refrigerator and let the pudding chill and set up. Then it’s time to enjoy! You can add whipped cream or sprinkles on top. You can also make 2 layers of each item or prepare it in individual bowls. But this dessert is super quick and easy and great fun for the kids to help make! 🙂
Did you know there is a National Deviled Eggs Day? Nope, I didn’t either. But “luckily” Facebook informed me today so I made deviled eggs to help “celebrate”. 😉 I’m sharing the way we make deviled eggs at our house and it might be different from the way you make them. But they are very yummy and I’ve gotten lots of compliments on them.
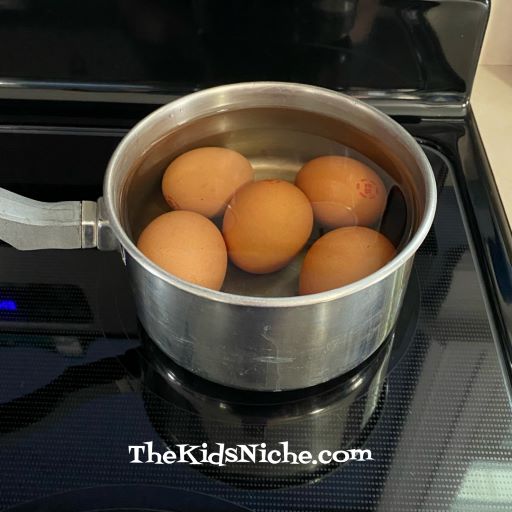
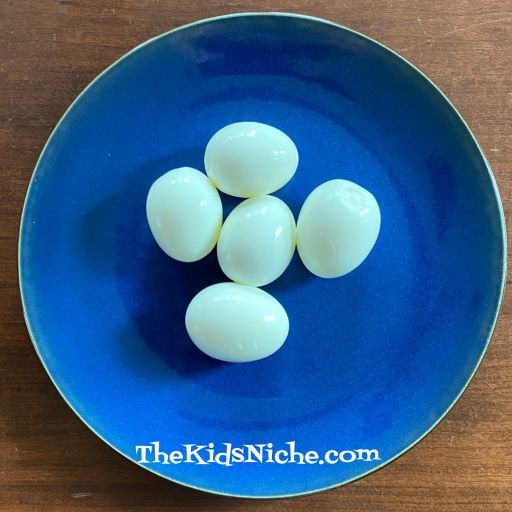
The main ingredient you will need is, of course, eggs. Hard boil some eggs using your preferred method.
After the eggs are done cooking, get them into cold water to stop the cooking process.
After the eggs have cooled, peel the shell from them.
Rinse each egg to make sure all the shell pieces have been removed.
Using a sharp knife, cut each egg in half lengthwise.
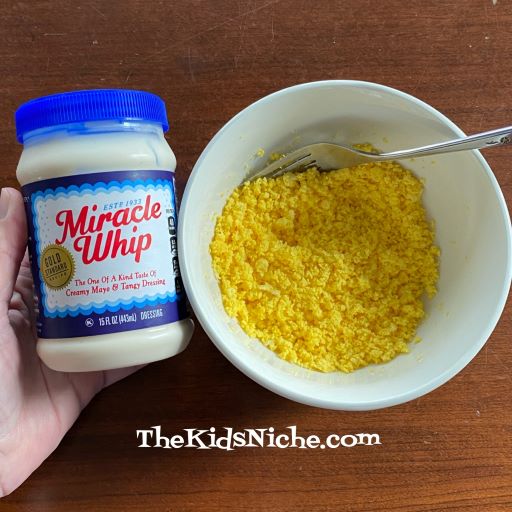
Carefully remove the yellow yolks and put them together in a small bowl.
Smash the yolks with a fork until they are fine pieces.
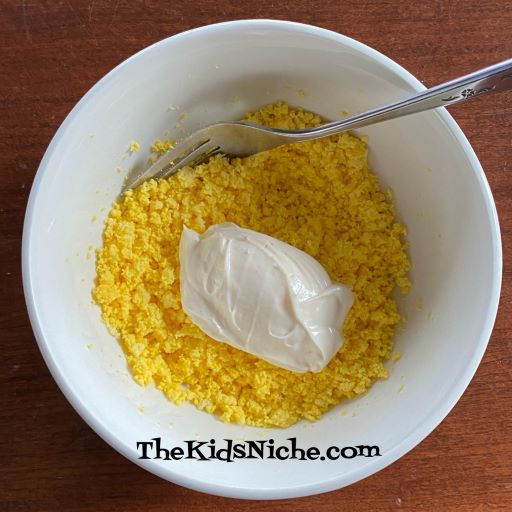
Now for my secret ingredient! 😉 Add a dollop of Miracle Whip salad dressing. I prefer to use this over other mayonnaise as it has an extra little tang to it. Add a dash of salt too.
Stir together and add enough Miracle Whip so that the mixture is creamy.
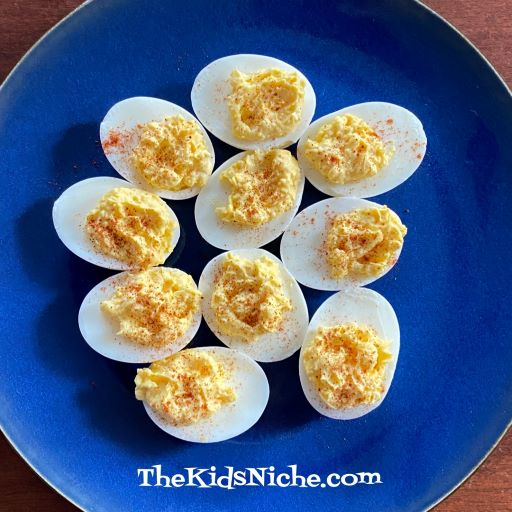
Refill the egg whites using the egg yolk mixture.
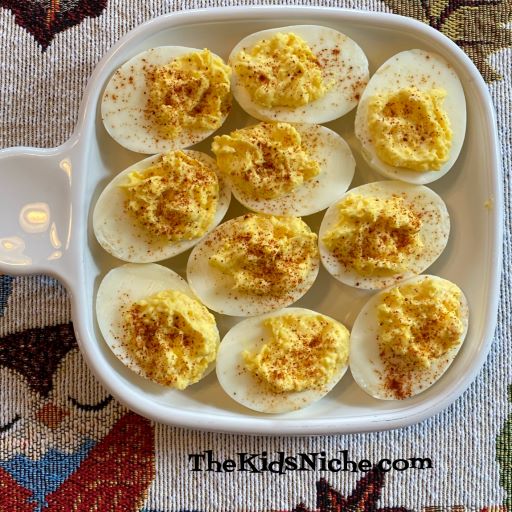
Add a sprinkle of Paprika on top of the deviled eggs to add a little flavor and make them look nice.
And they are ready to enjoy! Be sure to refrigerate the deviled eggs until you are ready to serve them and also if you have any leftovers. I hope you enjoy our way of making deviled eggs and that you have a Happy National Deviled Eggs Day! 😉
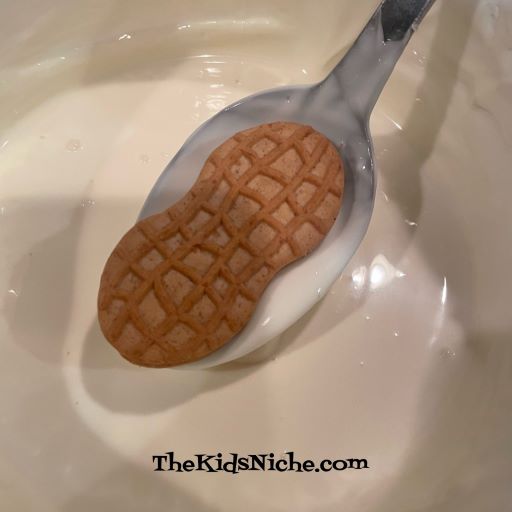
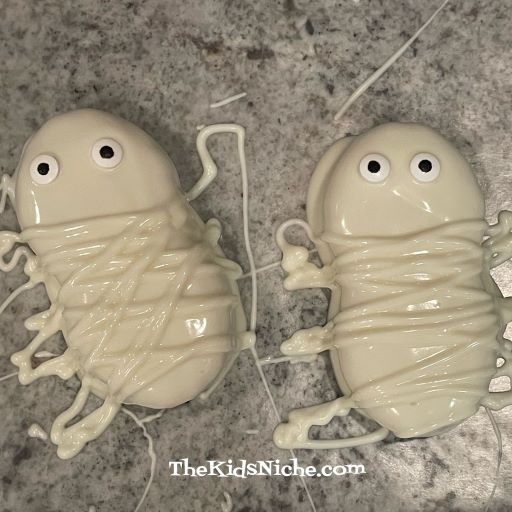
Two very special people did a Halloween food craft and were sweet enough to share their pictures with us! Our daughter and granddaughter made some very yummy looking mummies out of Nutter Butter Peanut Butter Sandwich Cookies. Don’t these look great?! 🙂
You will need some Nutter Butter cookies, some white chocolate or white candy melts and some candy eyes. Begin by melting the white chocolate. Then dip each cookie into the melted chocolate.
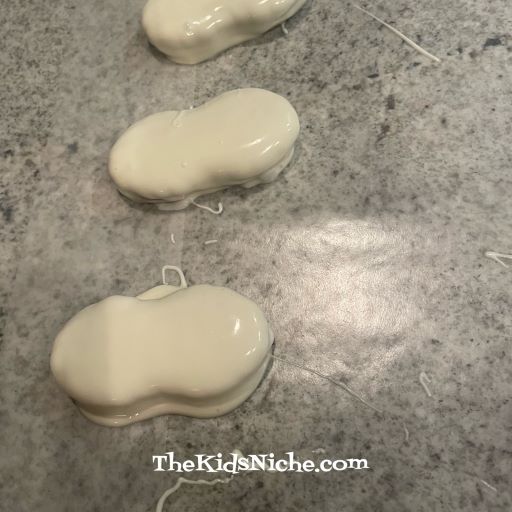
Lay the dipped cookies on a flat surface that is covered with wax paper.
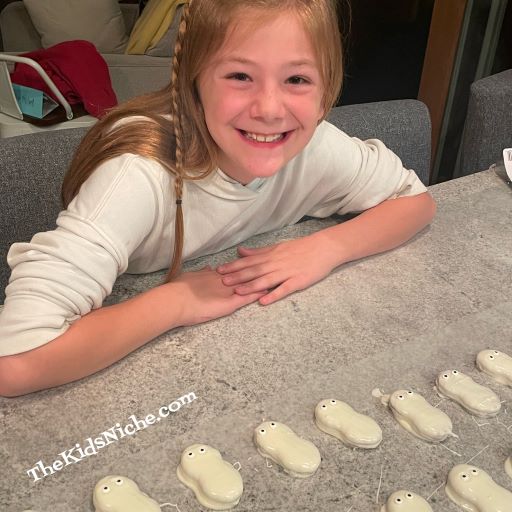
Add 2 candy eyes to each cookie while the chocolate is still soft.
I guess they could be ghosts if you stopped here! Lol Wow, it looks like they made a whole army! 😉
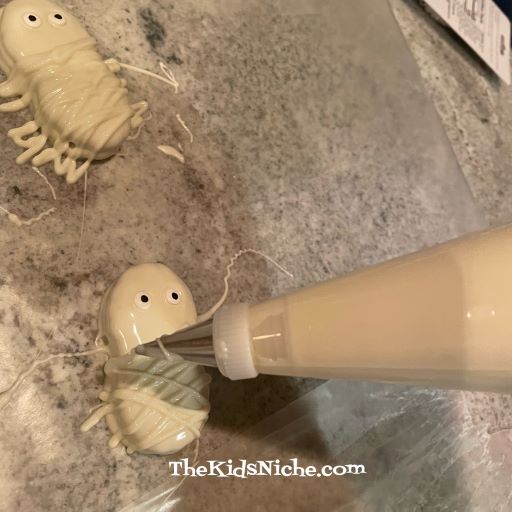
To finish making your mummies, run thin “strings” of chocolate back and forth across each cookie. You can do this by adding the melted chocolate to a pastry bag with a thin round tip on it and piping it across the cookies. Or use a ziploc bag and cut a tiny hole in one corner and use it in the same way.
That’s it! Now you have some very yummy mummies to share for Halloween! I believe this batch of mummies went to a school Halloween party!
We’re sending a special thank-you (and some hugs!) to our amazing crafters for today’s post! 🙂
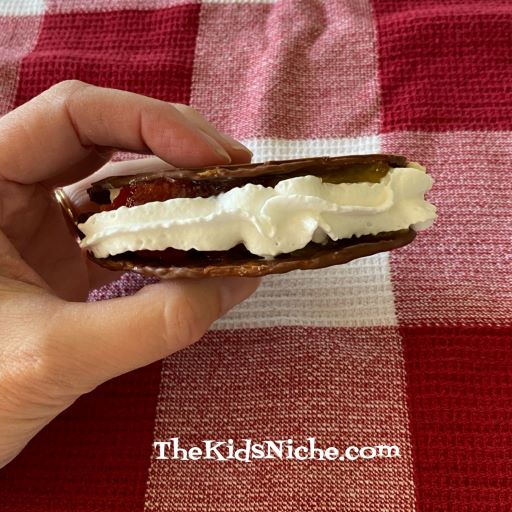
We had so much fun last week making Dessert Tacos with apples, that we tried another version of Dessert Tacos. They are very yummy too, but also messy so keep a plate handy when you eat these! 😉 This version of Dessert Tacos is like making a banana split in a taco shell! Let’s go!
Start with heating/baking your taco shells.
Once your shells are heated, allow them a few minutes to cool enough to handle them comfortably. Meanwhile, grab a bag of your favorite chocolate chips. I used milk chocolate.
Add some chocolate chips to a microwave safe container along with a little bit of coconut oil and microwave for 30 seconds and then stir. Microwave for additional time until the chocolate chips are completely melted. Be careful and only microwave for 15-30 second intervals at one time before stirring again.
Take a taco shell and dip it into the melted chocolate.
You can dip the shell in the melted chocolate to suit your preference. Maybe you only want one end dipped in the chocolate or maybe just the top middle area or you can coat the entire taco shell with chocolate. I might have gotten a little carried away and completely covered my shells with chocolate. 😉 Place your chocolate tacos on foil or waxed paper covered tray or cookie sheet.
Place your tray of chocolate covered shells into the refrigerator until the chocolate completely hardens. When the shells are ready, gather your favorite banana split ingredients and get ready to stuff those shells!
I started by putting banana slices in the shells first. I found that leaning the shell on the side of my tray made it easier to put the ingredients inside.
Next came the ice cream…
Then some strawberry and pineapple toppings.
I topped it off with some whipped cream! Mmmm!
Doesn’t that look yummy?!
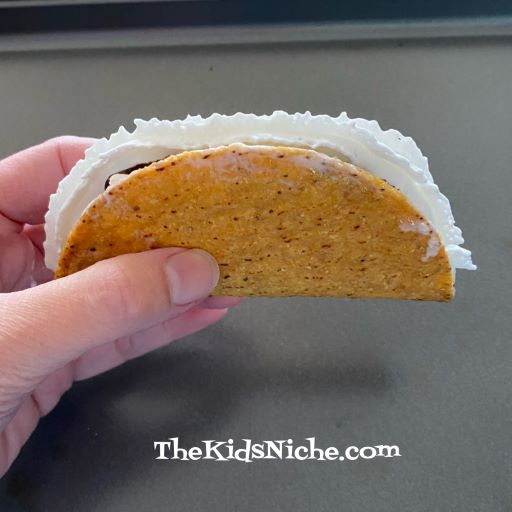
There is something quite satisfying about the crunch of the taco shell along with the sweetness of the ice cream! 🙂 Now, if that seemed like way too much chocolate for your taste, try this way instead. Bake the taco shells as before, but skip the chocolate dipping part. Start with adding the banana first… (If you noticed the cardboard around the shell, that is the piece of cardboard that comes with the taco shells and keeps the first taco in the line from closing up. It worked nicely to help support the shell while filling it.)
Then the ice cream…
Maybe some tiny marshmallows are next…
Drizzle some delicious chocolate syrup over the top.
And don’t forgot a nice big squirt of whipped cream to finish it off!
In this version, you still get the taste of chocolate, but it’s not completely overwhelming. It just depends on how much chocolate you think your banana split needs! 😉 I hope you’ll give these Dessert Tacos a whirl! 🙂